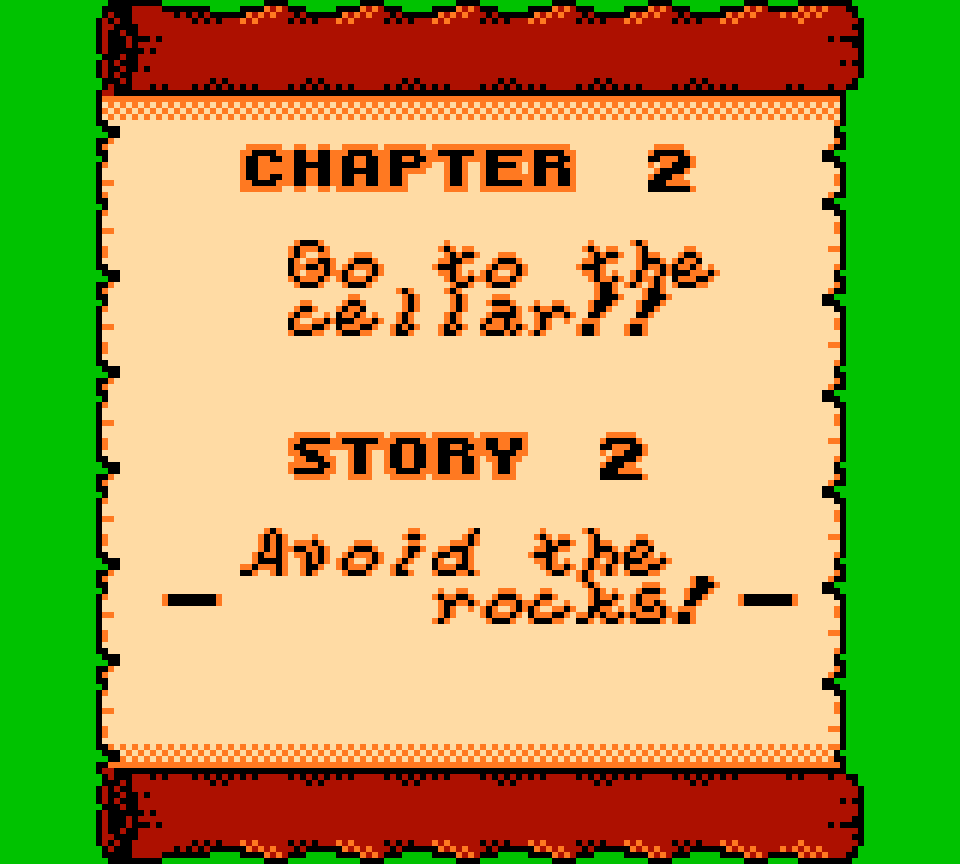
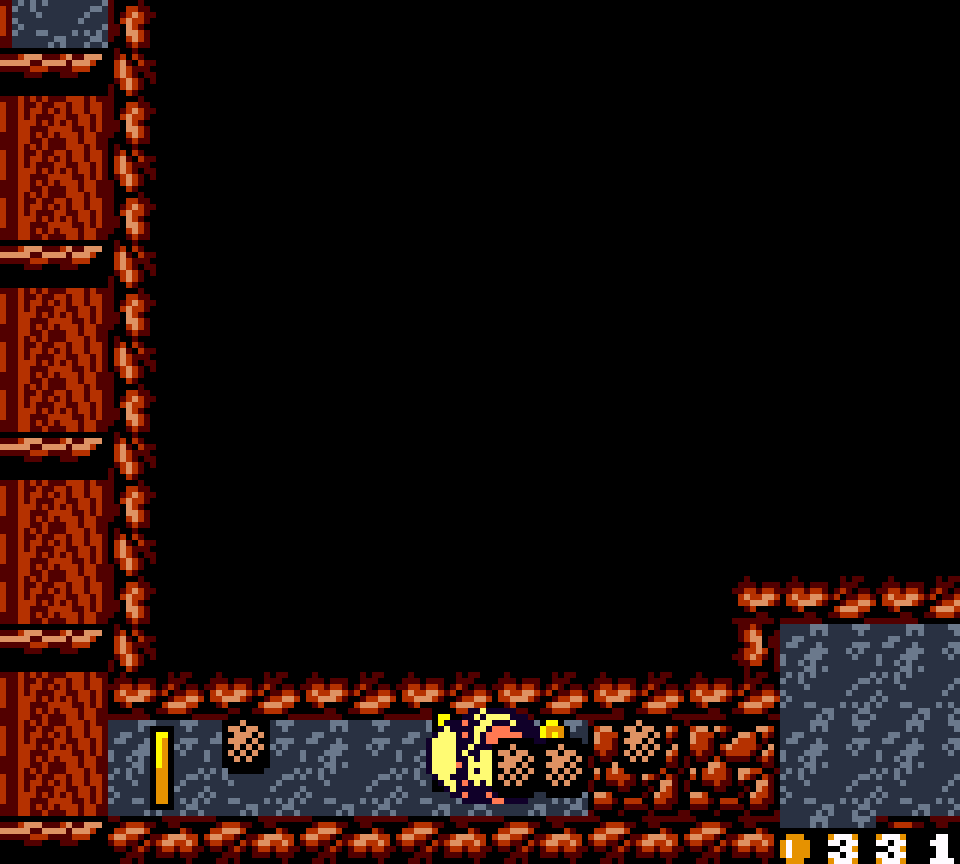
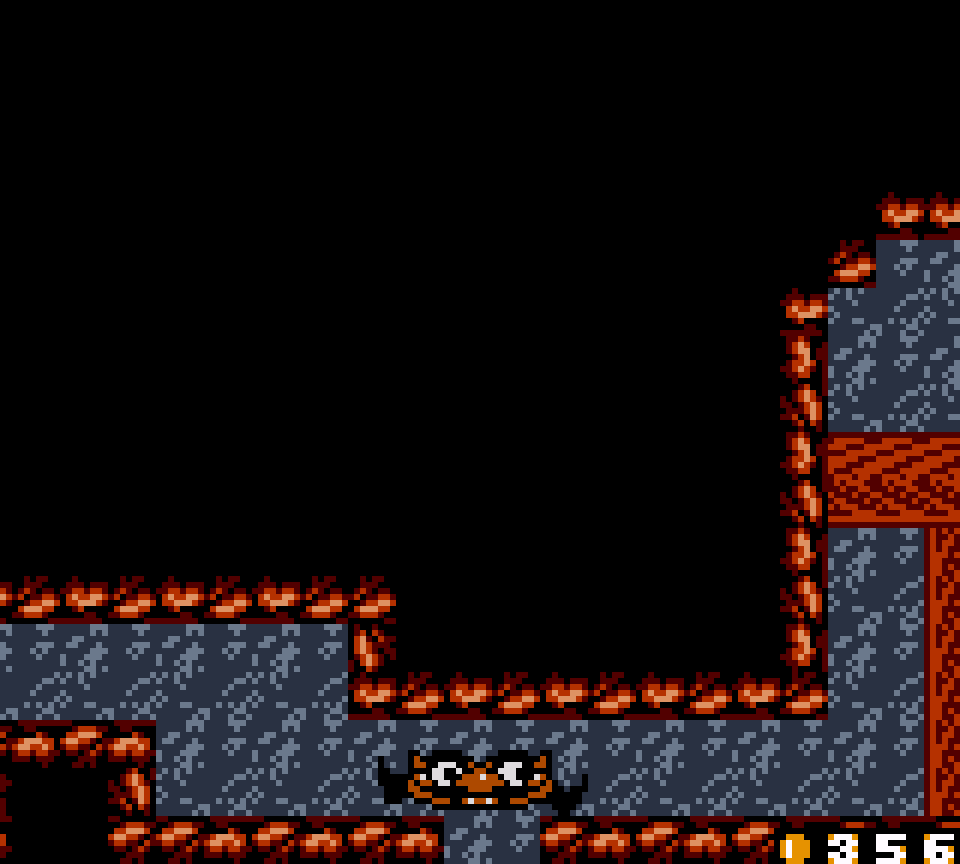
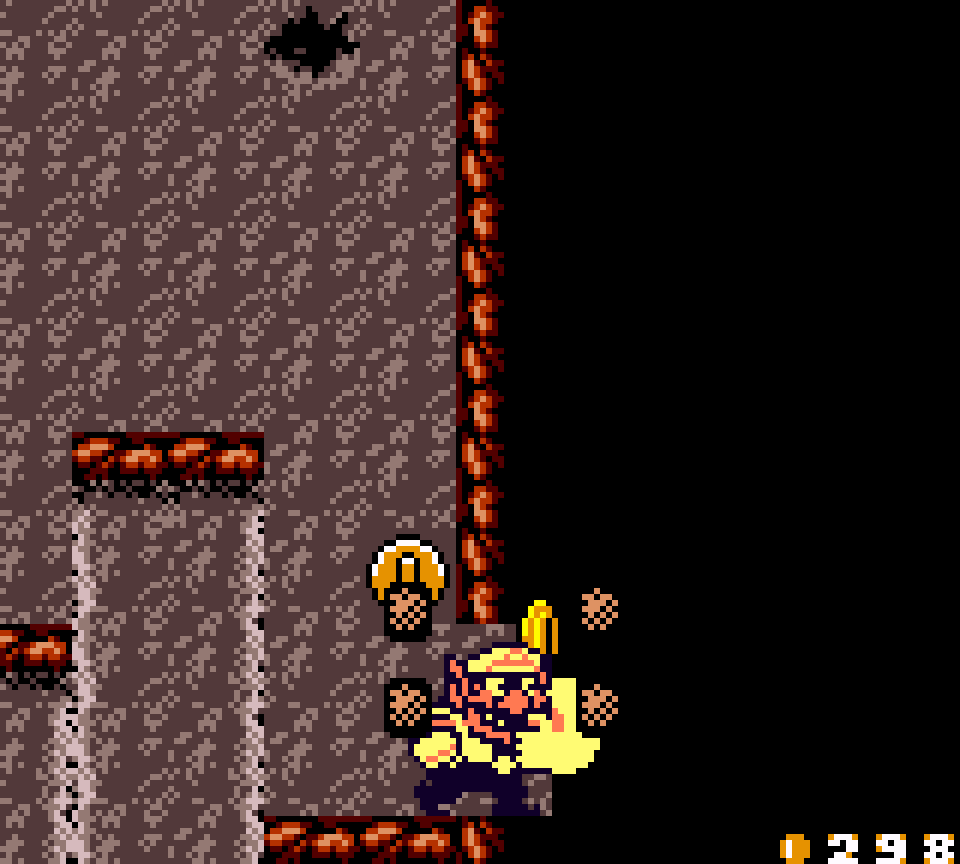
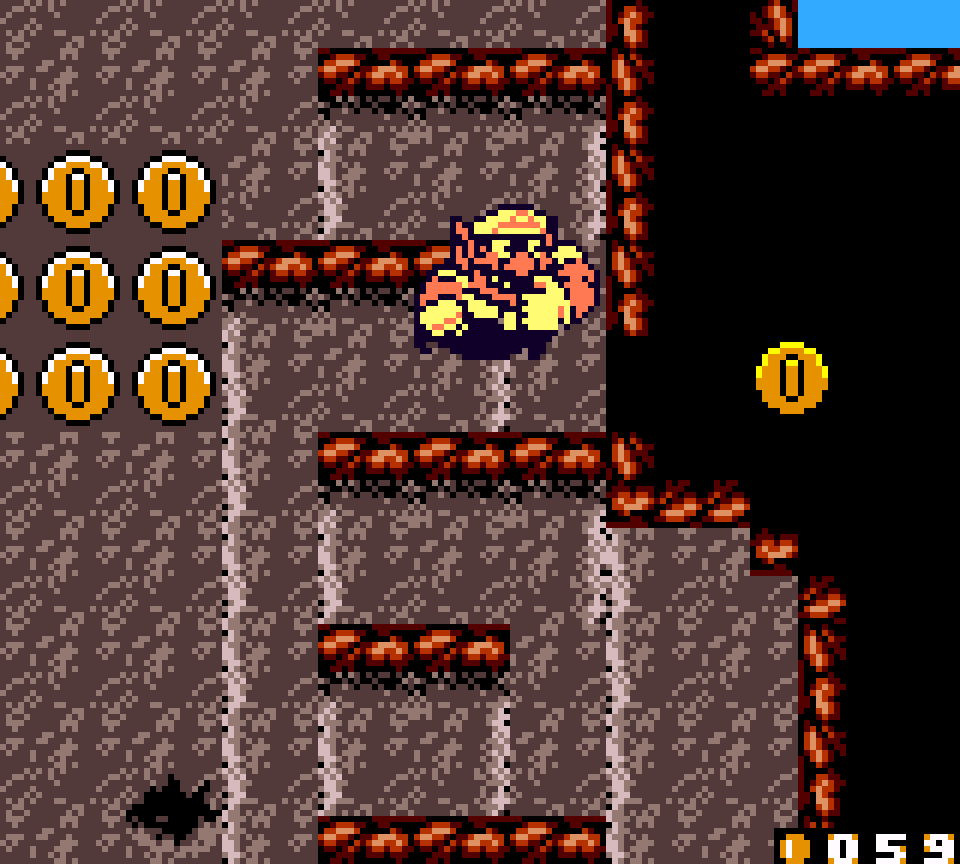
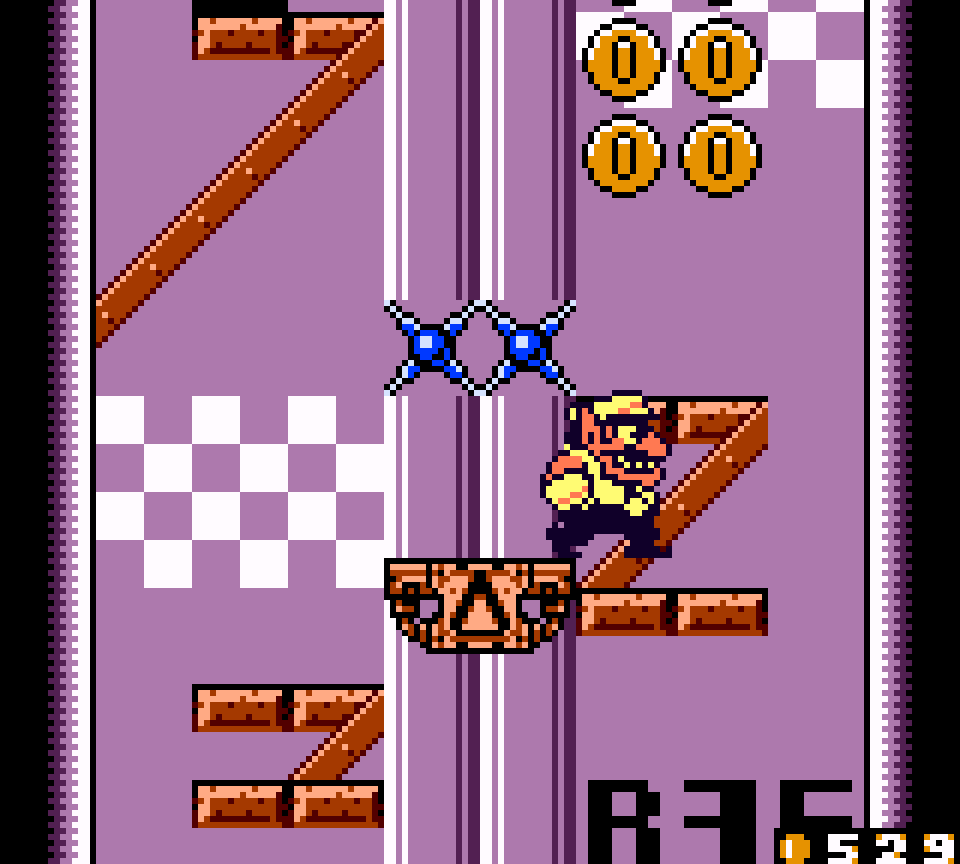
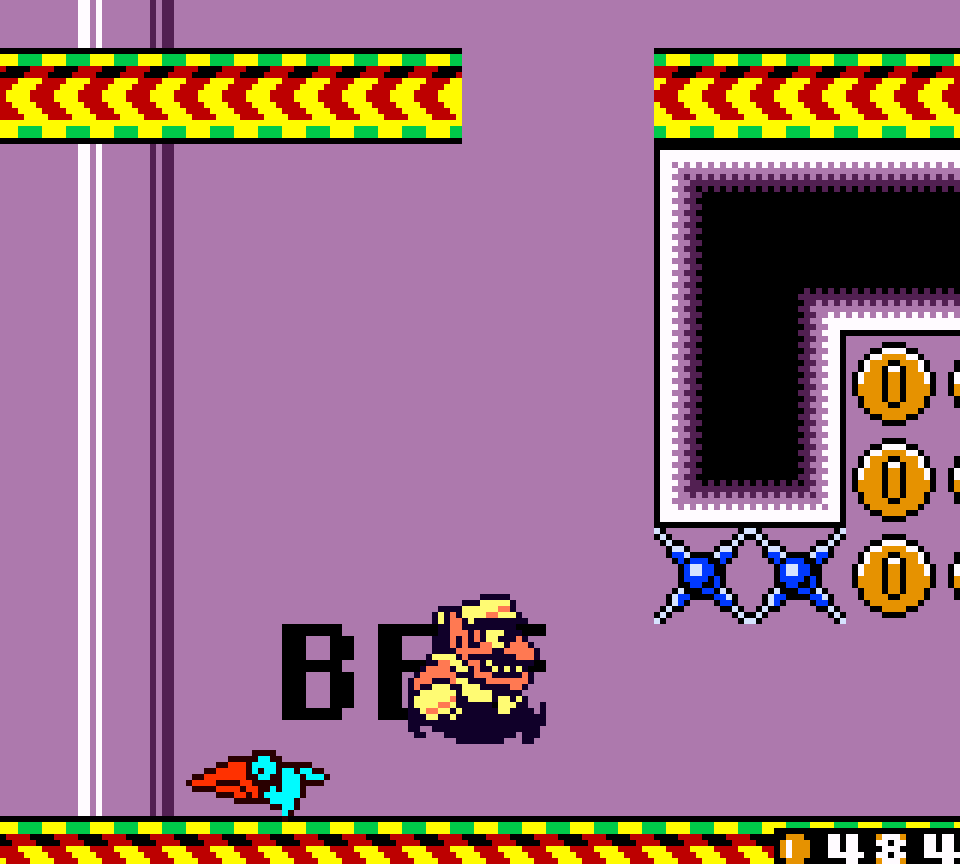
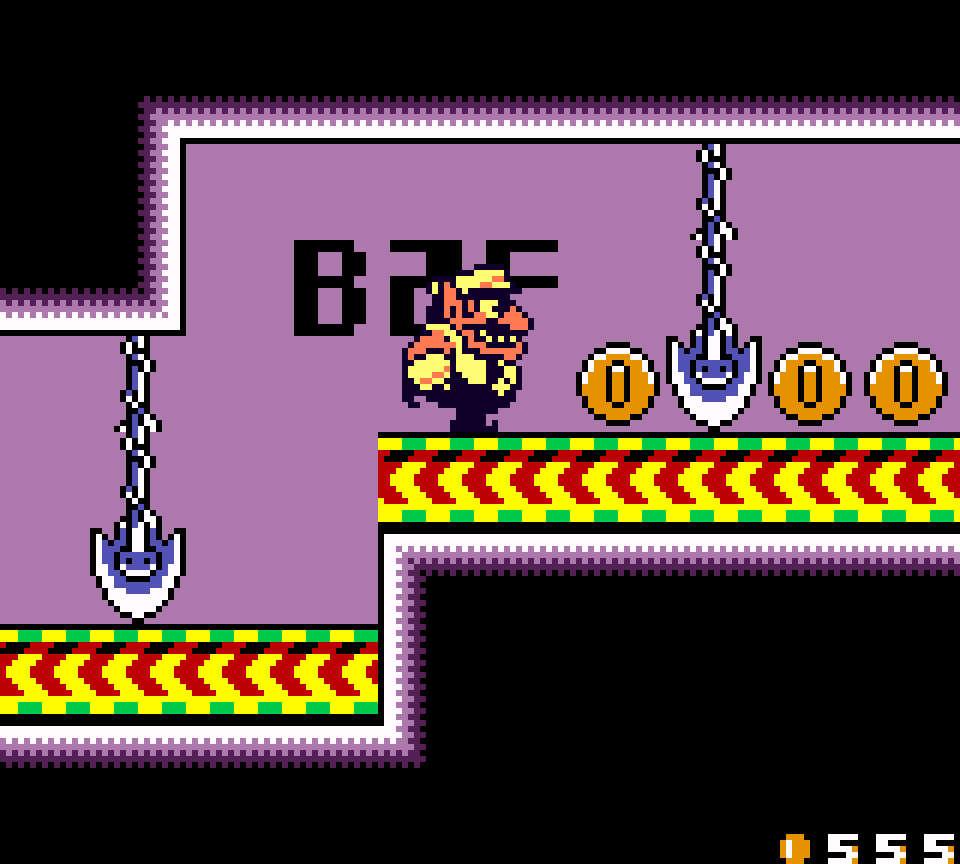
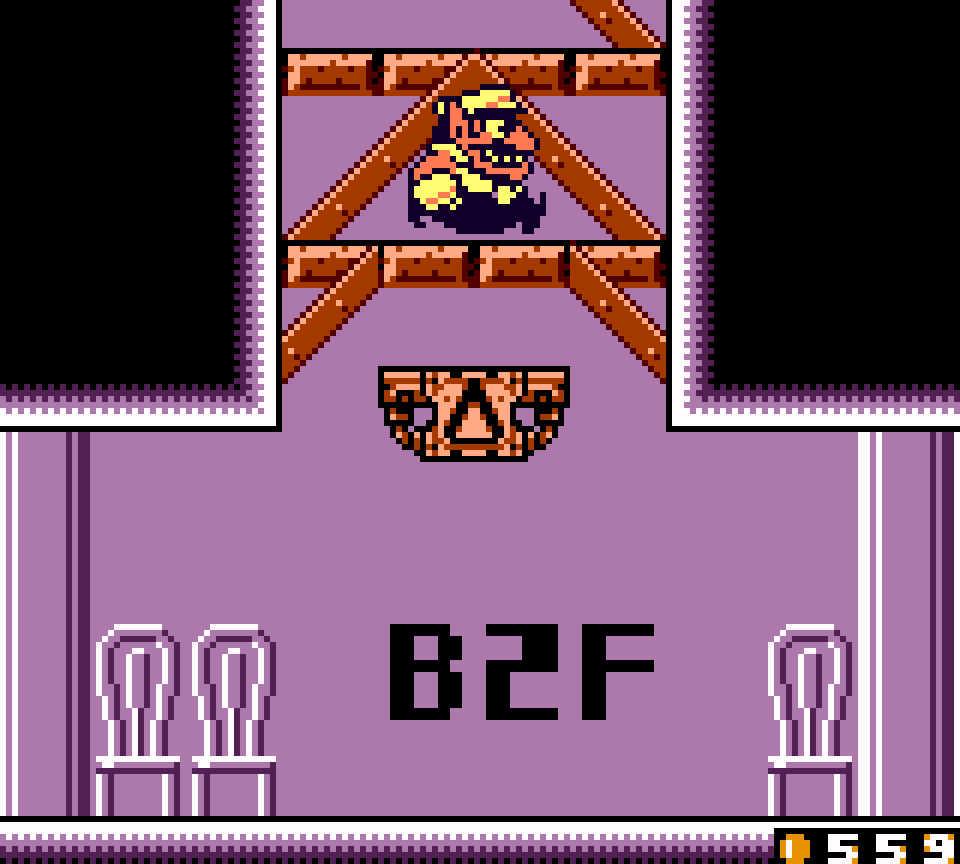
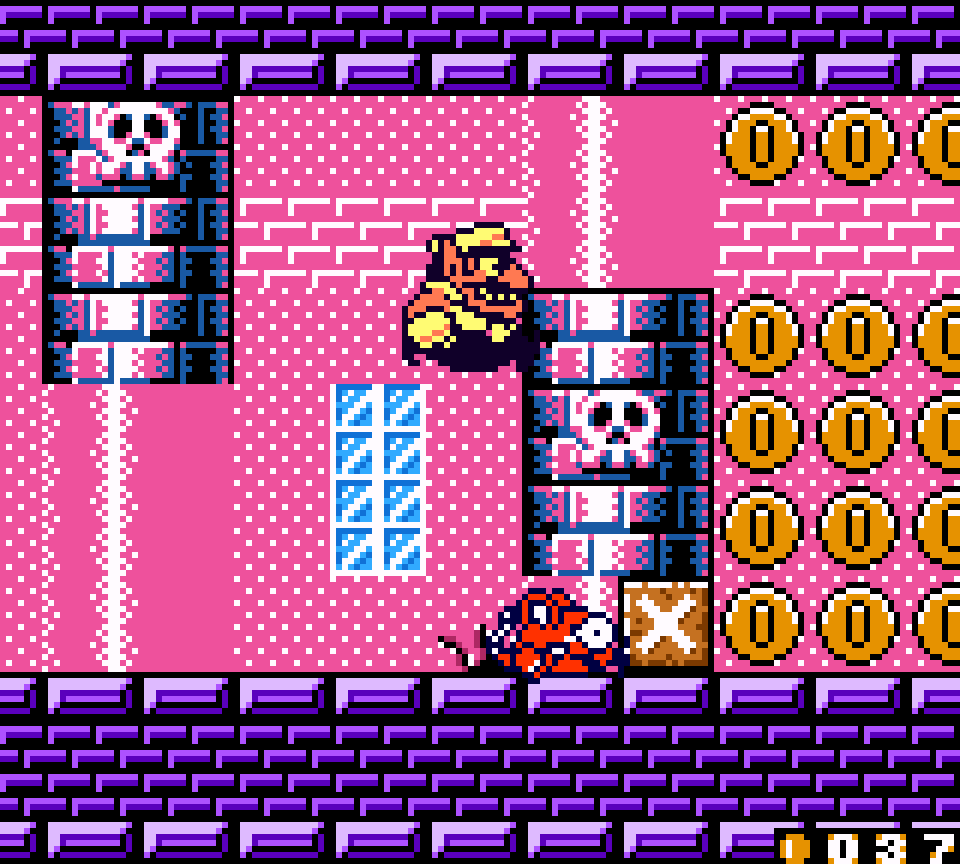
15. Go to the Cellar!! Story 2: Avoid the rocks!
The central mechanic o’ falling rocks o’ randomly varying sizes — small rocks, which can be grabbed & thrown, & large boulders that make Wario flat — is unique & clever. Unfortunately, going to the other extreme o’ this game’s most common problem to the greatest extent in this game, this level relies almost entirely on this gimmick thruout the whole level, with the only exceptions being a room with basic enemies & a basic room where you break blocks as fat Wario.
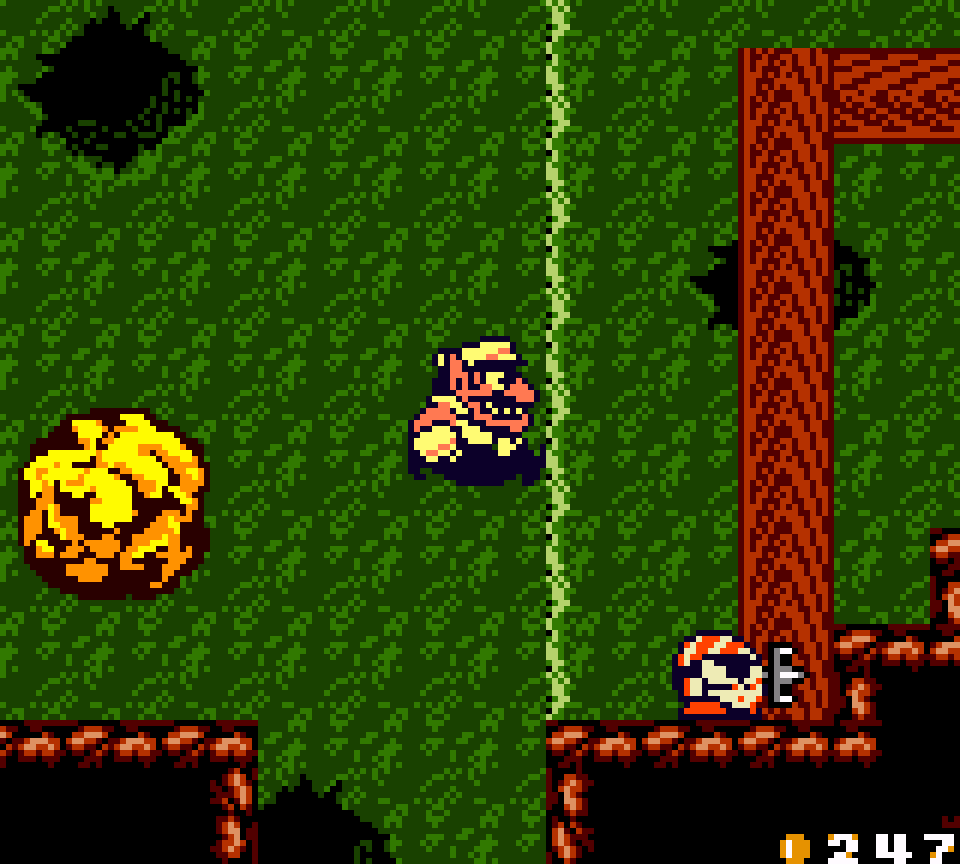
While I’m thankful that there are only 2 places where you’d want to be flat Wario, both just for coins, that leaves catching small rocks & dodging large boulders, usually just so you can throw the small rocks @ throw blocks in the way o’ coins, to hold up this whole level. A bit o’ variety would’ve gone a long way. They do add minor complications like needing to jump o’er gaps while dodging boulders & specially bats who not only risk grabbing you & making you drop the rock you’re holding, but can also make you drop your rock if you jump into it to try avoid being grabbed.
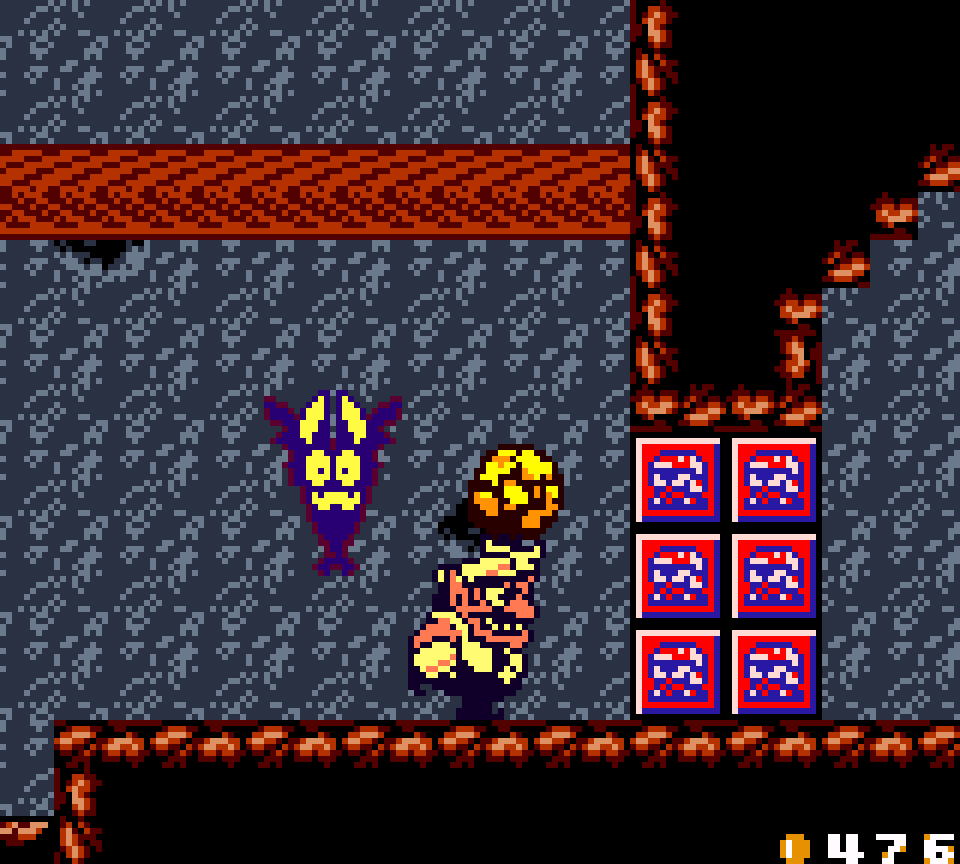
I wish they would have had more o’ the setpiece where you need to roll thru cracked blocks & then use flat Wario to get thru, & for mo’ than just coins. Given this level being a cave level, the rolling mechanic would’ve fit better in this level than in most o’ the other levels that use it, & it would’ve made a good minor mechanic to balance out the major mechanic o’ falling rocks while still feeling relevant.
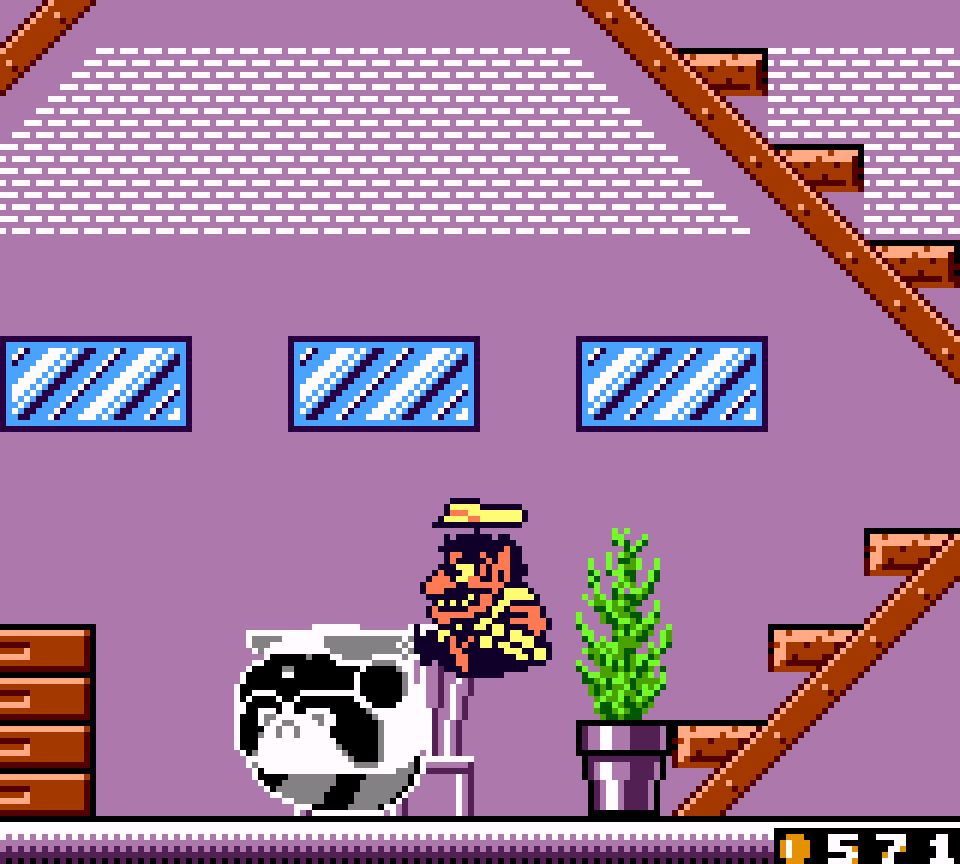
What’s most disappointing ’bout this level is the way its treasure door is hidden not ’hind any use o’ this level’s main gimmick, but just ’hind a breakable wall telegraphed by a suspicious line o’ coins right in front o’ it. There are a bunch o’ these, too, & they’re all weird, including the aforementioned fat Wario room in a location you can see from near the start but can only access by breaking thru a random wall.
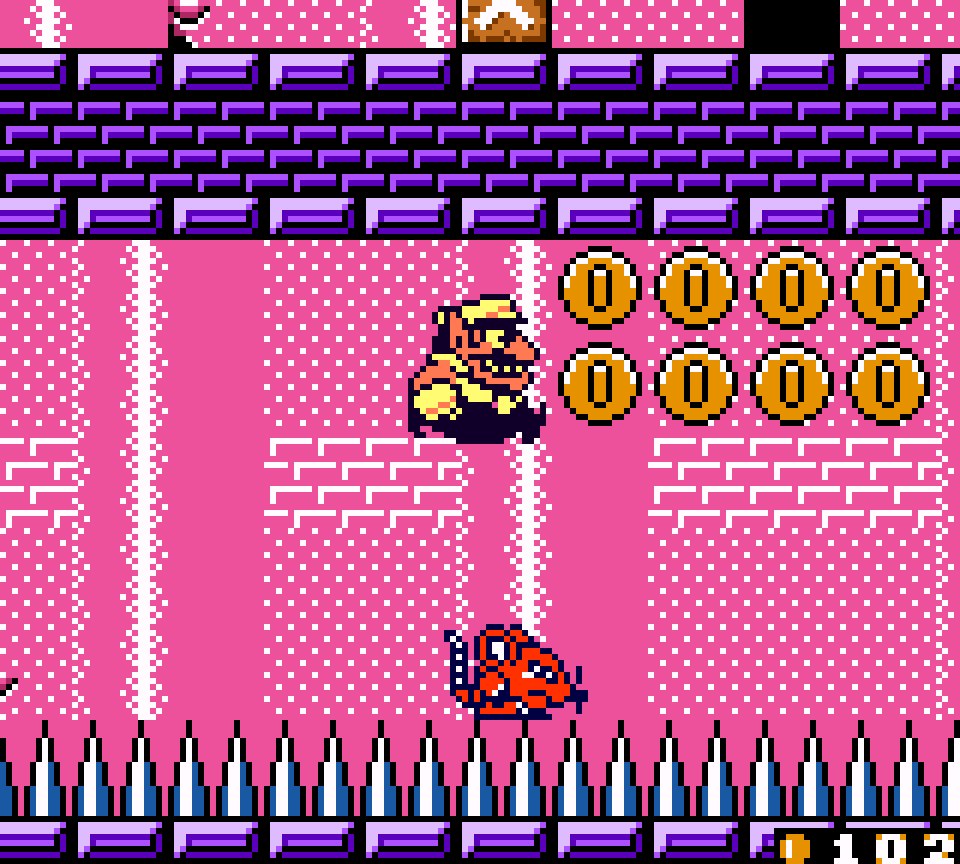
14. In Town Story 1: Stop that train!
Obligatory musical reference:
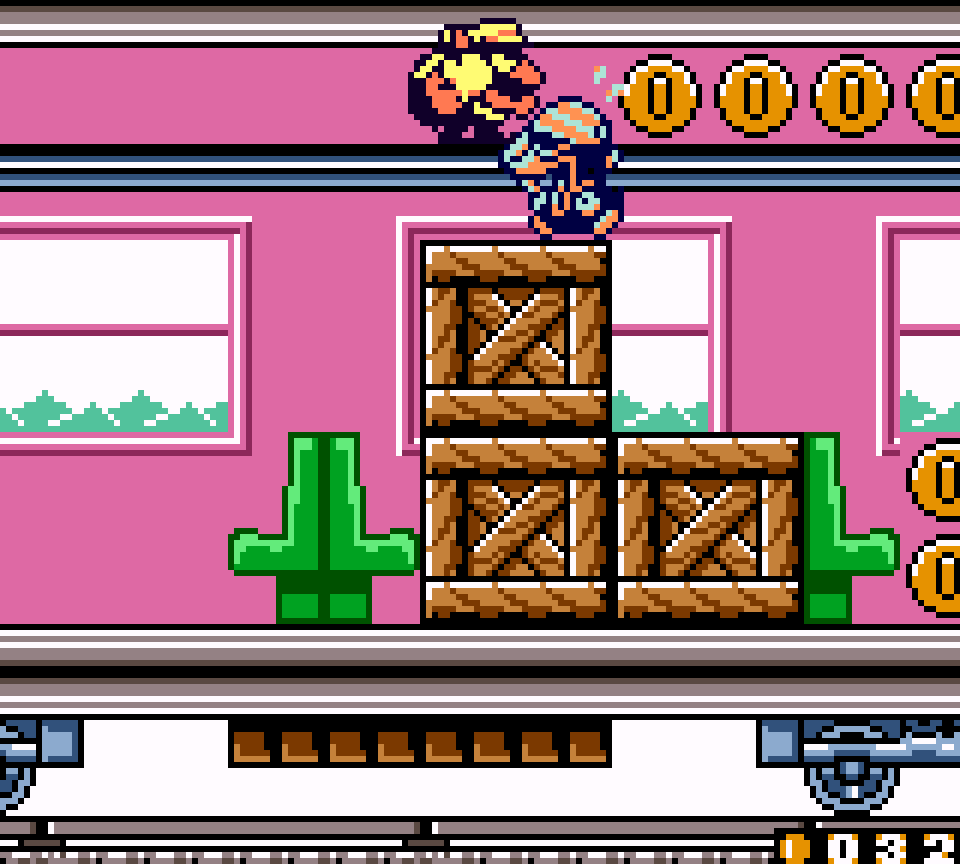
The train levels are the best when it comes to aesthetics: not only is it a rarer, mo’ exotic theme, especially this game’s odd pink color given to its trains, but I also love the visuals o’ the rolling hills fading into the white fog rushing by while the train keeps bumping up & down with a crunchy knocking noise. Plus, these levels have the best level theme in this game, a jaunty ditty that perfectly fits the feeling o’ taking a morning train into the city.
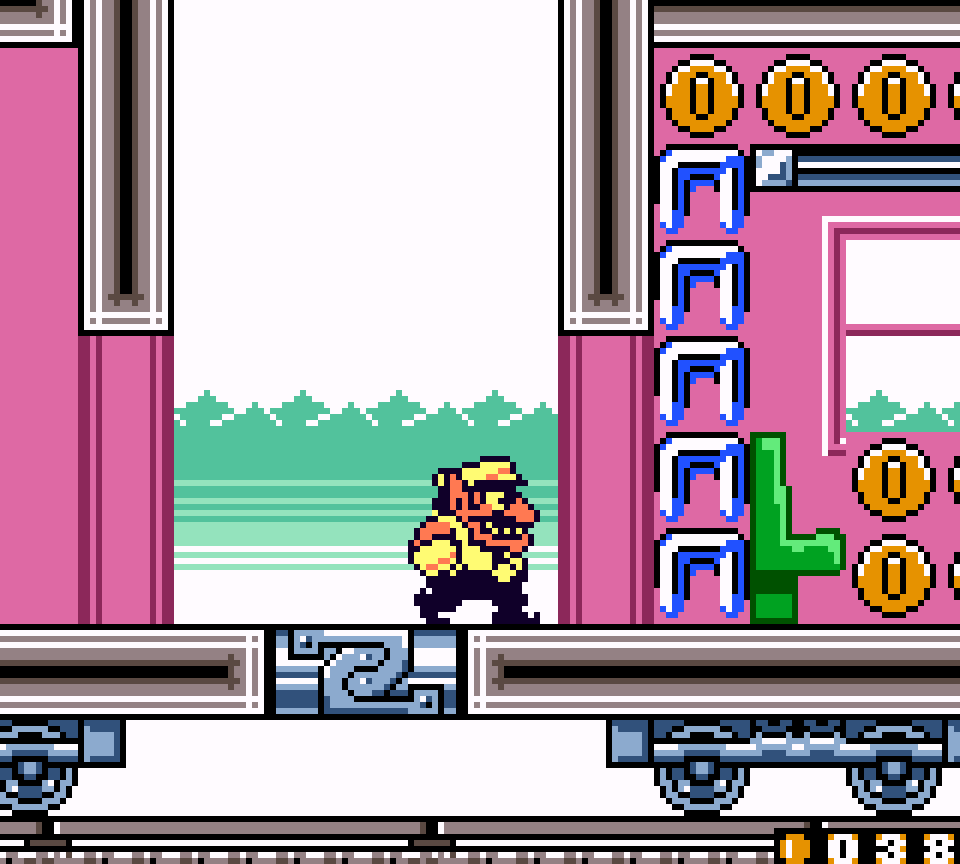
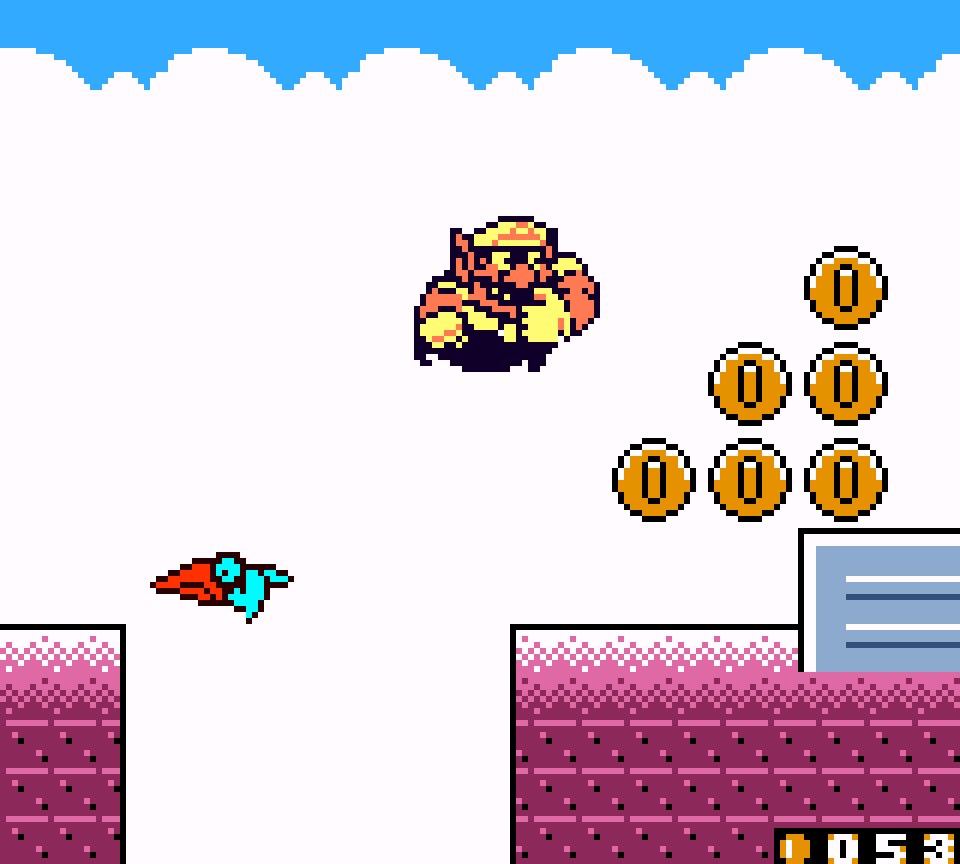
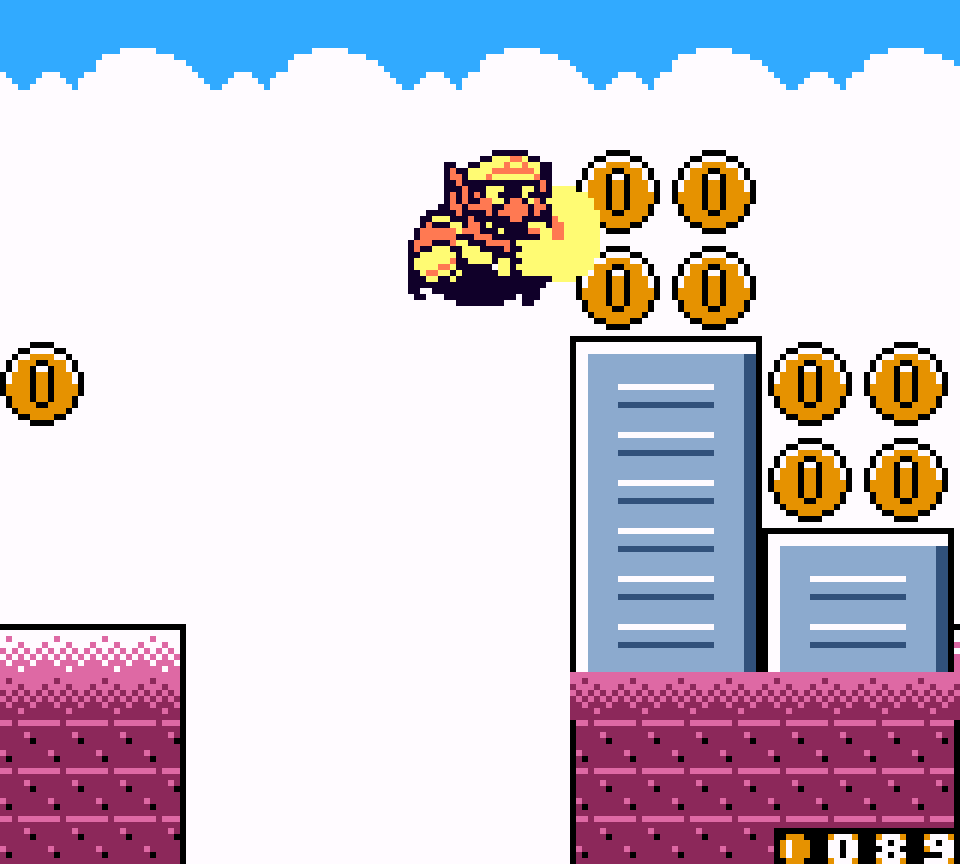
& these levels have an interesting gimmick where they’re split into 2 levels, 1 inside the train, & the other up on the train, where Wario has to face the winds constantly pushing him back while trying to avoid being knocked back e’en further, or e’en into a hole, by birds. The player will need to go back & forth ’tween these layers to get to the end, as the bottom layer ends in a dead end, while the top layer is blocked @ 1 point by a wall that is very hard to get ’bove & was probably meant to be gotten round thru the bottom.
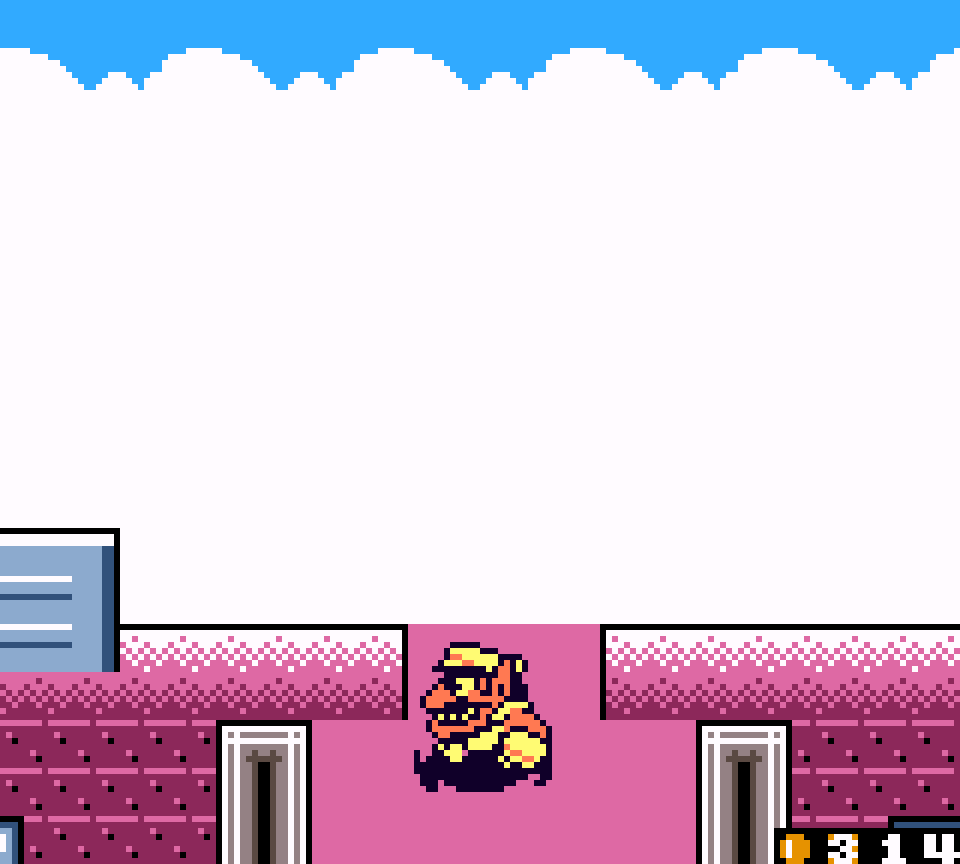
Fittingly, the treasure door is hidden in a section o’ the train only reachable by a specific hole from the top o’ the train, forcing the player to thoroughly check all paths, as a treasure door should.
Unfortunately, not e’erything ’bout this level is all that well crafted, especially the inside o’ the train, where there’s flat, boring sections with a bunch o’ D. D.s & Punches. O’ particular note are 2 sections near the start: the most absurd is the 1 where you have to just slowly crawl ’cross a long high platform while e’en-mo’-slowly bumping the harmless D. D.s out o’ your way. The most positive thing I can say ’bout this setpiece is that it’s funny in how dumb & pointless it is. Less interesting is the setpiece just after where you have to zigzag down long platforms with just a Punch on each, which just procrastinates continuing the level without any real challenge.
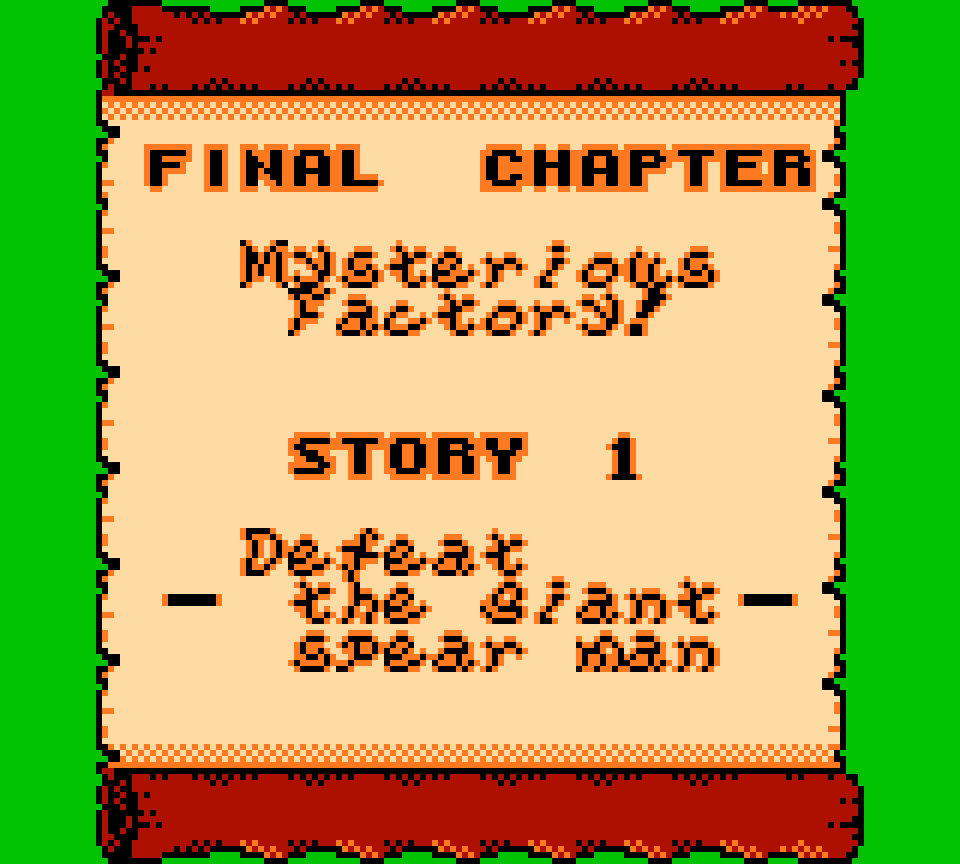
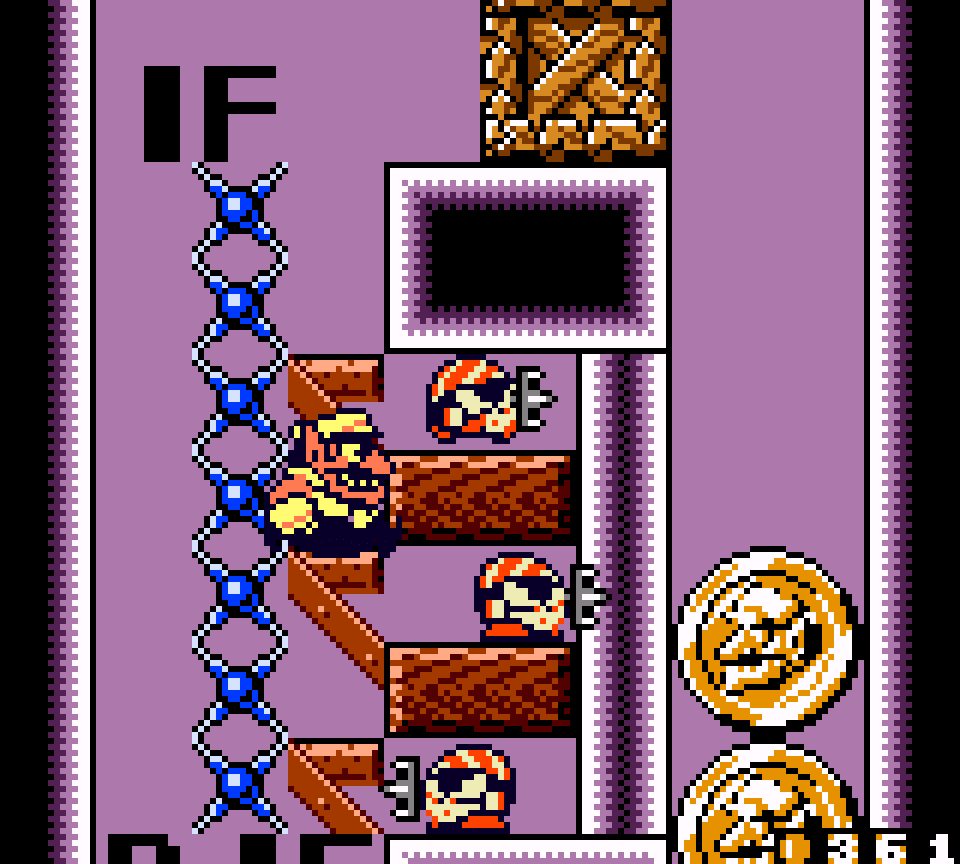
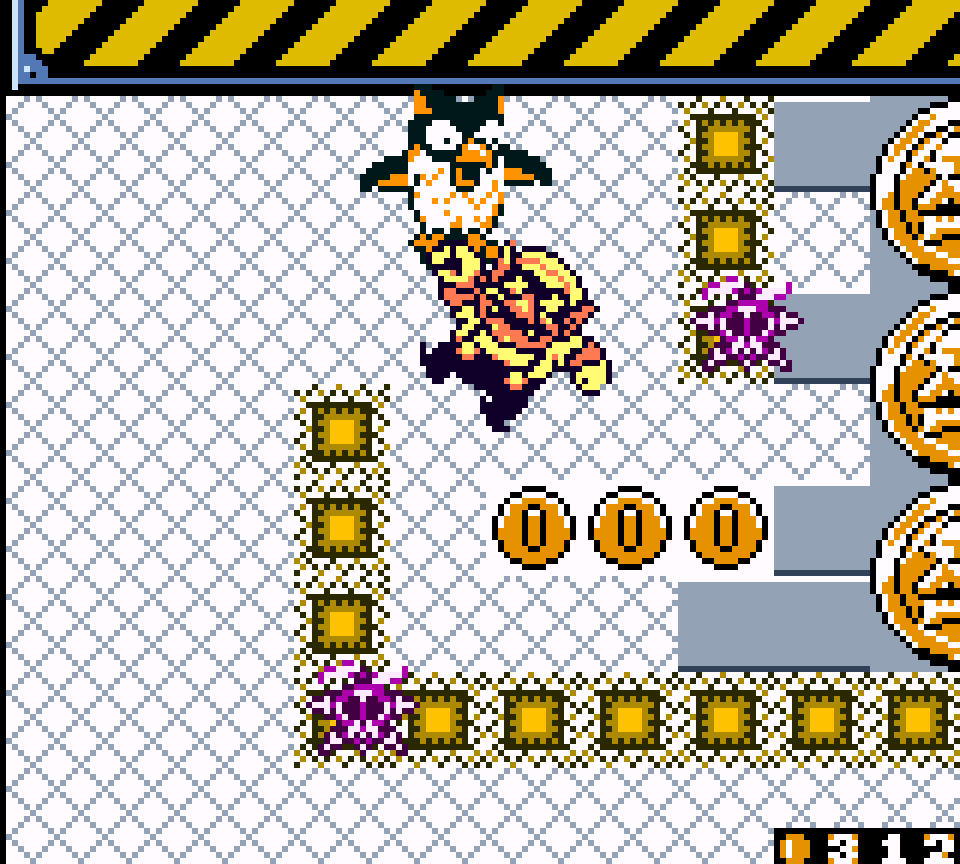
13. Mysterious Factory! Story 1: Defeat the giant spear man
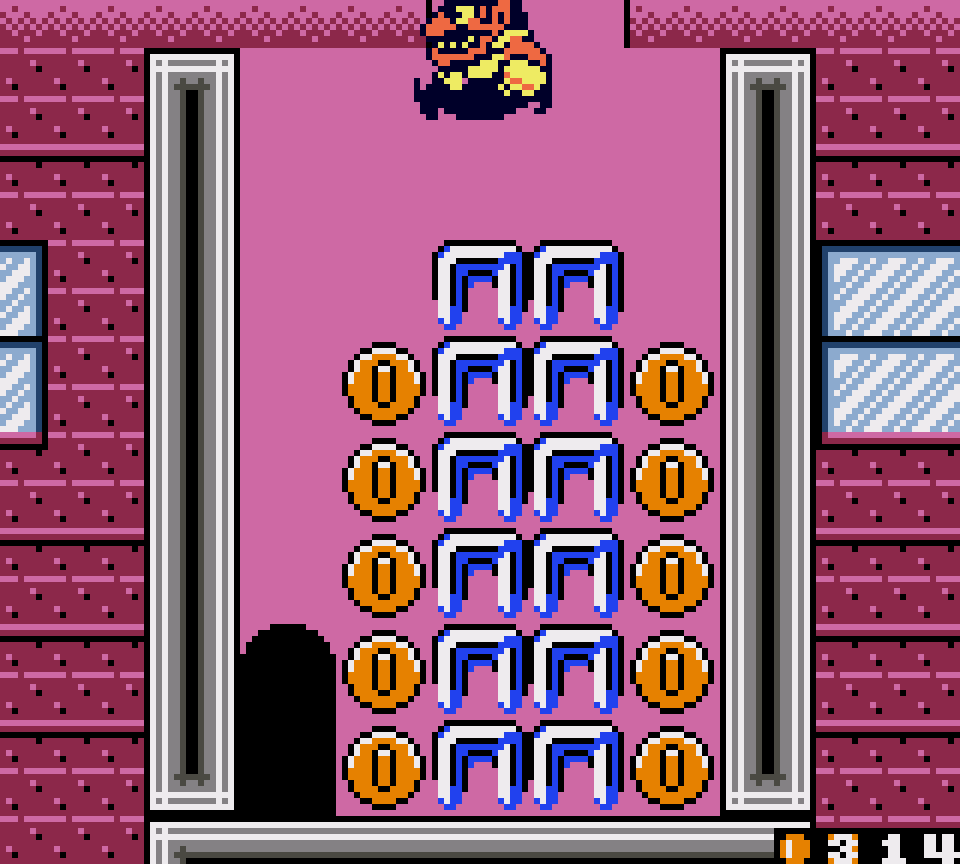
The weaker o’ the 2 warehouse levels, this 1 is a mix o’ good & mediocre elements, with a strong 1st half & a weak end. The 1st room has a nice shape, — somewhere ’tween a “$” & “%” — tho the side circles are just detours for coins & the main path is just going straight down the elevator shaft, stepping onto the rising platforms just so you can step off & drop down the hole under them.
Neither o’ the dark coins that get you fished up to the platform ’bove them lead to any bonus or reward, unlike “Maze Woods Story 1”. It’s good that they don’t repeat the same puzzle in 2 different levels, but it’s a case o’ this level sacrificing itself for ’nother. Plus, it probably would’ve made mo’ sense to have the reward be in the later level, as the reward for doing what seems like an error is a bigger twist than… it just turning out to be an error as expected, as this level does. While I normally complain ’bout mismatched themes, here I think it’s funny that there’s just a fish fishing in the middle o’ a warehouse. We can guess that he’s a worker slacking off.

A mo’ interesting use o’ the upward platforms is later when you have to climb up using them, while having to time movement onto the next platform before you hit the spikes above.
To the left o’ the main room there’s a unique setpiece where you need to jump up thin platforms next to a wall o’ spikes on the left & Pirate Gooms walking back & forth on the right. You need to time jumps so the Pirate Gooms don’t hit you & knock you into the spikes to the left & off the platforms till you reach the top & can drop down to collect 90 coins. Unfortunately, this level somewhat wastes this setpiece by hiding it ’hind a breakable wall.
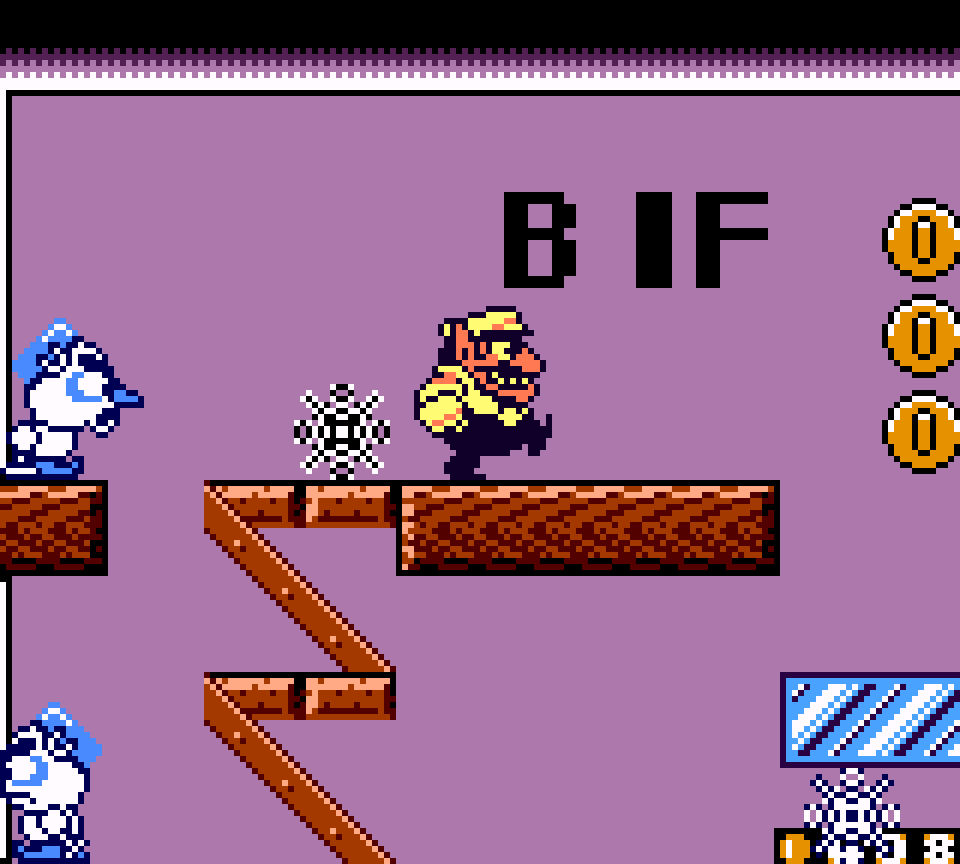
There is ’nother clever room where you have to jump up platforms next to snowmen enemies when their back is turned, only for the twist to be that on the other side o’ the room you have to get past a snowman enemy facing you. There is a way to dodge its snowflake attack & attack it, but a much easier, clever solution is to lure the left snowman enemy to shoot a snowflake rightward & lead it toward the right & then get hit by it on the rightmost platform so frozen Wario slides right past the rightmost snowman.
But then we have the conveyor-belt sections. While the 1st is decent, having you time jumps o’er birds & ’tween spikes for coins @ the bottom — tho the coins this section offers probably isn’t worth the effort, specially with how likely it is one’ll lose coins getting hit — & dodging the beer bottles thrown by the animals in the window on the top; but 2 rooms later we get 2 straight paths where you just keep in place on conveyor belts while waiting from the blades to get out o’ your way.
& then you have the final room, which is just “pick an elevator” to go up the right shaft, with punishment for picking wrong being having to waste a li’l time going back down. Worse, they chose this lame room to hide the bonus door, which is just on a different shaft than the main path. Curious players are probably going to check all shafts, as tedious as that is, so this is hard to miss.
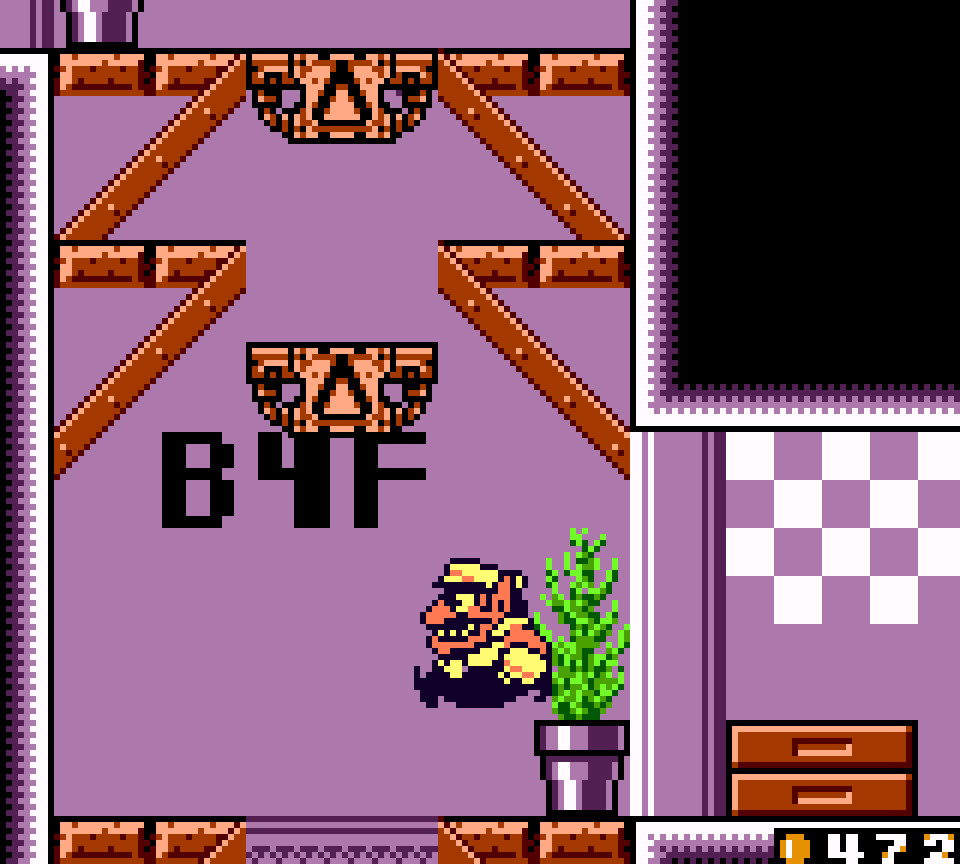
To be nice, I will say that, for all the times I criticize the placement o’ the giant spear man boss, I think this level was a fine choice — the best choice ’mong all the levels in its chapter. It’s certainly a better ending than the previous room & I like the long fall down the staircase. It’s too bad this game doesn’t have Wario Land 4’s mega ground pound to do extra damage to reward players who time their ground pound from way up high.
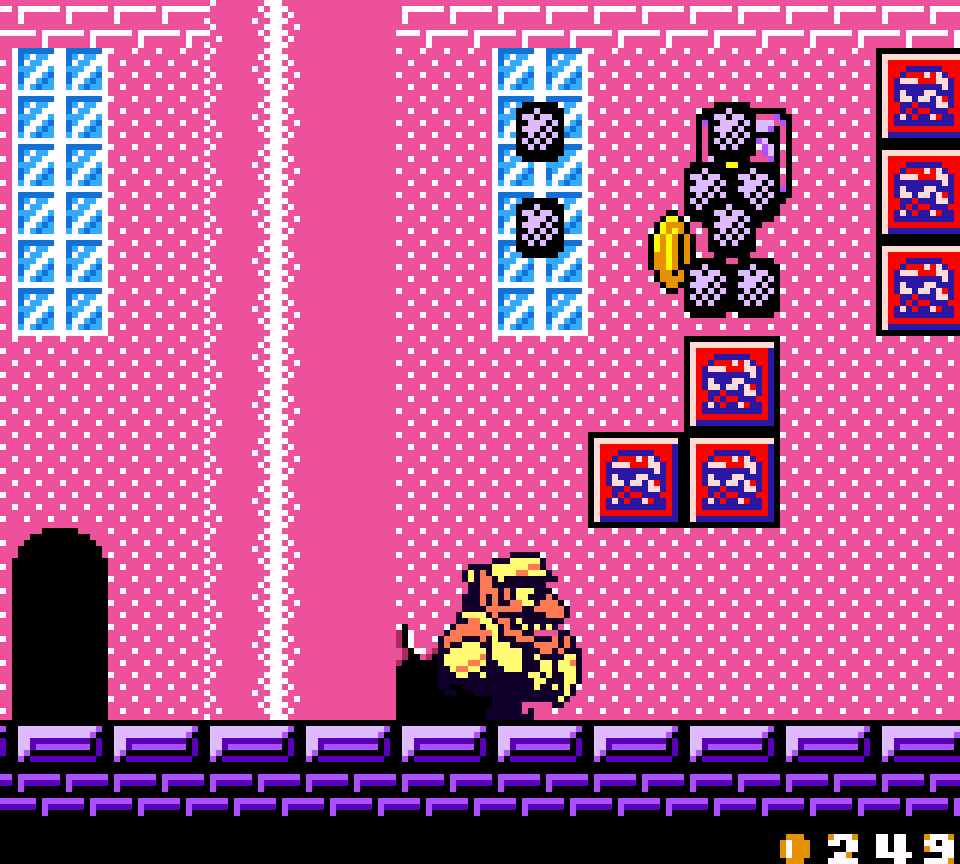
12. Syrup Castle Story 3: Defeat four ducks!
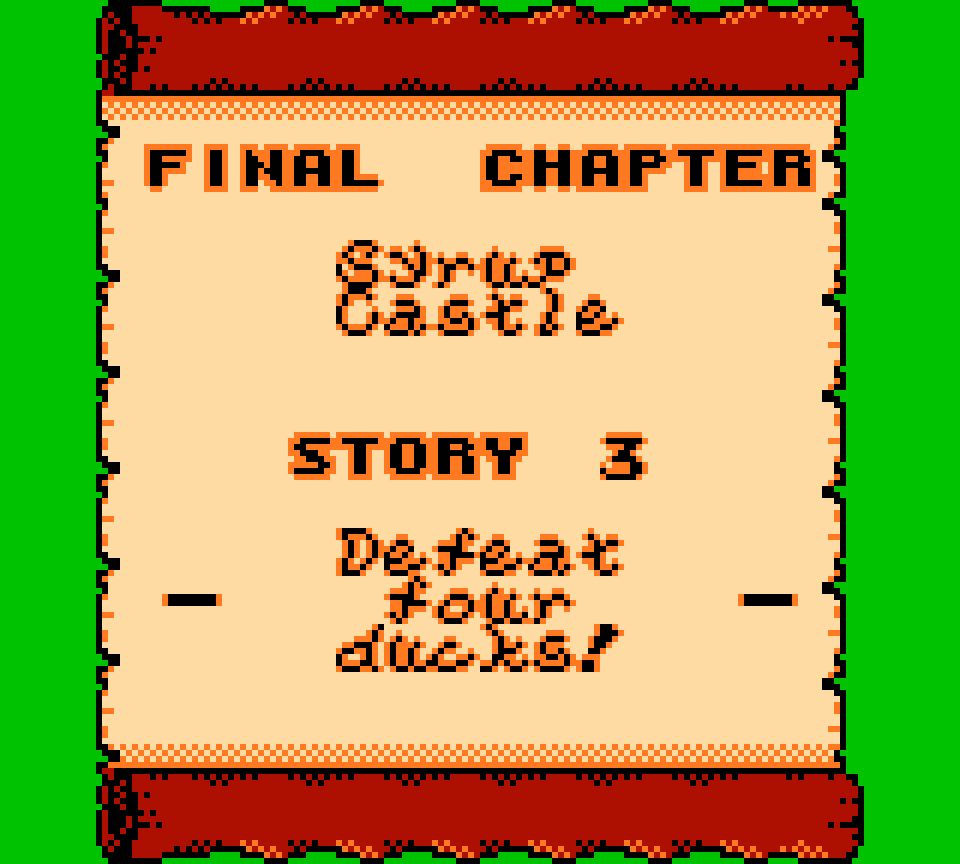
If this level deserves credit for anything, it’s turning a standard level gimmick — going to various corners & doing some act, usually in any order — & making it absurd: whereas most games would have you destroy 4 locks or something, this level has you defeat 4 ducks, which its title loudly compels you to do without any self-consciousness. They e’en went out o’ their way to make each duck room different, with the 3rd room making you aim a ground pound from ’bove the duck walking on the enemy-only platform & the 4th room requiring players throw an ice block up @ the duck to knock it down into the players’ murderous grasp.
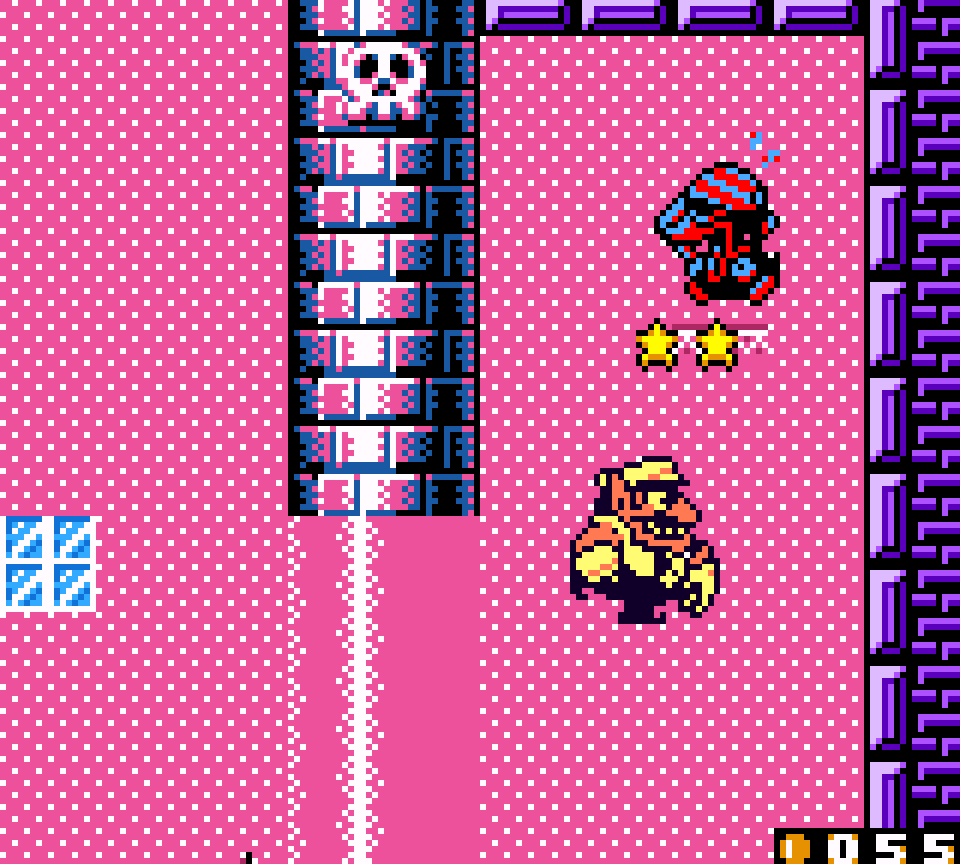
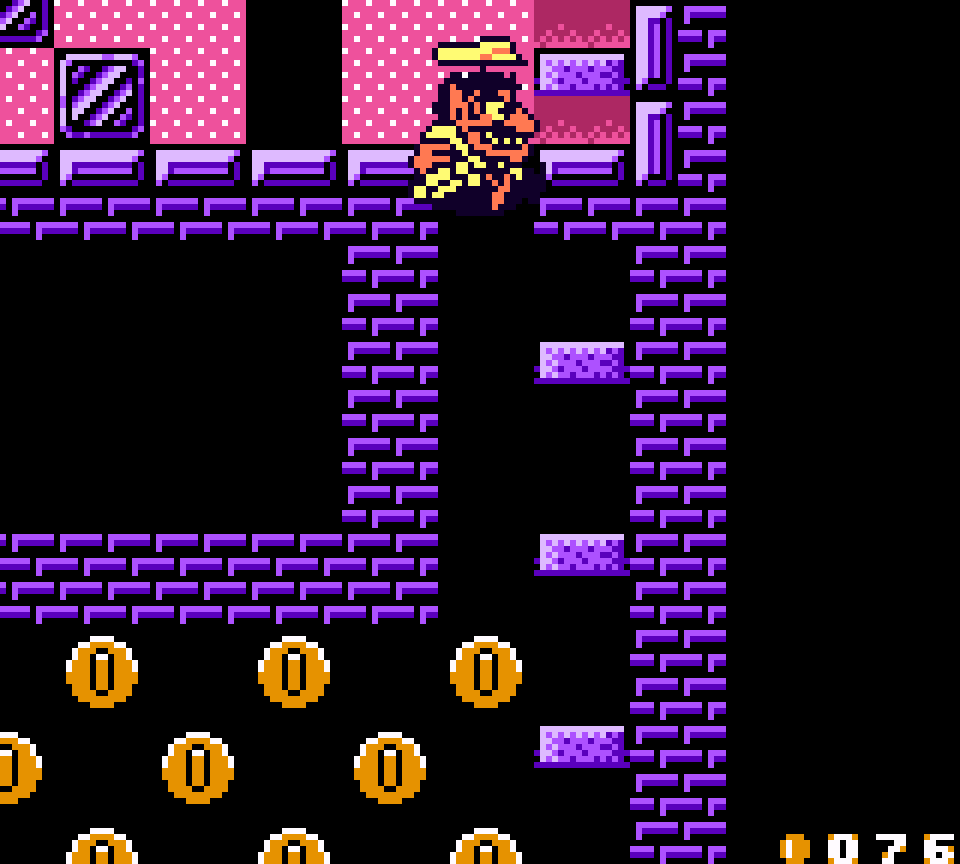
The main level layout also does a good job o’ balancing its pattern with variety, splitting the 4 ducks in the 4 corners o’ the 1st room, but adding the complication o’ needing the hit the switch in the central door to switch ’tween access in corners 1 & 4 & corners 2 & 3, a much better use o’ switches than many other levels, like “The way to the open door”, especially the secret ways it lets you bypass this thru breakable walls, floors, & ceilings in the attic, basement, & inner walls that go all around the main room.
The challenges ’tween the main room & the duck rooms are less clever. The switch room is a nice li’l room with birds you have to dodge & the 4th room has the most interesting use o’ rats in this game, leading them up steps & up to high walls to jump o’er them to get o’er them & then breaking the block blocking the rat from below on the other side to continue using the rat to reach up further walls.
I’m mo’ mixed on needing to repeatedly bounce on the same rat to cross the bed o’ spikes to reach the treasure door. It’s clever, but janky thanks to the rat’s questionable hit box & how precise you need to be to bump the rat further in front o’ you so you can keep bouncing onward on it, especially given how cramped the space is & since you need to do it again to get back. Granted, if you have ’nough extra coins, you can just jump & turn backward & let the spikes keep knocking you backward toward the treasure door with the loss o’ coins e’ery time you get knocked back.
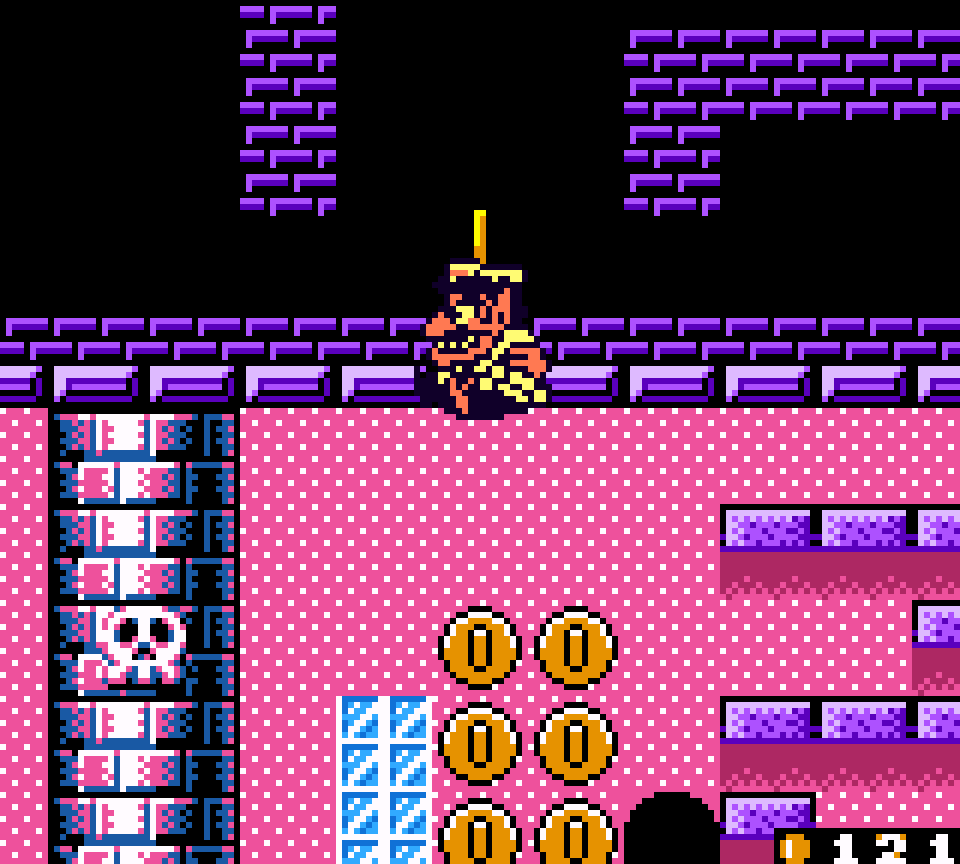
The 2 corners in the top are both dark rooms with ghosts, which fit with the top section, being an attic, but would fit better in the chapter all dedicated to dark mansion rooms which are full o’ ghosts. & if they wanted these to be attic areas, ¿then why are the duck areas not dark? A’least these ghost rooms alternate, with 1 having you focus on dodging ghosts & the other needing you to intentionally to one to become a zombie & fall thru the floor to a lower level. I also like the extra touch o’ rewarding players who take the alternate route to the top-right room without hitting the switch by giving access to extra coins below.

Probably the weakest rooms are those with the throw blocks where you just throw enemies or ice blocks @ weird block formations to get thru. The 1st room has an interesting but awkward puzzle where you need to break the throw block formation ’nough to be able to climb it & reach the doors ’bove but without breaking too much that there’s not ’nough to climb up. Luckily, it’s just for coins, & this time they offer plenty o’ coins.
11. Mysterious Factory! Story 2: Into the Factory!
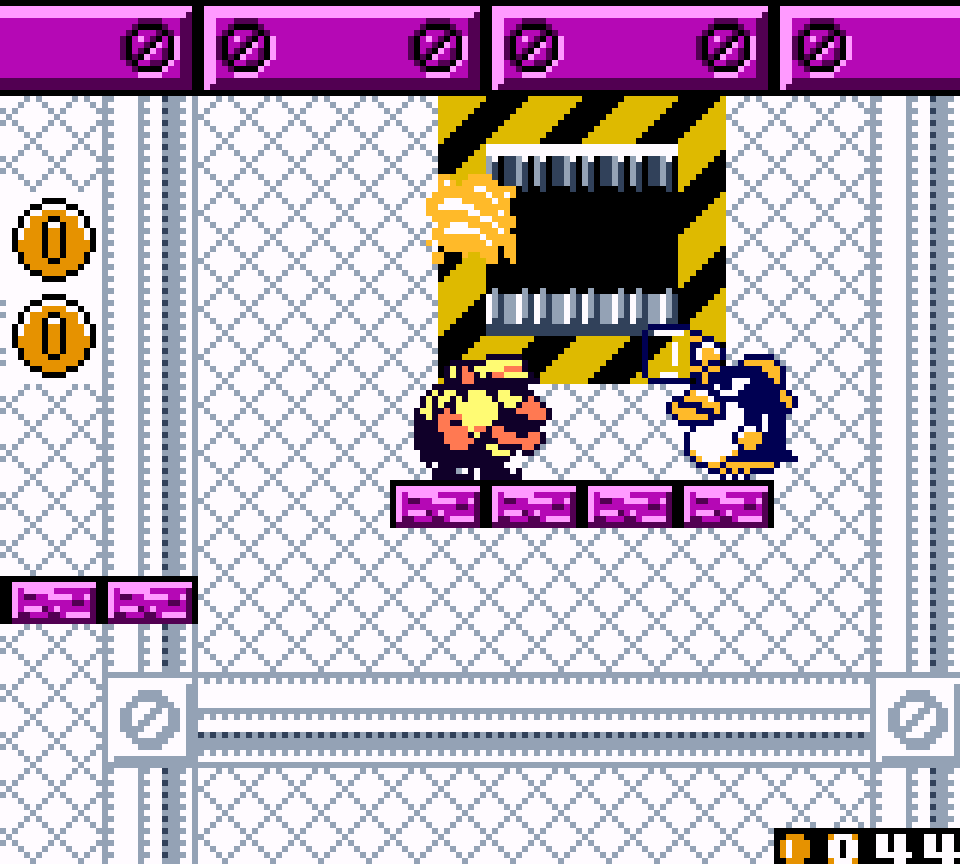
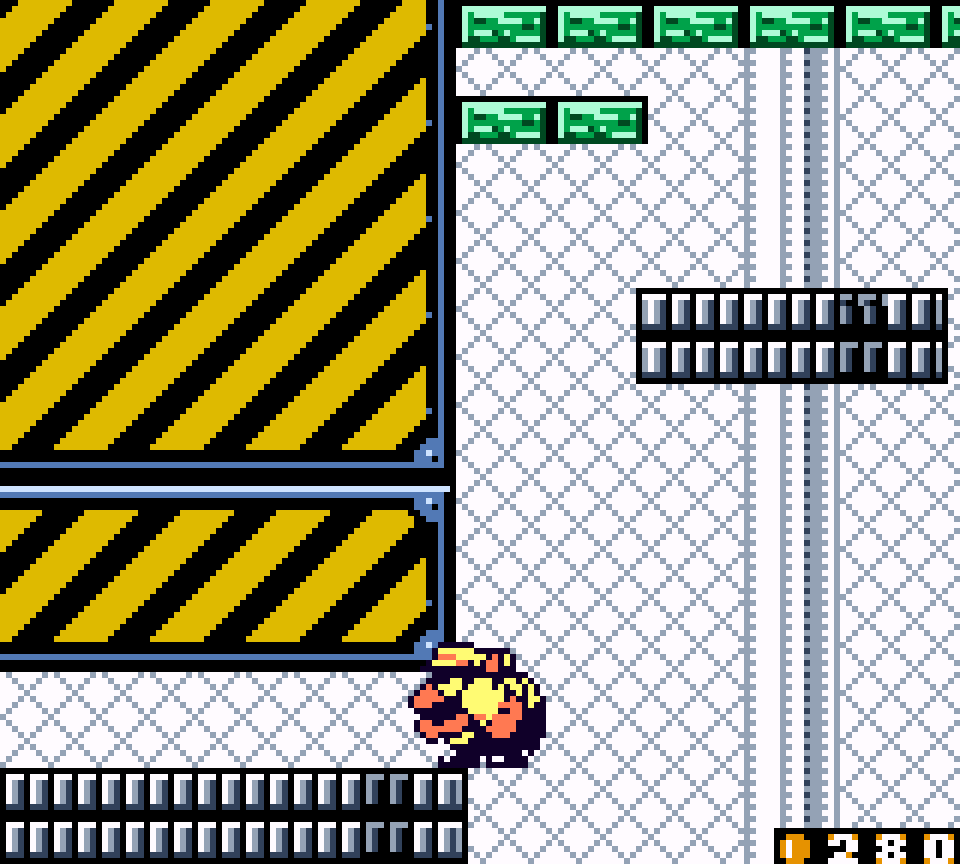
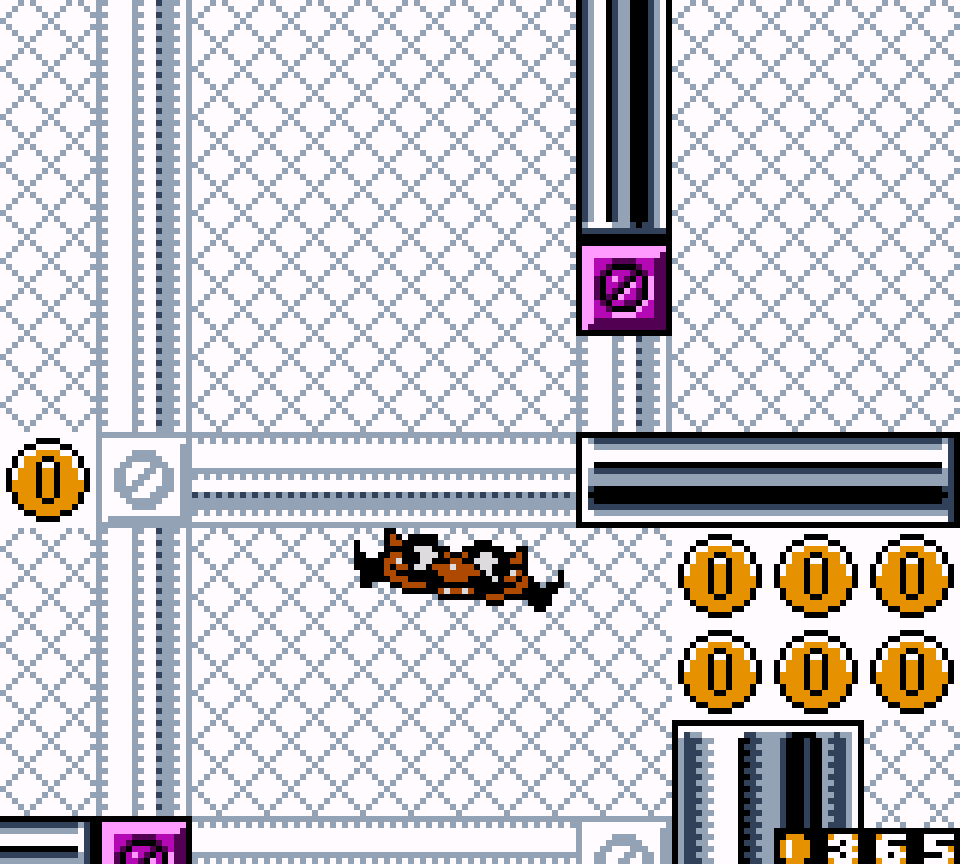
“Into the Factory!” is a perfect example o’ how to have a variety o’ elements while keeping a coherent level theme, mixing in conveyor belts, rising & falling spike machines, elevators, & crushers, none o’ which are used too much to feel monotonous. E’en the enemies feel like they fit, & are clearly so disgruntled & stressed out working probably 13-hour shifts that they’re drinking on the job, with the angry enemies in the window throwing bottles @ anyone who passes by & the penguin enemies being nice ’nough to swig beer Wario’s way to try loosening him up.
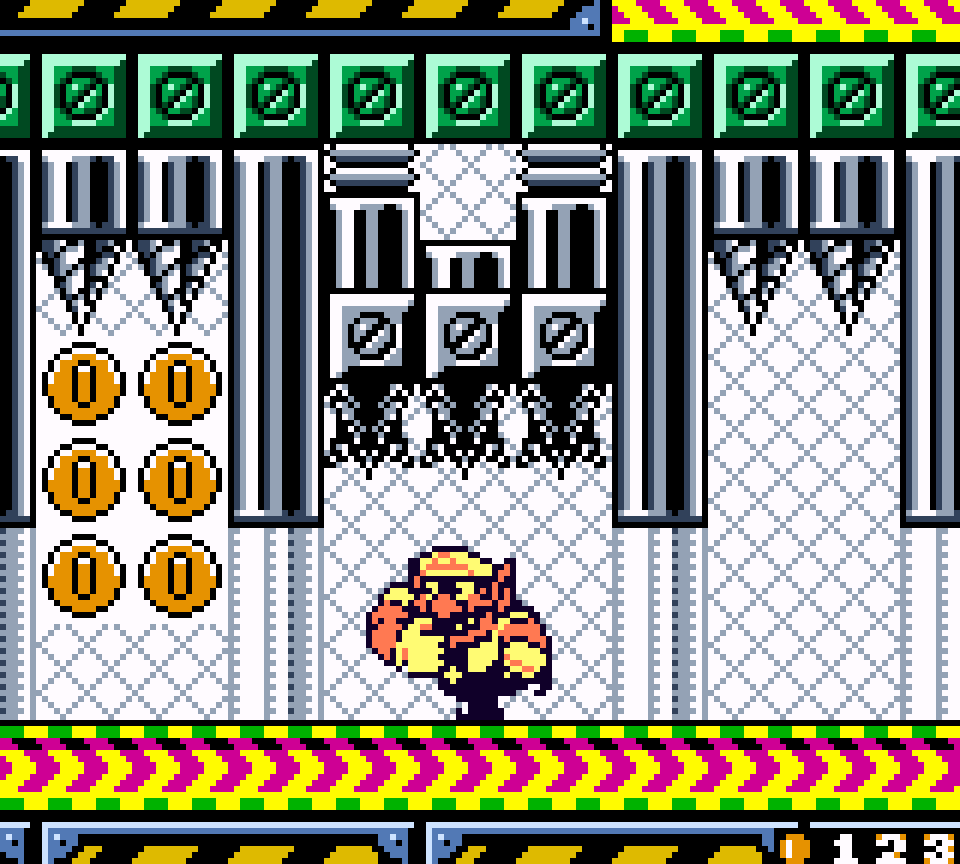
Perhaps the only exception on the monotony issue are the elevators under what I assume are s’posed to be electric lights, which, considering you have to go right & then back left, make you ride them up & time a jump o’er the wall but under the lights 7 times; & perhaps the only exception on the relevancy issue is the owl in the maze o’ electric lights — but we can assume the owl flew in thru an open window. This owl room, which is useful only for collecting coins, makes a neat foreshadowing to the level, “Don’t shock the owl!”, which focuses entirely on this gimmick & comes a few levels later in this world.
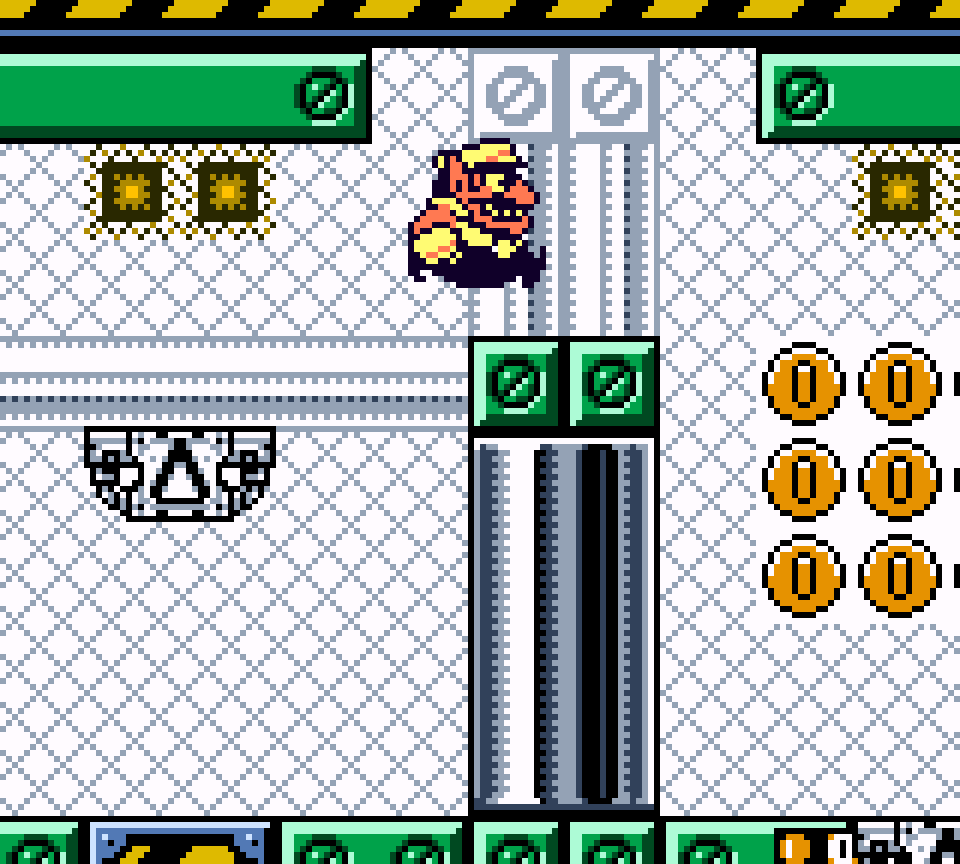
This level also finds a balance ’tween being linear but not too flat a line, having not only the common extraneous door that leads to a dead end full o’ coins, but also failing in certain rooms — specifically, letting the penguins booze you up & make you stumble down into the lake below or fail the flat Wario puzzle — leads to bonus rooms, which also lead to dead ends with coins, including the aforementioned owl room after a simple conveyor belt puzzle where you get around a short passage where you can only duck thru but which has a conveyor belt pushing you back that you can’t outpace not by hitting a switch like in the factory level before this 1, but by going around & duck-jumping into a higher passage.
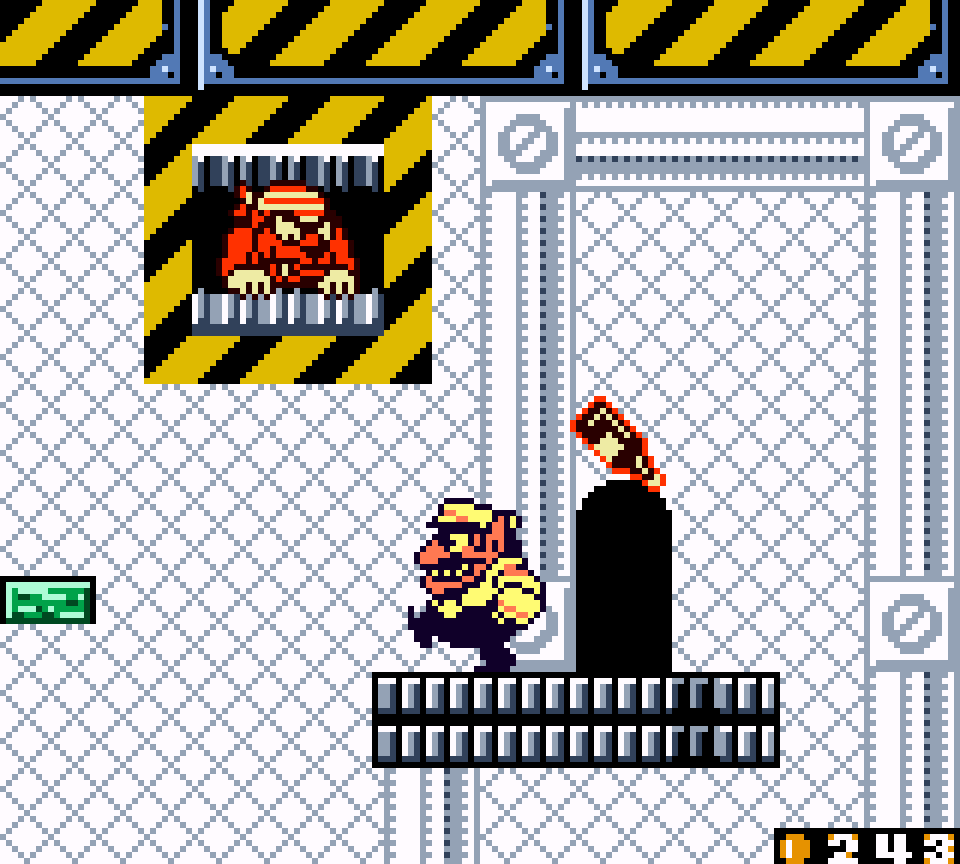
Granted, being sent down to ’nother room & having to climb back up, while dodging the beer bottles the people in the window throw @ you, can be annoying e’ery time you fail the flat Wario section, which is trickier than probably any other flat Wario puzzle in this game: while it looks like you can jump up to the cliff on the right from the platform with the bat, you have to go around, going under the bat without letting it grab you & take ’way your flatness, & fall from a higher cliff. That by itself isn’t that hard, but when you fall off that higher cliff, you have to time your swings so you miss the upper passage whence you came, but hit the 1 below.
This level’s biggest weakness is that with e’erything going on in this level, for some reason they felt the need to place the treasure door just to the side o’ the upper part o’ the flat Wario room, right in plain sight. I think the idea was that ’twas s’posed to punish players who prematurely let themselves get smashed by the smasher, as flat Wario can’t enter doors; ¿but why would anyone do that, anyway? O well: it’s not the worst treasure location in this game.
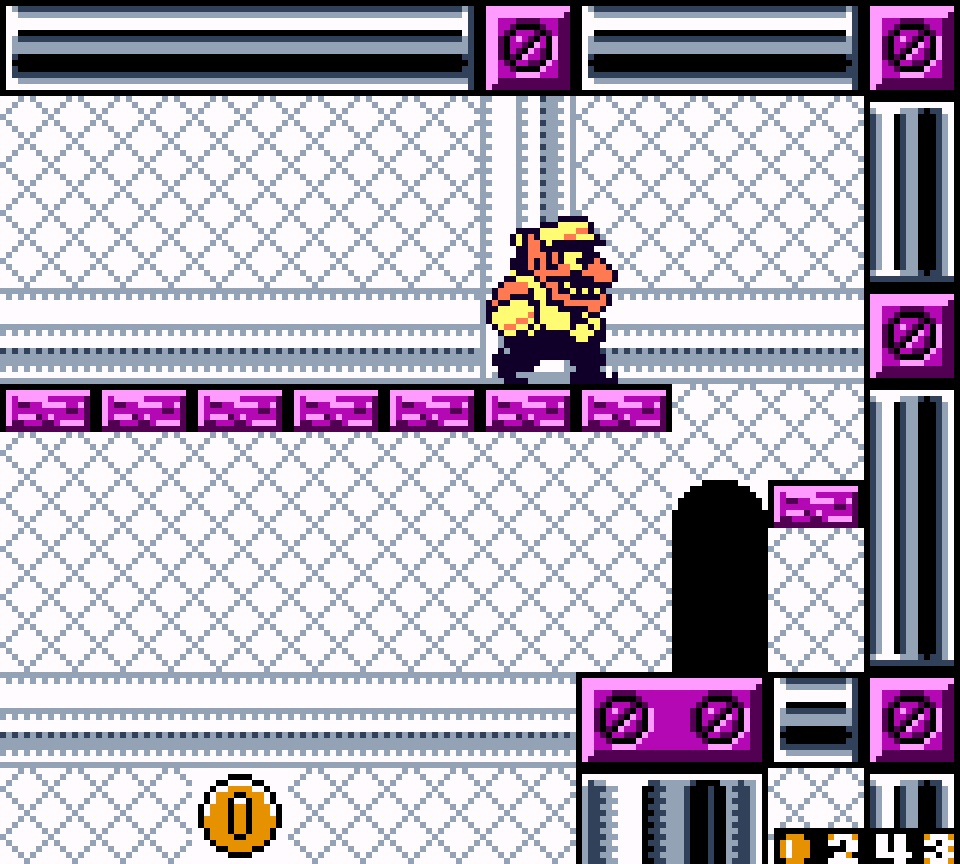
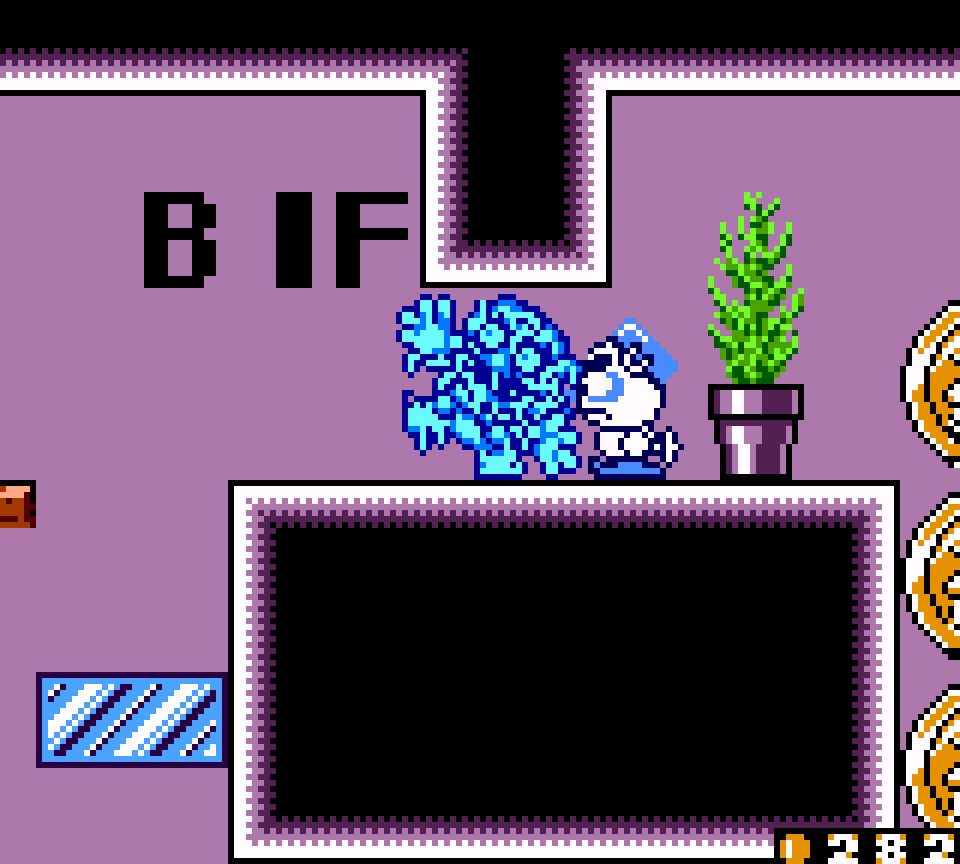
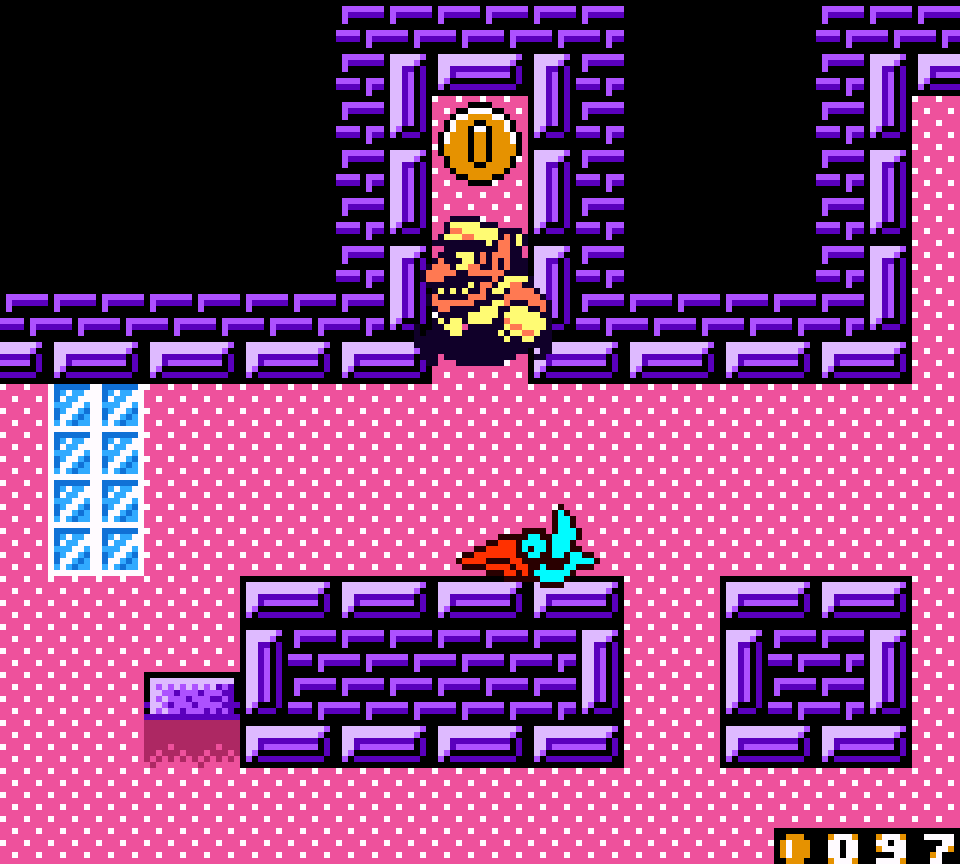
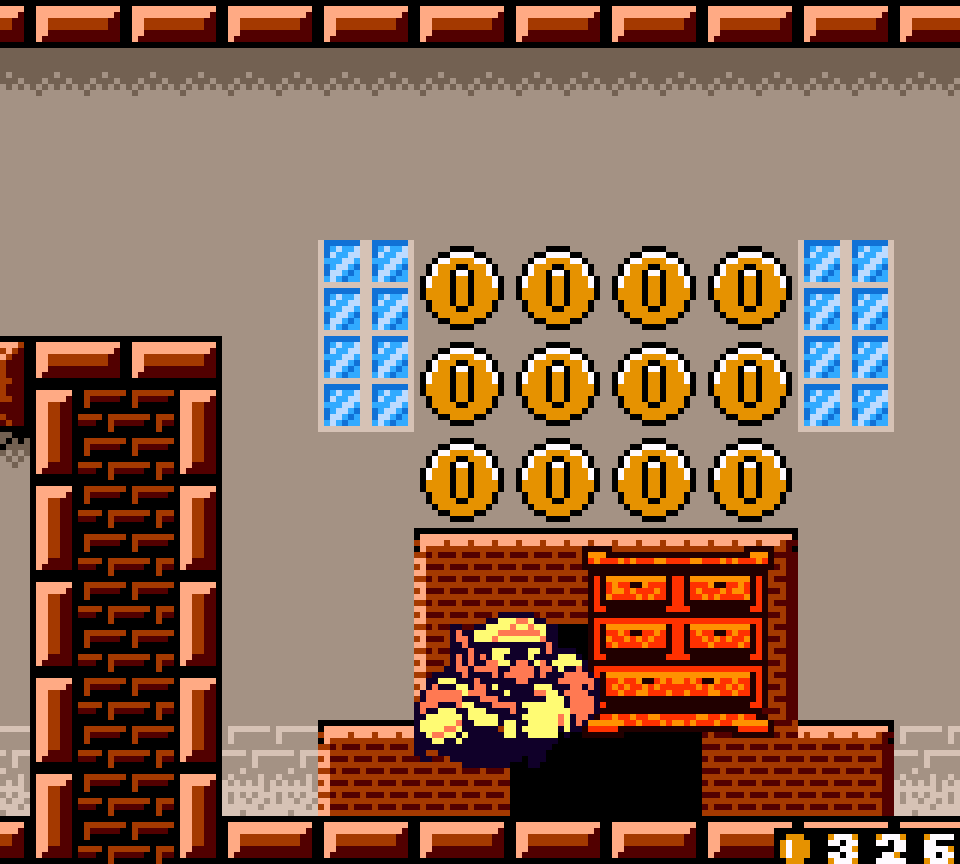
10. One Noisy Morning Story 1: Turn off the alarm clock!
Wario Land II’s 1st level does 2 great things: it takes place in Wario’s castle & is full o’ money caches. In a genre like platformers where all too many follow the tired cliché o’ starting with a grassland or forest level ( e’en the otherwise better Wario Land 3 falls into this problem ), starting with a castle theme, usually the last level theme, is a great twist, specially since it actually makes mo’ sense for Wario’s own abode to be safer than, say, a forest. This also allows for adding a mo’ clever form o’ bookends than Wario Land 3 does with its 1st & last forest levels by having Cap’n Syrup’s castle be the final main world & having Wario’s own castle taken o’er as the quickest secret path to victory.
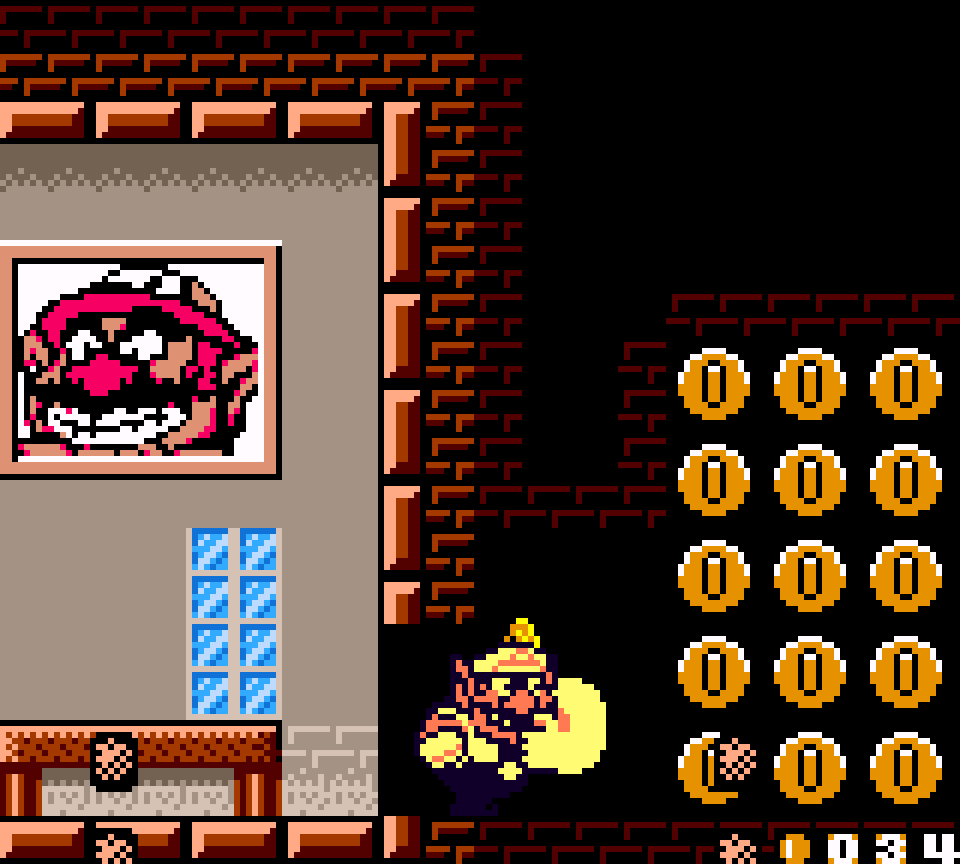
Meanwhile, adding tons o’ money caches — presumably Wario’s stashes, with Wario apparently being the kind o’ paranoid who distrusts banks — adds complexity to this level without making it harder. In fact, having so much money so early makes it easier, as it gives players a leg-up on saving up funds they’ll need to pay to play all the annoying minigames this game forces ’pon you on e’ery level. I also appreciate that the level designers weren’t ’fraid o’ having branching paths & forcing the player to explore a bit.
This level does a good job o’ tutorializing the treasure location without making it too boring: just after introducing the knockable stove needed to get o’er the high shelf to proceed, there is a big dresser that stands out. Knocking it shatters it into pieces, revealing the doorway.
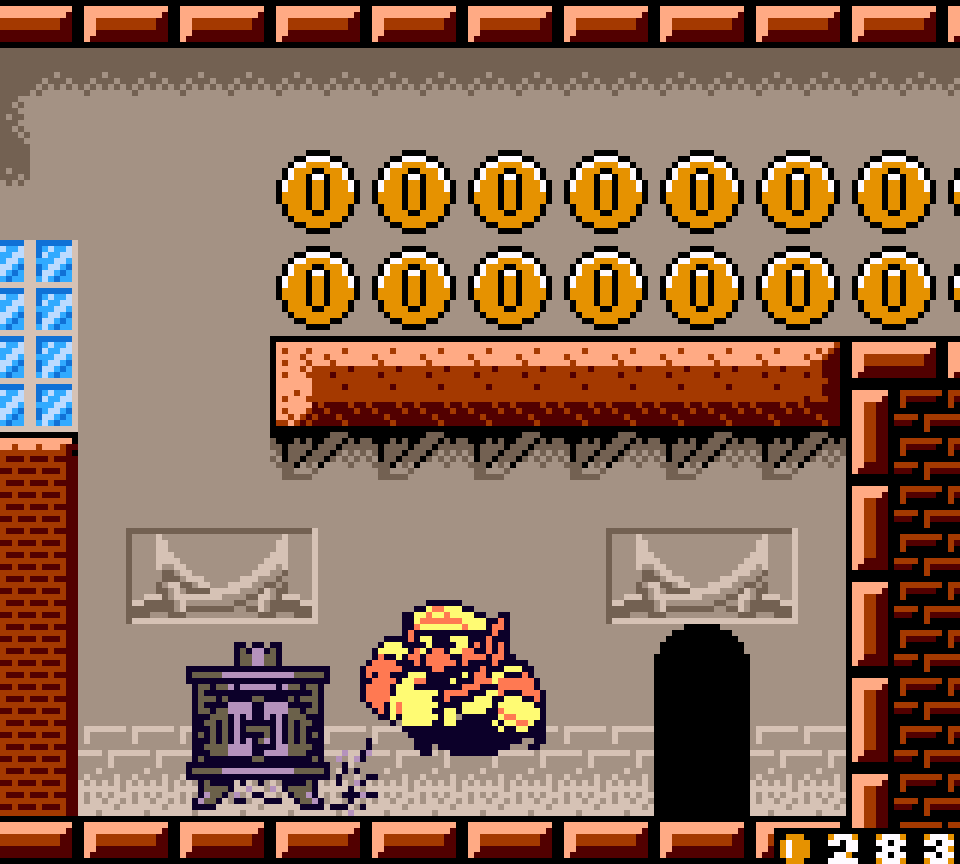
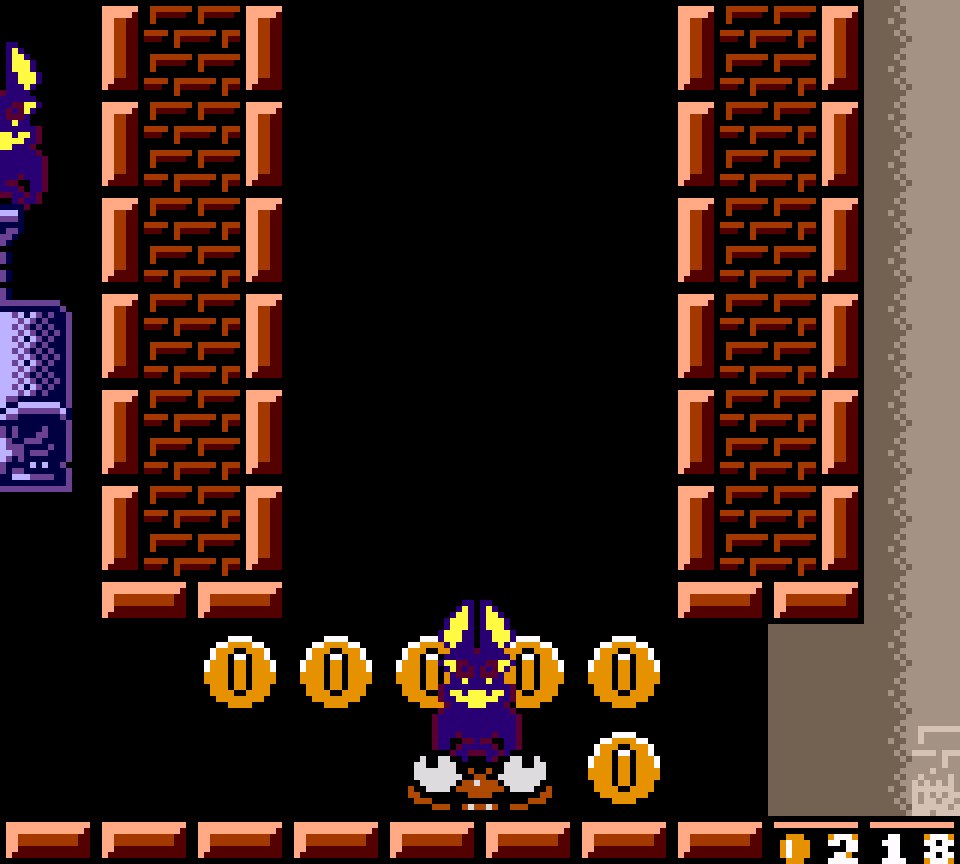
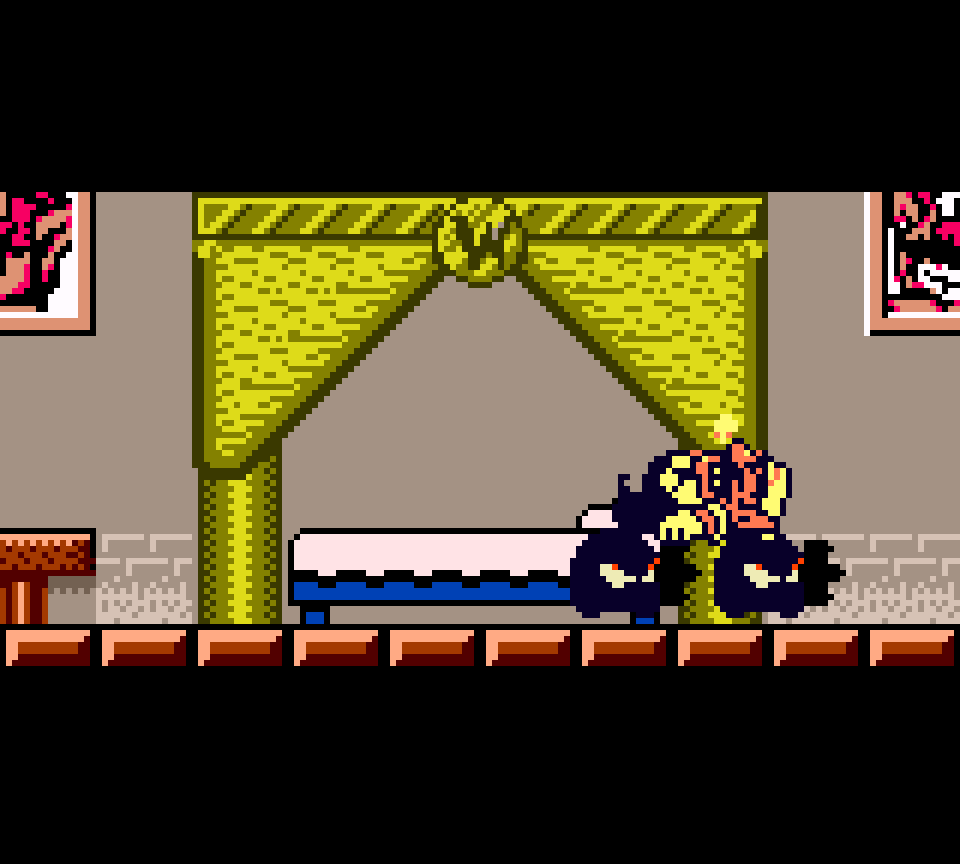
’Course, I can’t talk ’bout this level without talking ’bout its iconic ending & e’en mo’ iconic secret exit, both o’ which tie tightly to this level’s story o’ Wario 1st waking up in the morn in a way that games rarely do so well. The ending goes beyond having you use your newly-introduced elbow attack to destroy the annoying alarm clock, — something with which I’m sure most 9-5 workers or students can sympathize — but e’en has the alarm’s piercing ringing annoy you thruout the whole level. E’en better is the famous secret exit, where Wario wins by doing nothing: if Wario refuses to get up in the morn, the enemies finally throw him out & take o’er his castle, leading to a secret path that is, counterintuitively, quicker than if Wario had gotten up on time.
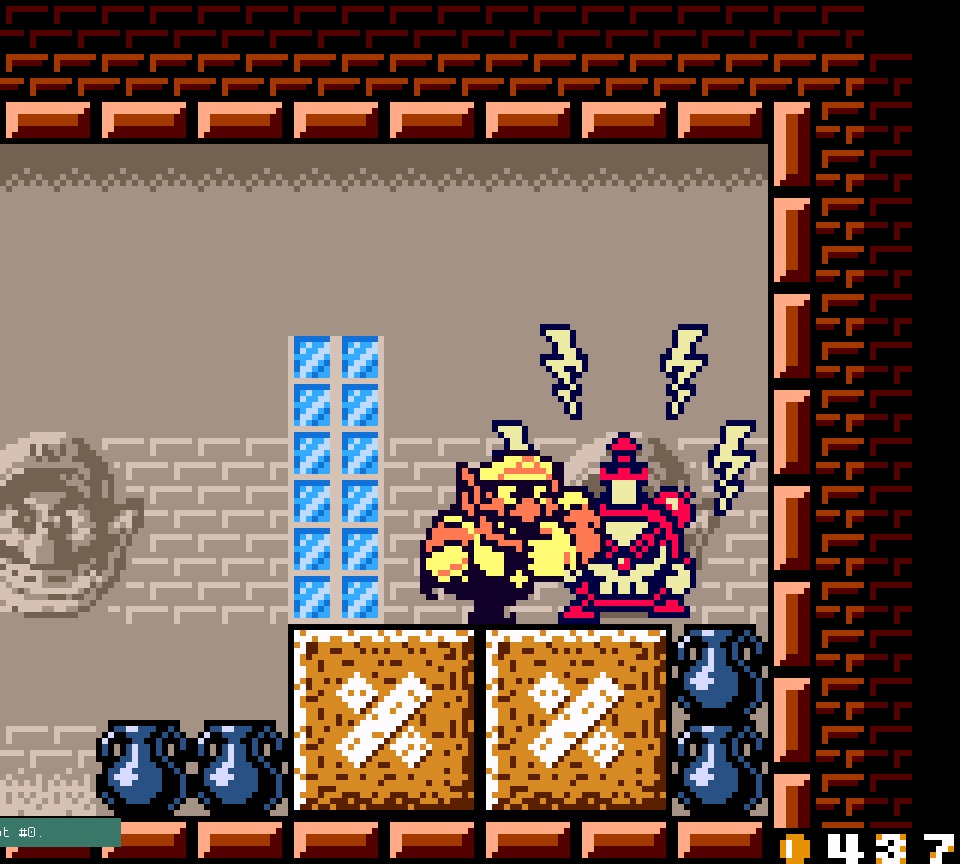
1 weakness this level has is a dearth o’ real setpieces & specially status effects, a major mechanic o’ this game. All but 1 o’ the enemies just knock you back & make you lose coins, & the 1 status effect you can get in this level, flattened, is meaningless: the level offers no boon for getting flattened, nor much inconvenience, since there’s a D-Bat that will pull you back together right after the 1 smasher. I understand they wanted this level to be simple & easy, but leaving out this game’s most important mechanic is a questionable decision. With how many caches this level has, you’d think they could’ve put a cache you could only reach with Flat Wario to introduce the benefits o’ getting these status effects. ( Tho, considering a level not long after this acts as a mo’ proper introduction to Flat Wario, it probably would be best to pick a different status effect ). As it stands, this level gives the bad impression that status effects ne’er have a use.