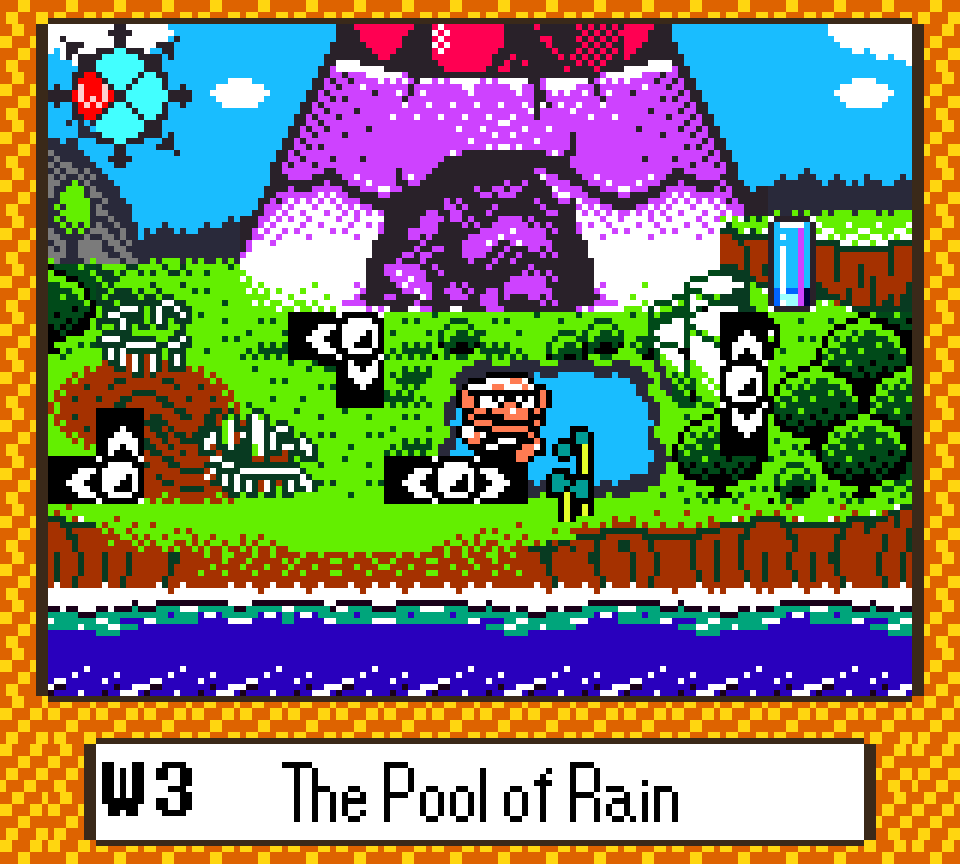
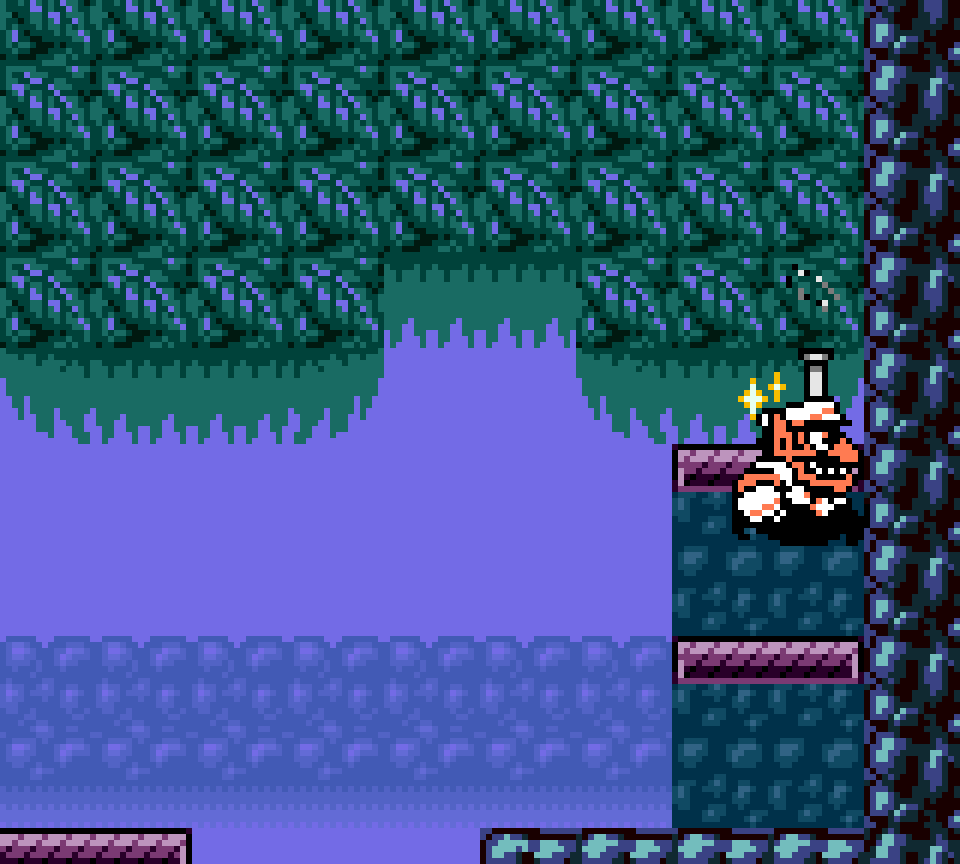
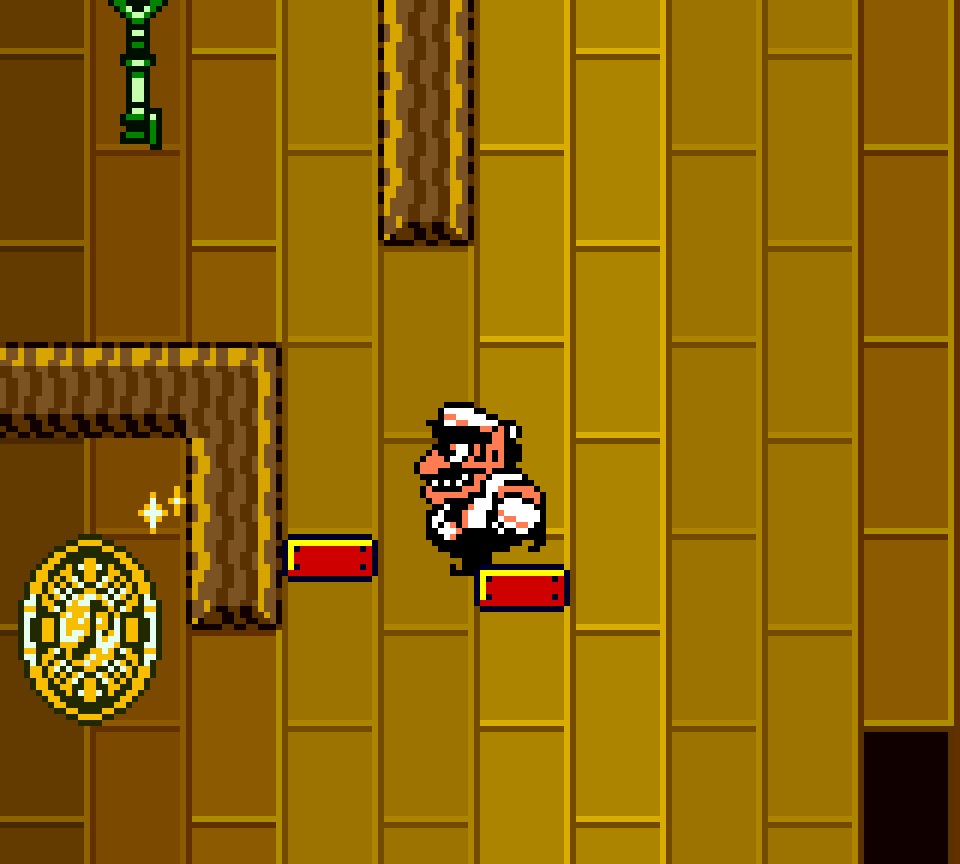
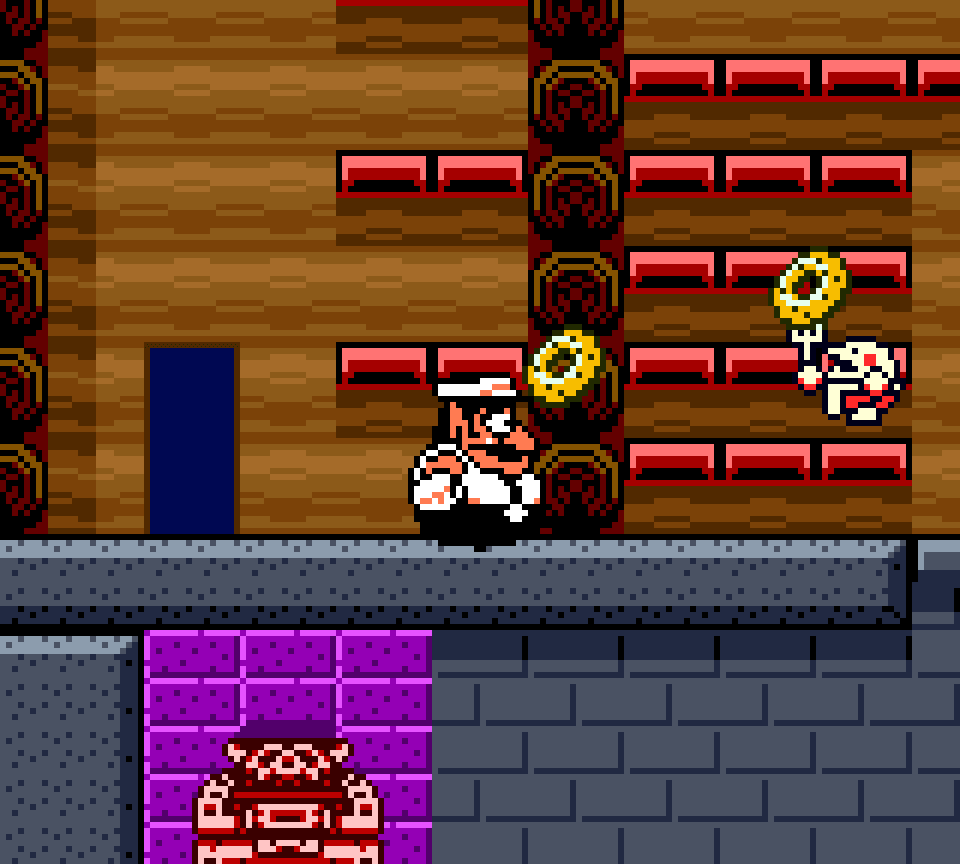
50. W3 The Pool of Rain – Red
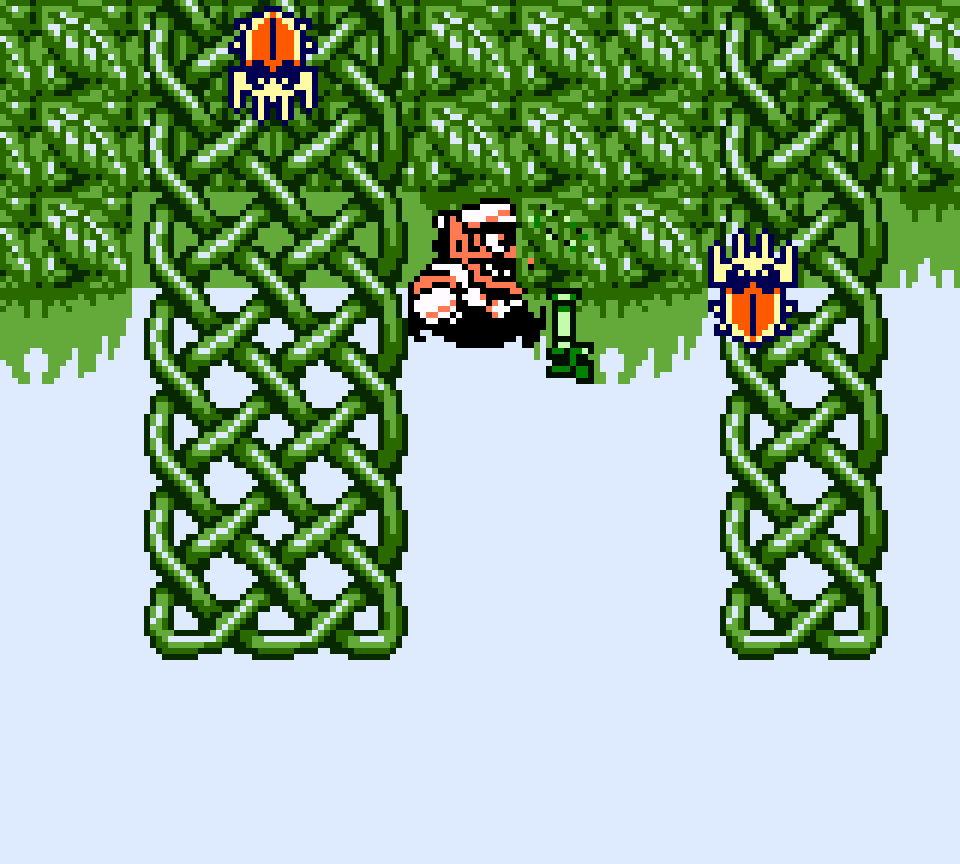
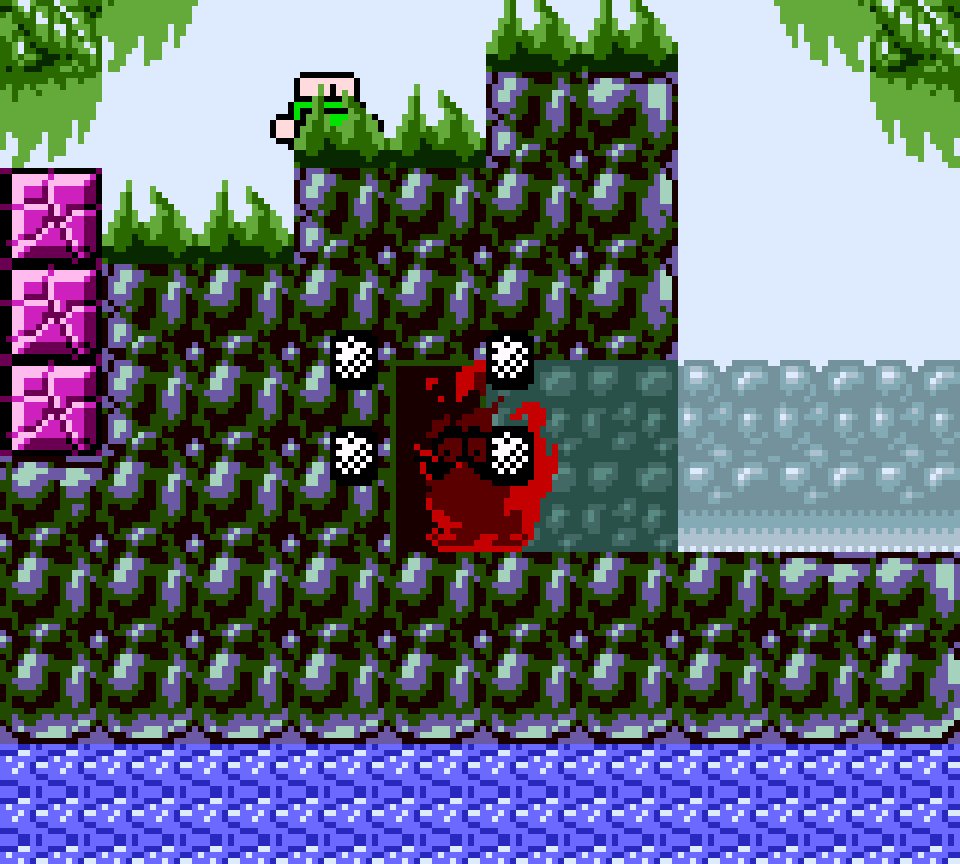
Tho having nothing to do with this level’s general lake theme, this treasure’s gimmick o’ having you cross platforms obscured by leaves is interesting in itself — & unlike “The Grasslands”, where it’s just trial & error, here they gave you a way to judge where solid ground is with all the helpful Spearheads scattered round, walking o’er the hidden platforms & not walking on the areas that are just empty space.
This treasure avoids the problems that its close cousin, the green treasure o’ “The Vast Plain” has, lacking all its padding & focusing purely on platforming to get the key while having the red chest door placed right under the beanstalk, cleverly opened up by the beanstalk not by letting you access the upper area but by having the beanstalk lift the rock that was previously blocking it.

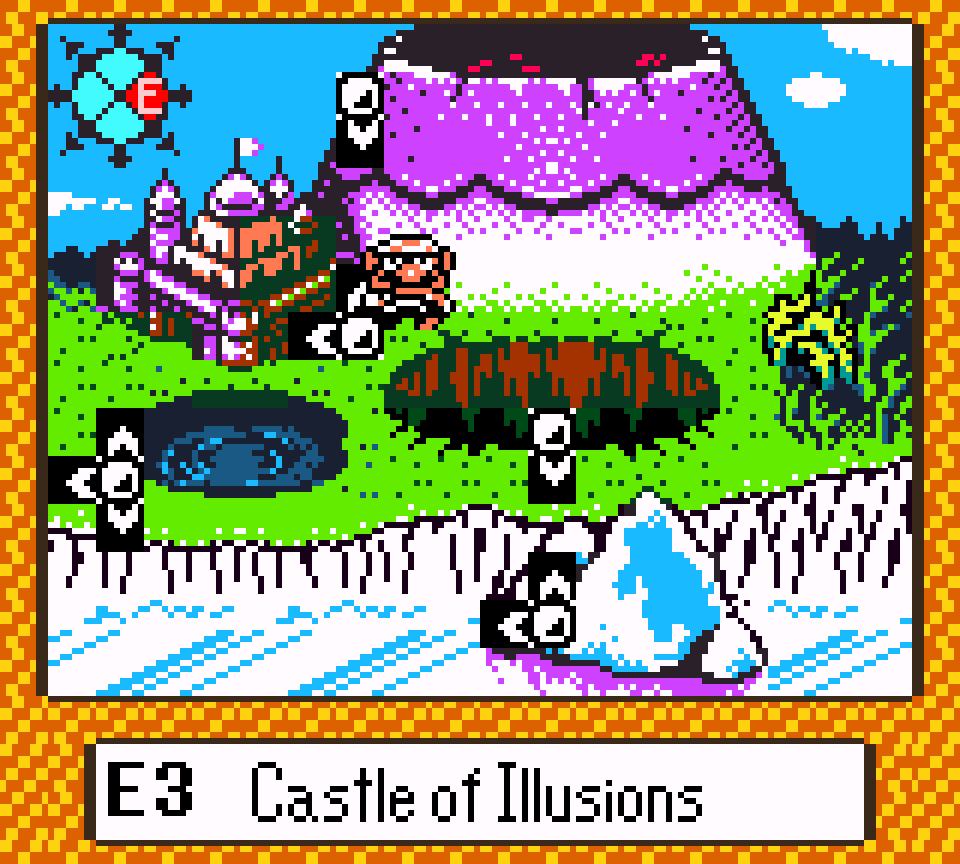
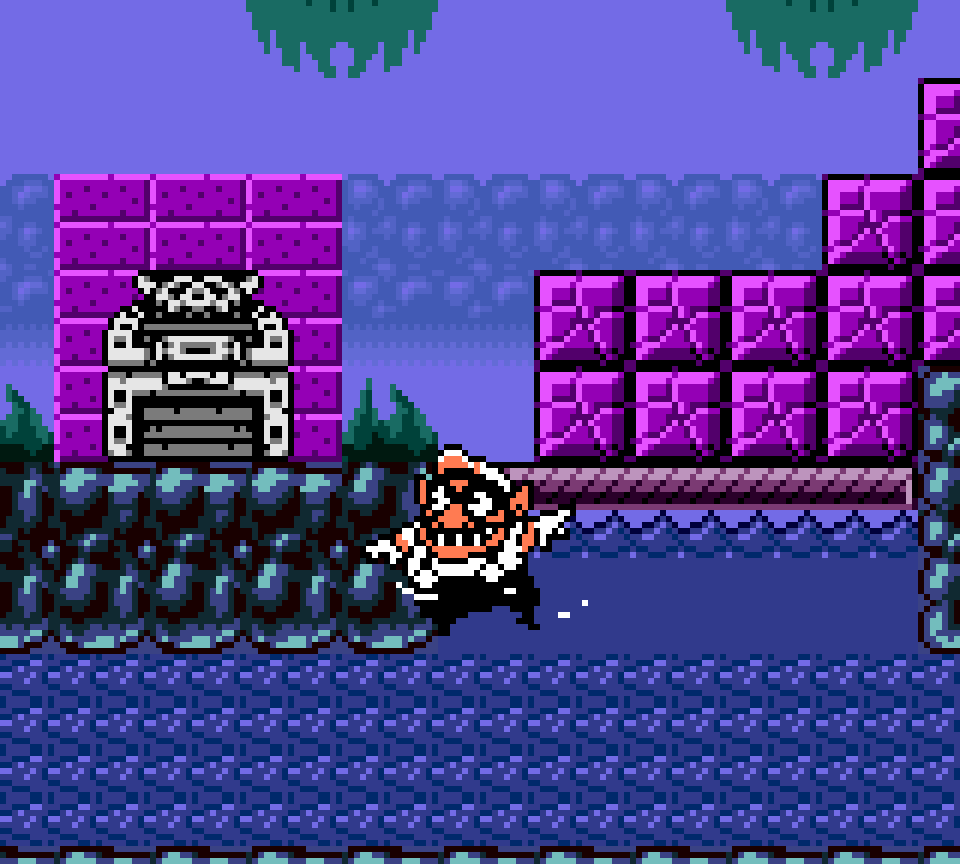
49. E3 Castle of Illusions – Red
“Castle of Illusions”’s red treasure takes advantage o’ “Castle of Illusions”’s odd structure to create an odd treasure: since the chests are all spread evenly ’mong the doors ’long the main room’s path, the main challenge is just getting the key. Here, the challenge o’ finding the red key is, well, finding it, as it’s ’hind a pillar. This would be the epitome o’ unfair if this level weren’t constructed in a way that practically pointed a neon arrow @ the pillar with the red key ’hind it by having the platform monster, who exists purely for helping you reaching higher platforms, next to the higher platform that holds said red key, & nothing else o’ use.
’Cause o’ this clever signalling that mitigates the downside o’ hiding the key, the fact that this treasure has less padding & a more original challenge ( e’en if it isn’t much o’ a challenge ), & the fact that this treasure actually does something with this room rather than just having you cross thru it, I rank this treasure ’bove the green treasure — & a lot of other redundant treasures.
Plus, there might be 1 good reason for this treasure to be as secretive as it is: it uncovers the secret postgame levels “Forest of Fear” & “The Warped Void”. Fittingly, this level unlocked by a lantern has this treasure be a flame that burns thru vines that block off said “Forest of Fear”.

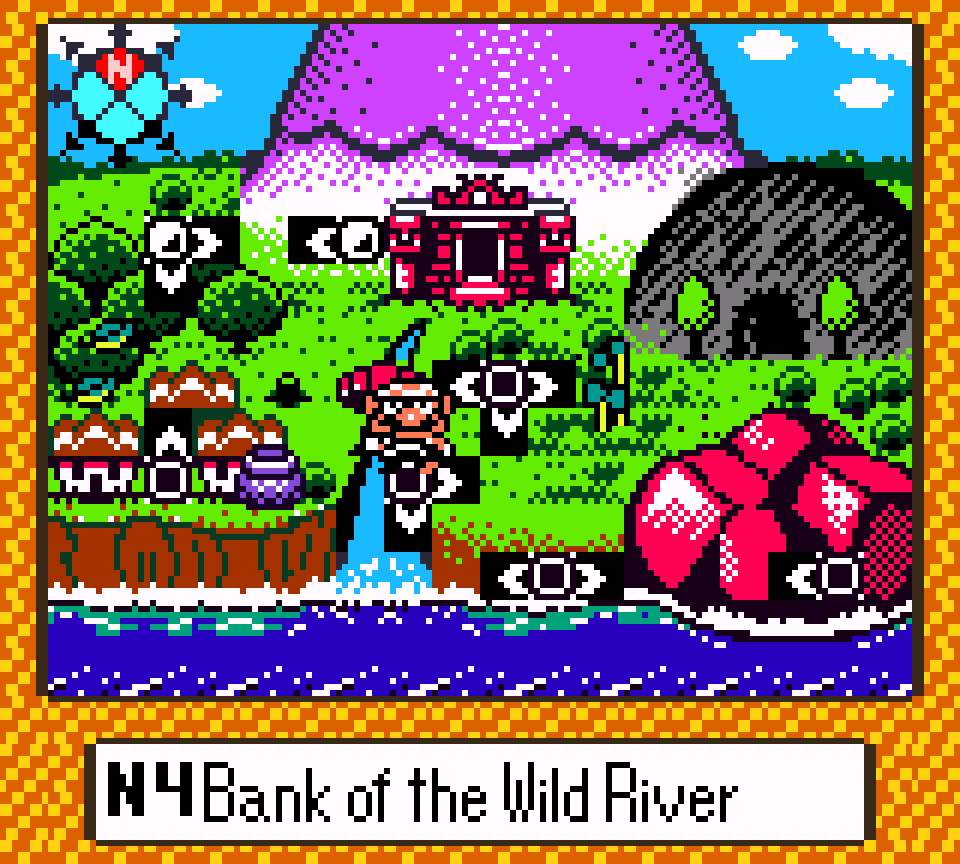
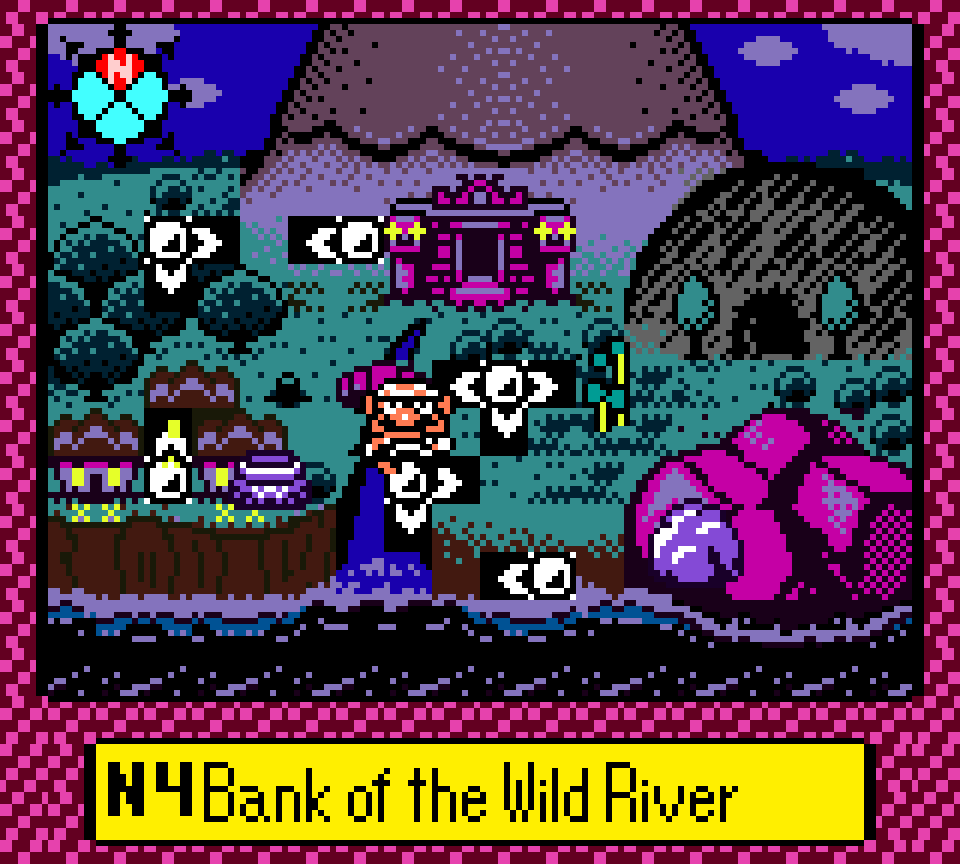
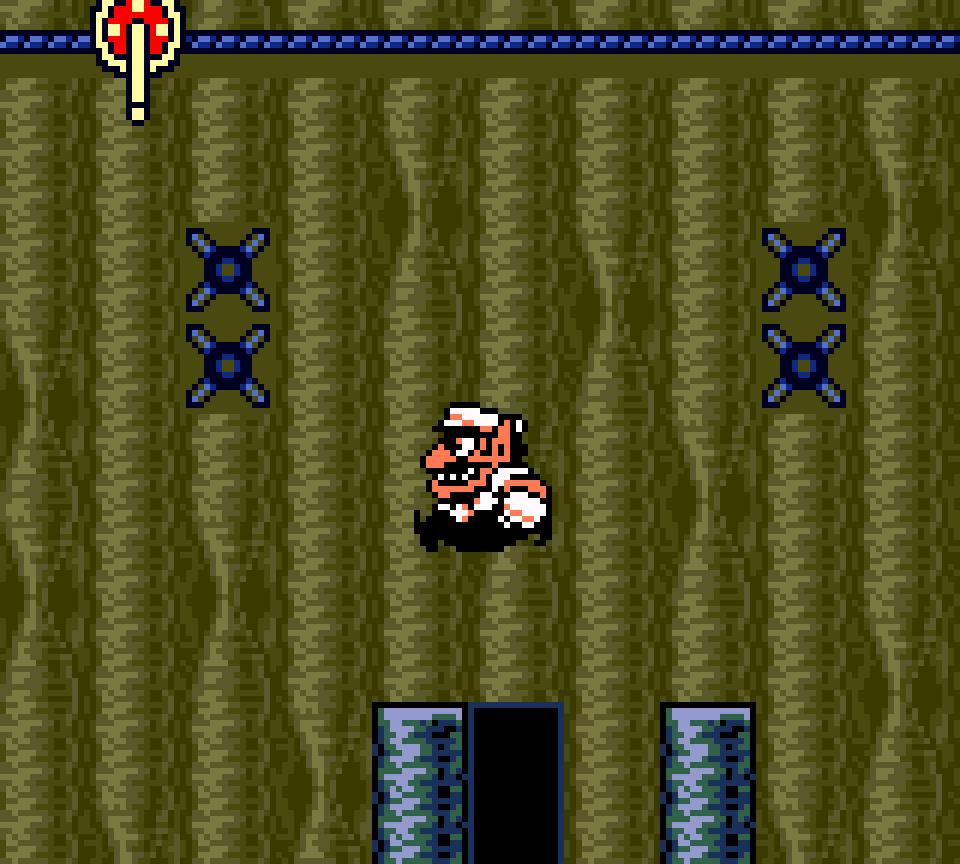
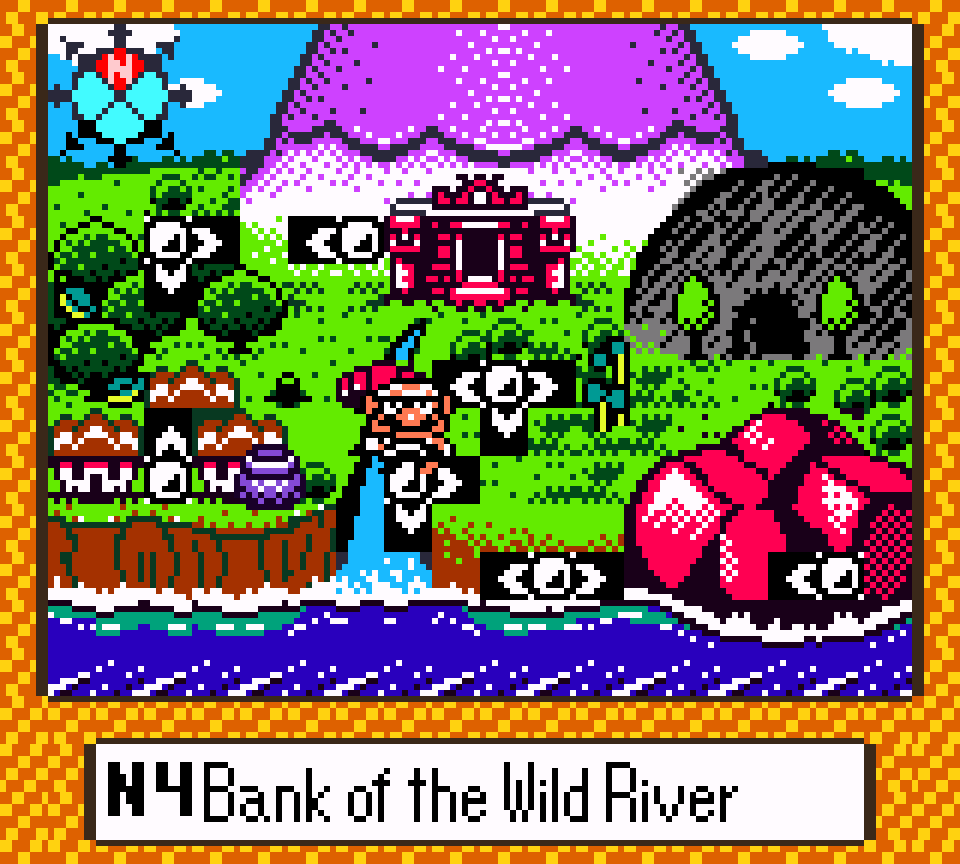
48. N4 Bank of the Wild River – Red
I like the somewhat clever twist this treasure makes with the gray treasure’s pattern: you’re still going to the end, & then going back, but here you have the break thru the wall o’ the last area to get the key & break thru the wall o’ the 1st area for the chest. E’en better, the designers cleverly telegraphed that these walls are breakable by putting 1 cracked block in front o’ a wall in 1 o’ the middle walls, after the chest room, & challenging the player to use that pattern recognition to try the same gainst the other walls.
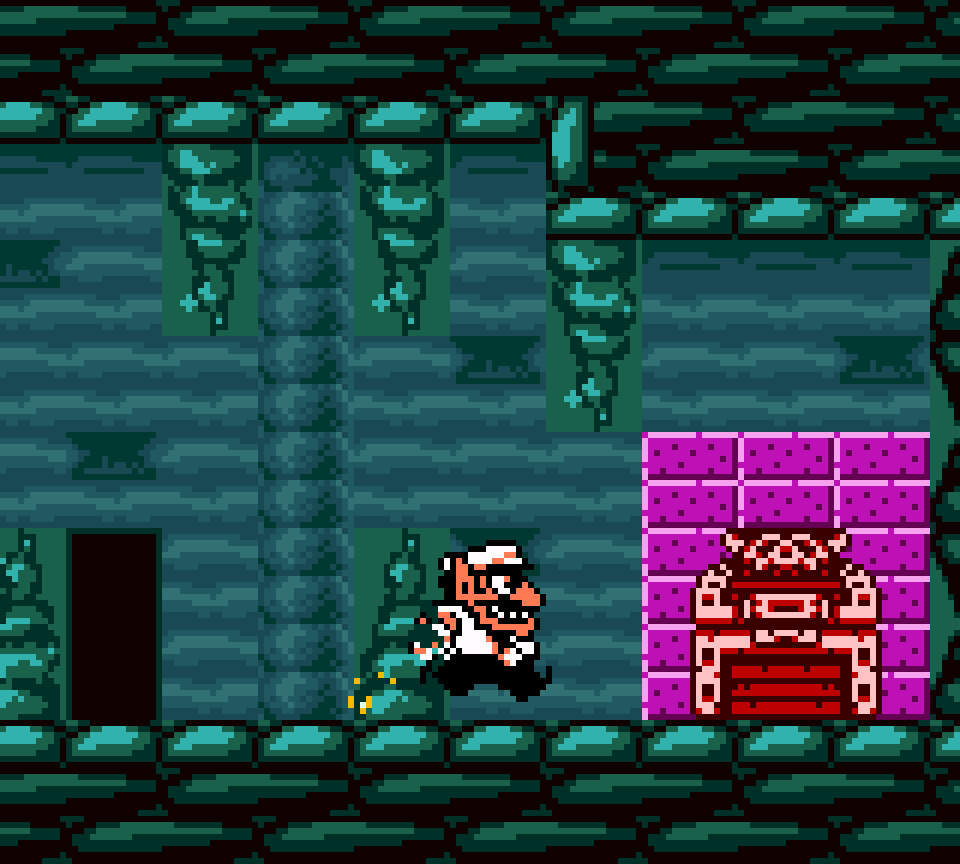
Granted, the other twist they play, having the other middle wall only breakable by being Fire Wario, could nullify this if the player tries it there & could lead players to the misapprehension that only the wall with the cracked block is breakable. Then ’gain, a halfway curious player should find those other walls suspicious & do the bare minimum to try breaking thru them. I ne’er had trouble finding this treasure & ne’er heard o’ anyone else doing so, so this clearly wasn’t a problem.
47. N4 Bank of the Wild River – Gray
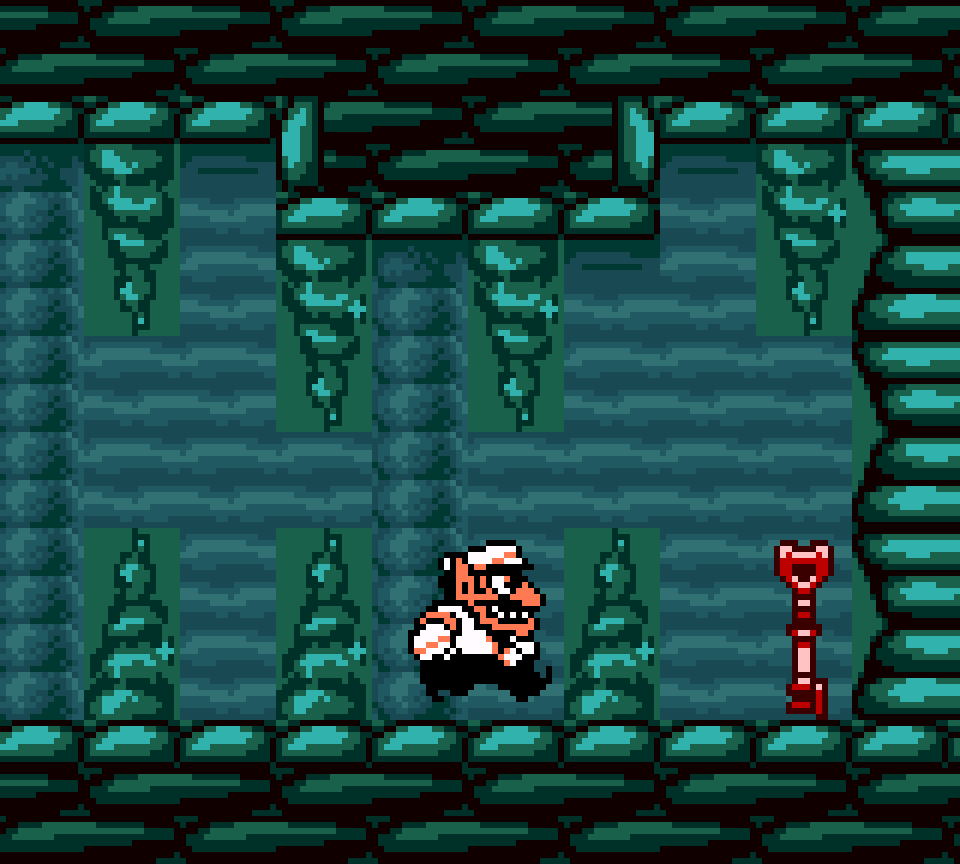
As basic as this treasure is, I like the symmetry to it: you go right, dodging all the Fire Robotas, to reach the gray key @ the end, half hidden under hanging leaves, & then drop down into the currents below & swim back to the gray chest @ the start while dodging the Sparks, who make Wario float up back to the upper half if hit.
Granted, this treasure is a bit easy for where it is, — for example, this comes after the similarly simple but much harder gray treasure in “The Frigid Sea” — specially the 1st half with all the flat ground where the only dangers are Fire Robotas who just waste your time if they light you on fire — it’s not as if you can fall into the water & be sent back to the start. I would say they should’ve put holes in the ground so you can fall, but that would probably negate the danger o’ the Sparks. Then ’gain, there’s a bit o’ a trial & error element to the Sparks, since you’re being pushed so fast by the current that there’s li’l chance o’ reacting to them in time, & we’d just be trading negating a danger for a fairer danger. Plus, they could’ve just had a thin roof all ’long the very top that led back only to the right, while positioning the Sparks so they can’t be touched when falling into the holes — a’least not ’less the player can swim past currents, which by itself negates this treasure’s challenge & only comes after beating this treasure a’least once.
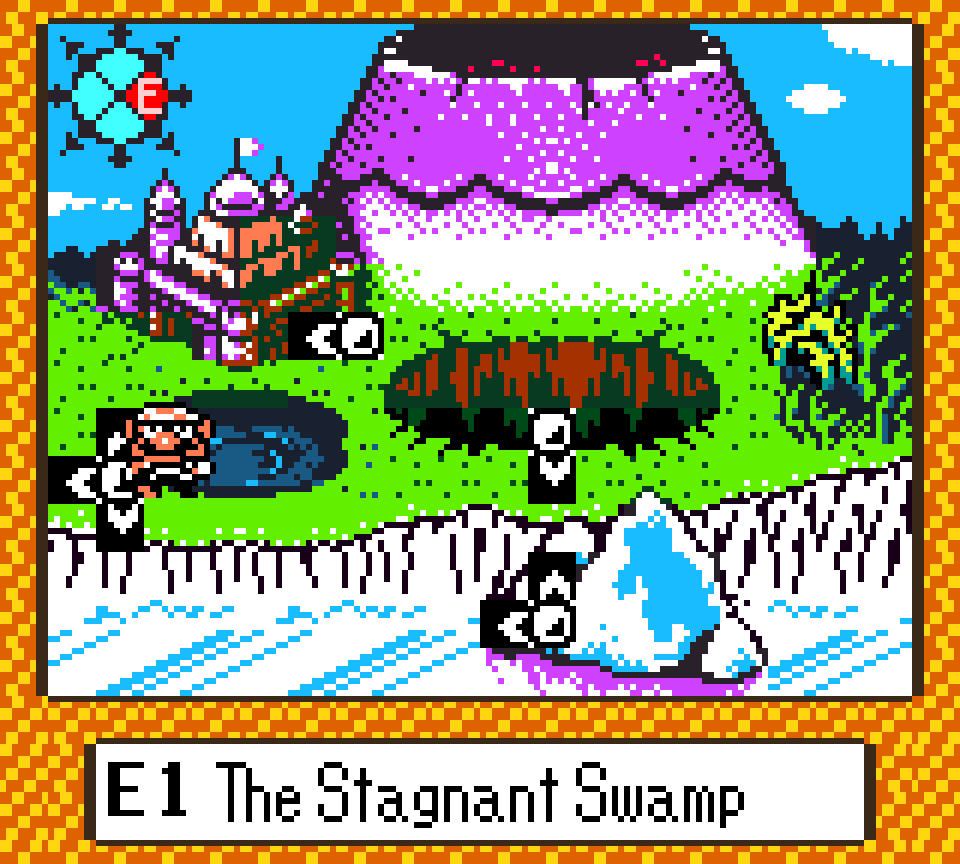
46. E1 The Stagnant Swamp – Green
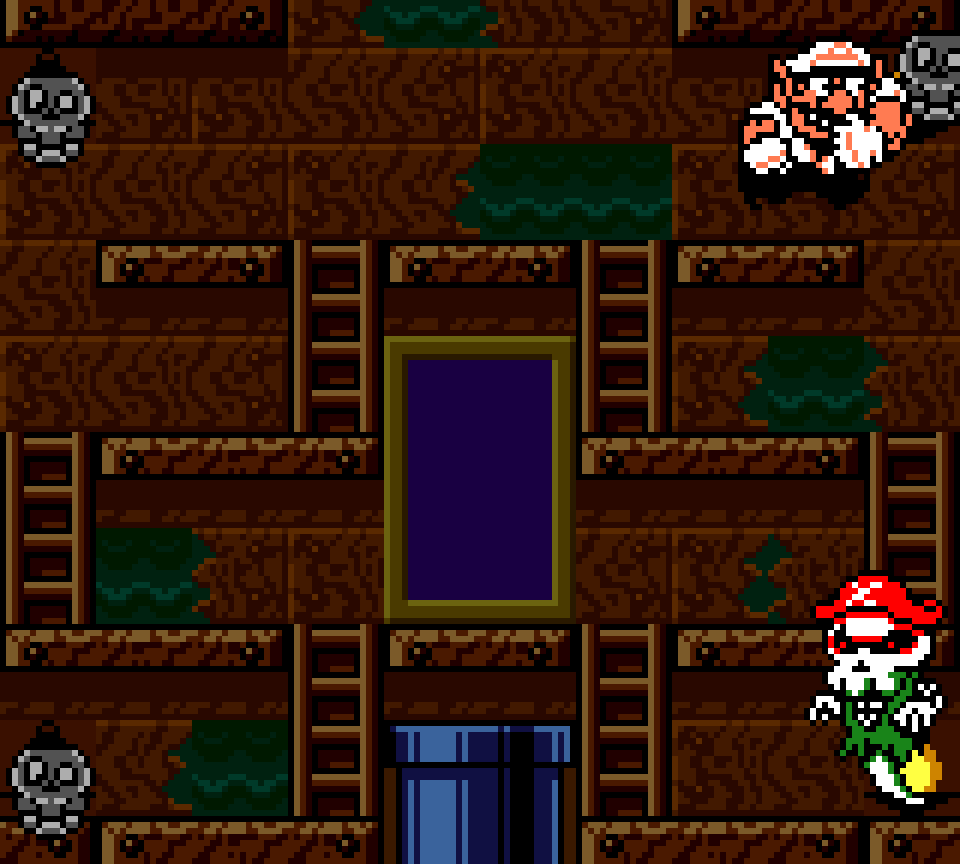
This treasure offers 2 great elements: an exciting chase by a giant red Robo-Mouse that throws you out o’ the room if it catches you thru cracked tree branch debris in an underground cave all green with mold & an actually pretty fun puzzle boss where you have to avoid a pirate skeleton ghost chasing you while smacking all the skulls on each corner to turn on the lights & melt him.
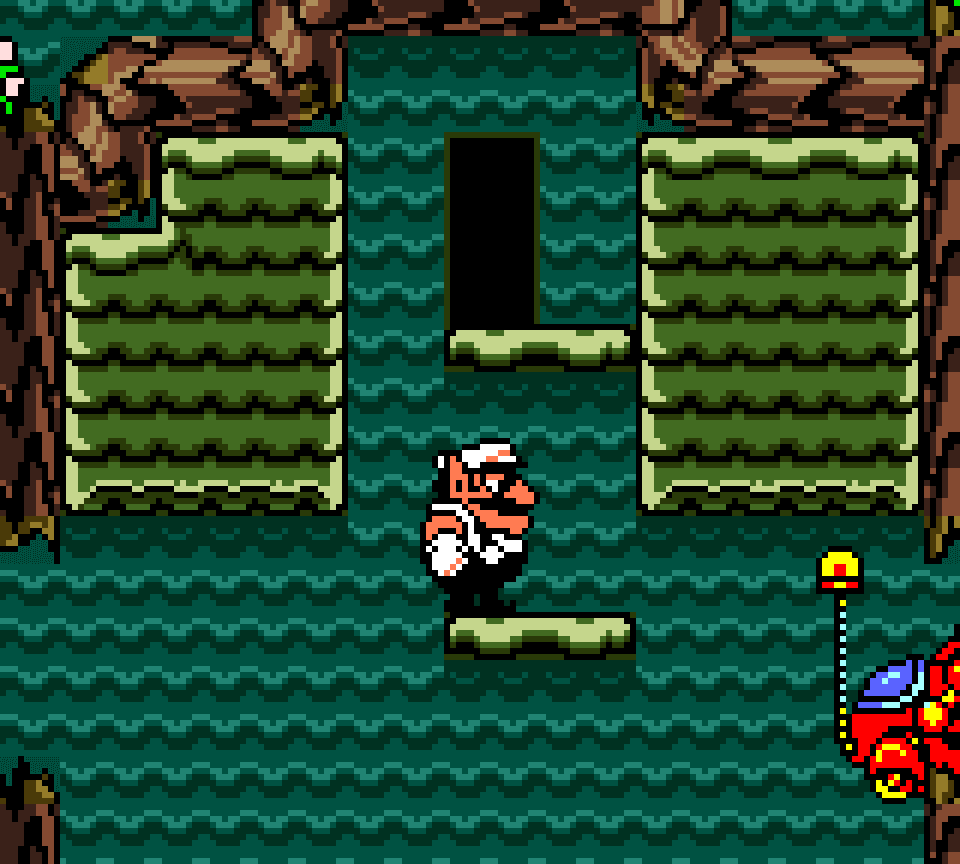
While the latter is probably the best boss in a game that didn’t have the best bosses in the world, the former is just a weaker repeat o’ what the red treasure offers, specially since this time you can nullify most o’ the chase by just jumping up the platforms halfway thru & entering & exiting the door — which you need to do to get the green key, since it’s inside. When you come back, the Robo-Mouse will have despawned, leaving you free to explore the rest without any danger. It is something o’ a clever twist that rewards you for you new high-jumping powers.
Unfortunately the aforementioned key room is a particularly weak section, making you do yet ’nother sequence o’ high jumps off enemies while bringing an enemy with you.
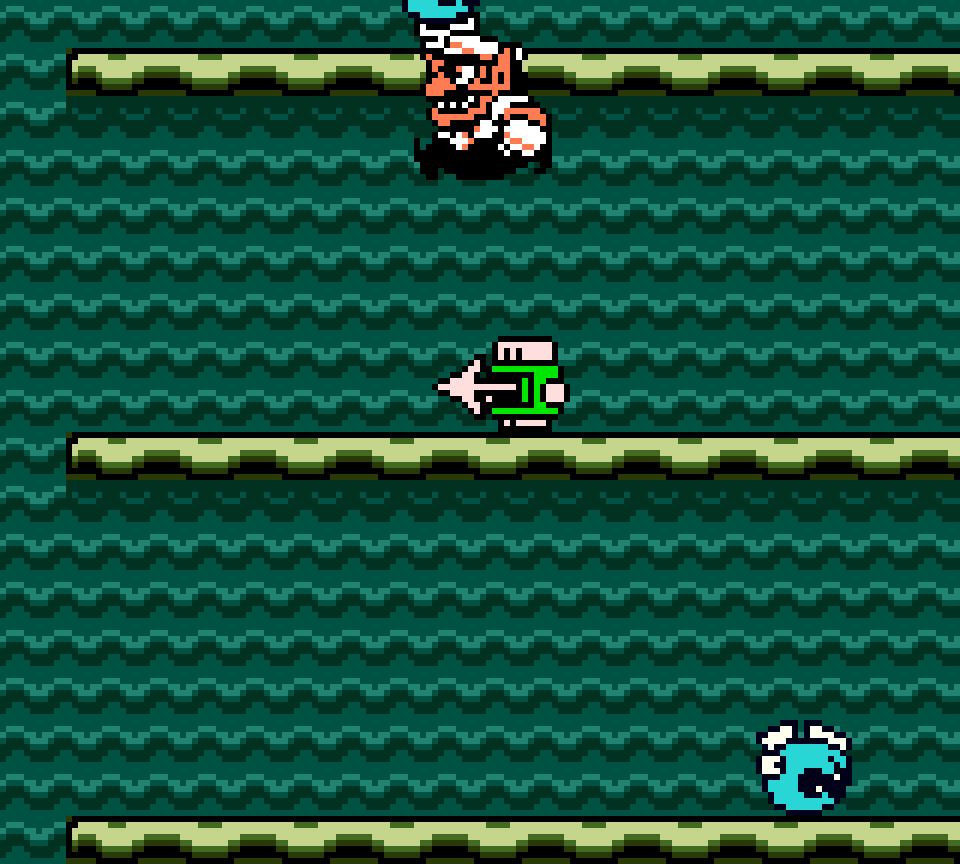
I do like the basic platforming on the top level o’ the cave, where you’re just dodging basic Spear-bots o’er debris, specially with the added danger o’ being knocked below & being caught by the Robo-Mouse you thought you were free from; but this, too, is just a repeat o’ what you do in the red treasure. Still, it’s simple & fast ’nough that it doesn’t feel too repetitive.
45. S1 The Grasslands – Green
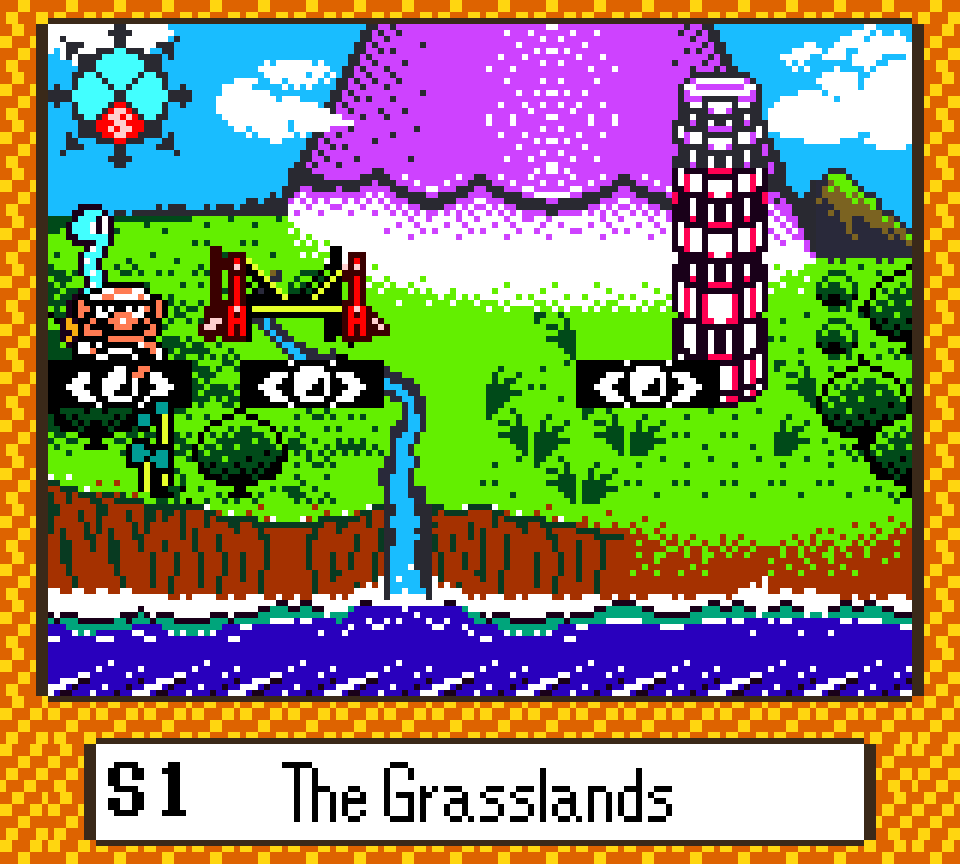
If this treasure has any problem, it’s that almost all its elements are done better by other treasures. E’en still, it manages to create what feels like a unique combination. The falling wood platforms are rare ’nough that the few used in this treasure make a good warm-up — tho I don’t like the platform in the upper left that makes you think it has something: if you make the mistake o’ jumping up there you have to fall back down, go thru the door below, & climb back up to the top entrance to try the platforms ’gain.
& the snake both fits with this level’s grassy theme & is a good slight upgrade o’er its use in “The Peaceful Village”’s red treasure just before this treasure, forcing you to jump up to its pot & jump on its head while avoiding its flames, rather than just falling down onto its head from ’bove, & putting a pink bird right ’bove the snake so they can hit you if you don’t duck or jump ’way quickly ’nough. To add to the urgency, just atop the ladder on the tree structure are roof slimes who can shoot you off if you take too long to enter the door.
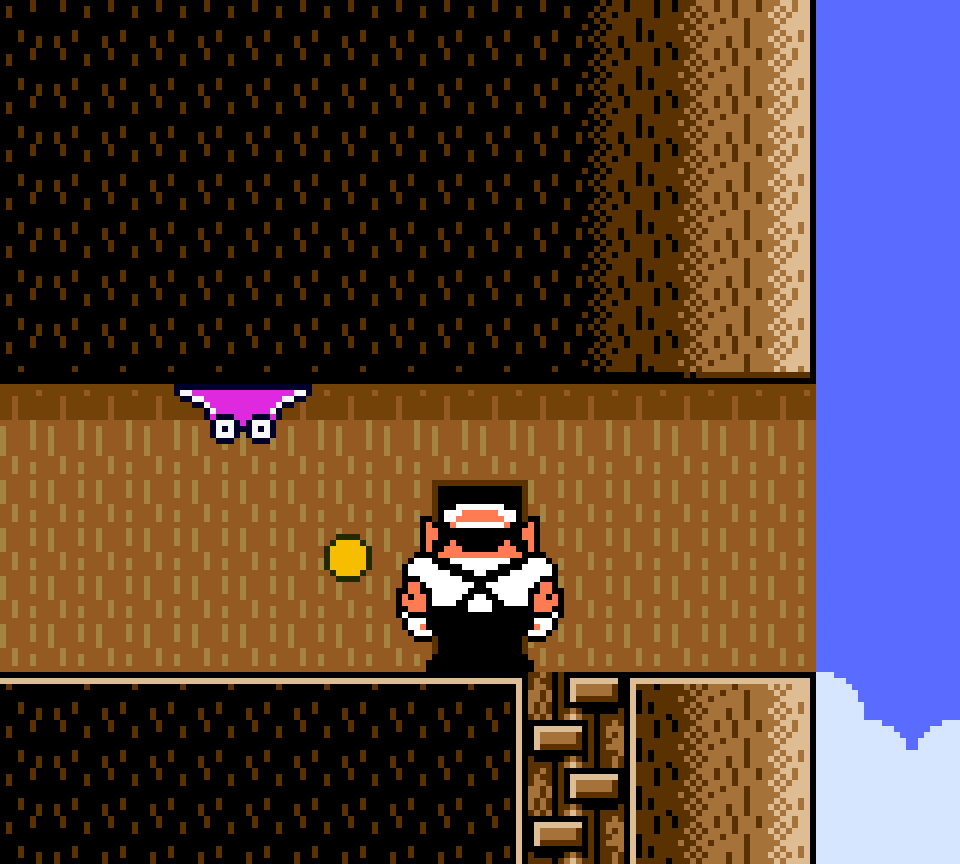
Howe’er, the bubble-dodging mechanic in the underwater section leading to the chest is o’erused, & here it’s not particularly memorably used. If they wanted to tutorialize it, they should’ve gone all the way & just made you dodge 1 bubble. This is specially since the bubbles are laid out in a cheap way so that it’s hard to see them coming before they come, forcing you to retreat. The 3rd bubble is particularly rude, since it looks like you can slip past it, but it oft grabs you by your toe, anyway. As it stands, this treasure has a bit too many elements, anyway, so it could’ve used some pruning, & the most-used mechanic elsewhere seems like the best candidate.
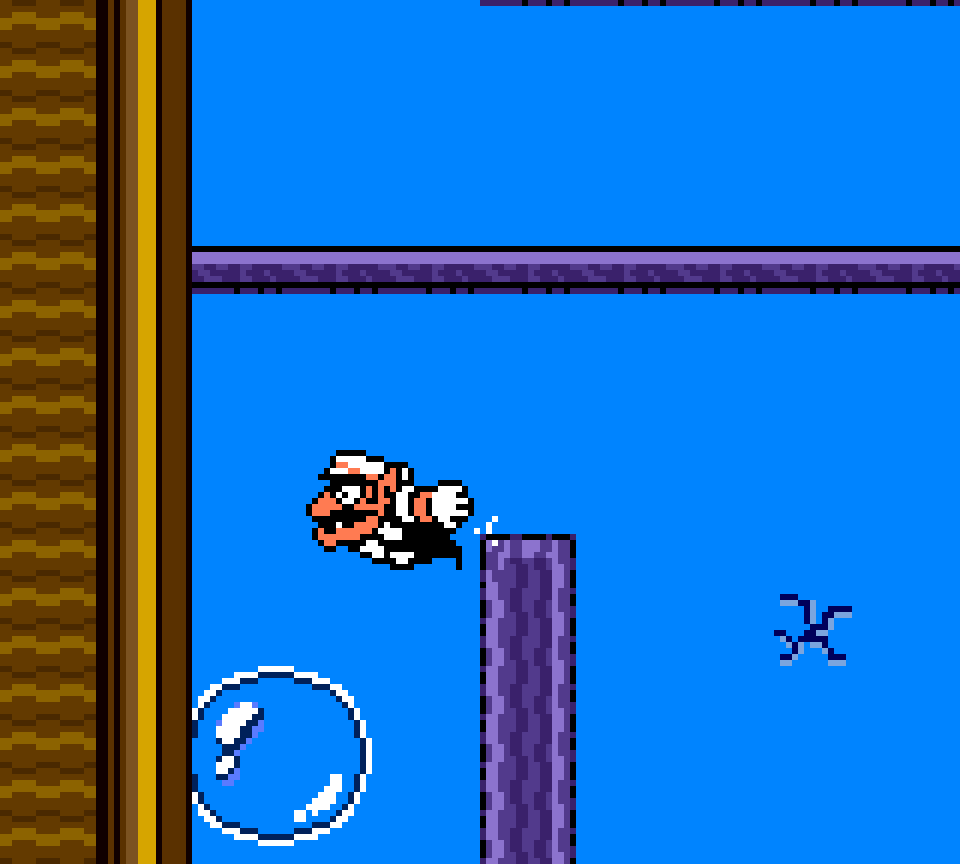
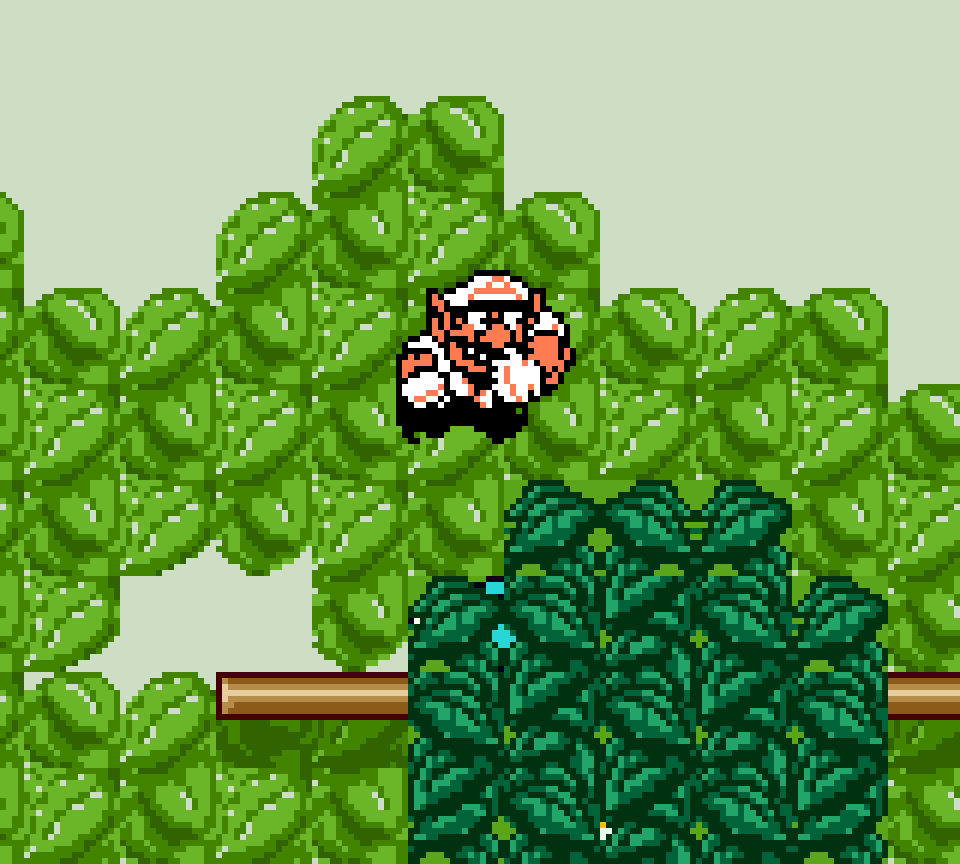
On the other hand, the green key room is 1 o’ the few areas to use the rare tree tileset, & if dodging bubbles for the 1st o’ many times isn’t particularly great, the mix o’ water & the tree tileset is kinda cool.
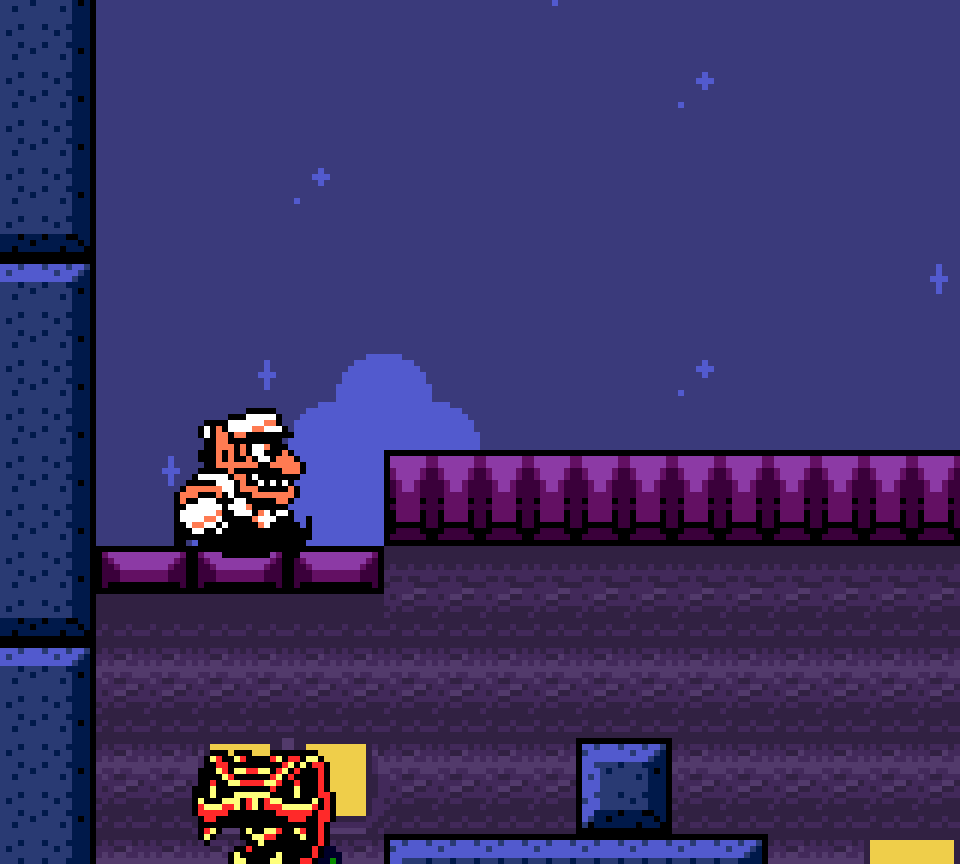
44. N2 The Peaceful Village – Red

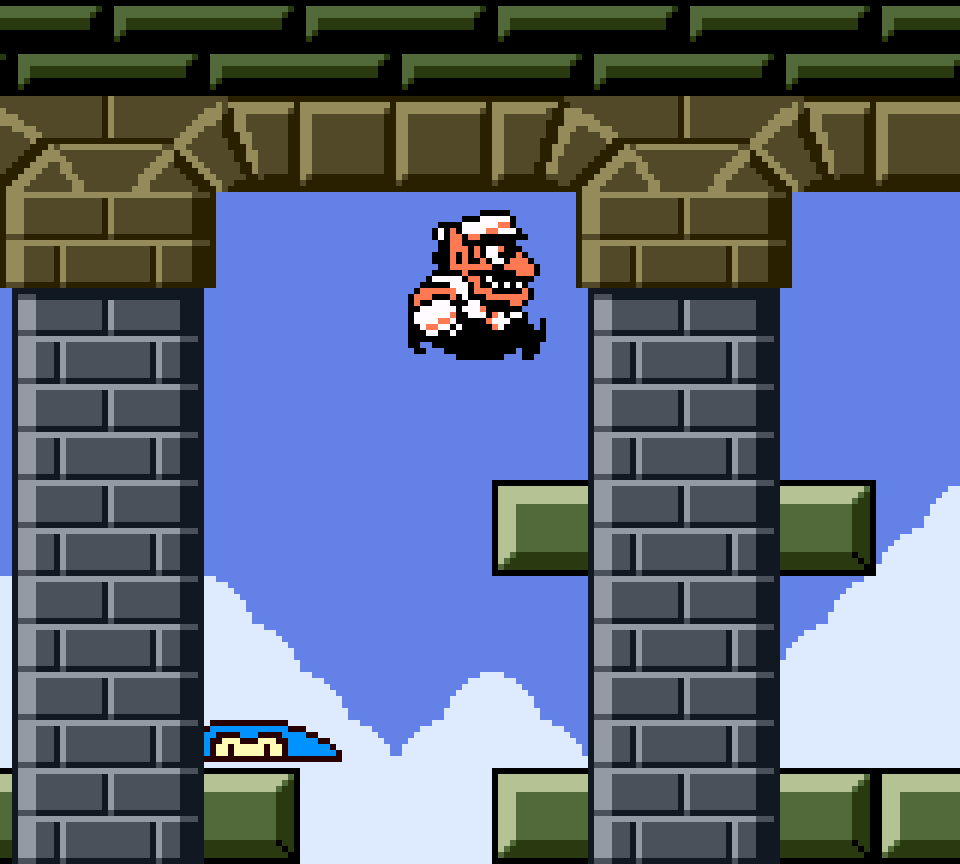
The snake in the pot that helps you reach the roof is a good, simple way to introduce that mechanic while letting later levels give you mo’ involved snake puzzles & letting the rest o’ this treasure focus on the main challenge o’ parkouring from rooftop to rooftop while avoiding the flames o’ the Fire Robotas. Said challenge may seem a bit steep for still this easy in the game, but players can just wait for Fire Robotas to turn their back on them to attack.
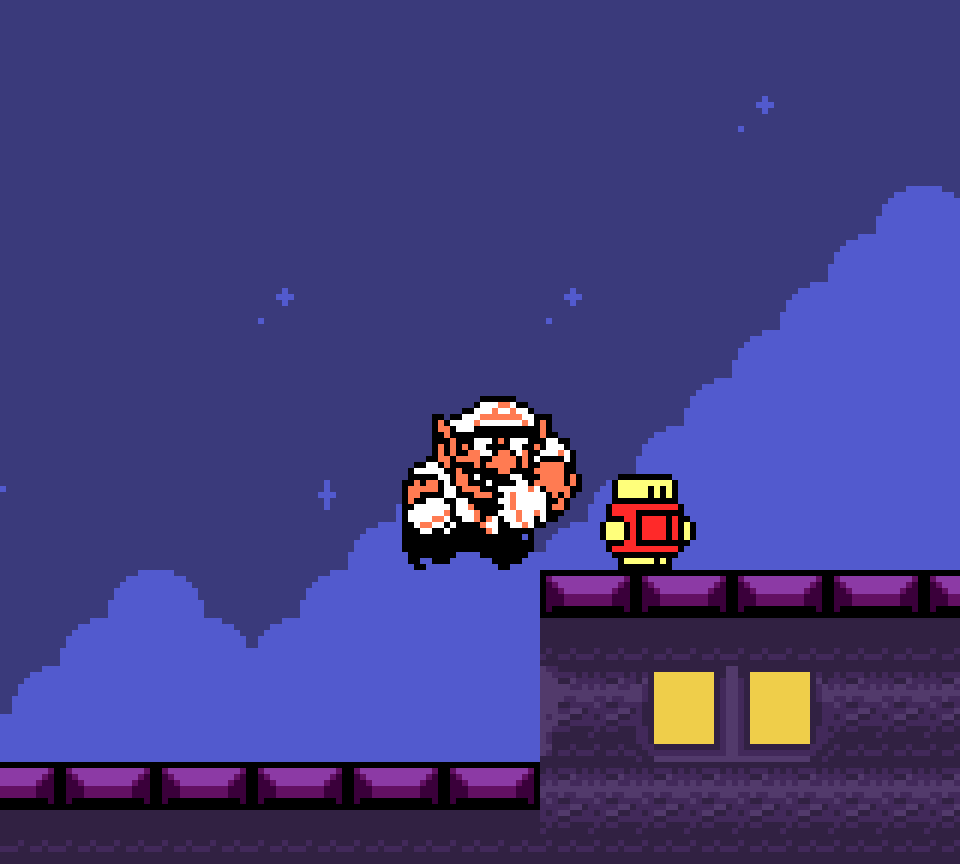
The red key ties back to a room on the ground floor that 1st-time players would likely explore, only to find nothing but solid blocks blocking off a bottom floor. It turns out, entering from a pipe-chimney from the top gives the player access to a Doughnuteer, which can be used to blow down the wall & thru the solid blocks to the basement floor to reach the red key.


@ the end o’ the roof is the red chest room, which has a puzzle unique to this level in this game, but used a few times in Wario Land II, wherein you have to let the Doughnuteer make you fat so you can force the Doughnuteer to rise up the platforms with quake jumps, which you’ll need to become fat while up @ the top & able to reach the donut blocks on the other side ( you can’t jump high ’nough to reach the top area with Fat Wario ). I don’t know if it’s intentional, but I like the subtle roof theme o’ this room & how it ties back to the general treasure itself.
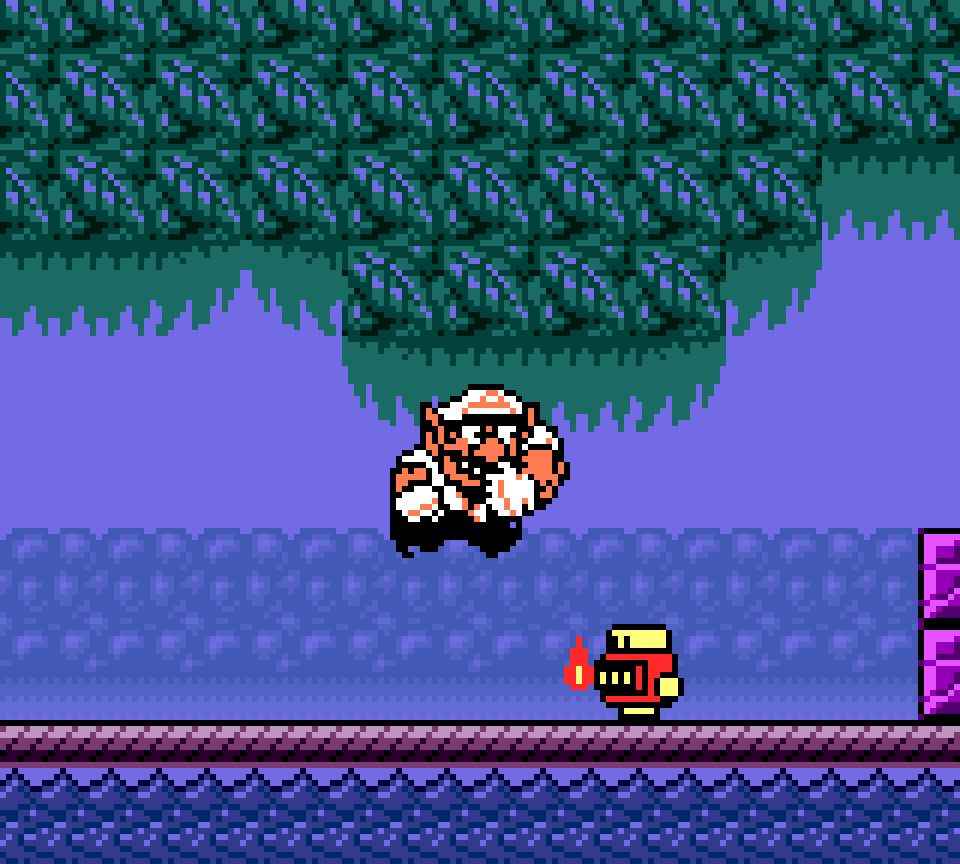
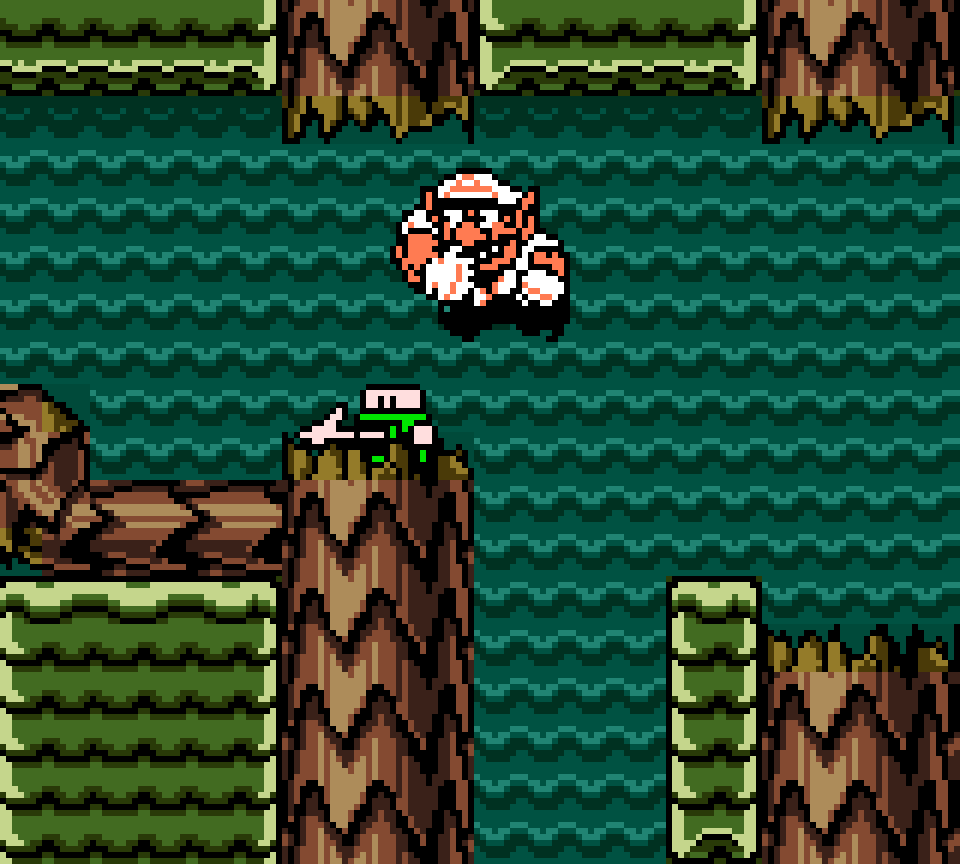
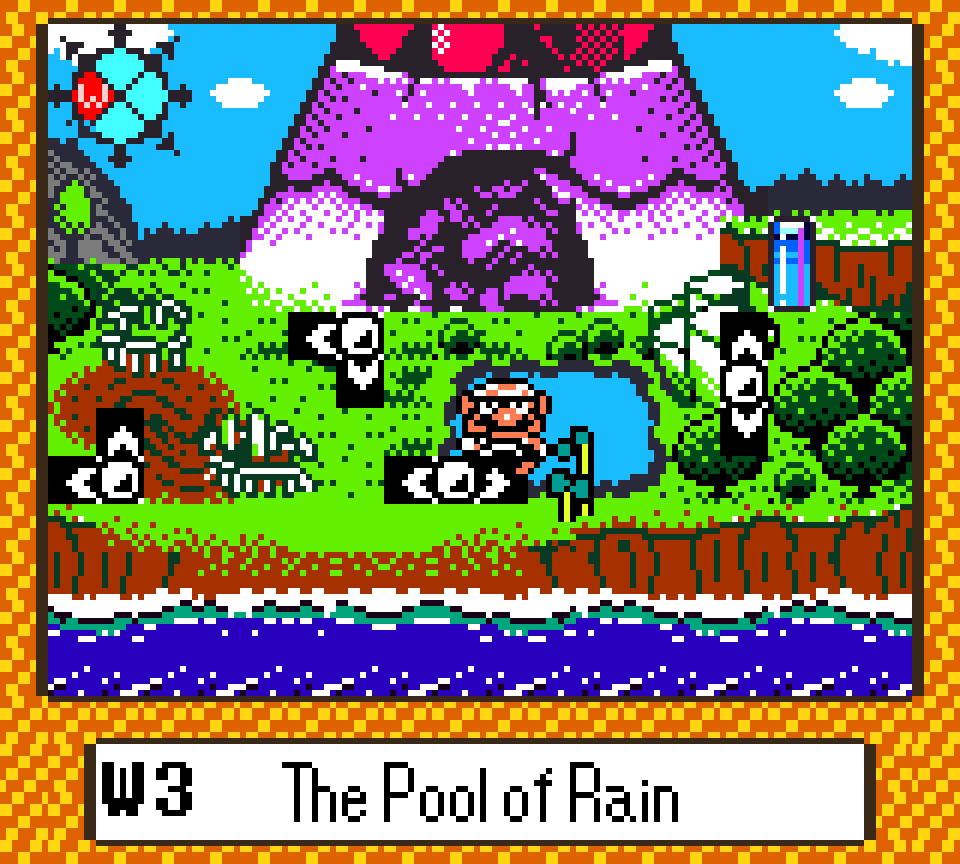
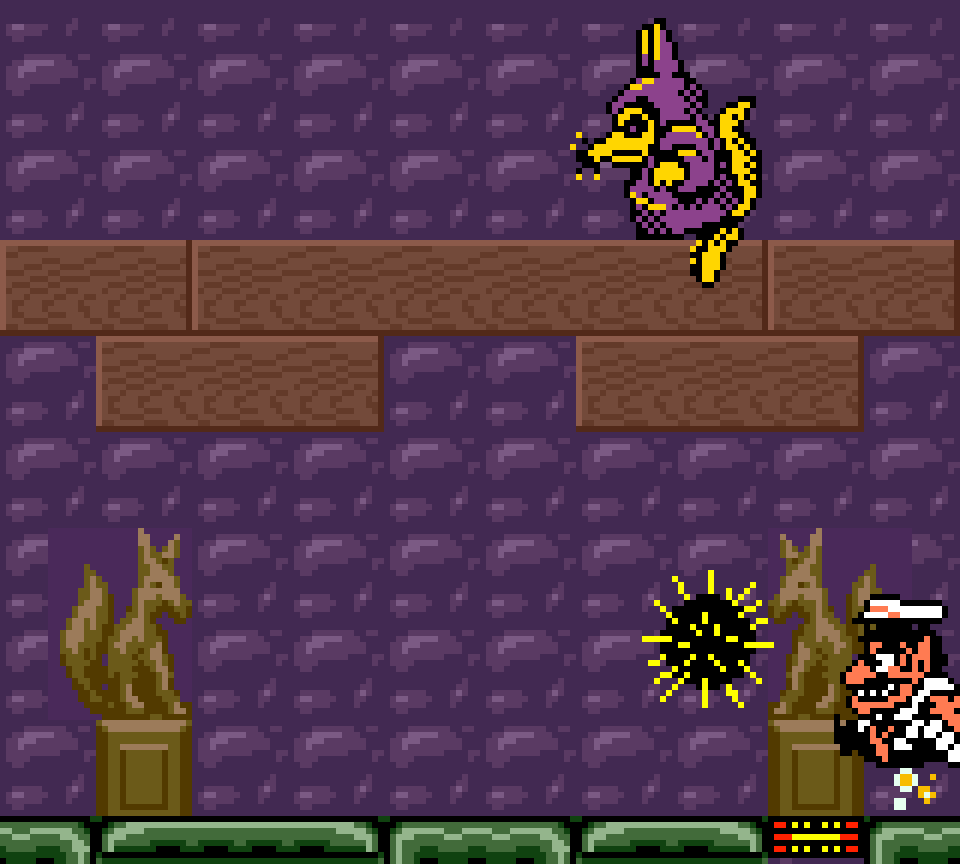
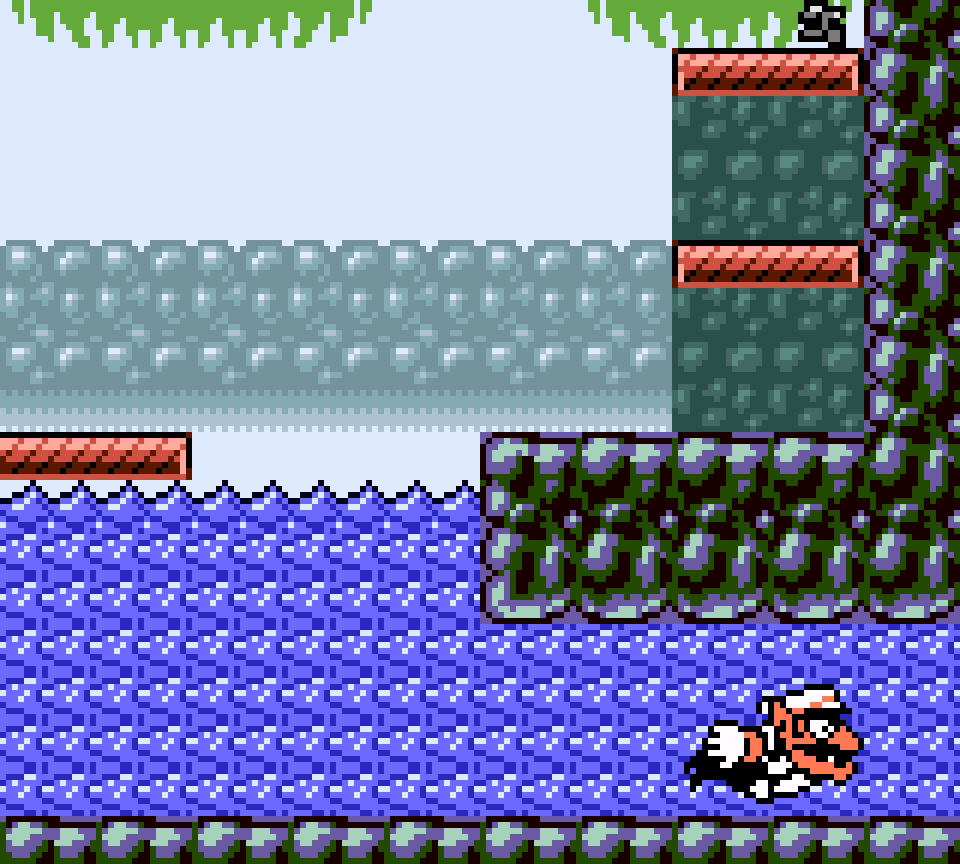
43. W3 The Pool of Rain – Green
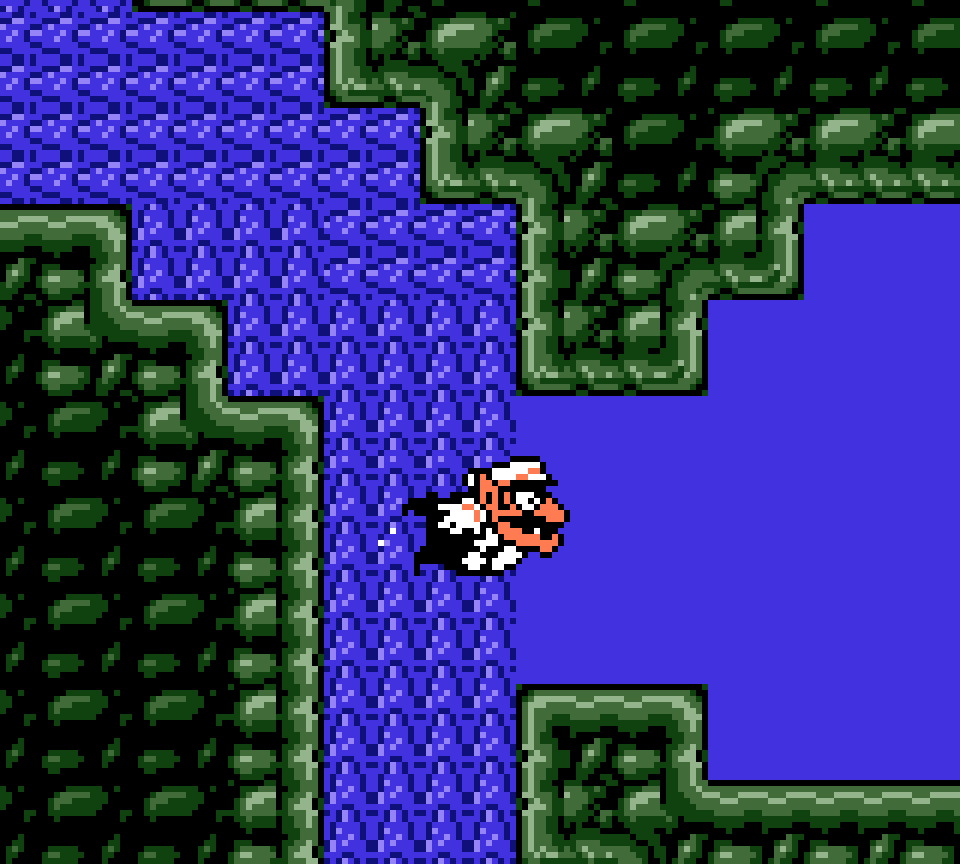
As a kid, this was the treasure I always dreaded the most; & e’en today, as a 33-year-ol’ who’s played thru this game o’er a dozen times & can beat this boss within a few attempts, I still sigh when I collect the flippers & realize what I’ll be facing. Forget “Chemical Plant Zone, Act 2” or “Mine Cart Carnage”: being the 15th treasure out o’ 100 & being the hardest part o’ this game, this treasure is for me the ultimate difficulty spike.
But this isn’t ranking treasures by difficulty, but by quality; & while this treasure’s strong contribution toward this game’s extremely lopsided difficulty balance is worthy o’ raising eyebrows, otherwise this treasure is strong, with a current maze that makes perfect use o’ your newly-gained flippers, specially as it emphasizes what you can’t do just as much as what you can: later on you’ll get stronger flippers that allow you to just plow thru currents, making these currents frivolous. Unfortunately for the player, save for using obscure glitches, the player has to beat this treasure to unlock those stronger flippers.
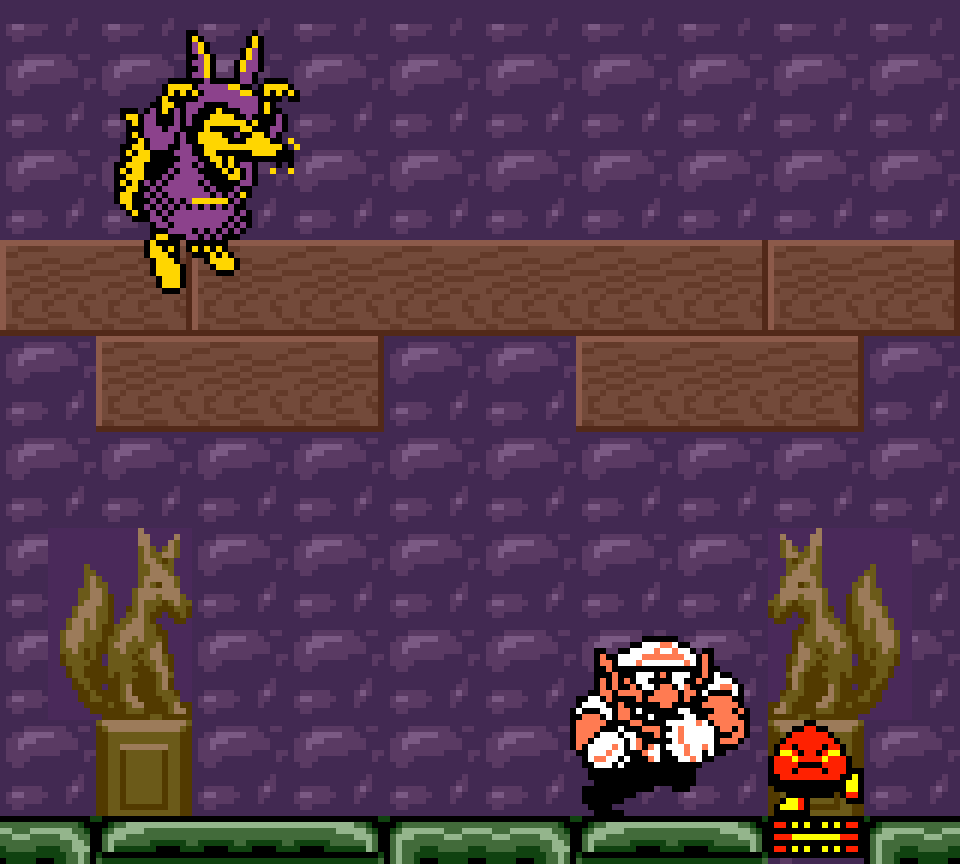
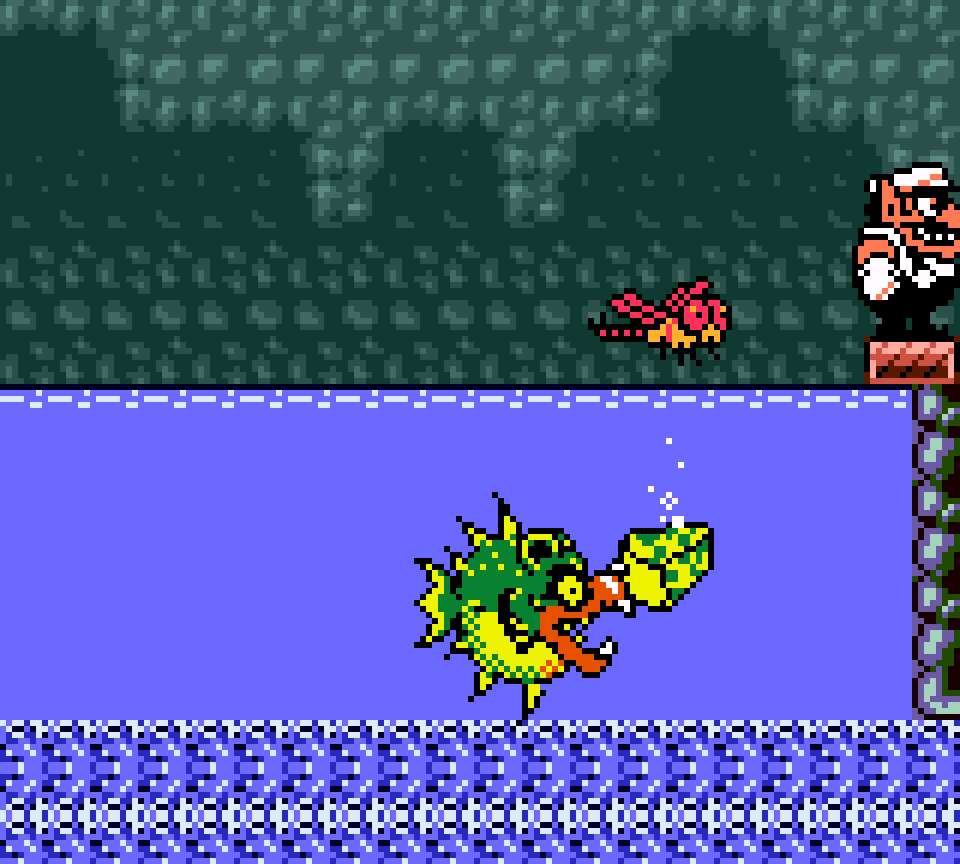
But the real challenge comes from the boss: while all other bosses just require dodging attacks that are rather easy to telegraph & then bonk the boss on the head, this boss requires you to bounce projectiles off walls @ angles to hit this constantly moving boss, while this boss throws magic spells that bounce off walls & spiky balls that cause the ground to quake when they bounce. This can lead to what feel like unwinnable situations if the spiky ball is tossed too near the middle & happens to bounce in your direction, as there seems to be no way to avoid it from there. This also may be the least relevant boss to its area: ¿why is there a wolf wizard chilling in a cave in the middle o’ lake currents?
42. W5 Beneath the Waves – Green
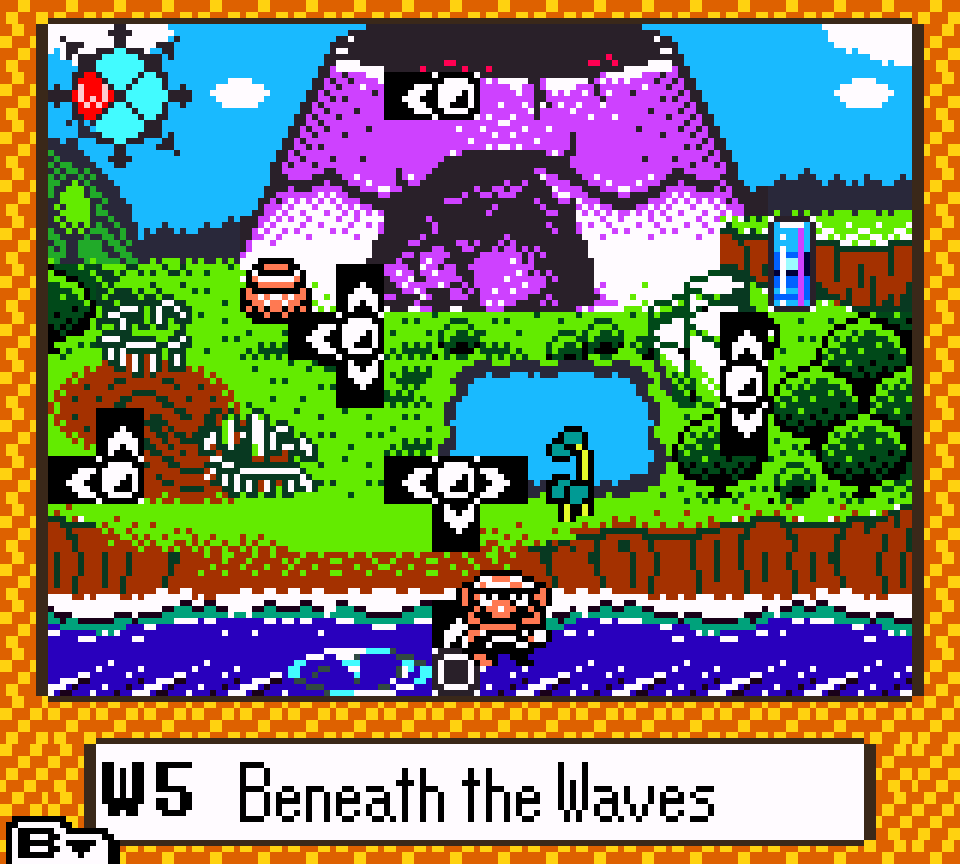
The key room is 1 o’ the mo’ interesting uses o’ dodging bubbles & fish without the back & forth tedium o’, say, “The Big Bridge”’s blue treasure: the room is bisected into a current going backward on top & a path going forward below with the key @ the end full o’ rising bubbles & fish with the terrain forming a tight zigzag requiring precise timing to avoid hitting the fish or bubbles & getting sucked up into the current.
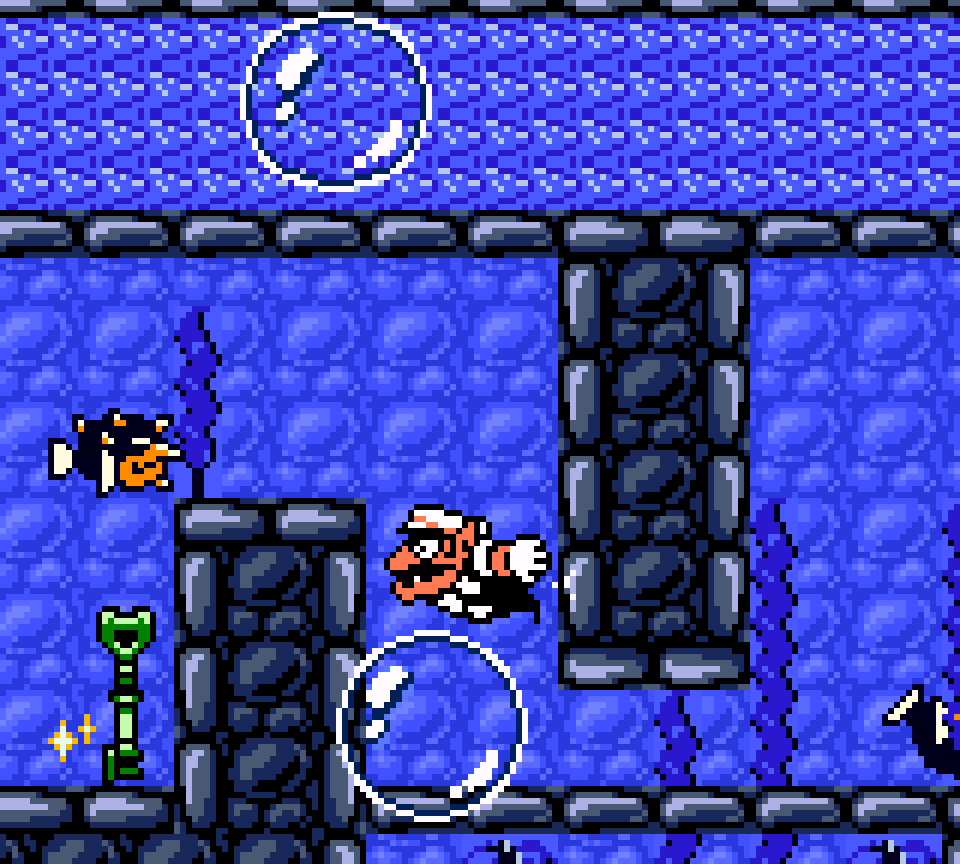
Considering this room is opened with the octopus food growing the octopus behind the gate blocking it off, causing it to break thru & open it, it’s disappointing this room itself doesn’t have any octopuses to dodge, as it would’ve added mo’ variety & the blend o’ octopuses & bubbles would’ve been novel.
The location for the chest room is the most clever in this level, hidden in a niche below the middle o’ a spike-strewn hang-glider path toward the blue chest room. This would be obscure if not for the fact that you can see the bottom o’ said platform on other, unhidden zip line paths.
This chest room itself, unfortunately, is the least interesting, just requiring you to bring up a caterpillar to the top floor & letting it turn you into yarn to break thru the unmarked wall. They probably could’ve sufficed without this throw’way challenge, especially since caterpillars don’t fit with this level’s theme @ all.
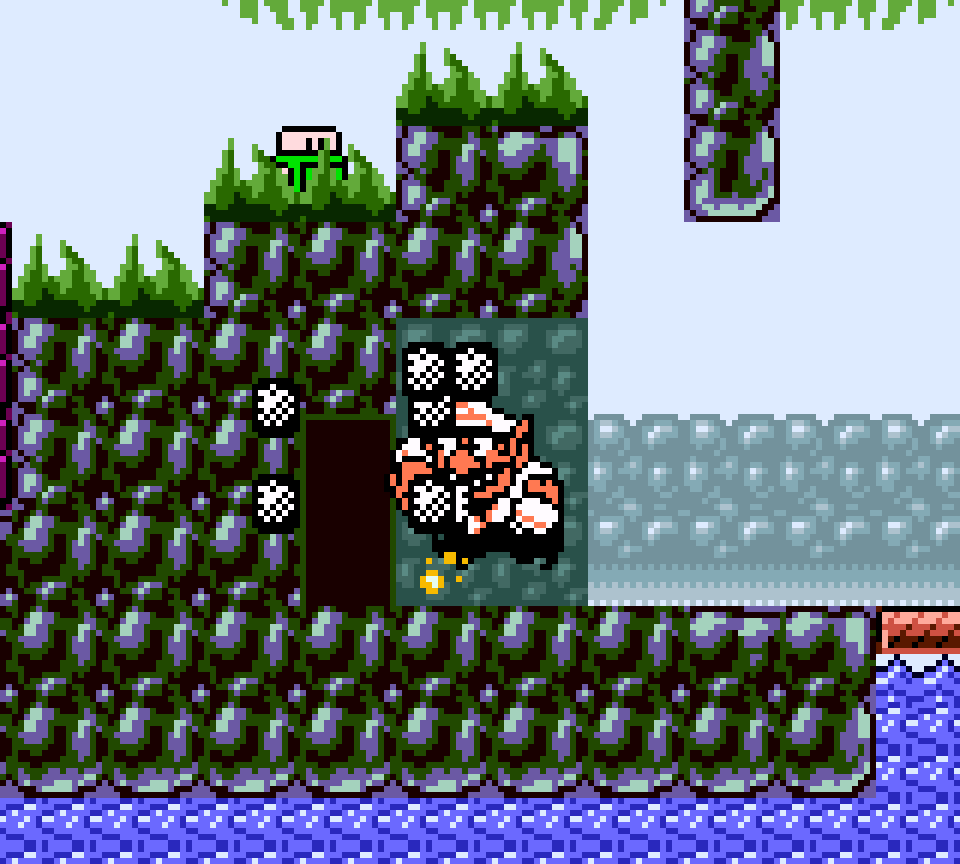
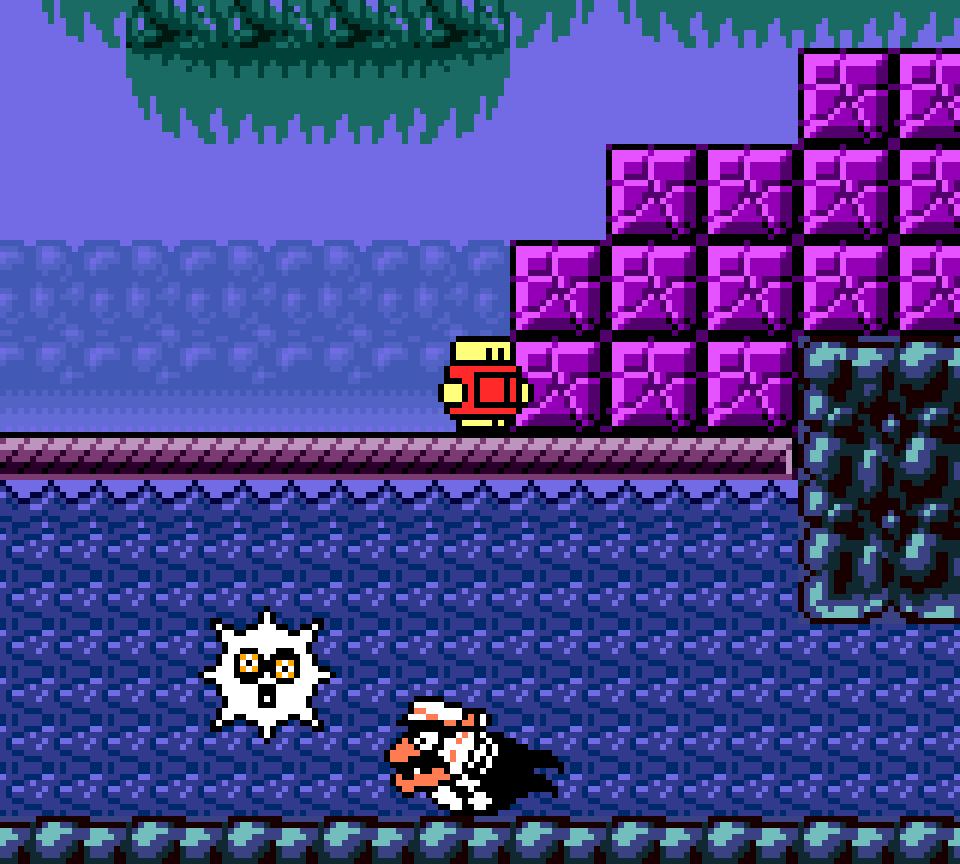
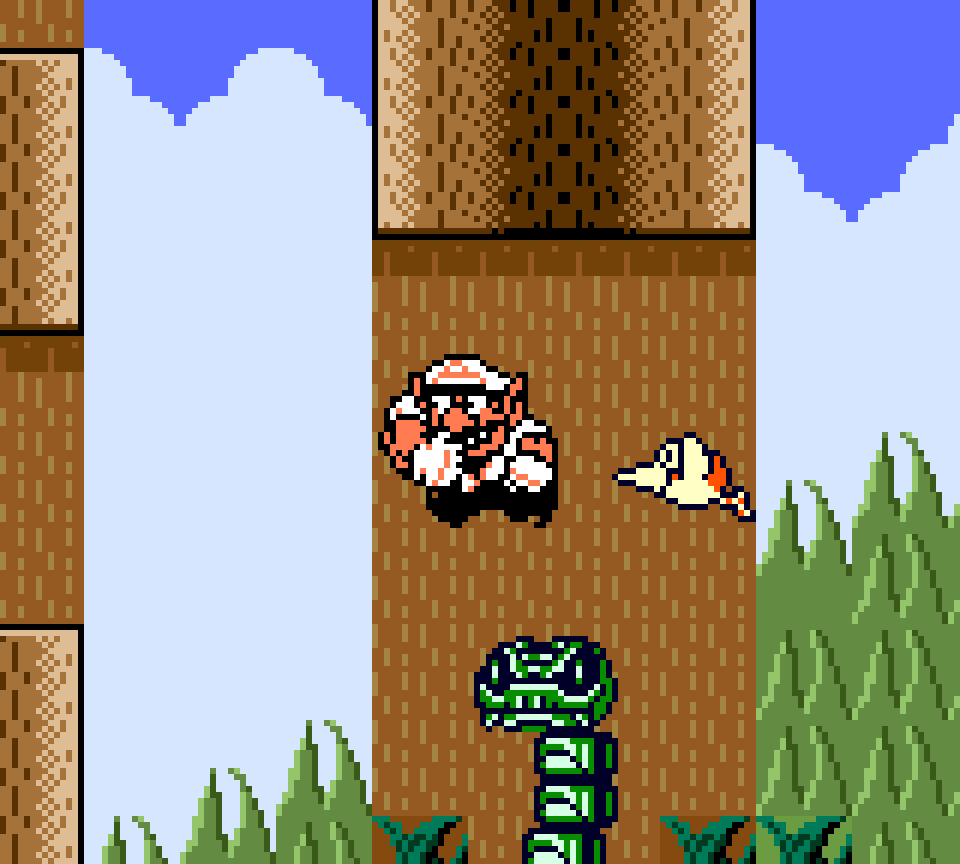
41. N4 Bank of the Wild River – Green
As mentioned just before, this treasure is similar to “The Tidal Coast”’s green treasure, focusing on dodging the Kushimushi bug enemies on climbable surfaces, but this treasure is better in that its climbable surfaces go in mo’ complex, narrower & trickier shapes, rather than the large rectangles o’ wire mesh that “The Tidal Coast” has, requiring mo’ thought for how to get thru sequences & when to time your movement & requiring mo’ careful positioning with the tighter space. Granted, this treasure does lose a few points by sticking purely to Kushimushi, whereas “The Tidal Coast” had birds to mix it up.
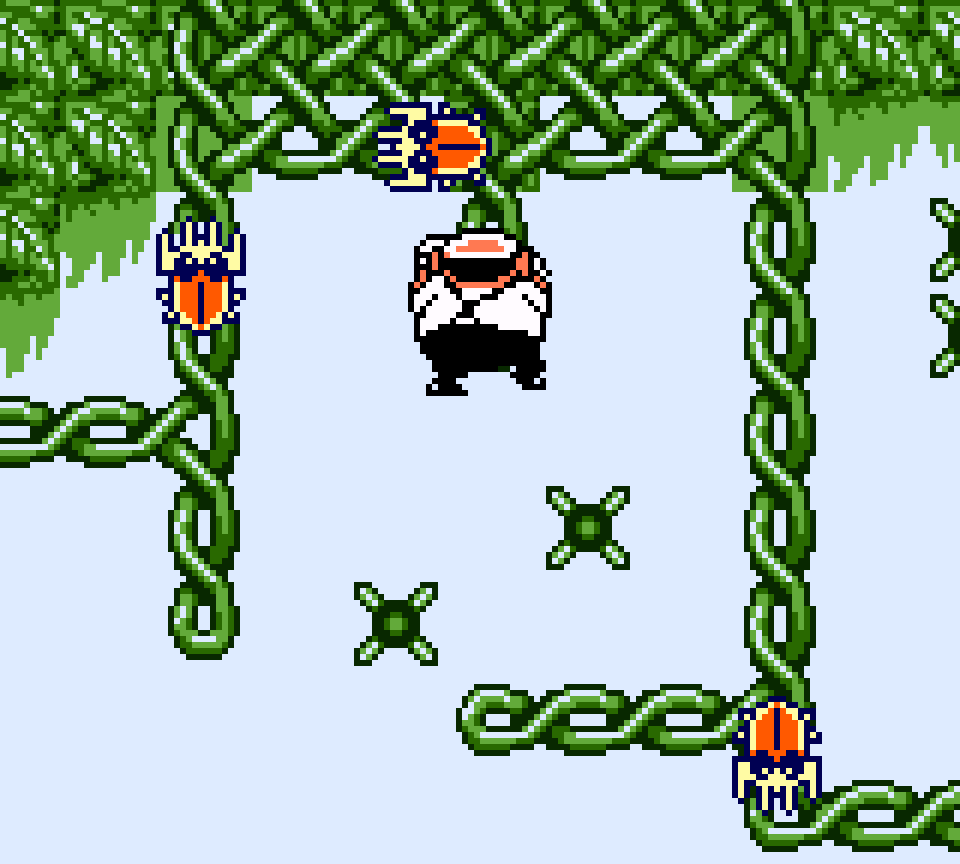
This treasure also fits in with its level theme better: rather than being wire meshes in caves, the climbable surfaces are green vines that seem to grow straight out o’ the ground & be hanging from the leaves ’bove, & you have the back-pushing current as the danger to avoid falling in. Same goes for unlocking this treasure by getting the powered-up flippers allowing Wario to swim past currents.
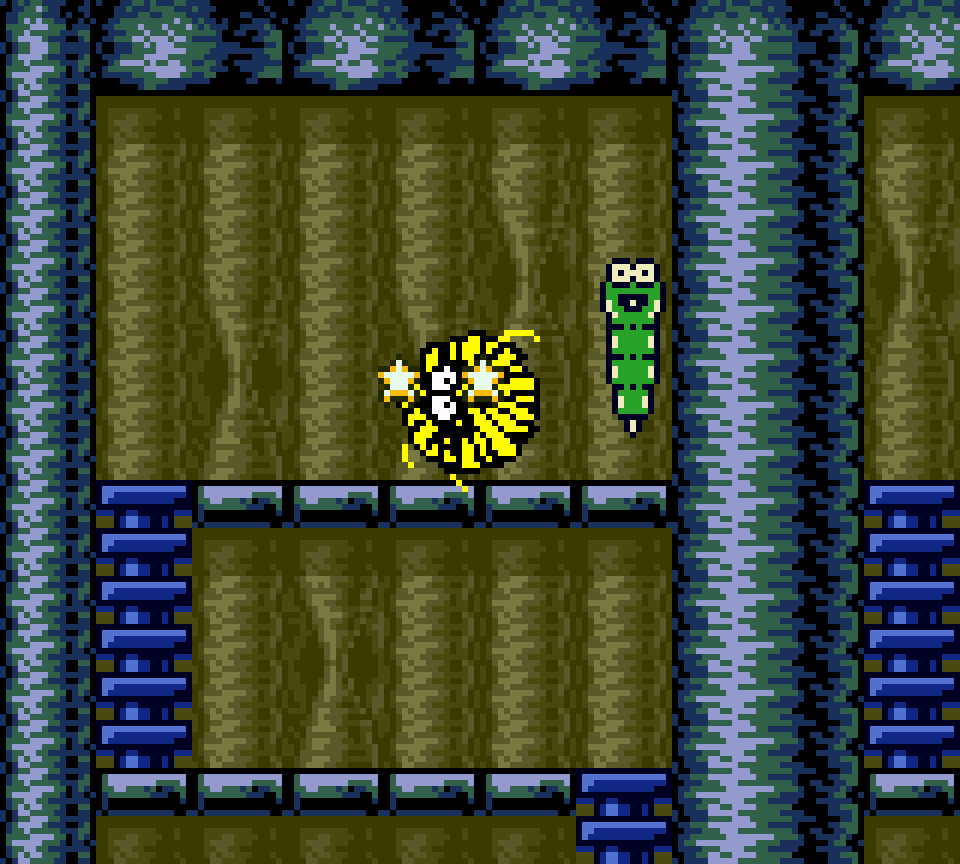
Moreo’er, this treasure stands out much, much mo’ thanks to the boss @ the end, the mouse piranha, Pesce. Granted, it’s 1 o’ the most annoying bosses, as you’re victim to the timing o’ the Pesce swimming back & forth; the firefly moving back & forth @ its own pace, which you need to stand on to avoid falling into the water & being nabbed by Pesce; & what the Mario Wiki tells me is a “fly” holding a block o’ cheese. You need to bump the cheese into the water without getting bumped into the water — as that will cause Pesce to chase you ’stead o’ the cheese & desync e’eryone’s timing — & hope that it falls in just the right position that Pesce will swim up & grab it. Pesce is remarkably stupid & easily misses cheese, so expect many misses ’tween successes. Still, the aesthetics o’ this surreal boss make up for it: in contrast to most bosses, whose defeat just makes a rising & falling platform help you reach a higher platform, this bosses’s defeat causes it to become so engorged that it sinks & gets stuck in a tunnel in the rare super current that e’en powered-up flippers can’t bypass, blocking the super current from the other room, allowing access to the chest, & further tying this treasure to the way it’s unlocked by being able to swim past weaker currents.
This treasure’s 1 major fault is the green key being right ’tween the 2 last vines before the boss so that you’d have to go out o’ your way to try avoiding it. It’s specially weird, since they have so many alternate paths that they squandered on music coins.