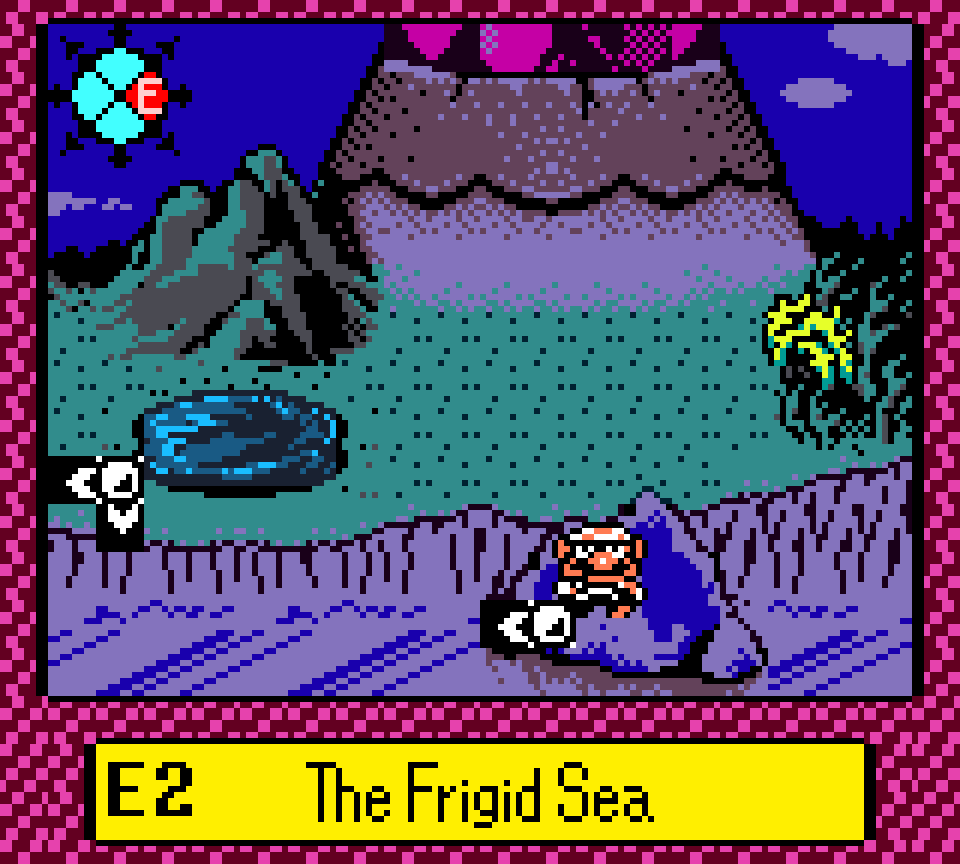
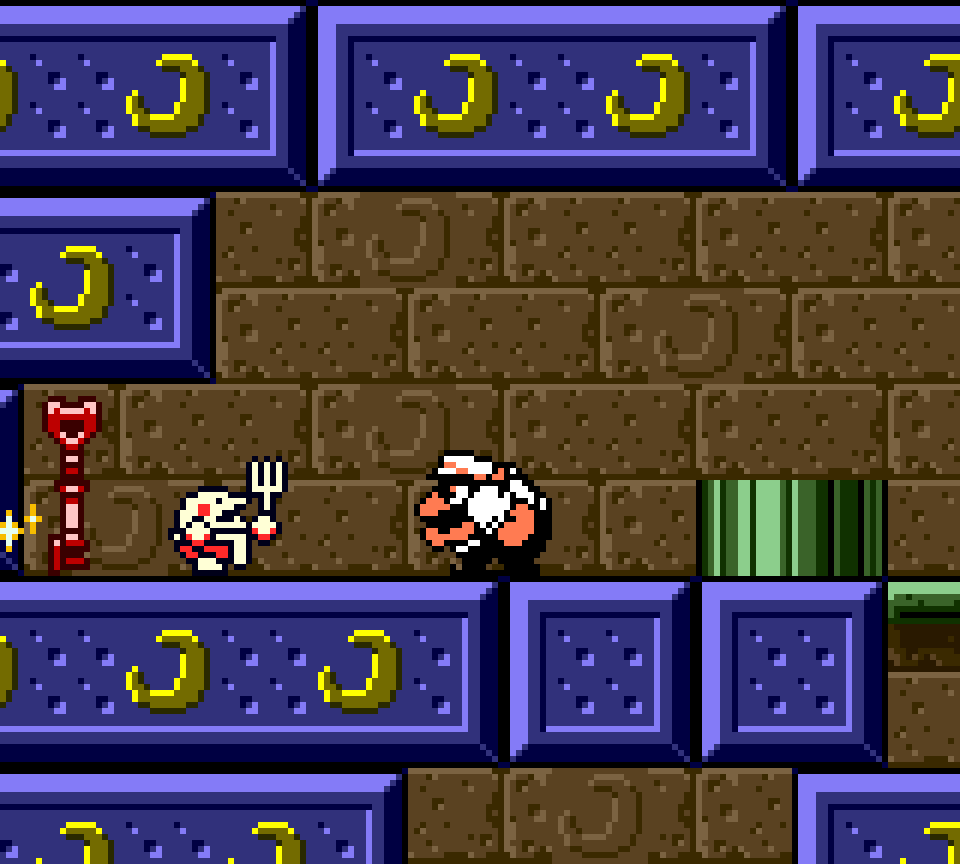
80. E2 The Frigid Sea – Gray
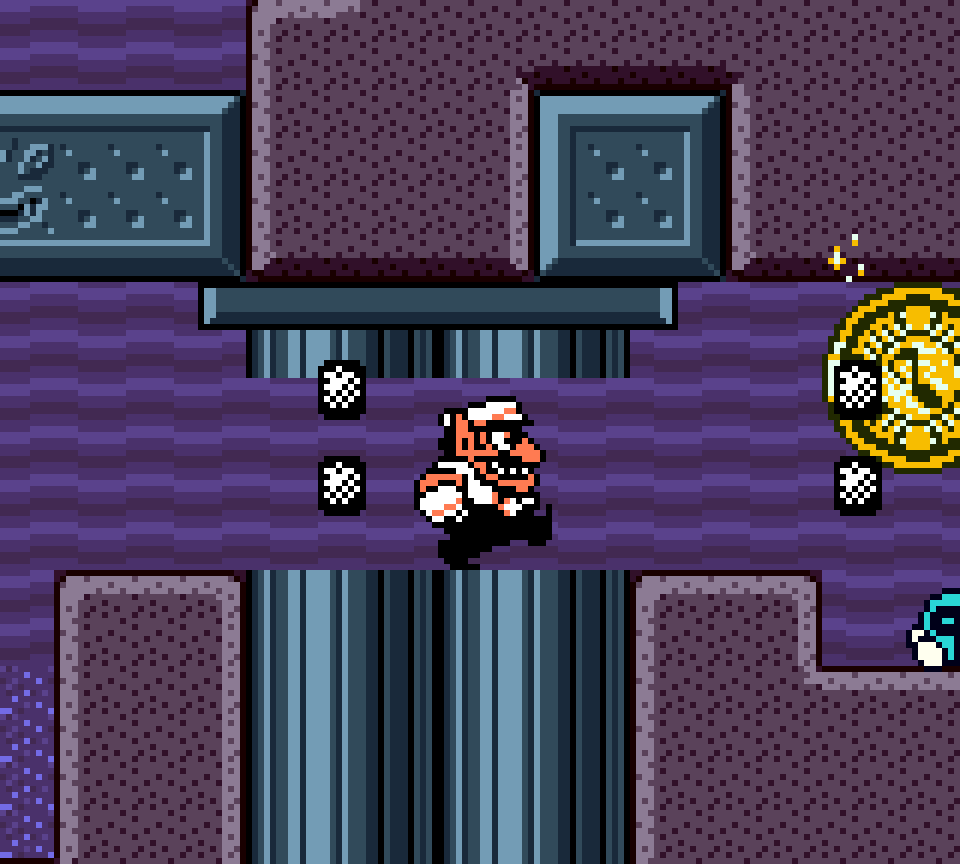
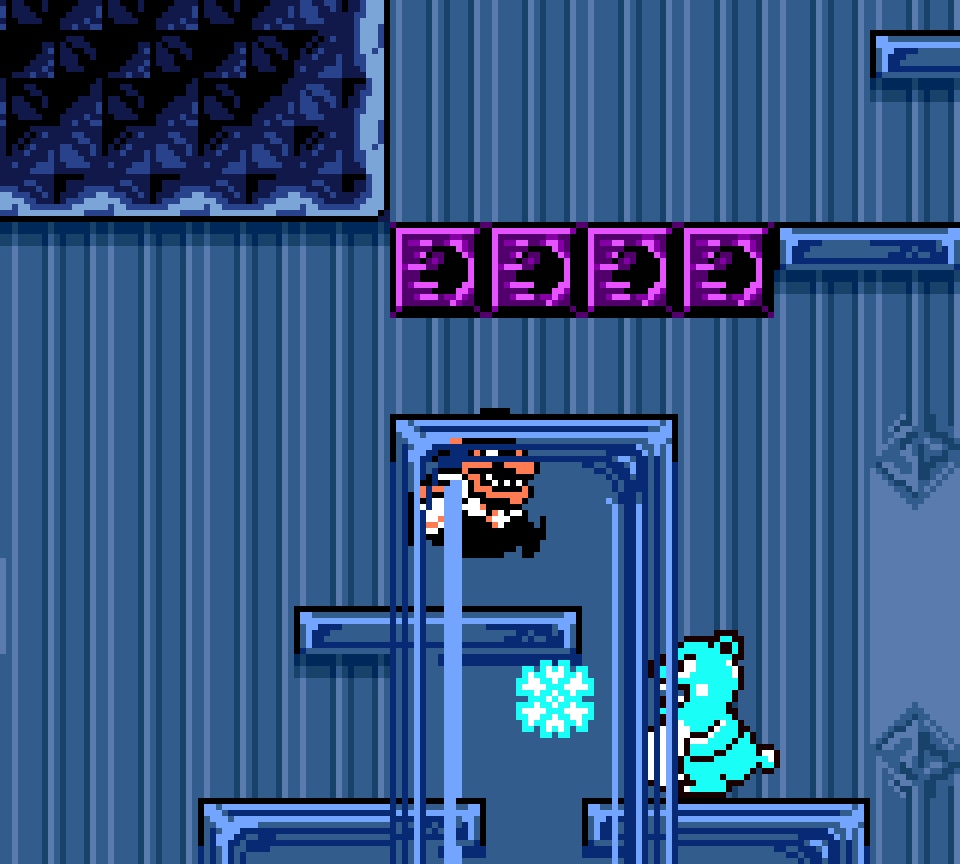
I don’t have a problem with this treasure’s core being just a straight path going right while avoiding the quite-treacherous Brrr Bears & their ice shots on slippery platforms that don’t allow too much room to maneuver, specially since they do add the challenge o’ finding the gray key.
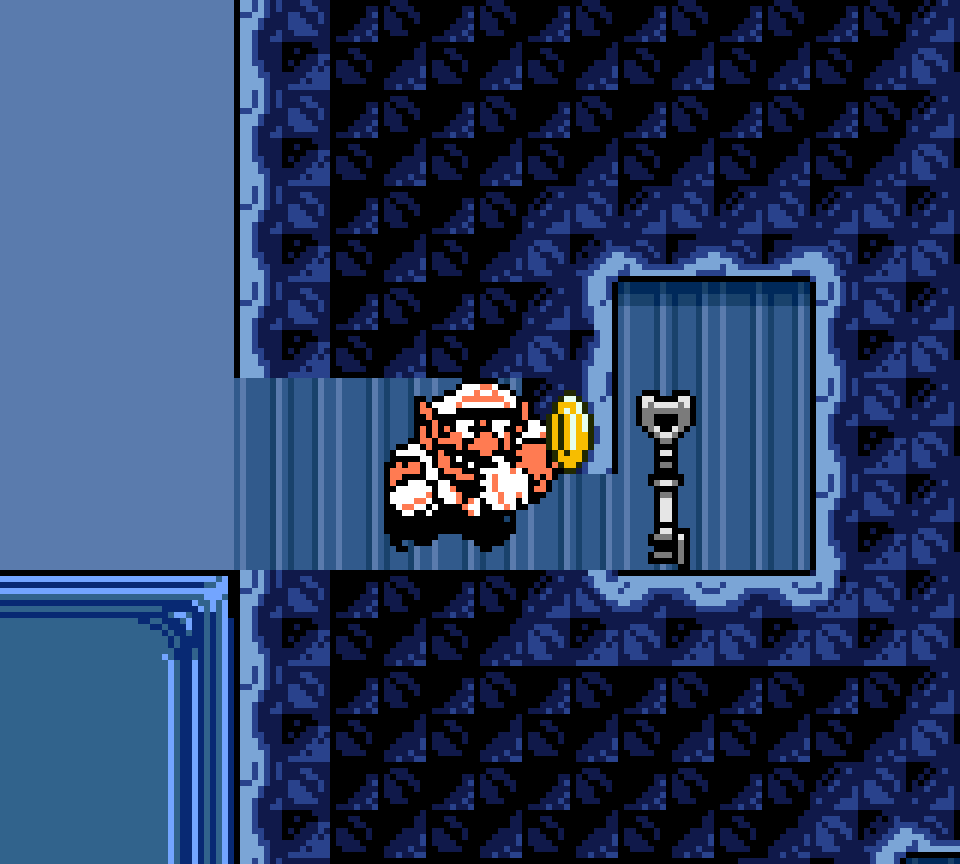
That said, I think they could’ve picked a better hiding place for the key. Not only do you have to break thru a wall to reach it, but it’s placed ’tween 2 sides, but only 1 side is breakable, & you’re just s’posed to guess that. E’en mo’ counterintuitive, there’s a grabbable crystal on the unbreakable side, which makes it look like you can pick it up & throw it @ the wall to someone who might go back to this stage & forget that they don’t get the glove till after this treasure. They could’ve a’least integrated the Brrr Bear with the key: ¿why not put a Prince Froggie in front o’ the gray key & have you get hit by the Brrr Bear up there to break thru it. That would be a great way to tutorialize this mechanic & would better mesh with the treasure theme. This is nitpicking, but it in addition to the basic path to the chest does make this treasure feel a bit uninspired — a’least in comparison to a lot o’ the other treasures in this game.
79. S4 The Steep Canyon – Red
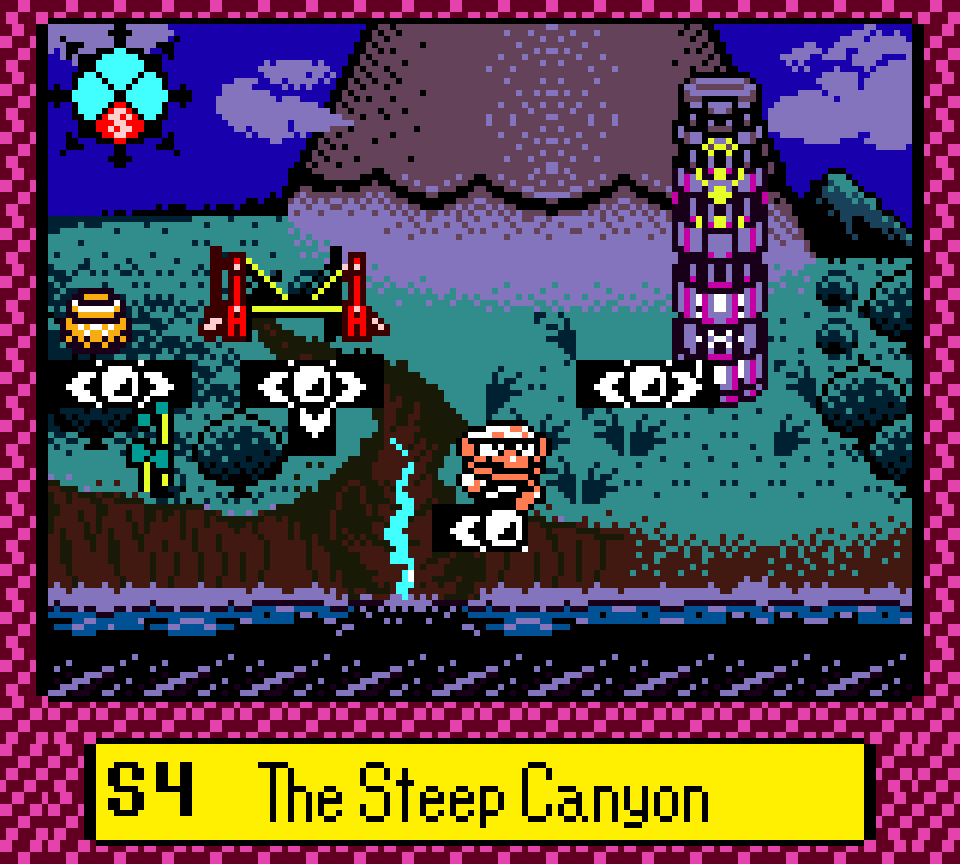
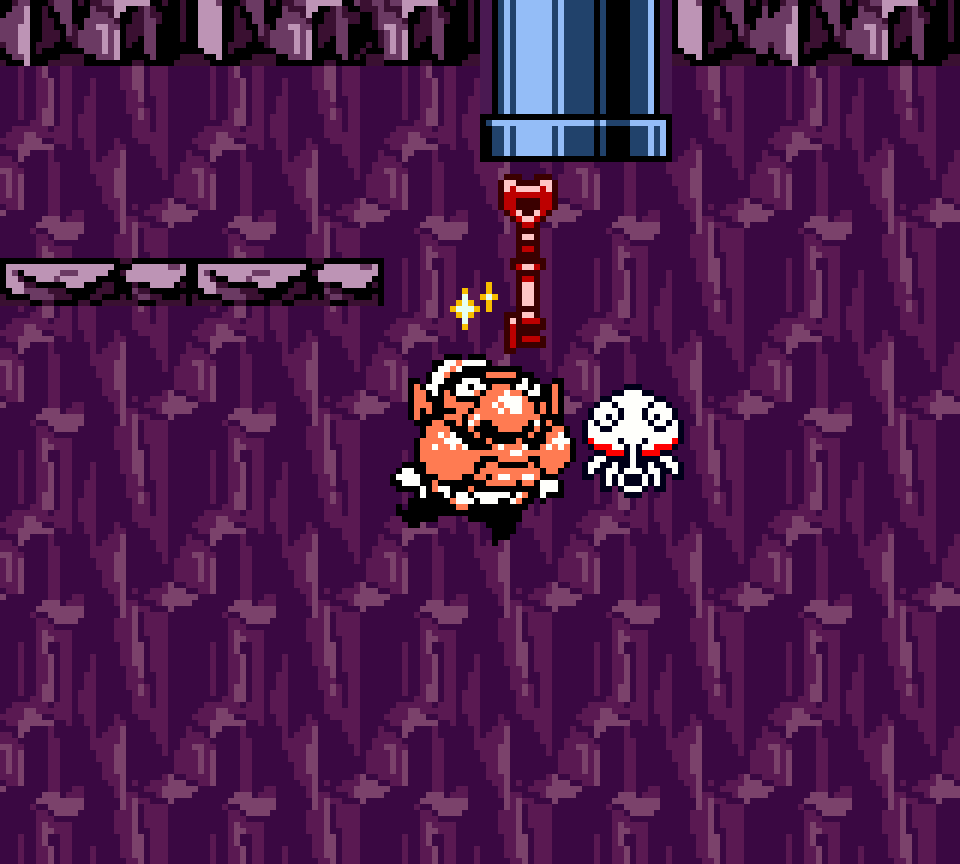
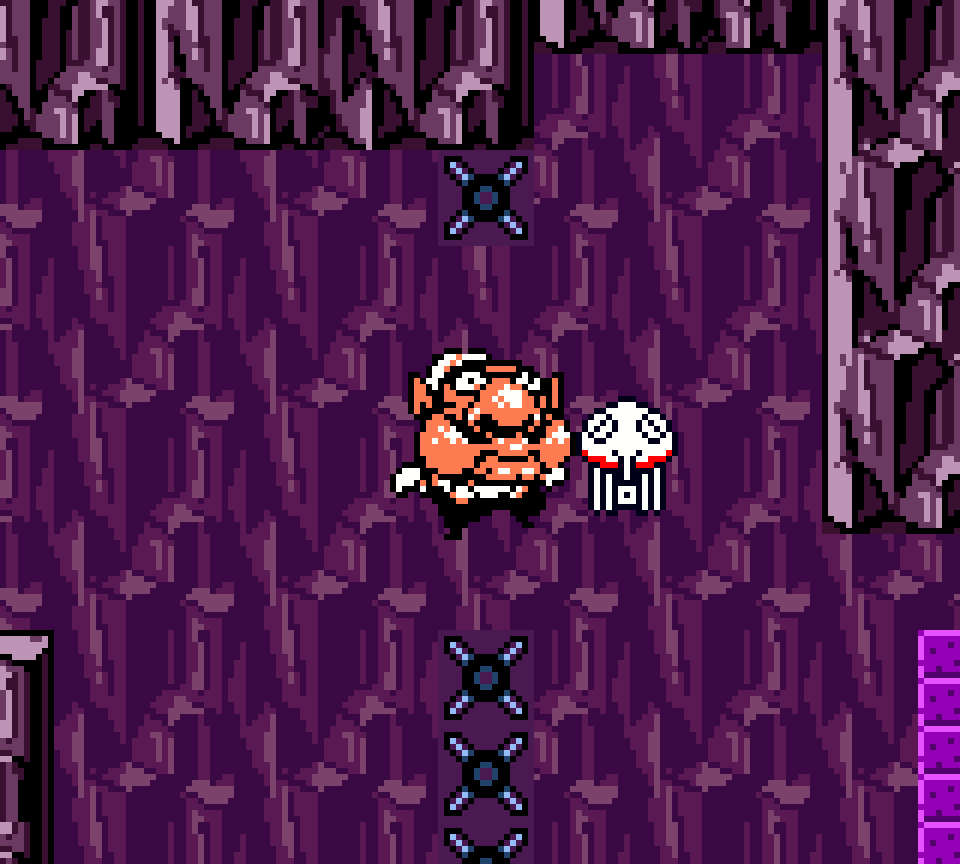
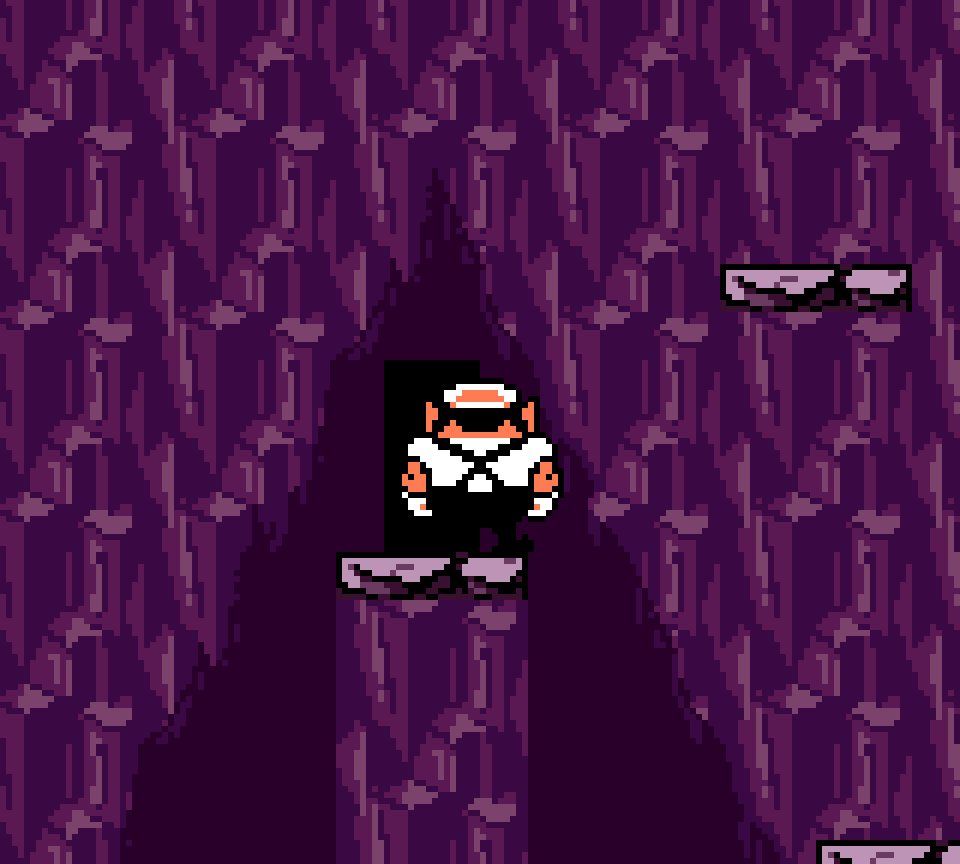
A simple challenge o’ leading the Pneumos to poke you & turn you into Puffy Wario to grab the red key & float up the higher cliffs & float ’tween the walls o’ spikes to reach the chest. In fact, it’s odd that such a simple Puffy Wario challenge comes after “Tower of Revival”’s mo’ involved Pneumo challenges earlier in the game.
While I prefer that that treasure gave you instances where you had to dodge the Pneumos before intentionally letting them poke you, whereas here there’s just maybe 2 Pneumos you have to avoid, the Puffy Wario section is superior, with tighter weaving & without the trial & error that “Tower of Revival”’s gray treasure had.
Admittedly, opening up this treasure isn’t all that inspired: you just have a door opened up by a giant stone boot thrown up & hitting the ground. Contrast with “The Volcano’s Base”, which break open debris in the way & “The Stagnant Swamp”, which caused some o’ the swamp to drain. That & the repeat o’ basic game challenge without much frills makes this treasure feel a bit like padding in a level that in itself already feels like padding — especially since there’s a very similar treasure later on that does pretty much e’erything this treasure does but better.
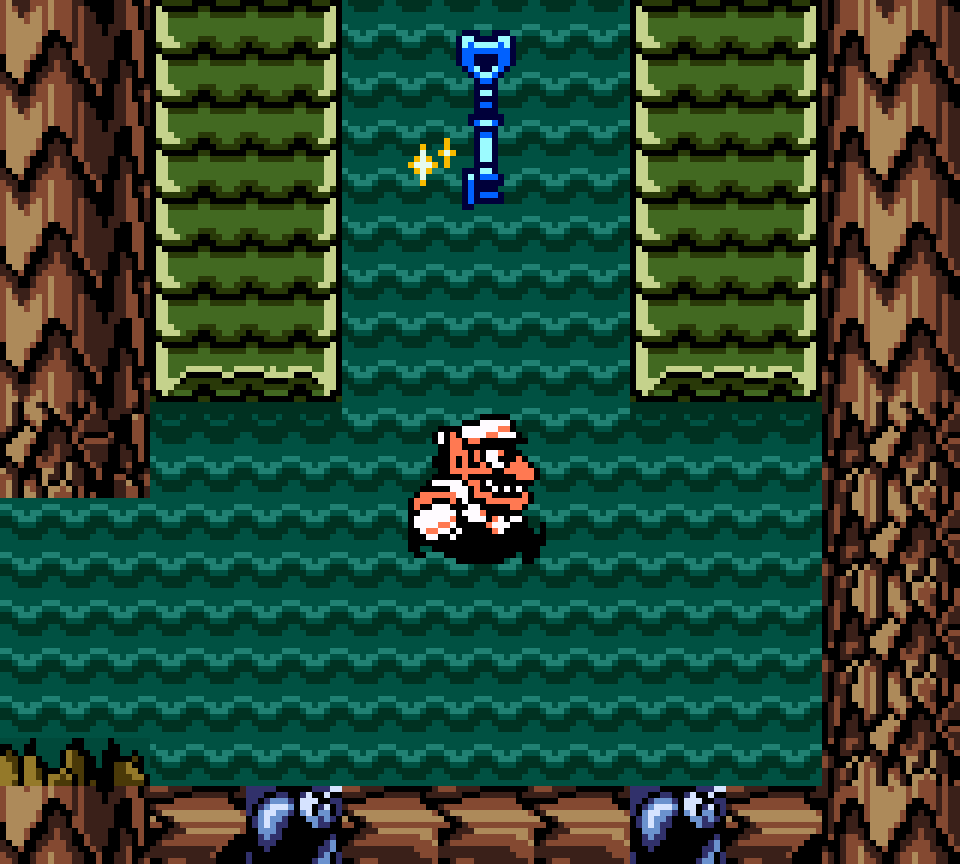
78. E1 The Stagnant Swamp – Blue
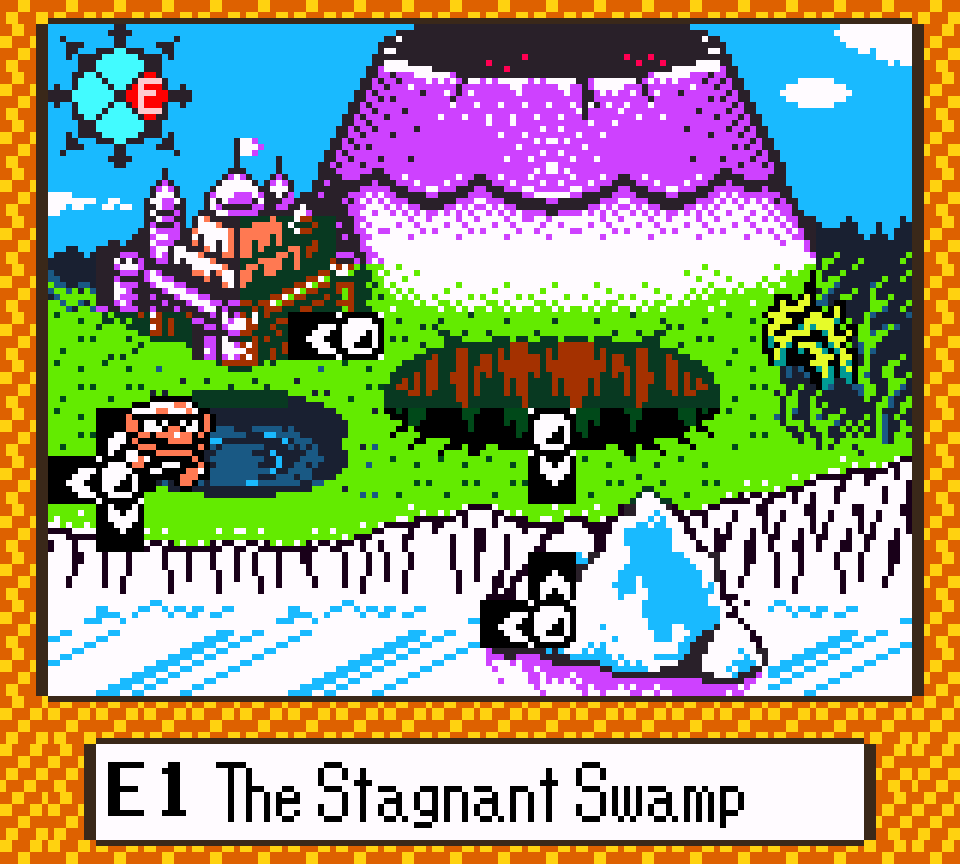
This treasure is a slightly better version o’ “The Steep Canyon”’s red treasure: it involves the same general challenge o’ using Puffy Wario to float up to the key & treasure, & e’en includes a tight spot where you have to weave round a spike ( tho the other side is a ceiling, not ’nother spike, which oddly makes this later treasure a bit easier, a’least @ this part ).


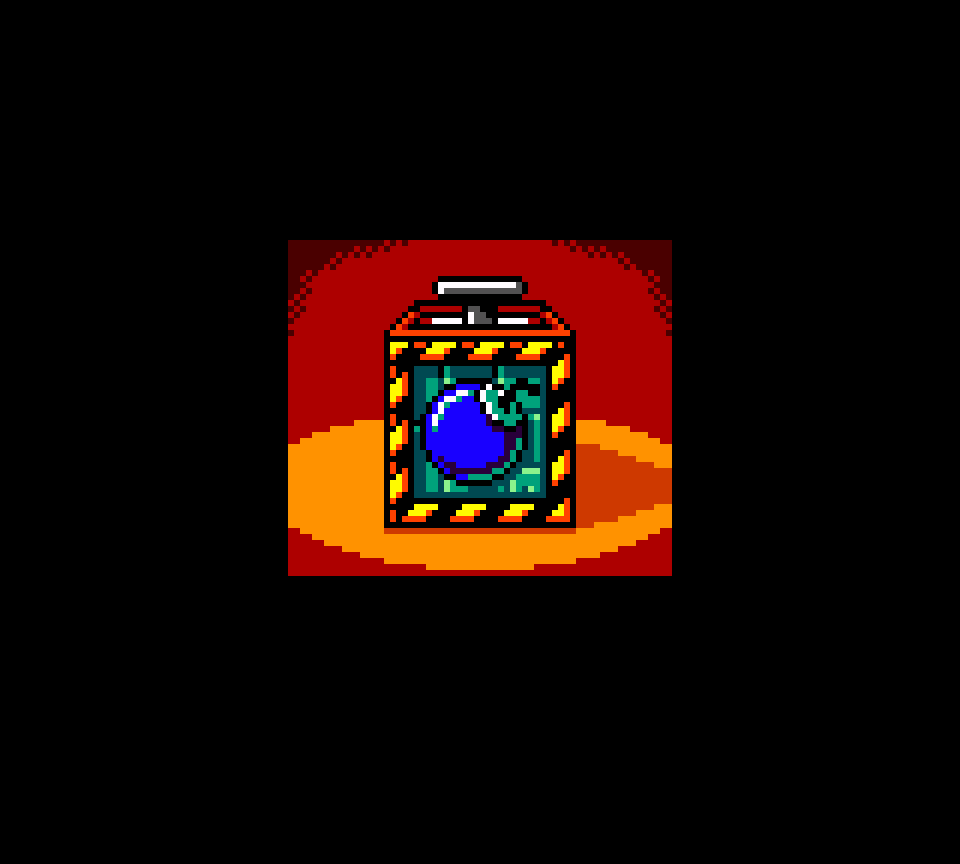
There are a few improvements: there’s a bit mo’ challenge to breaking out the Pneumos & leading them to where you need them to poke you & this treasure is unlocked in a slightly less arbitrary way, having you blow up the bombs round the platforms blocking the lower half, where the Pneumos are, rather than just having a doorway appear in some arbitrary place when a giant stone foot is dropped. I also like how before you break the bombs, they tease you by placing the blue key just low ’nough that you can see it by jumping, but just high ’nough that not e’en high-jumping off a local Spearhead will allow you to reach it.
77. W3 The Pool of Rain – Blue
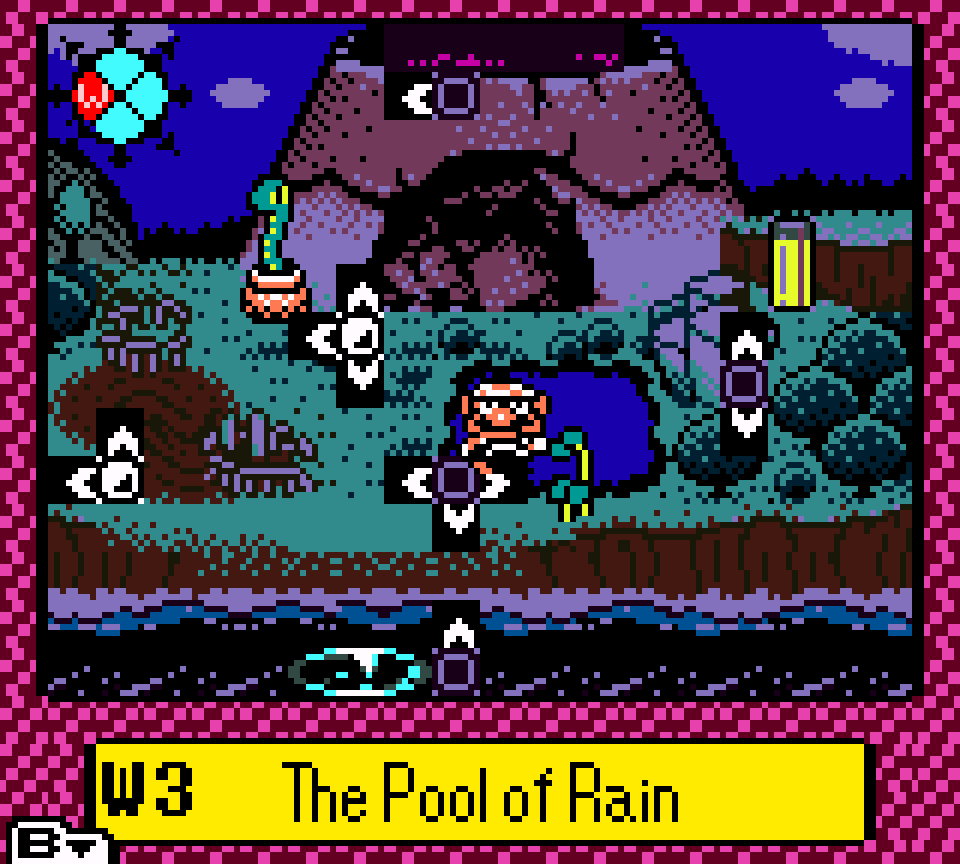
2 very basic Pneumo challenges in a game full o’ Pneumo challenges. A’least this doesn’t require the minigolf game, or any other extraneous elements, & there’s a dualism to the right side requiring you to dodge the many Pneumos & the left side requiring you to lead the 1 Pneumo all the way to the left so you can use its allergy-reacting powers to reach the chest ’bove.

On the other hand, this all takes place in a cave that could be in any other level & fit as well, — e’en better, in fact, than a lakeside level — & is just unlocked by making a random glass tube rise out o’ the way o’ its door.
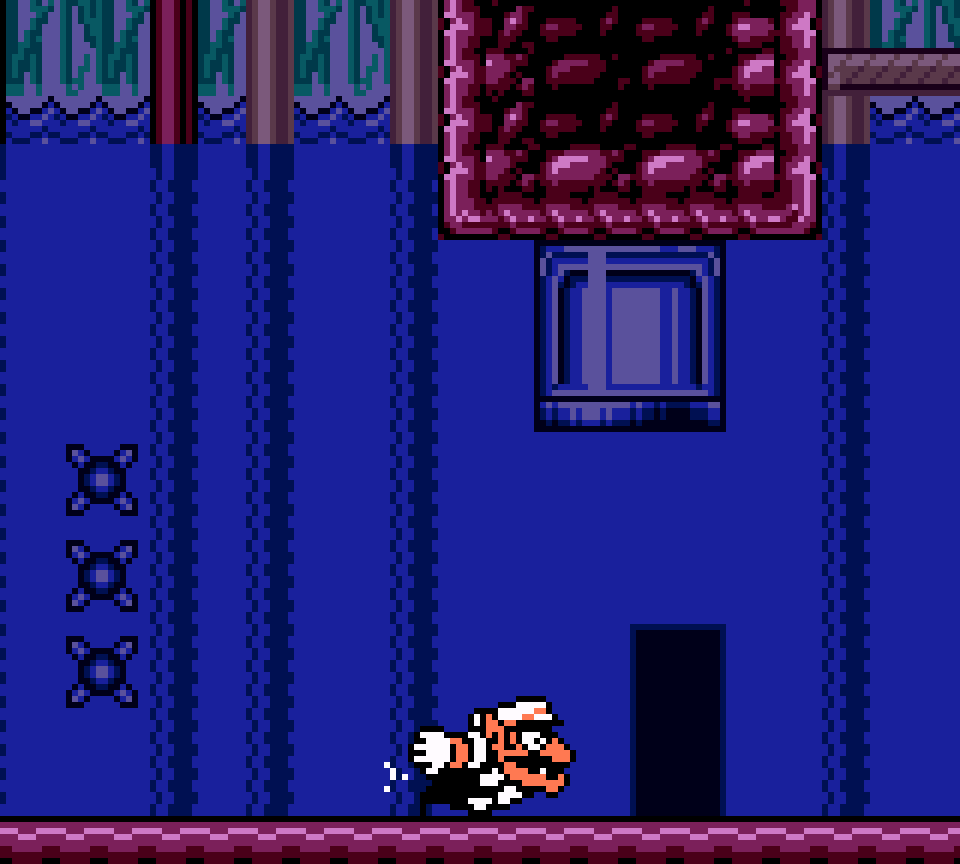
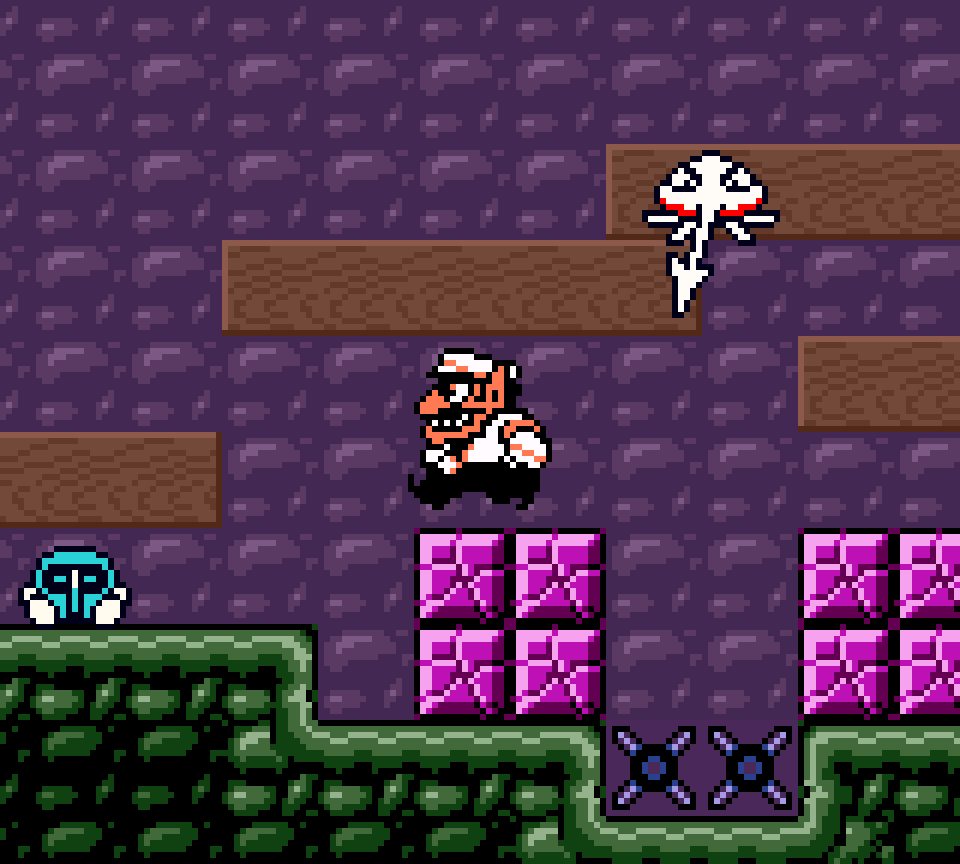
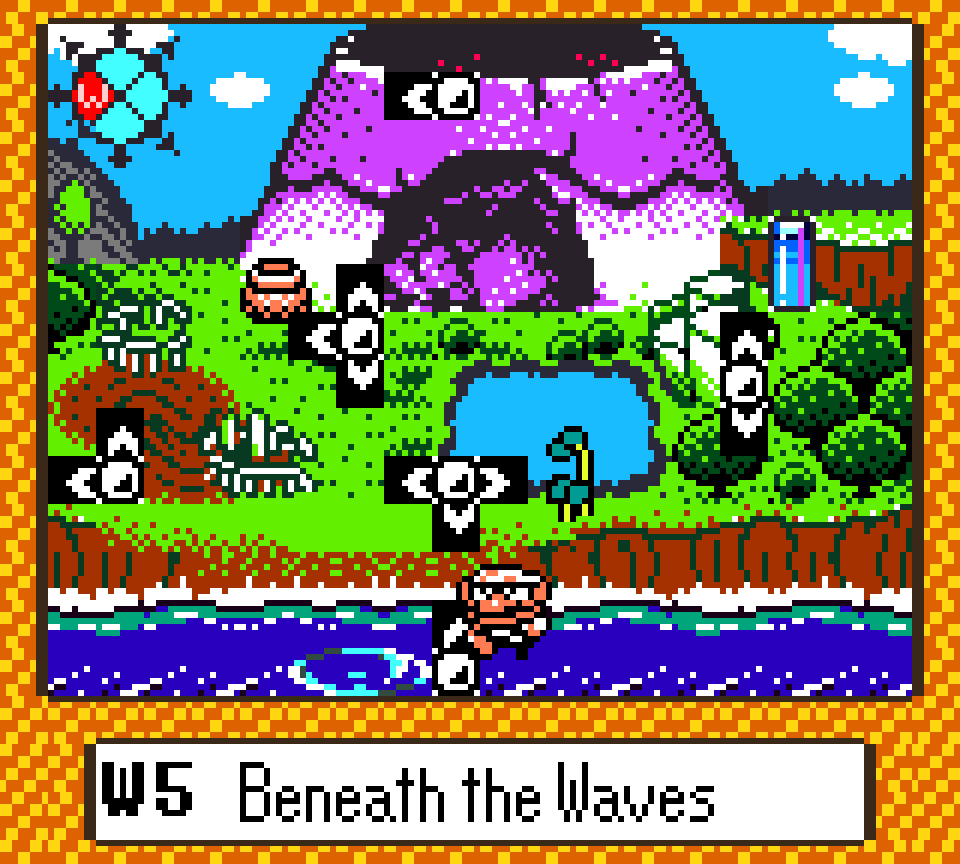
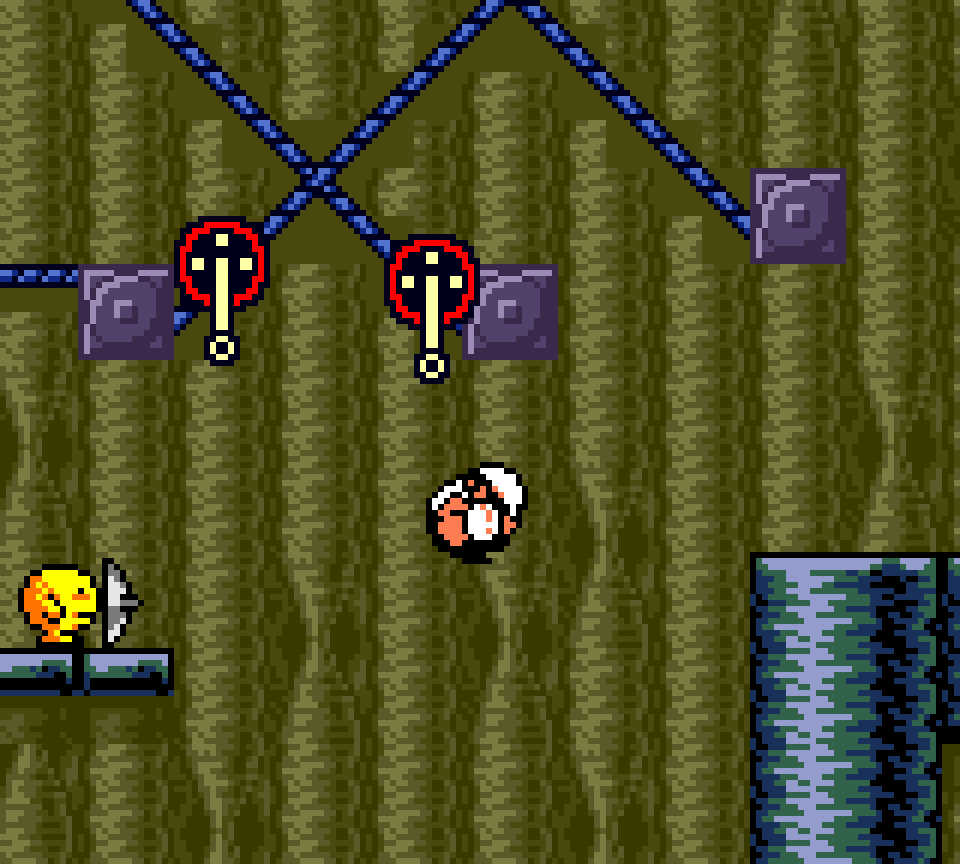
76. W5 Beneath the Waves – Gray
Despite this being a water level, you barely do anything in the water. You’d think I, a constant critic o’ water levels & 1 o’ the few people happy that Donkey Kong Country Returns didn’t have water levels, would be happy with this, but, 1, the water physics in this game are much better than most games, so I actually don’t mind swimming challenges in this game, & 2, what this treasure has instead are 2 rooms with common challenges, like jumping off enemies — which I actually hate much mo’ than water sections in this game — & crossing zip lines.
Granted, the zip line challenge in this level is the mo’ complex & interesting o’ them in this game, specially in this treasure, branching off near the end with 2 paths toward the line that rolls you down into the niche with the gray chest, & having a gotcha roll-down zip line that makes you miss the niche ( which, also granted, is arguably fake difficulty & bad level design ).
What I don’t think is arguably bad level design is getting the key, where you have to jump off an enemy under 1 o’ the many thin platforms, with no indication as to which has the gray key till you’ve already jumped up. Since there are 9 platforms & only 1 key, the odds are stacked heavily gainst you. If you pick wrong, you have to go round & fall back down & try ’gain. Thankfully, you can see which has the key after you pick the wrong 1, so you only need to do it 1 mo’ time; but it’s still not fun or interesting.
The 1 notable use o’ swimming in this treasure, getting to the aforementioned chest room, involves an interesting challenge: the entrance is surrounded with currents all round, almost all o’ which push you back, with the exception o’ a thin passage with a current leading inside. This treasure is necessary to get the super flippers that allow swimming past currents, but these super flippers come soon after, so they perfectly positioned this level’s treasures so that you have to do this puzzle the 1st time, but can just skip it for later treasures — a’least if taking the path o’ treasures recommended by the Temple.
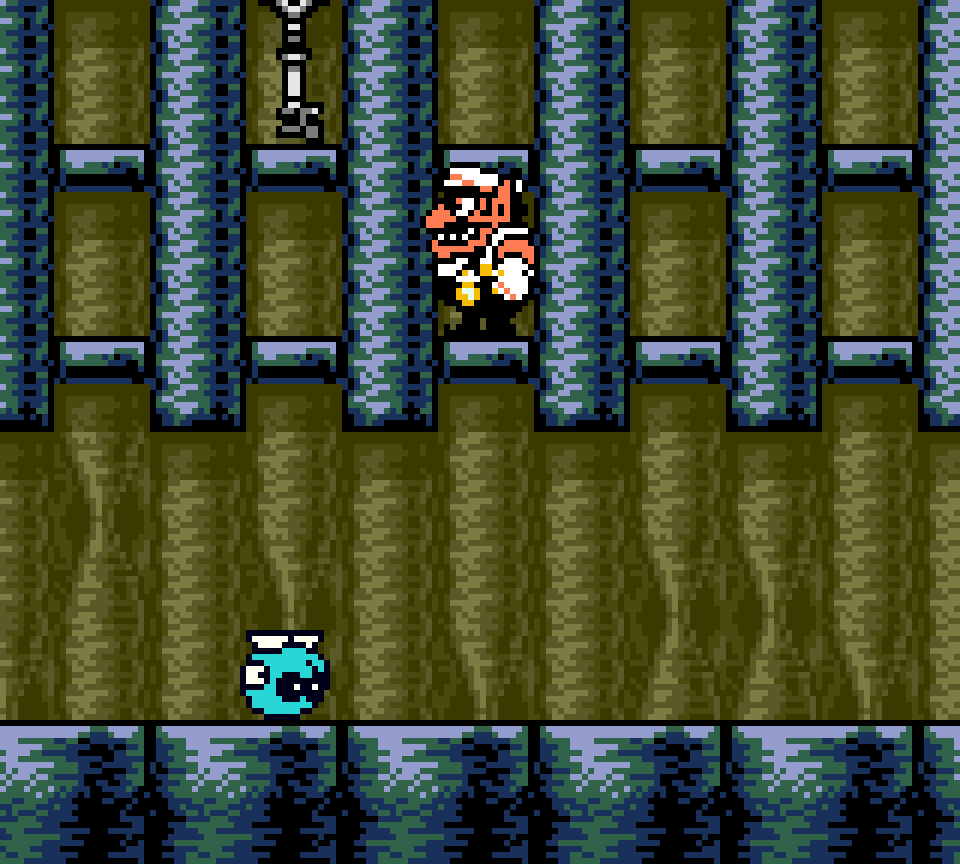
75. E6 The East Crater – Gray
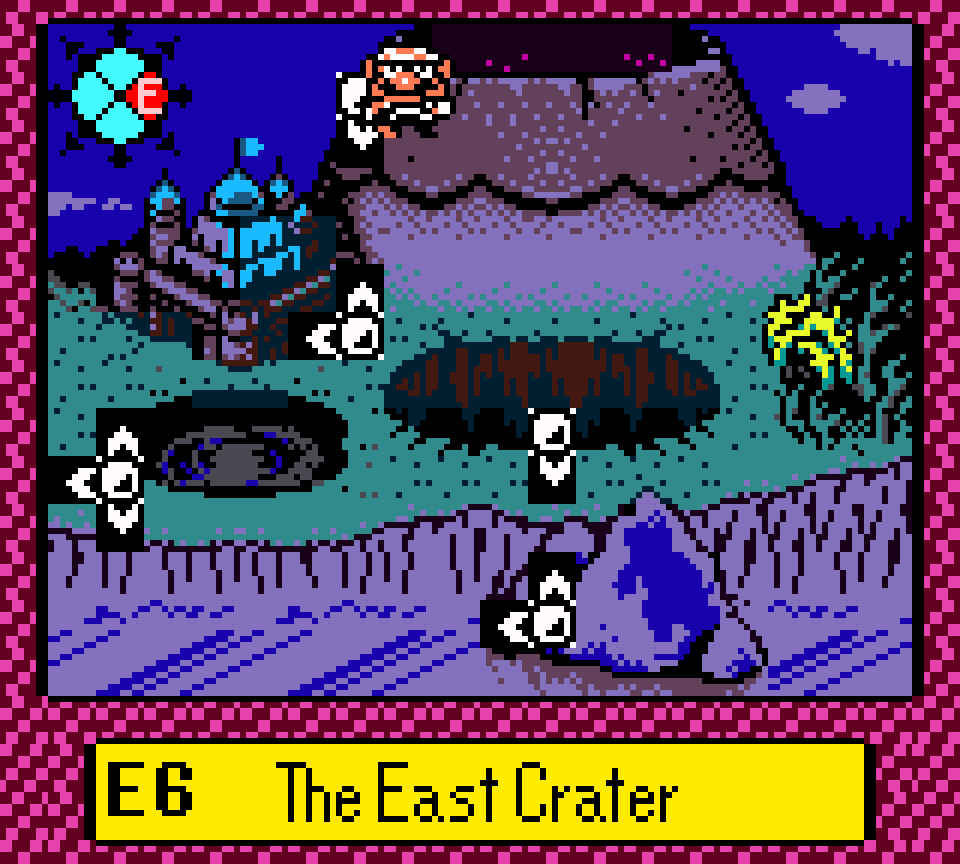
This treasure is a couple o’ rather interesting challenges that don’t cohere to any theme, which is definitely fostered by it being the 3rd o’ volcano levels they inexplicably insisted on putting in this game ’stead o’ any other theme.
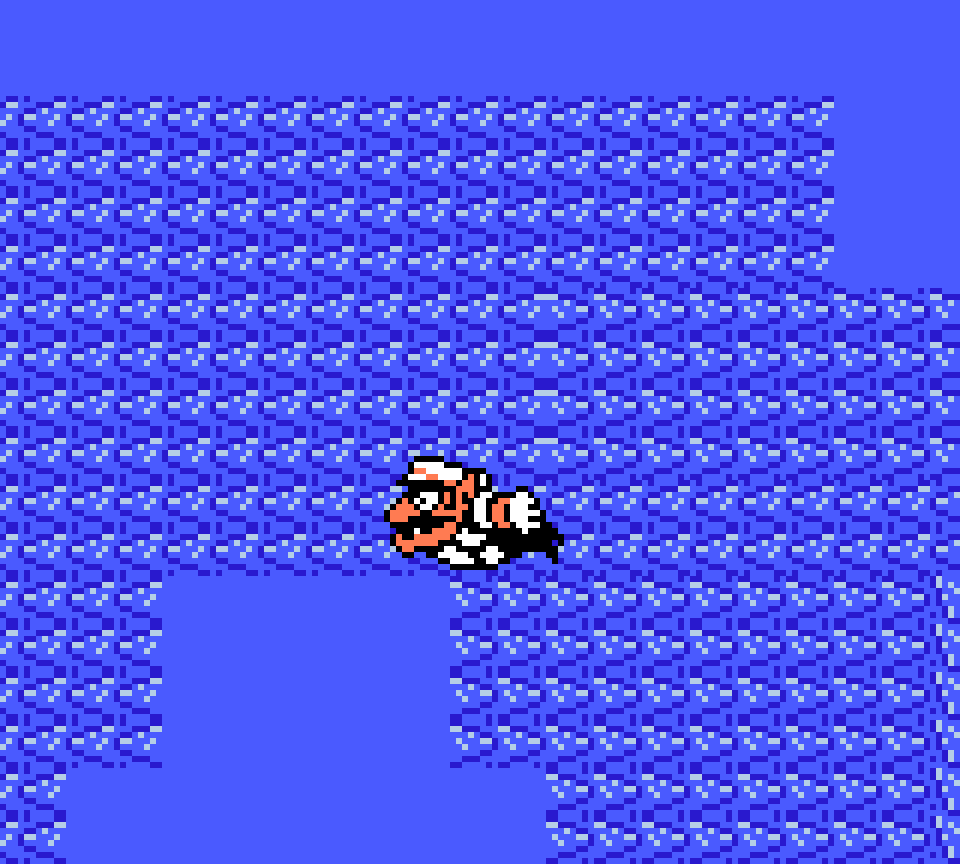
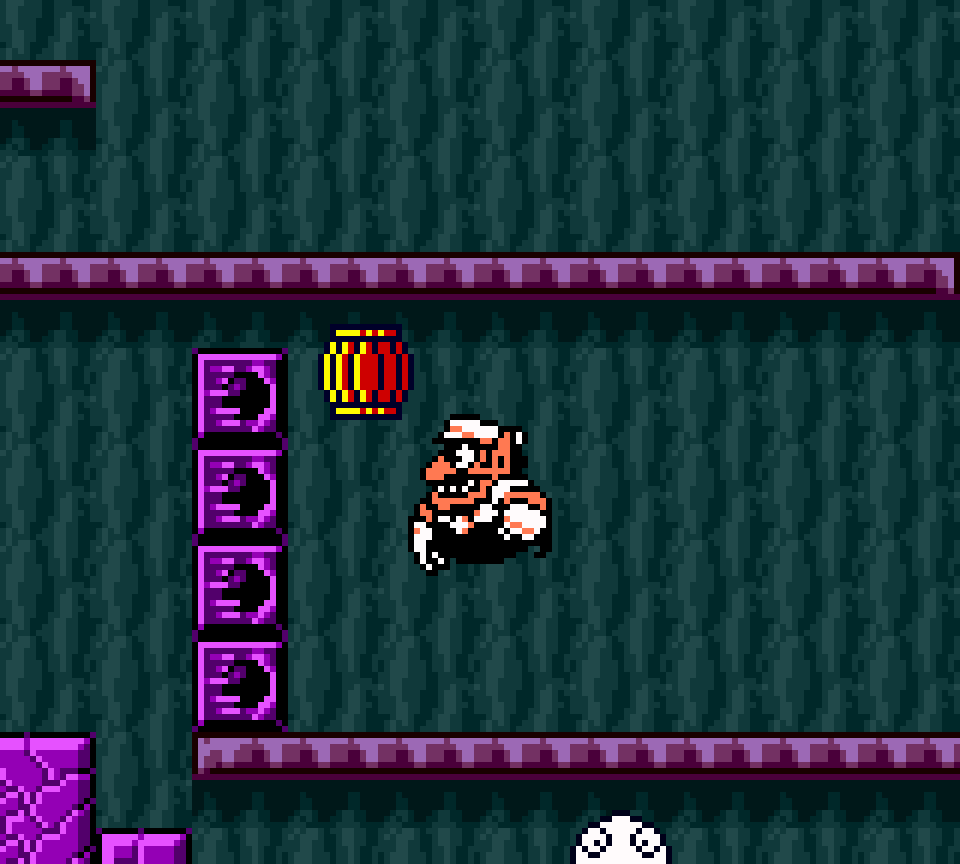
The 1st involves trying to make your way zigzagging down while avoiding the Pneumos, which by itself would be very commonplace in this game, but this treasure adds the twist o’ making you keep a barrel so you can use them to break throw block walls & avoid bonking the Pneumos who are right in the way o’ them from bonking them by drawing them down after you & jumping o’er them. My only problem with this section is that it’s right @ the beginning & you have to do some o’ it before all 4 treasures; tho it’s far better than other levels: only the gray treasure requires going thru the whole sequence.
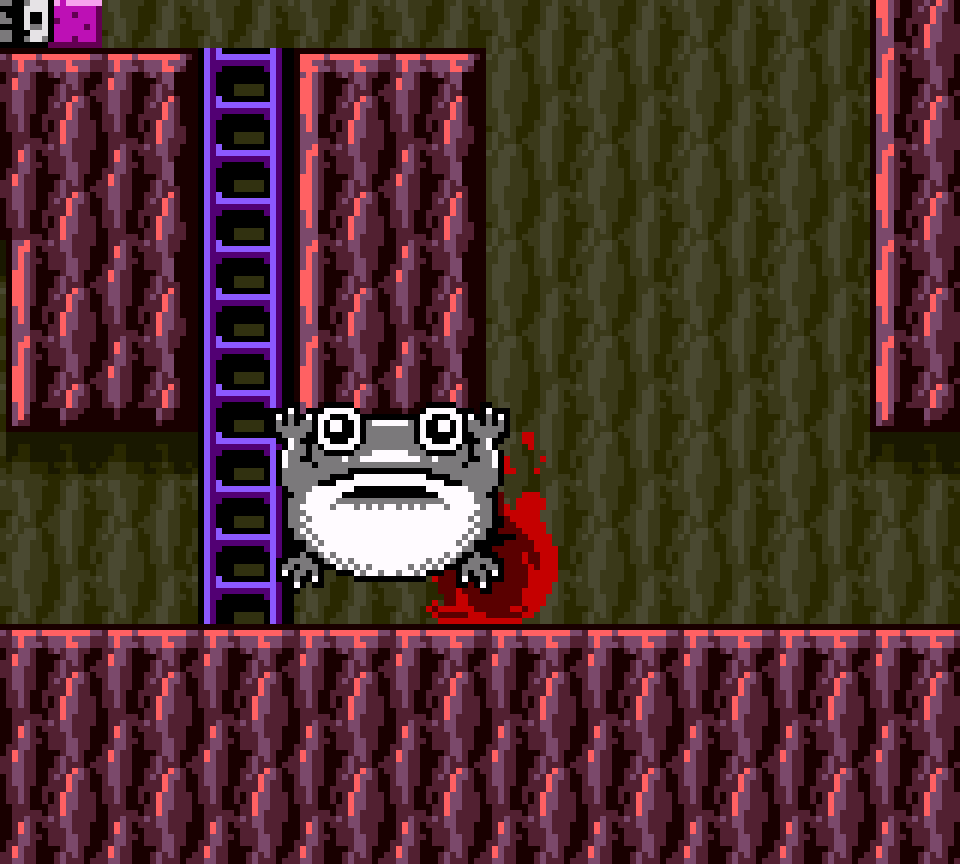
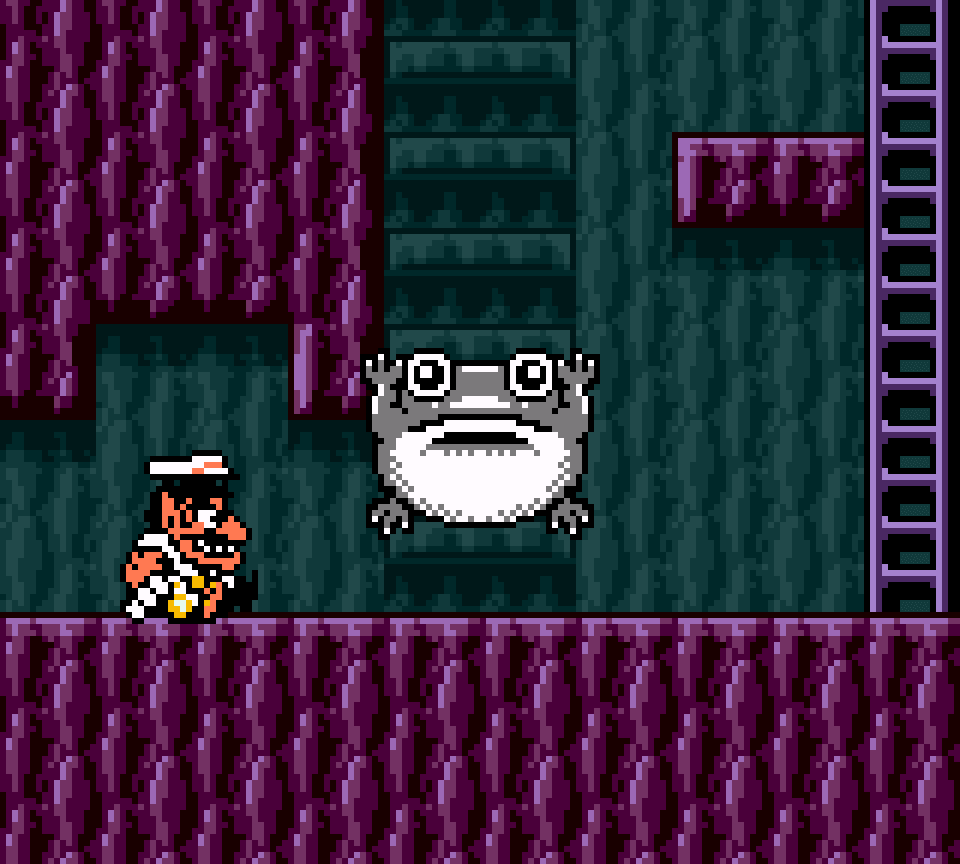
After that sequence there’s a unique challenge where you have to ground pound to raise a Prince Froggie up so you can use it as a platform. This is a cool challenge, but is ruined by being way too long: you have to raise Prince Froggie up 12 whole steps, requiring 12 ground pounds, while also climbing up 3 empty platforms. ¿What was the point o’ making this so long? It could be ⅓ the length & wouldn’t lose anything.
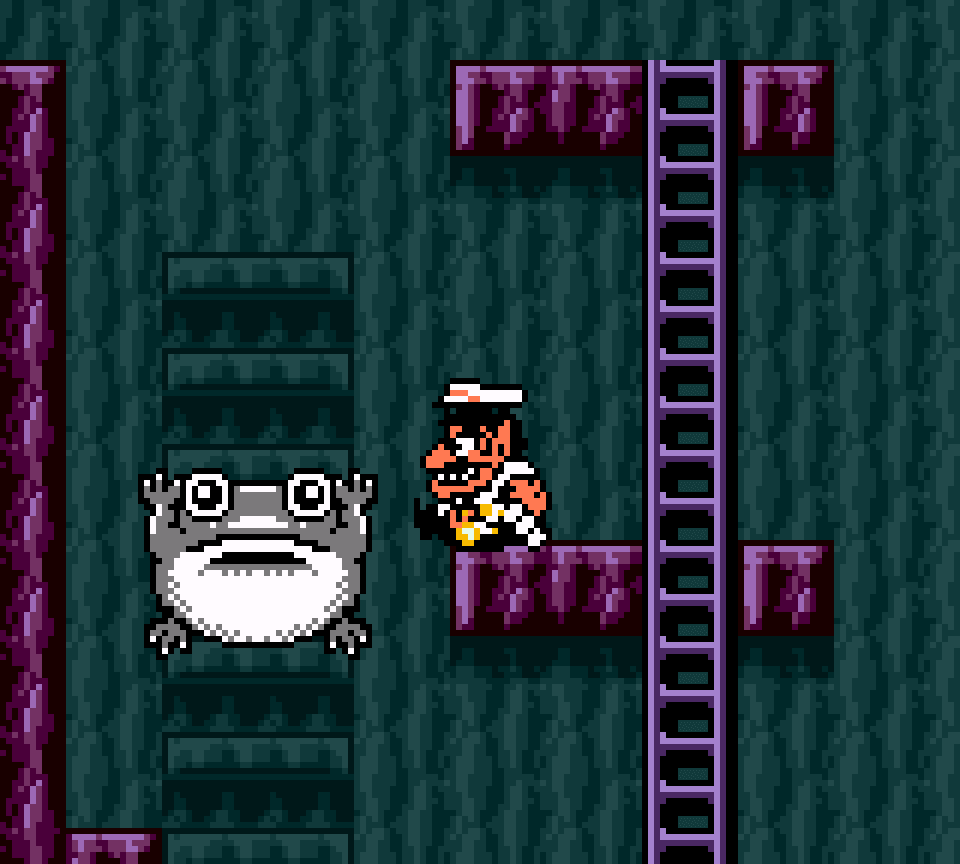
Finally, this treasure trolls the player further: you’d think you can just ground pound to lift the Prince Froggie up out o’ your way, only to meet in the next room ’nother Prince Froggie with a ceiling o’er it. ’Stead to player needs to go back ( & ground pound the 1st Prince Froggie out o’ the way ’gain to go past it ’gain ) & set themself on player to burn thru both frogs. It’s 1 o’ those puzzles that is clever in thought, but annoying when 1st caught in the trap & negligible — the fire part is basically free — when in the know.
74. S2 The Big Bridge – Blue
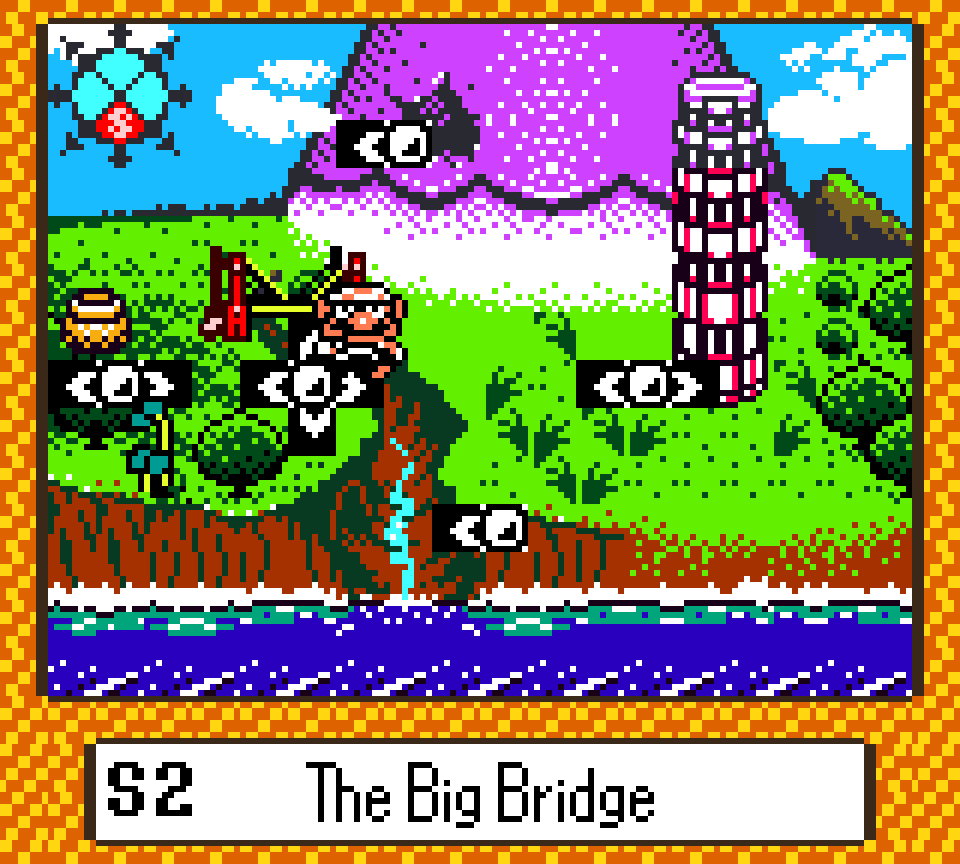
This treasure straddles a fine line ’tween clever & annoying, not helped by the focus yet ’gain on dodging bubbles while zigzagging down thin platforms — albeit ’least here they’re thin & packed together.
After this you need to make sure you explore the upper path & jump up out o’ the water & break the solid blocks with your head, as they’re in the way when going round the other way. Failure to do so will require you to go all the way back. The 2nd pair adds the extra detail o’ needing to get nabbed by a bubble to go past the currents. Also, for some reason, they make you break solid blocks to reach up to the ladder, which doesn’t add anything other than maybe thematic coherence.
When you do reach this area from the upper side, you need to make duck jumps into the passageways, which can be tricky, as holding down & left on the Game Boy control pad isn’t the easiest thing in the world. Failure to squeeze in will cause you to fall into the water & have to go all the way round. Thankfully, you’ll only have to dodge 2 bubbles, tho, so they were pretty merciful.
The blue chest stands on a cliff without any wall, which offers a cool vantage visual & allows players playing on time attack a quicker ’way o’ leaving.
The blue key is in a room just ’bove the door to the blue chest room, which is just slowly dodging wall lasers while climbing a ladder &, bizarrely, dodging the shots o’ Webbers o’ all enemies. Nothing here is new & this could fit in any level. Still, I do like that they positioned the blue key so you don’t have to cross the bridge a 4th time.
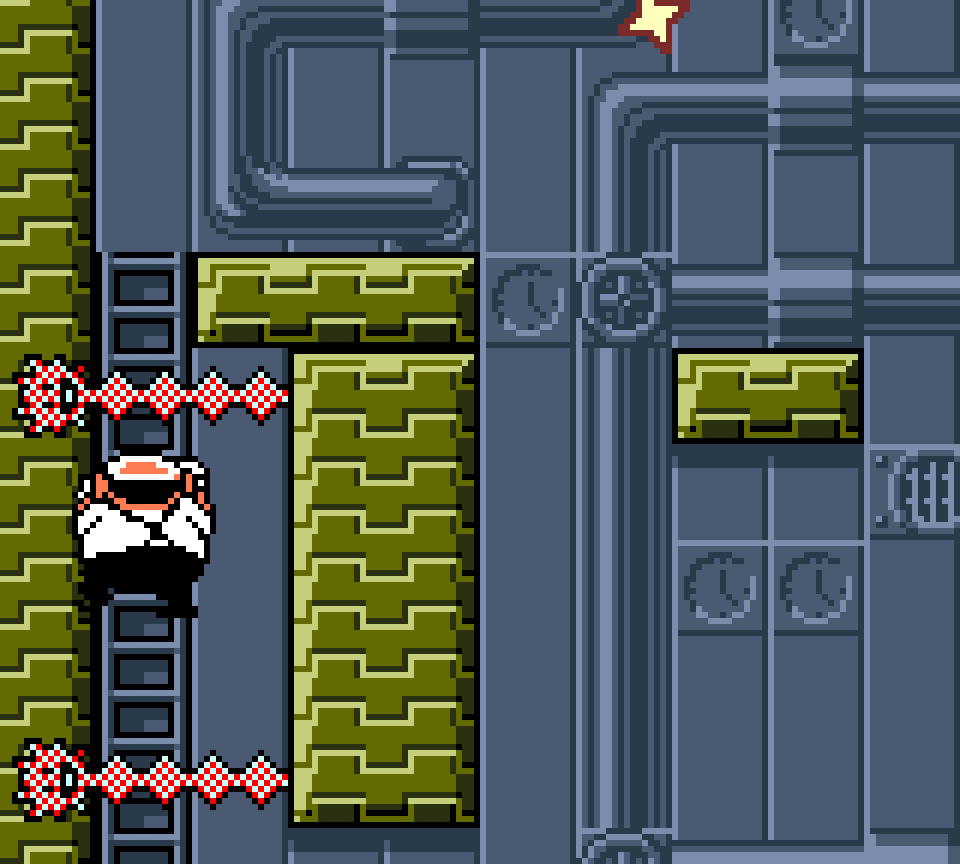
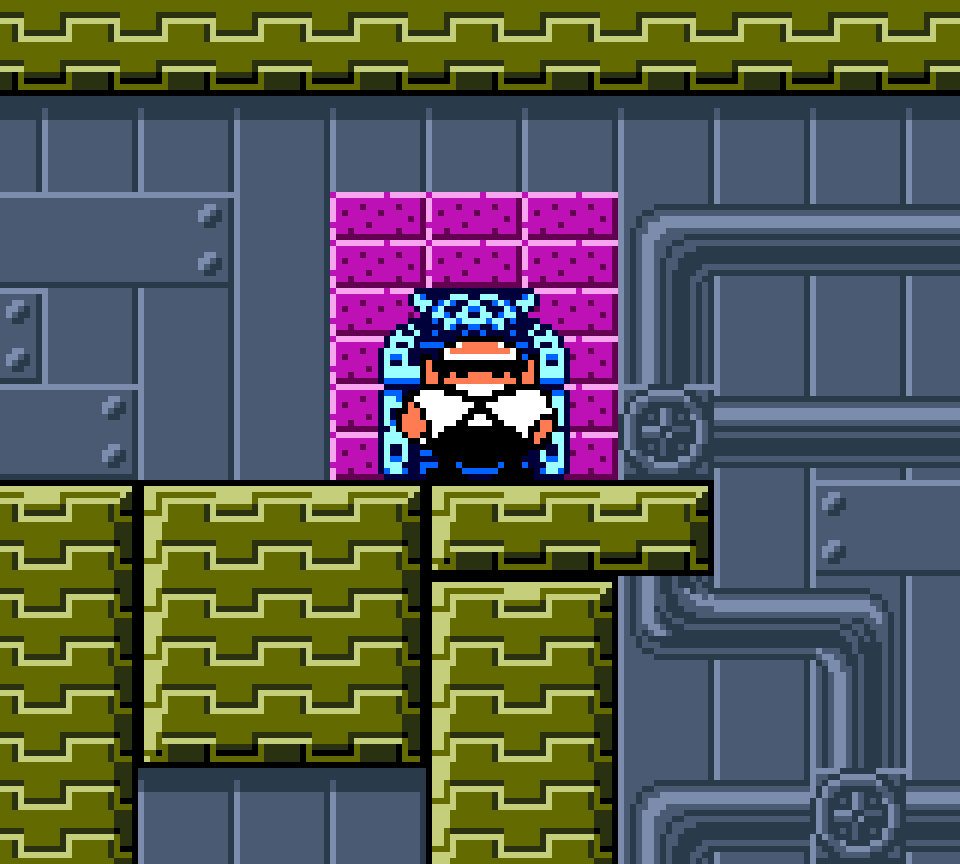
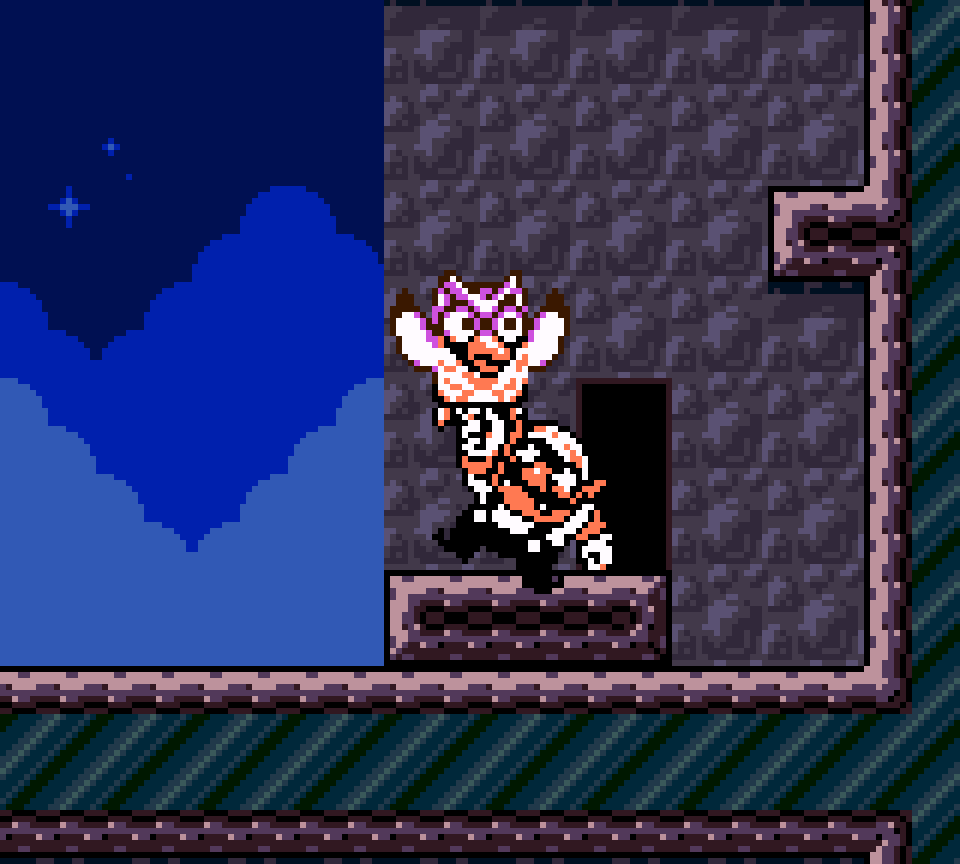
73. E4 The Colossal Hole – Blue
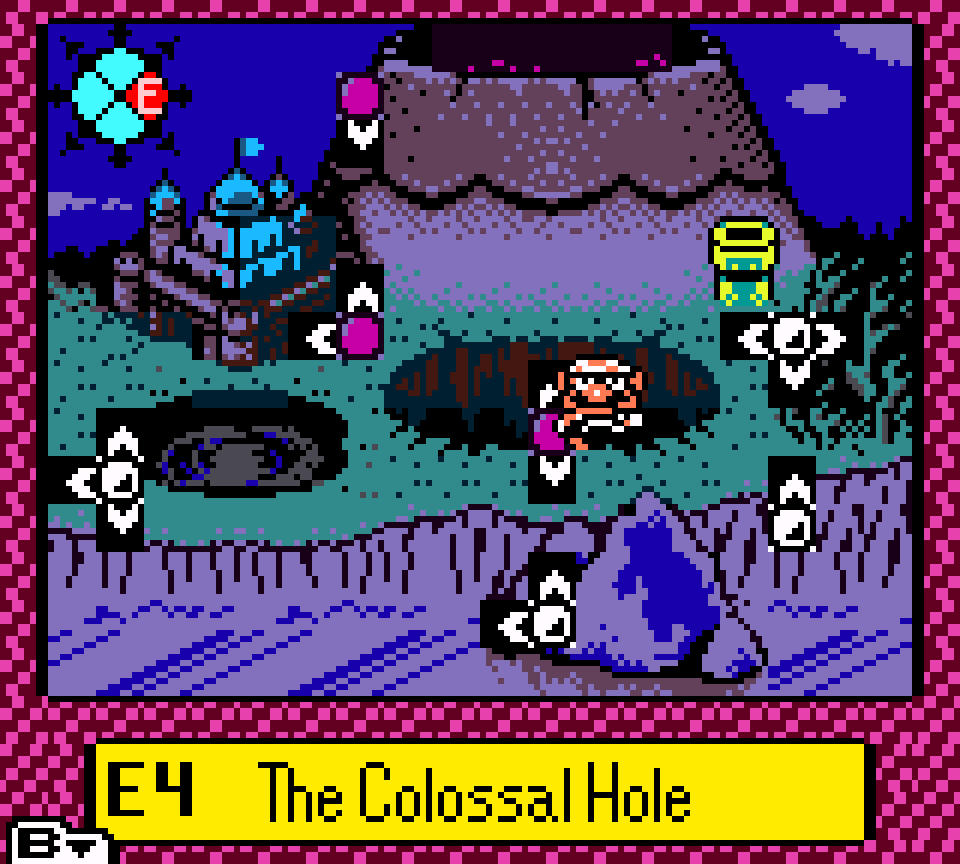
A very mid treasure: after the bomb is detonated, allowing you to enter the door in the upper-right corner o’ the level ( since this game follows the absurd Mario tradition that doors can’t be entered ’less your feet are touching the ground ), you fly up with the owl & then climb a bunch o’ snakes’ heads to reach the blue key & blue chest. None o’ this really fits this level all that well, but I’ve seen worse connections. I guess a cave full o’ snakes makes sense… ¿but why is this cave up in the sky? ¿Why not swap the green treasure, which does heavily involve the sky, with this? You could e’en keep the bomb-detonation aspect, since it’s not as if that makes any mo’ sense in the sky than here. In fact, since you 1st unlock flight for the green treasure & going up in the sky makes mo’ sense than going in a cave area, it would fit better.
Having made all those nitpicky complaints, I will admit that this treasure does a’least make the best use o’ the snake mechanic. In most other treasures, the snake acts as nothing much beyond just a way for the snake flute to be a glorified key to unlock the actually interesting challenges. Here there’s actually an attempt to create challenges thru a sequence o’ snakes requiring you to time jumps from 1 to the other while their heads are in the right position & e’en involves some switch-ups, like a few instances where you need to jump while the snake’s head is down so you don’t bump your head on a low ceiling. Still, this mechanic doesn’t lend itself to too many twists, which is why it’s mainly used as a glorified key, & this treasure o’ all treasures probably could’ve benefited by having the blue key somewhere else — perhaps hidden up in the sky. Or hell, you could’ve put it in a spike maze & made the green treasure accessible without a challenge, since the green treasure already has plenty o’ challenges within its 1 room not including the whole spike maze.

On the other hand, I can’t criticize this treasure for being tedious or repetitive — it should take e’en the most incompetent player only a few minutes to complete.
72. S1 The Grasslands – Gray
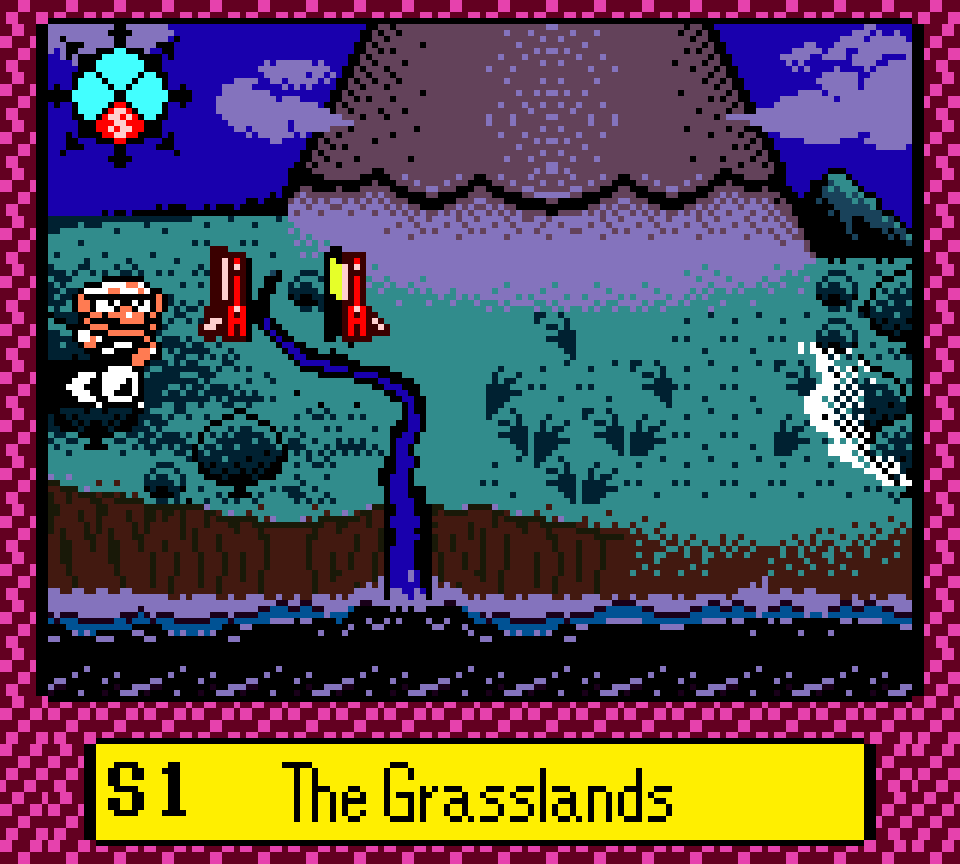
This treasure is a bizarre mix o’ easy & hard: while the challenge for getting the key & e’en the boss himself, who is probably the easiest boss in the game ( making him a much better candidate for 1st boss than Doll Boy in “The Volcano’s Base” ), getting round is a pain, thanks to all the birds that spin you drunk till you fall into the water below the level if they hit you &, worst o’ all, all the hidden holes in the terrain that cause you to fall down & force you to climb back up. Yeah, invisible holes in the ground is not a mechanic you’ll e’er see me praise, & having them so early in the game makes it specially worse, & having you deal with this in the main level, & thus for e’ery treasure, doubly so. I guess after a few treasures you’ll memorize where the holes are & eventually you can just jump up the cliffs with the winged boots, negating the challenge. Doesn’t make it any less o’ a crappy mechanic, tho.
It’s too bad, ’cause the other parts aren’t bad: the gray key involves a clever puzzle involves getting flattened & timing your fall to the left so that you fit into the thin passage to reach the key. A puzzle this easy, but without being dull, is perfect for early in the game.

Wormwould is the easiest boss in the game, but not free: you have to dodge his rocks & charge attack him 3 times, & then quickly ground pound him 3 times. He moves quickly, so the latter phases can take a while to get thru for novices. It also felt very basic to me — specially compared to Doll Boy before it — but a’least it fits in with its level & has some stanky hurt faces.

71. W1 Desert Ruins – Red
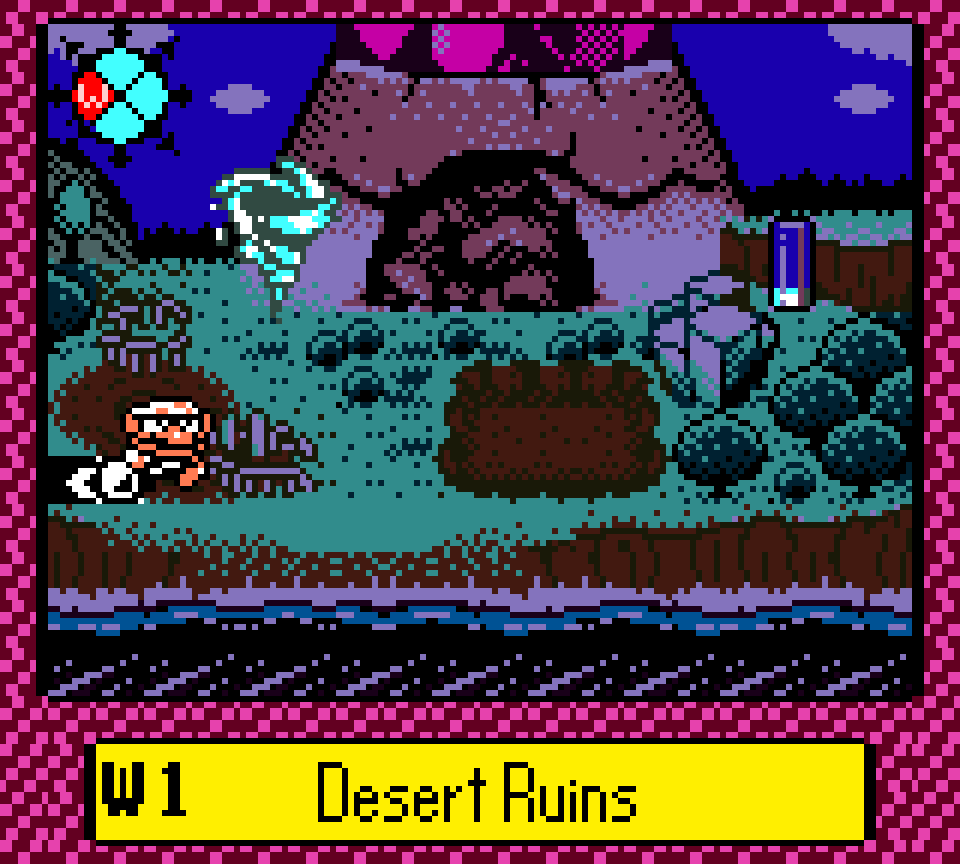
In contrast to the 2 treasures from the 2 levels that precede this level in the game, which can be gotten in any order, that combine to unlock the next path, the 1st 2 treasures in “Desert Ruin”, which can be gotten in any order, — the 1st time the player can get a red treasure, not including glitches, & the 1st time they can get it before the gray treasure — are both necessary to unlock the next level, building up into players’ minds that this is not just a level-to-level game, but a game where the different chests will start to matter. This level does this naturally by splitting itself into 2 main halves, with the right half for the gray treasure & the left half for the red treasure. To top it off, they also split the level by times o’ day, reiterating the emphasis they make in N2’s gray treasure, with the pink door on the right only open @ day & the door on the left only open @ night.
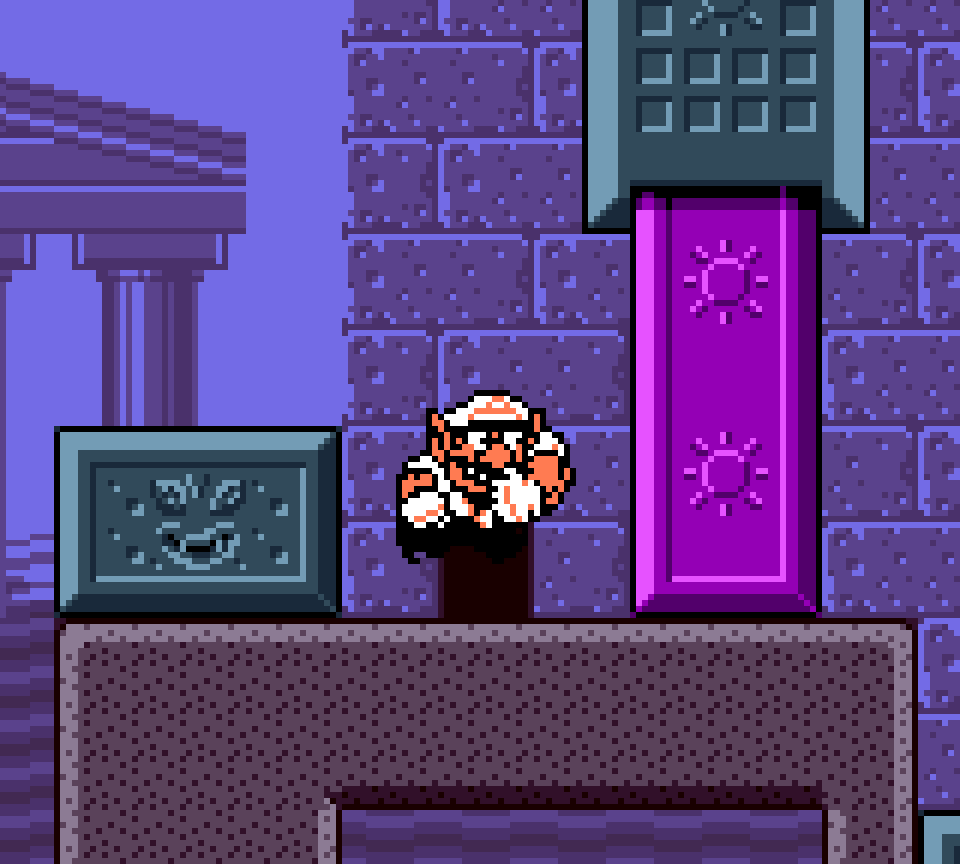
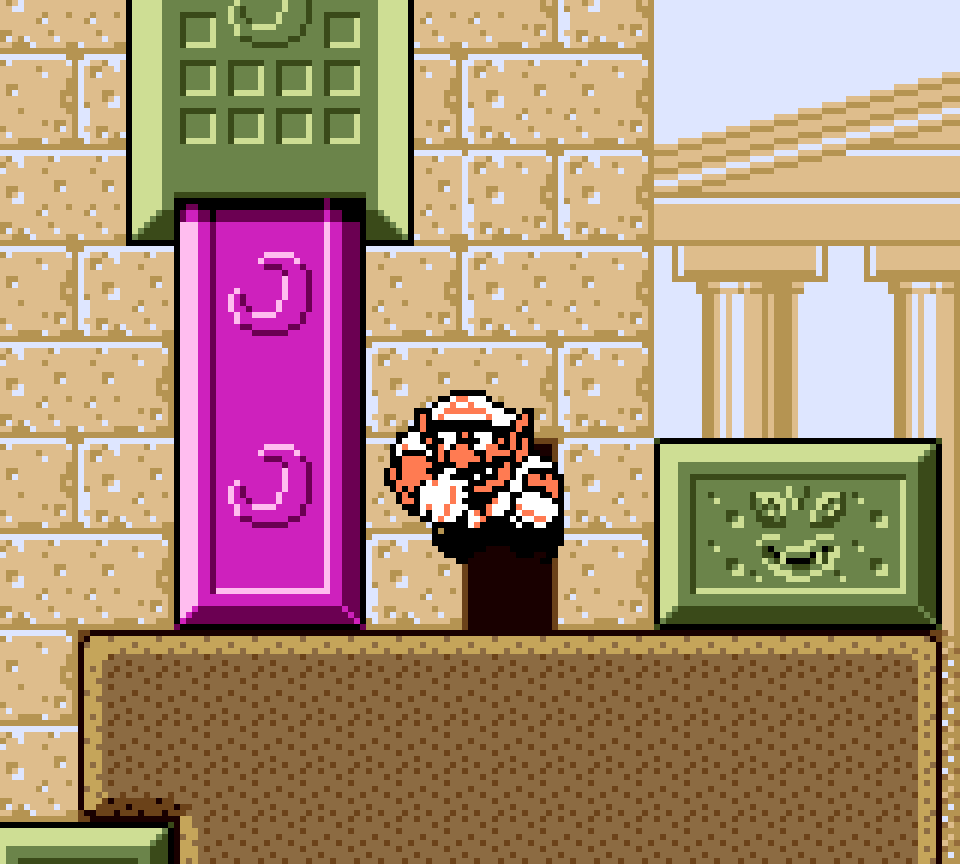
Interestingly, tho one would expect the gray treasure to naturally be the 1st treasure to get, not only ’cause the gray treasure is usually the 1st treasure & listed 1st in every screen, but also ’cause going right is the most natural path in video games, if players play the game naturally & don’t leave levels prematurely, it’ll be night when they play this level 1st. This creates a twist on expectations: players will likely go the right path, only to see that it is blocked by a wall with a conspicuous sun on it. Players will then have 2 choices: if they immediately make a connection ’tween the sun icon & the fact that it’s night time they may decide to leave & come back ( if they know the time o’ day will change if they just exit a level ), or they may try to explore the rest o’ the level & find the night path, where they will also eventually find, to their surprise, the red treasure. Also interesting: the night version o’ this level is easier, as it lacks the sand hands who can grab you & drag you into the quicksand, making you have to backtrack to the start & retry jumping ’cross. This all makes me think that having you play this level @ night 1st was probably intentional.
Unfortunately, most o’ what comes after this point is rehashes of obstacles players have already dealt with before: the red key room is a not-particularly-inspired room with 2 Doughnuteers there to waste your time. It’s not the only time players will run into such a room, & far from the most interesting.
The red chest room is interesting in that it has you go thru a big room you will have to return to for the final 2 treasures. The red treasure path will have players deal mostly with Silkies, which they already dealt with in the 1st treasure, albeit here they make them a bit mo’ challenging by putting them in tight corridors where you can’t easily jump o’er them & dodge their mouths. @ 1 point this level introduces a new enemy, the Beam-bots, who are introduced well in a place where they’re easy to dodge, on the ladder, with the 1st bot being low ’nough that you can just defeat it.
Something I don’t like ’bout both the gray & red treasures in this level is that the key room is outside the wall, so it’s easy for players not paying attention to waste their time getting a key before realizing they can’t access its corresponding chest. Having both keys & chests so close to each other isn’t particularly strong placement, either. I think an improvement would’ve been to place these keys somewhere out in the bottom part o’ the outside area, which is shockingly neglected: all the keys & chests are in these 4 doors, while the rest o’ the outside area is used for just 2 music coins & mostly empty space.