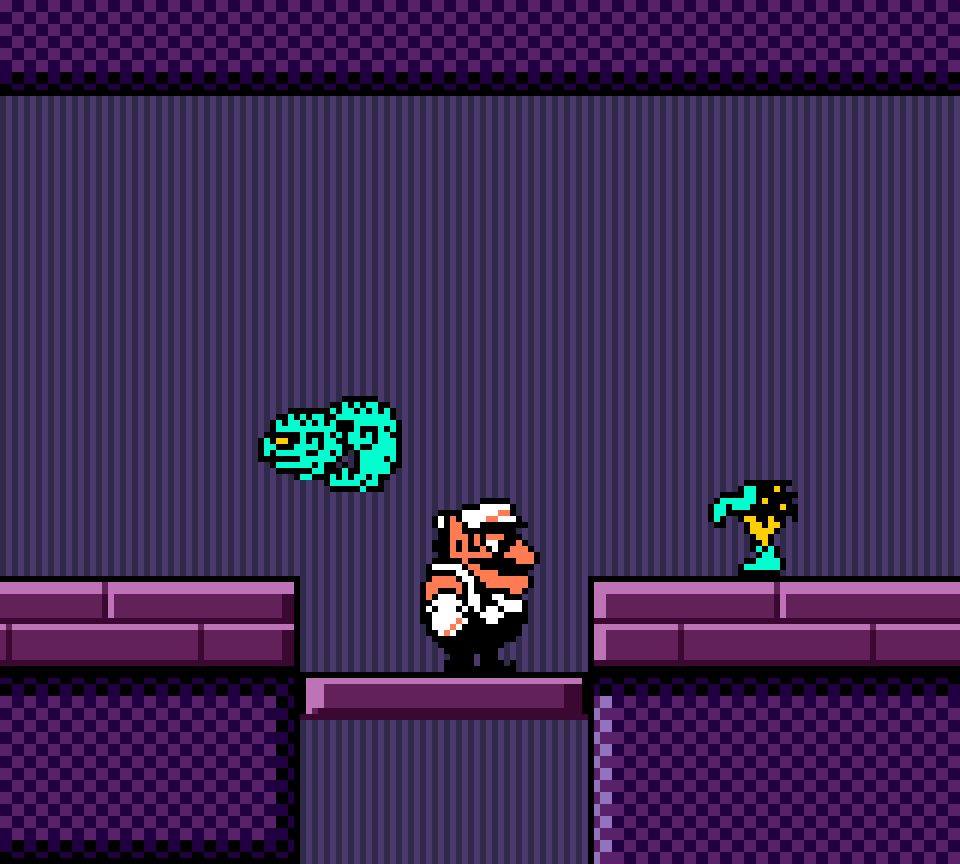
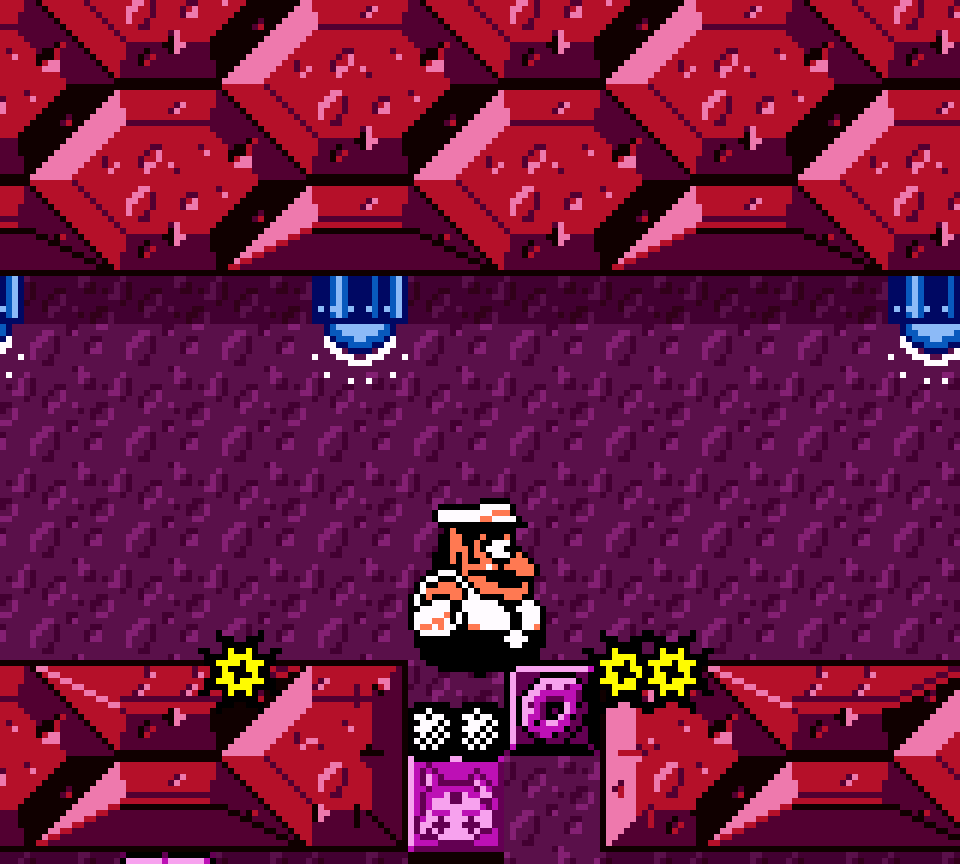
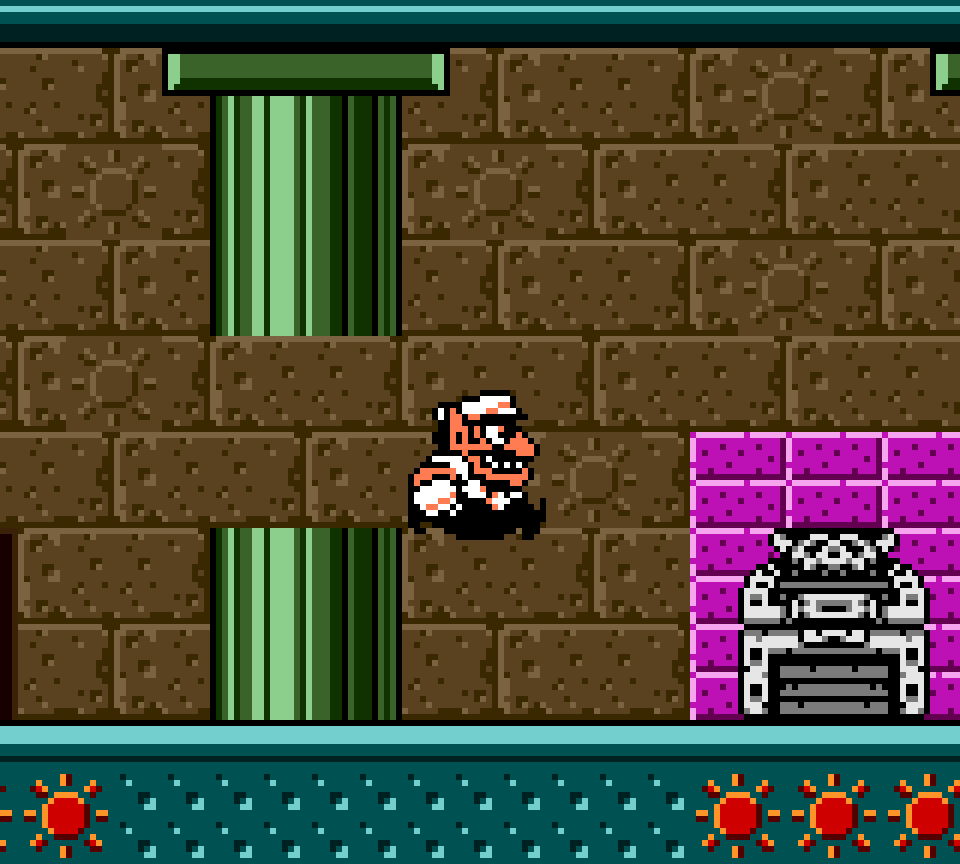
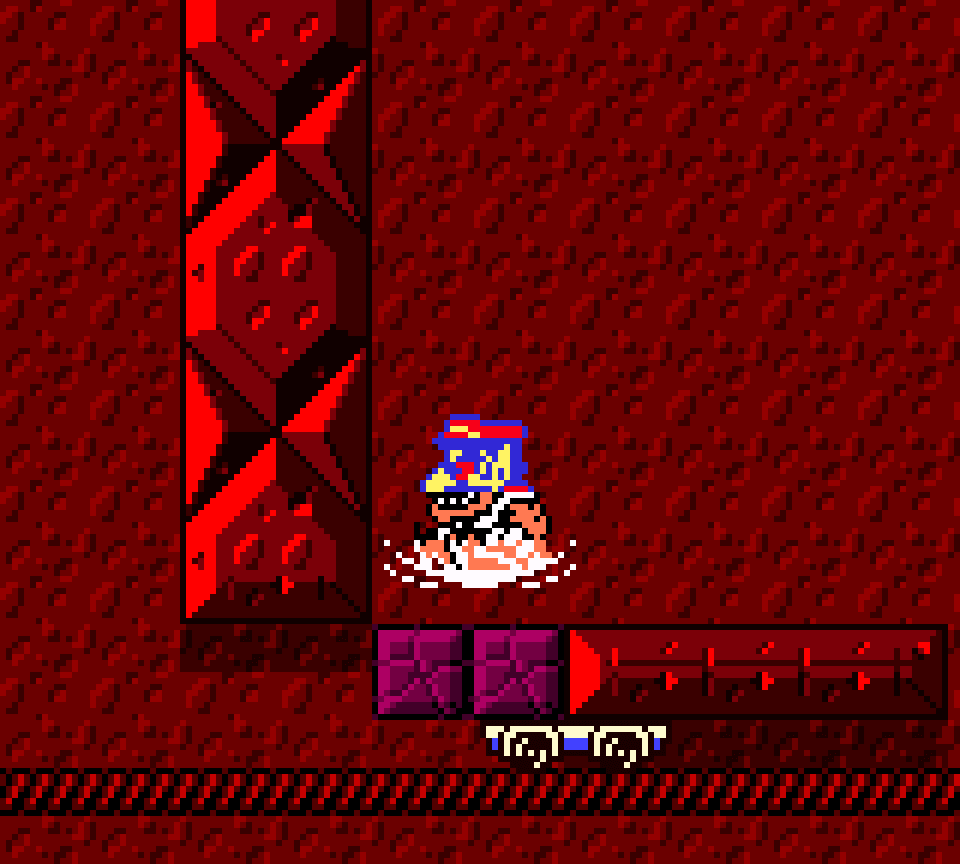
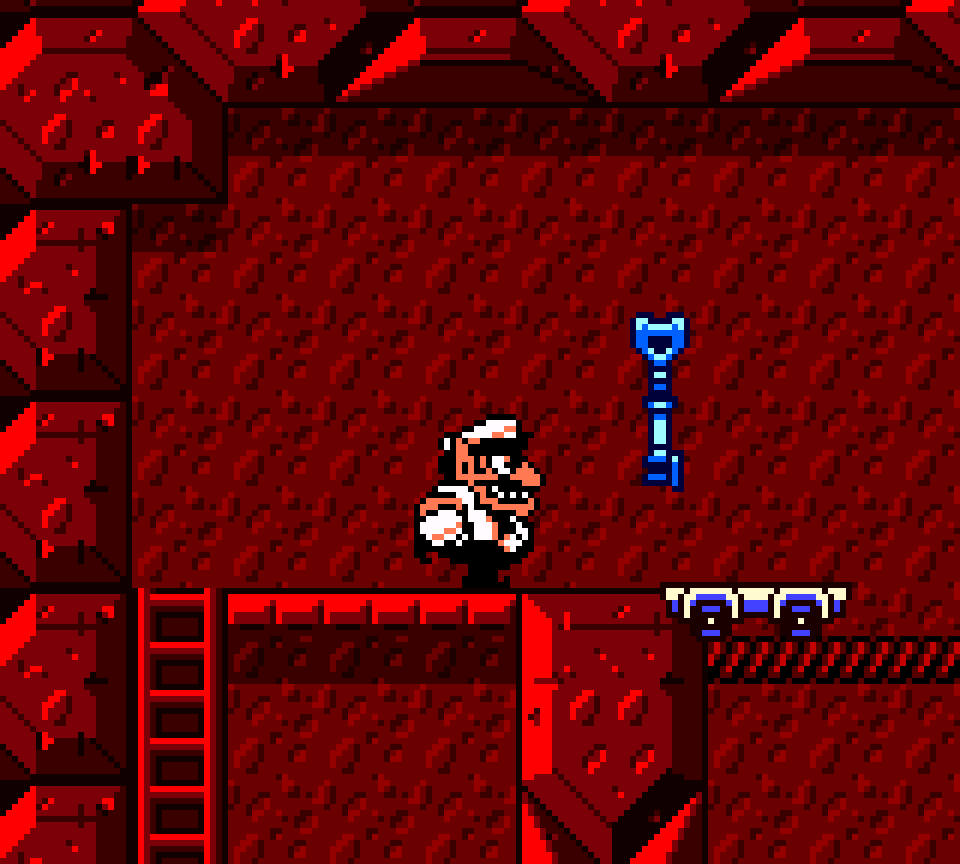
70. S3 Tower of Revival – Blue
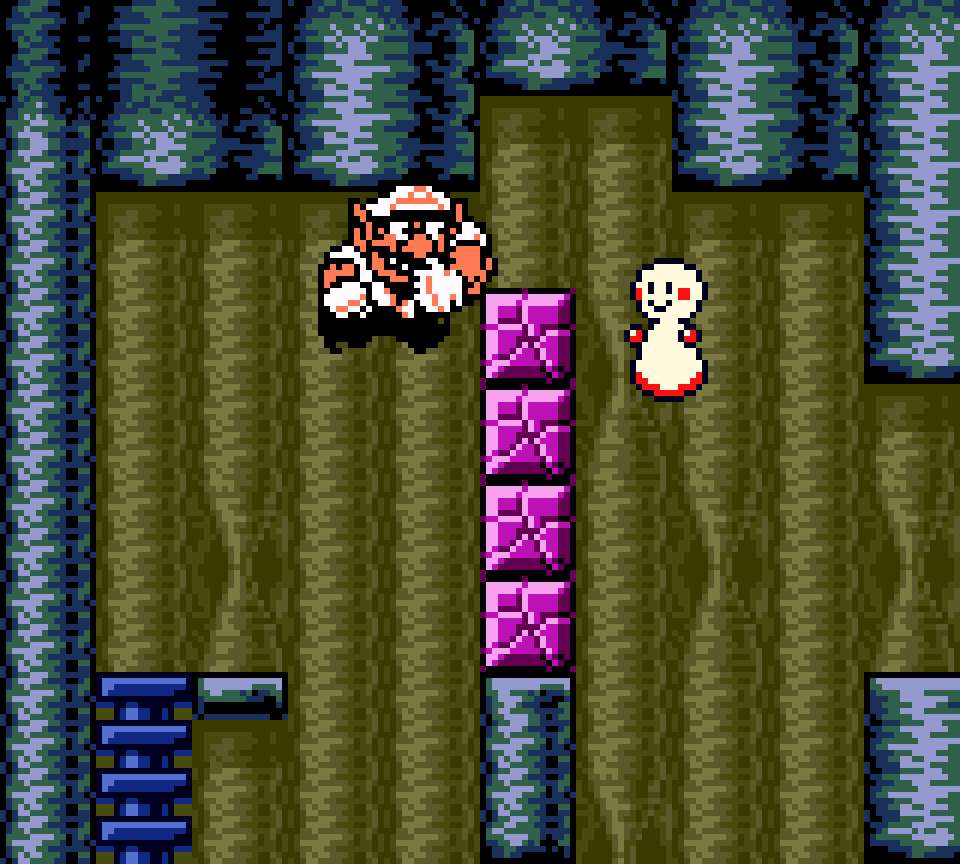
The 1st room into the red-&-gold snake door has a cool arrangement, especially the part where you climb up a ladder to loop around from the left crisscrossing the ladder thru a thin passageway as flat Wario, & the challenges where you have to quickly climb up, slide into a niche, & jump before the smashers fall & quake the ground are rare ’nough to feel fresh.
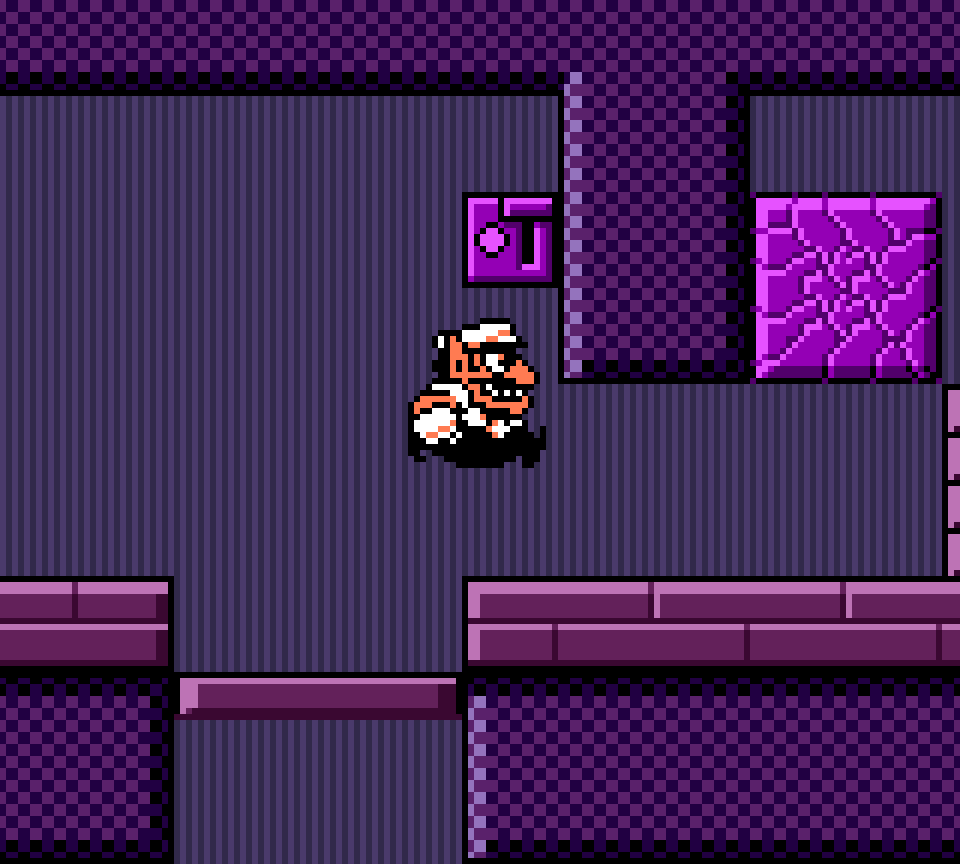
Unfortunately, the designers for some reason felt the need to put the blue key in a niche you have to fall down into & then fall back down to the start, making you redo the aforementioned puzzles again.
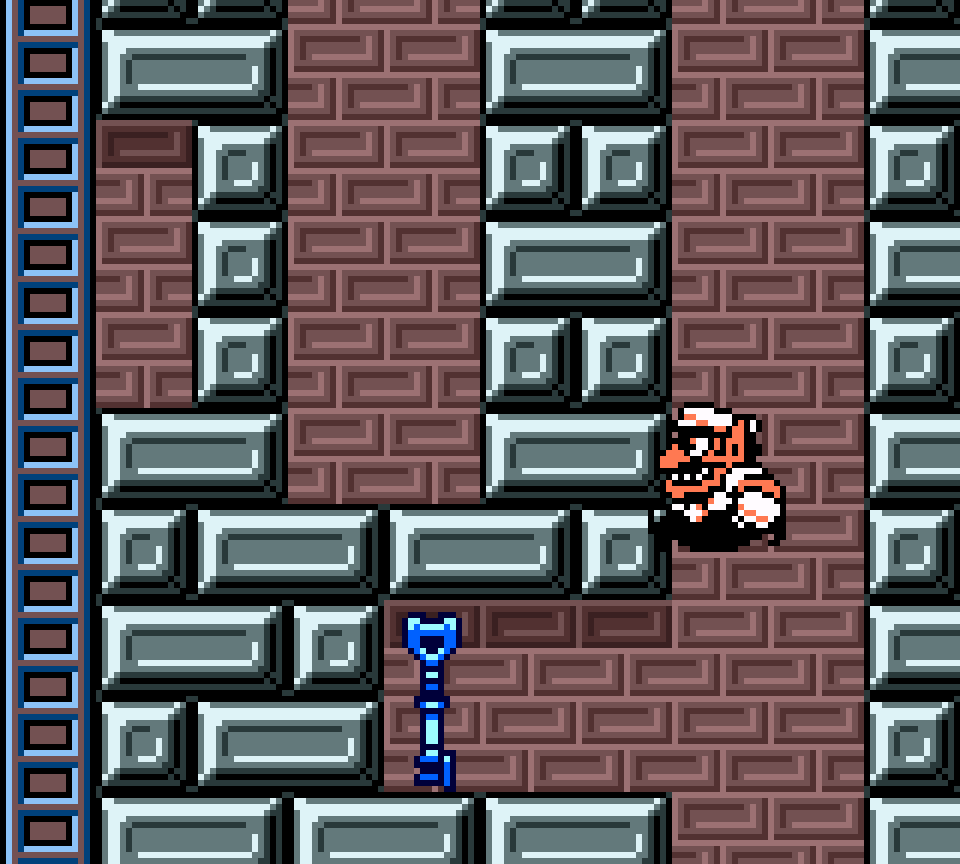
The room afterward is completely forgettable, howe’er: just break thru a bunch o’ blocks up to the top, carry a Brrr Bear up so you can break some throw blocks @ the top, & then carry the Silky down to the bottom so it can stringify Wario to break the yarn block. Annoyingly, it’s easy to defeat the Silky by throwing the Brrr Bear @ it while trying to break the throw blocks, which just wastes time making you climb back down & exit & re-enter the room to respawn it. Given how dramatic this treasure is, leading to what is usually the last level to be unlocked, & the way this treasure seems to lead to the very top o’ this long tower, it’s disappointing that it ends with these nothing puzzles.
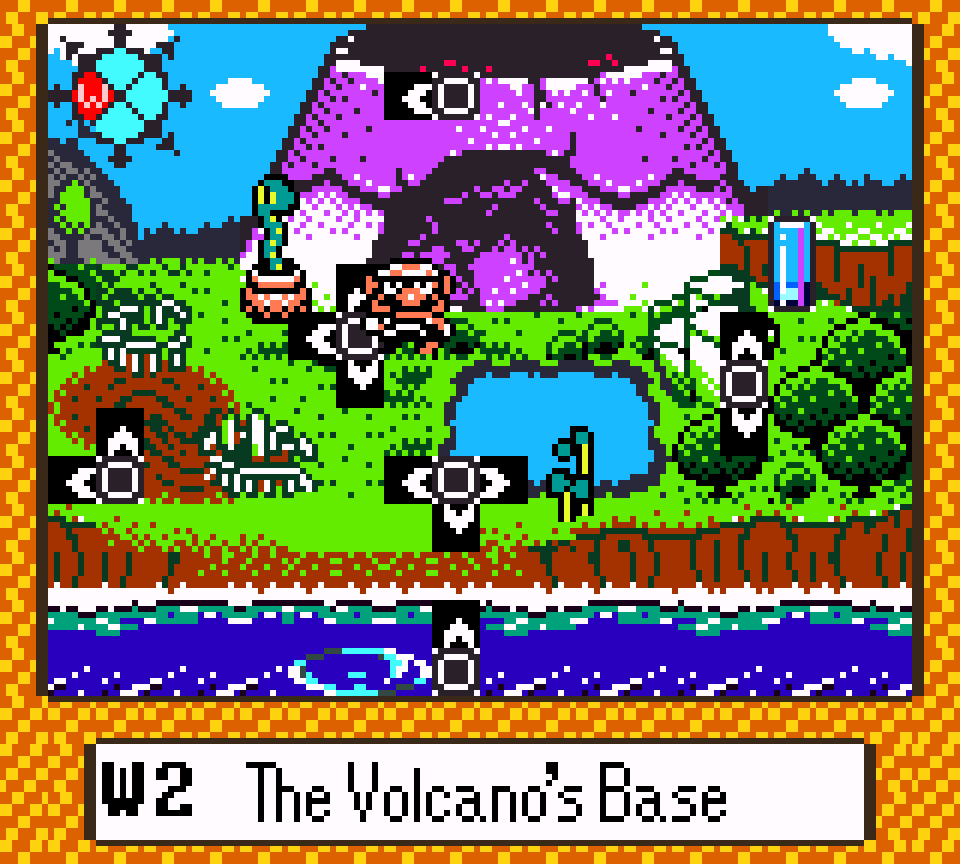
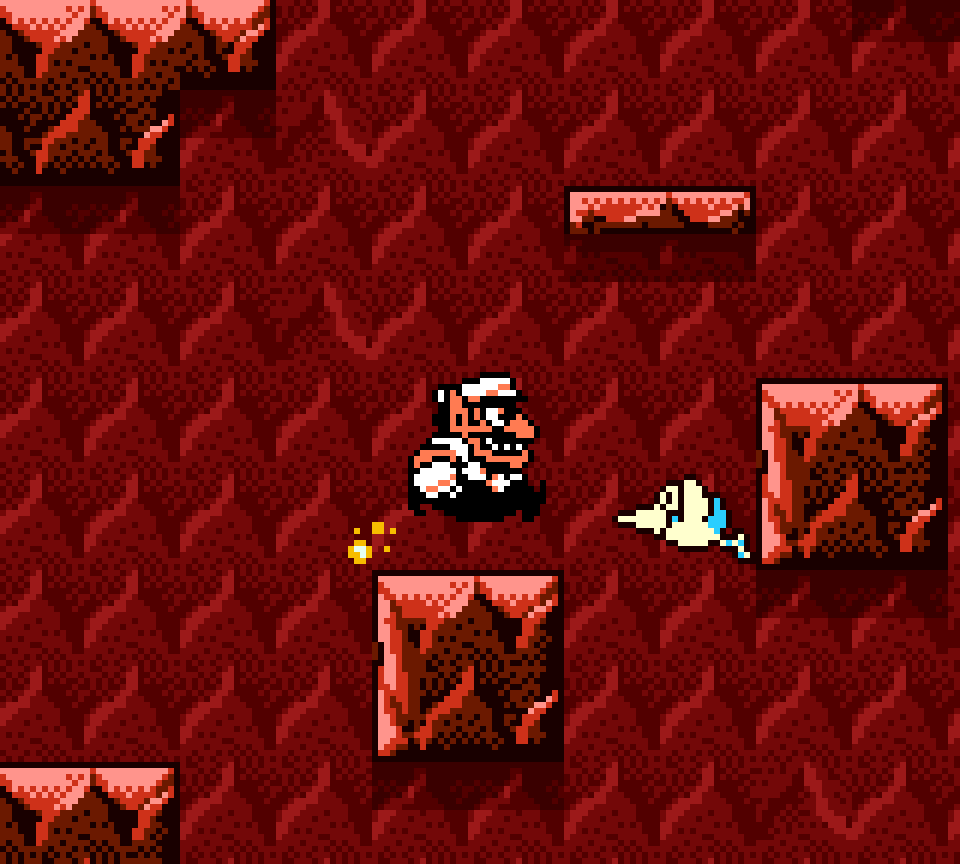
69. W2 The Volcano’s Base – Red
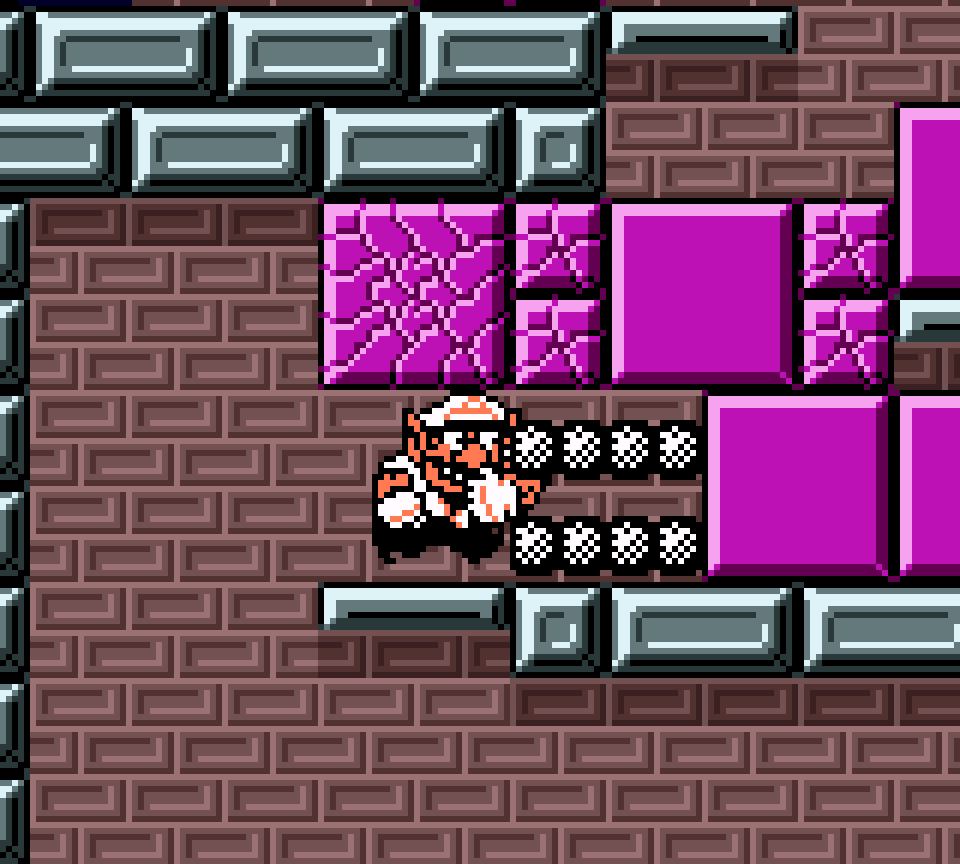
While the trolley may seem cool, its unbearable slowness makes for a boring experience, leaving long sections o’ just standing round waiting. Hilariously, it makes the spikes much harder to jump o’er, as you barely have space to jump round the spike when the platform is right under it for, like, a whole second.
Worse, they padded this treasure out by breaking it up into 2 tracks & having the chest @ the end o’ the 1st track & the red key in the middle o’ the 2nd track, so, you guessed it, you have to go all the way down the 1st track a 2nd time.
& before that we have a long ladder climb where you have to stop & start while timing your way ’tween beams, which you have to redo e’ery time you fall off the trolley.
That being said, there are some cool parts, like the aforementioned spikes, & the Fire Robotas up on cliffs, whose fires guarantee you aren’t staying on that trolley if they scorch you. If they removed the ladder climb & made the trolley move twice as fast, this would actually be a great treasure, e’en with having to redo the 1st half.In general, this is a treasure that’s mo’ interesting in theory than to actually play.
68. W4 A Town in Chaos – Red
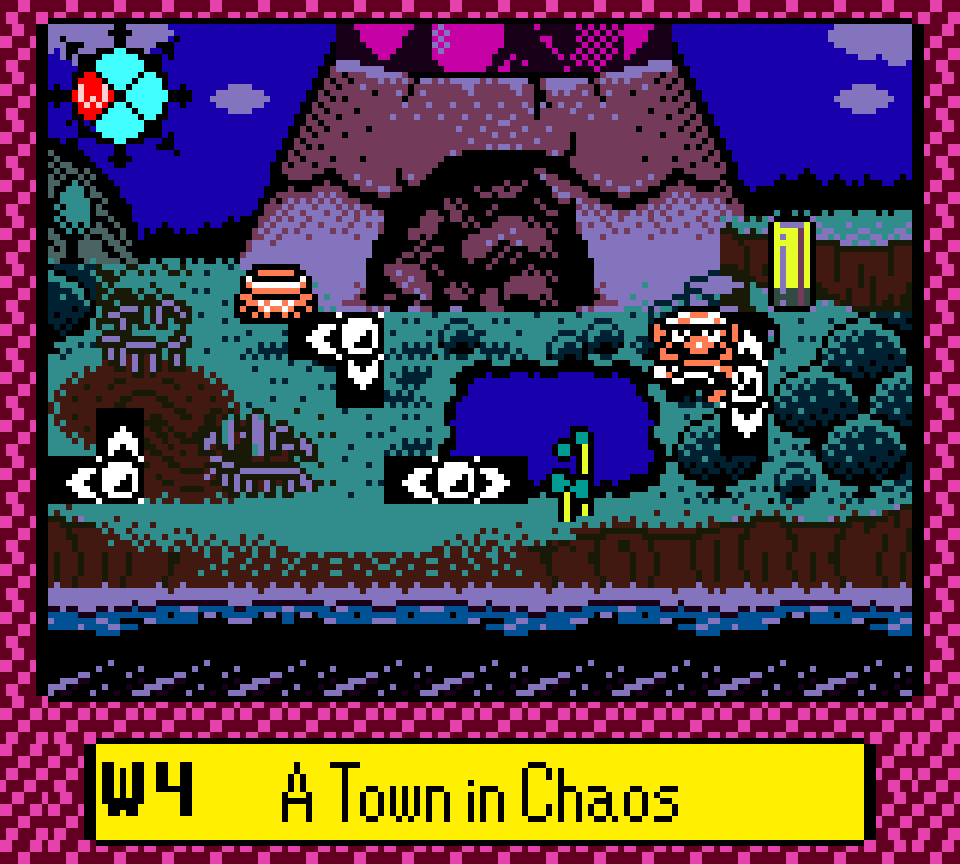
This is 1 o’ the hardest to rank. On 1 hand, it has a lot o’ cool elements, like zombies & the return o’ the rabbit boss, Shoot, from Wario Land II, now challenging you to association football ’stead o’ basketball. It also makes clever use o’ the level elements set up for the gray treasure to create a puzzle for getting the red key.
The problem is most o’ these elements are used to slow the treasure down. While it’s clever to have the player use the switch used to ’scape the gray key room in the gray treasure to open up the red key, it does force the player to go back & forth, as that switch also happens to be in the room where you continue to the red chest. Plus, it’s just making you redo mo’ than half o’ the gray treasure. What’s most annoying is that there is a switch in a room used for the blue treasure down @ the bottom o’ the red key room, but hitting it makes it so you can’t get back up ’less you have the red o’eralls to break thru a secret path downward — & you can’t wait for the red o’eralls to beat this the 1st time.
Shoot, meanwhile, is 1 o’ my least favorite bosses in this game. He’s technically not difficult — I don’t think I’ve e’er lost to him, since it requires letting him jump on you & then grab you ’gain 3 times, which takes a lot o’ apathy to allow happen; but I do end up in a stalemate with him a lot ’cause the timing for getting him in the net without the tortoise blocking him ( ¿why is the hare’s mortal enemy helping him? ). You either have to hurry & jump on him & kick him just after bumping the tortoise, as the tortoise doesn’t stay down long, or time a weird jump charge while the hare as a ball is jumping to make it go ’bove the tortoise’s head — & I think you still need to be in the right position to make this work correctly. & you need to do all this 3 times. If they made the tortoise stay down for a bit longer, this would’ve been a lot mo’ tolerable.
As for the zombies, I mean, there are many other treasures with zombies that use them much better. In addition to the other problems I mentioned, this treasure also has coherency issues. ¿We’re dodging zombies so we can play sports with a hare? Mo’ serious, this treasure has too many elements. For example, removing the switch element & just having the red key grabbable from the start where it is would have streamlined this treasure & removed repeating half the gray treasure.
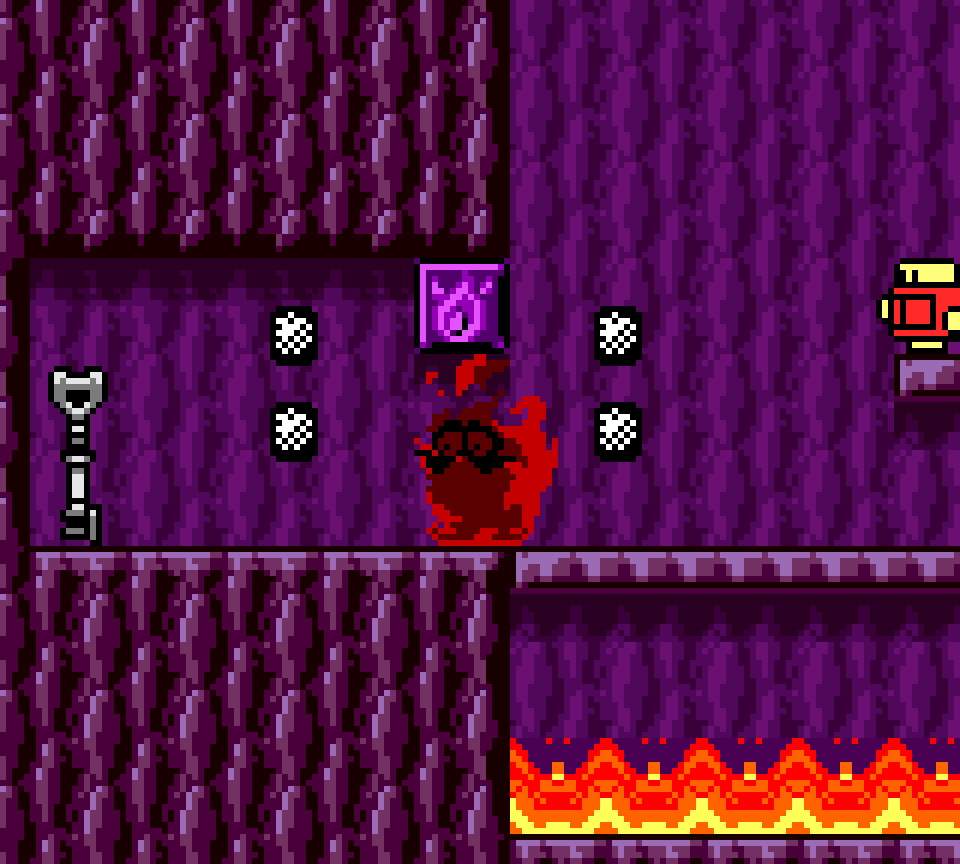
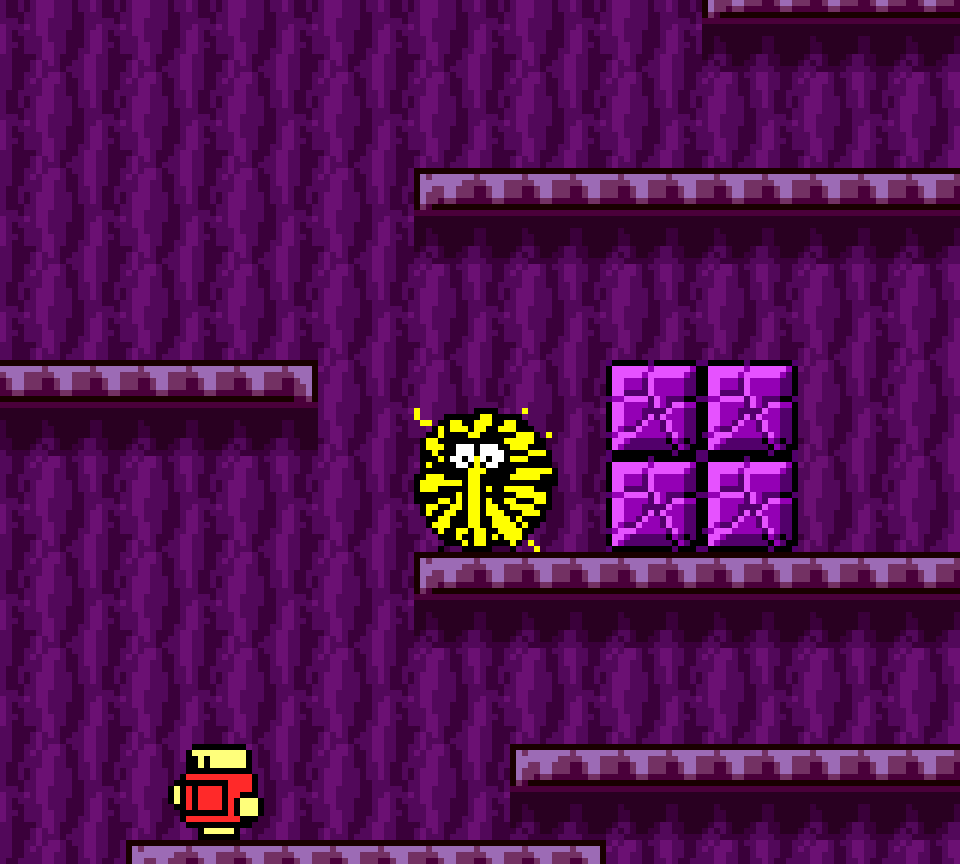
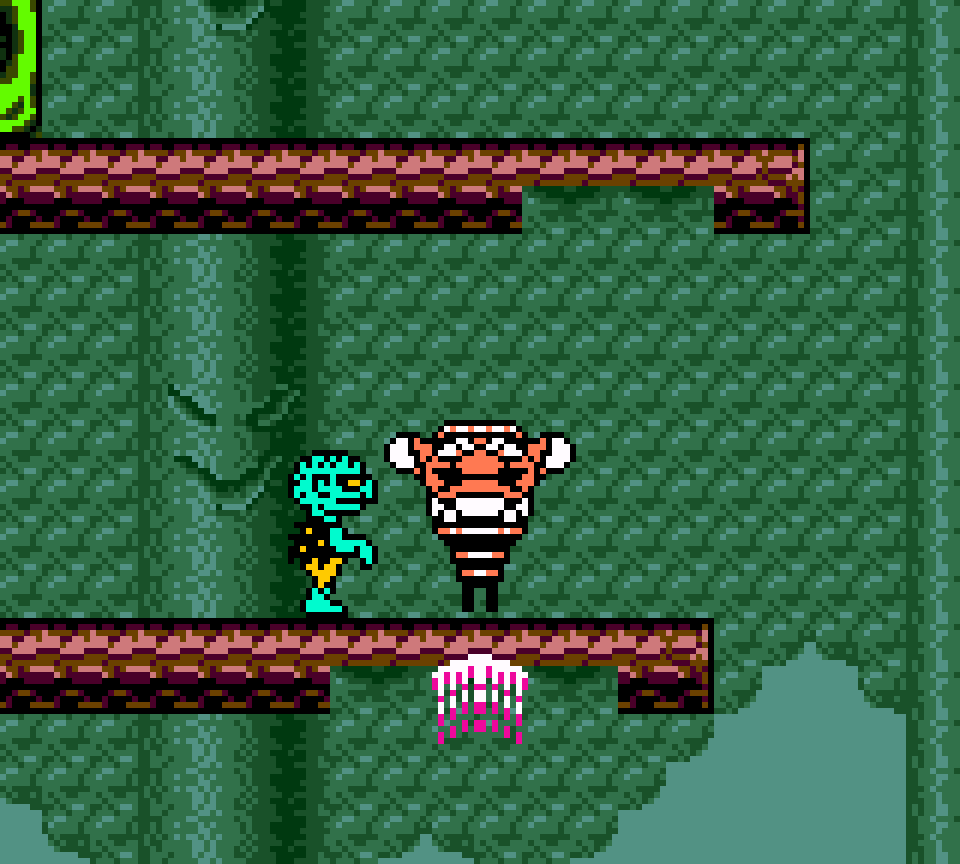
67. S5 Cave of Flames – Gray
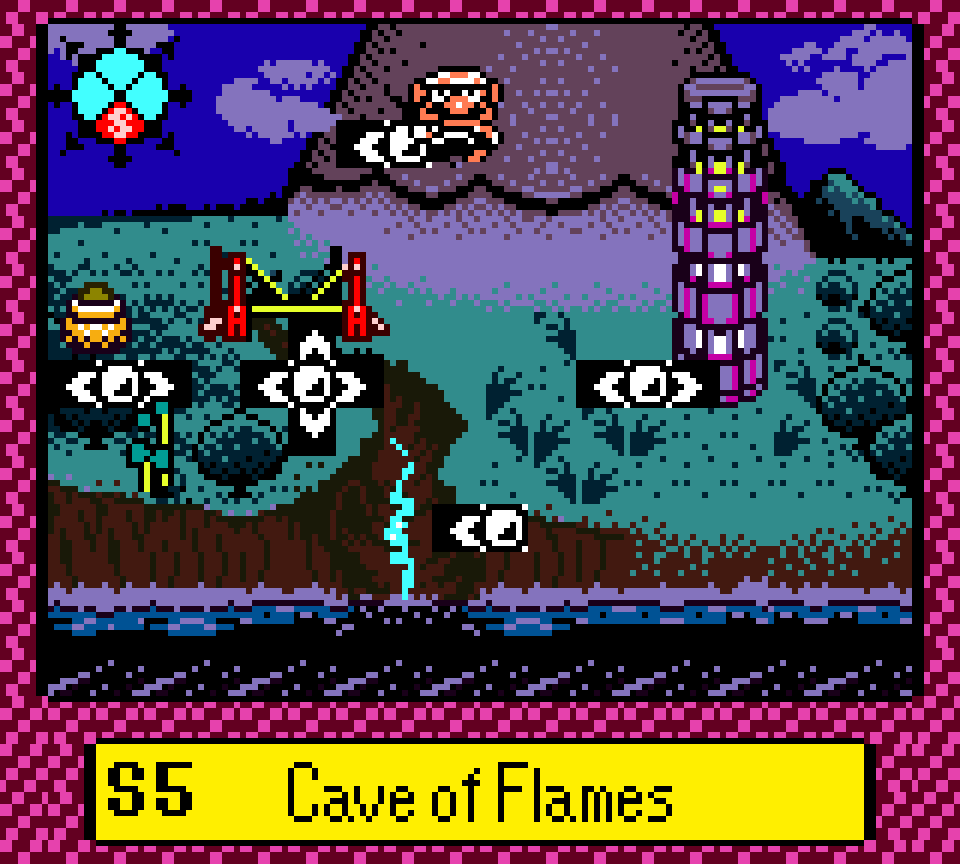
The main challenge o’ this level, where you have to throw a Spearhead thru a weird warp void to break throw-blocks on the other side, is unique, but underdeveloped, used only once here. It’s also not very intuitive, as you have to guess that walking into the void will warp you somewhere else, but that you can throw enemies thru it just fine.
They try to add detail to this treasure by adding a rolling challenge after the warp area & a fire challenge before it. While the former is too minor to e’en talk ’bout, the latter has the slight complication o’ making you jump gainst a weird corner in order to keep from falling off the middle platform & making you ignite yourself on purpose thru a secret fire pond right below the gray chest — what is positioned like a failure punishment, but, in typical Wario Land 3 fashion, is needed for success.
The 2ndary challenge is an exciting, but also very short, climb up steps while avoiding the Blue Birds, most o’ whom are @ feet level, & thus can’t be simply ducked under. Going further shows the player a few future areas they can’t reach yet — tho likely nothing the player hasn’t already seen.
The biggest flaw with this treasure is that, other than the small part where you have to break thru fire blocks, this treasure, with its magical voids on 1 end & birds, doesn’t feel like it belongs much in a fiery cavern @ all & could be placed in any level without any eyebrows raised.
66. W6 The West Crater – Gray
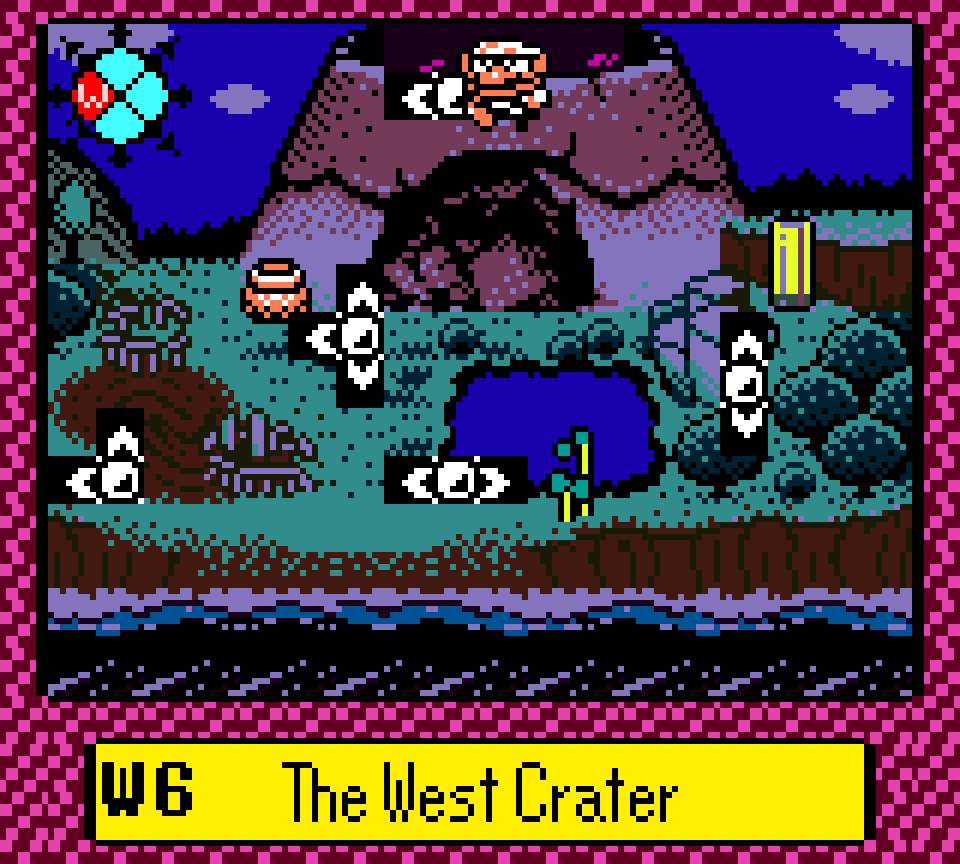
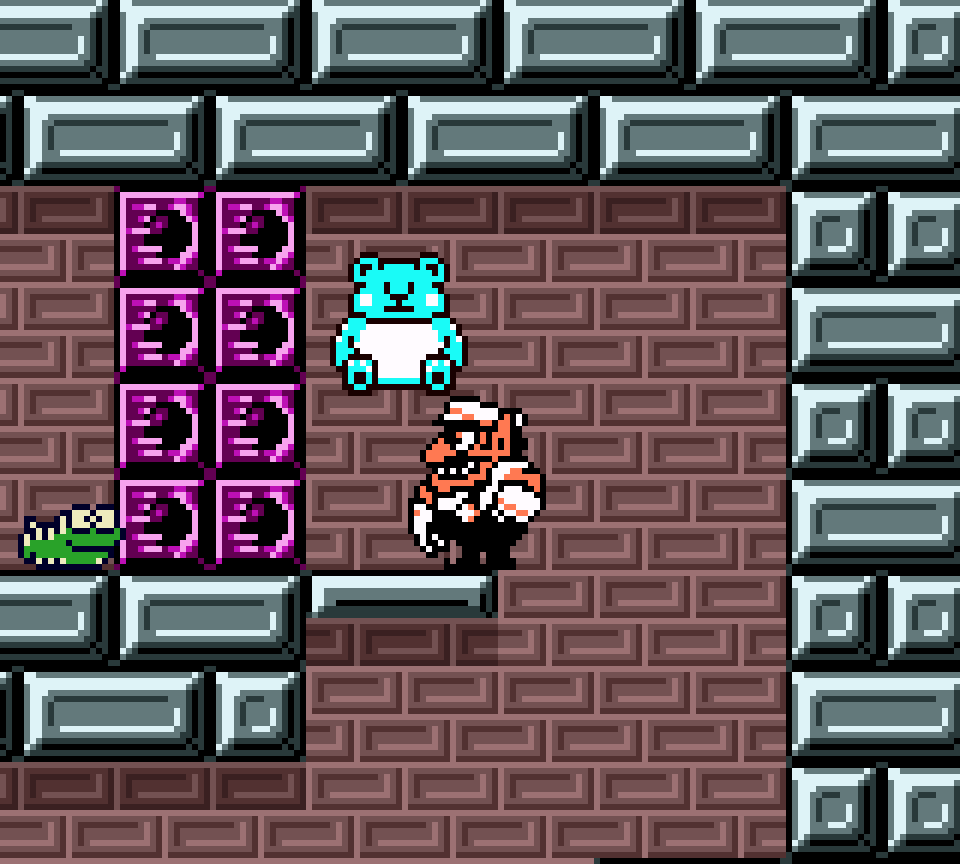
This treasure is a combination o’ basic elements — mainly getting yourself set on fire to break open the key & using Ball o’ String Wario to break open to gray chest — but with some minor twists to them. For the most part, the gray key is as basic as can get: just get set on fire & break thru the wall. The player does need a bit o’ perceptiveness to realize they can jump up the flat platforms & stay out o’ the fire lake to ensure they ne’er burst into flames while below where the key is — that or just time it right so that they burst into flames just next to the key.
No, the main twists revolve round the yarn room: 1 is that the room with the Silky has mo’ to it going upward, & unlike other treasures, you meet the requirements — being able to throw small enemies — for further exploration already. Howe’er, further exploration will only lead to the red key. This is a common technique o’ Wario Land 3 that probably contributes to many people’s mixed views o’ it: its love o’ breaking coherency for the sake o’ variety. From the point o’ coherency, it’d have made much mo’ sense to have the gray key up there & have the red key where the gray key is, since that is closer to the red treasure. Howe’er, it also would’ve been too predictable.

In any case, it’s very likely the player finds the gray key before they find the Silky room, as it’s hidden in a rather obscure way: there’s a slight niche in the otherwise flat left wall that can be broken open to reveal a secret path. To make it e’en more obvious, the player can see to the left o’ this niche a hole that indicates that that’s where the player ground pounds.
The other twist is that there are 4 cracked blocks in the way o’ Ball o’ String Wario’s path, which will just bounce Wario back if he bumps into them. Wario has to break them with his elbow before going down into the Silky room. This would seem to be a trial-&-error gotcha, but if the player explores they’ll see the yarn block right there & if the players remembers the basics o’ how Ball o’ String Wario works, they’ll realize Ball o’ String Wario has to go thru here. The cracked blocks are also suspicious & would otherwise have no purpose being there.
65. E7 Forest of Fear – Red
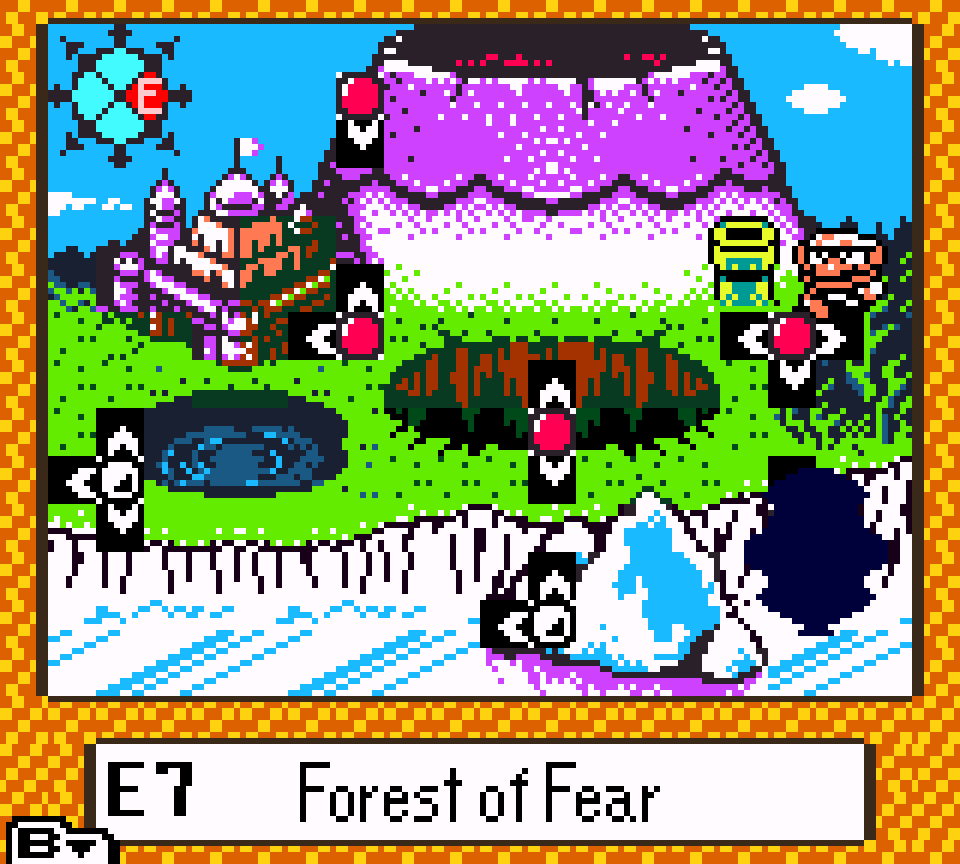
Like many o’ the odd twin red-green treasures in this game, this level’s red treasure’s greatest weak point is that it shares elements — namely the main room entered by the pipe that’s unlocked by the valve treasure, tho you do much less with that room than the green treasure, just passing by till you reach the door to the red treasure area proper — with the green treasure, but is much weaker. For instance, tho you have to follow the Speahead on the strange spite-only platforms while dodging birds for the green treasure so you can use it to open the wall blocking the way to the green chest, you can just ignore the Spearhead for this treasure. Luckily, you can do both treasures round the same time, so if you take the effort to follow the Spearhead you can do the green treasure, while if you don’t, you can go for the red treasure & go for the green treasure next time.
This level does something else interesting with these twin treasures: the 2 levels “Forest of Fear” & “The Warped Void” are twin levels themselves, their treasures unlocking treasures in the other level. Howe’er, this game doesn’t stick to a stale pattern o’ going back & forth, but has 1 treasure from “The Warped Void” ( the aforementioned valve ) that unlocks 2 treasures in this level, as well as 2 treasures from this level — 1 o’ which is this red treasure — that unlocks the final blue treasure from “The Warped Void” ( due to this, the recommended treasure sequence given by “The Temple” technically recommends this treasure quite a few treasures after its green twin, which would be a shame, as this treasure wouldn’t e’en get the benefit o’ novelty if it was attempted after the green treasure; howe’er, “The Temple” only recommends levels, not treasures, so there’s still a likelihood that e’en a player following “The Temple”’s advice gets this treasure before the green ).

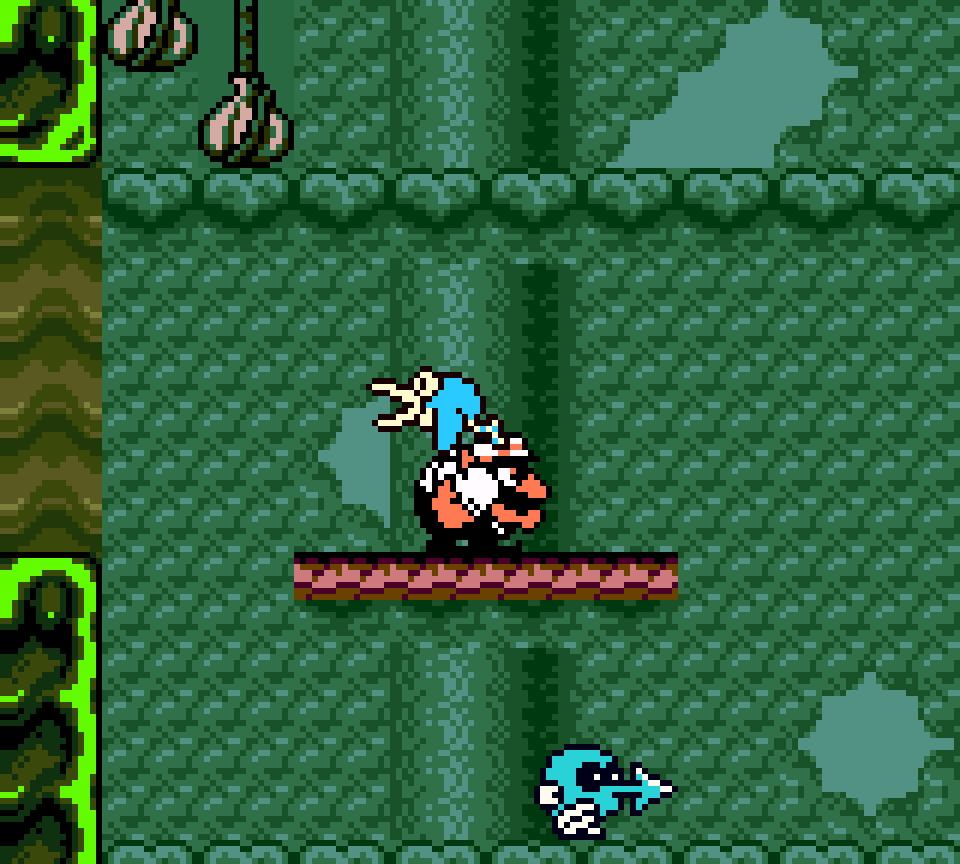
The main challenge o’ this treasure involves the common mechanic o’ being bopped on the head by Hammer-bots so you can bounce up to the red key room & red chest, but with 2 twists: 1, there’s the addition o’ zombies e’erywhere, who could hit you as you’re trying to go up if you miss a hole going upward & get stuck & the need to charge-throw the Hammer-bots o’er the ponds. As it sounds, neither o’ these are particularly hard or interesting ’nough to make this much mo’ than yet ’nother Hammer-bot section, & unfortunately, like most Hammer-bot sections, you have to wait quite a bit for your animation to finis once you’ve reached your destinations — specially if you do manage to get hit by a zombie & have go go all the way back down & bounce all the way up ’gain.
There’s also the red key room, which has the riveting challenge o’… high-jumping o’er a wall. You don’t e’en need the Spearhead there to get o’er the wall, as the slightly raised platform is high ’nough to reach it. In fact, you need to grab the Spearhead & bring it up to a rather tight spot to reach a higher-up area… for a music coin.
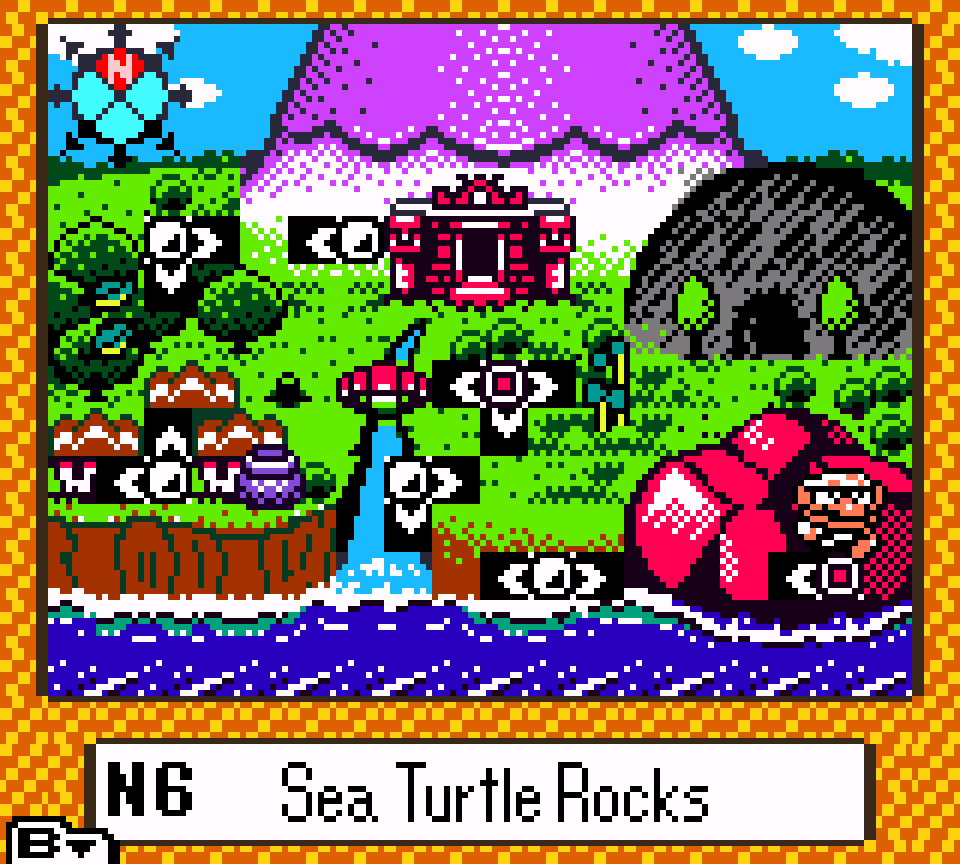
64. N6 Sea Turtle Rock – Red
While the combination o’ fat Wario & the electric-ball-dropping lamps is unique here, this treasure’s use o’ that mixture is undercooked & since you need to break the donut blocks blocking the chest to reach the minigolf door needed to open access to the key next to it, there’s barely any difference ’tween grabbing the key & dropping down to the chest. This is 1 o’ the worst places they threw in this minigolf game: it would’ve worked so much better if the challenge was getting thru the sparks to get the key & then the challenge was to break the donut blocks to reach the chest. ’Course, it would’ve worked e’en better if this section were expanded: something as li’l as making you jump a few short platforms while dodging sparks, with the threat o’ falling down into water, to reach the key would’ve helped a lot to make this treasure less nothing.
Howe’er, I do give this treasure points for the clever way they hid it in the main rock maze, making this treasure implement said maze to a greater extent than other treasures, hidden ’hind a path similar to the gray key, just above, & then down a hidden branch away from a path that seems to just lead to a music coin.
63. W1 Desert Ruins – Gray
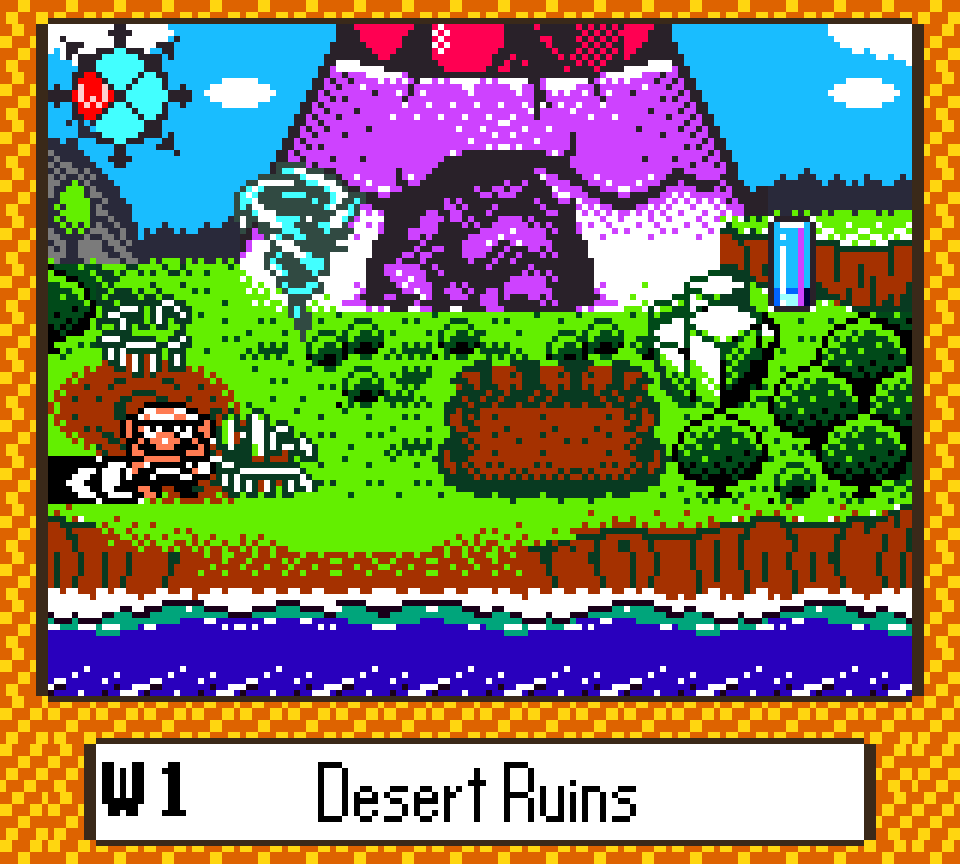
Much o’ what I said ’bout the red treasure applies to the gray treasure, ’cept that this treasure’s subrooms are stronger. Its key challenge wherein the player has to navigate cramped quarters swarming with Spearheads & make awkward duck jumps, while it can be somewhat annoying, is certainly mo’ interesting & fresher an idea @ this point in the game than the basic Doughnuteer room that the red key offers.
Similarly, while lacking the intricate interlocking with the rest o’ the level that the red chest path has, the subroom to the gray chest has a mo’ interesting challenge & introduces a new obstacle & status effect, Hammer-bots that make the player bouncy when they bop them & force them upward, conveniently placed in a path going downward, which does a good job o’ looking complex, but actually makes its complexity work in your favor, placing blocks precisely so that they mo’ than likely block Hammer-bots from hitting you than get in your way, which works well with how early in the game this treasure is.
1 subtle neat aspect o’ the gray & red treasures o’ this level is that their chests are in similar li’l rooms with a broken-open pipe wall ’tween the entrance & the chest, but with the red chest on the left side o’ the room & the gray chest on the right side, mirroring the location o’ the general area in the level as a whole.
62. N6 Sea Turtle Rock – Blue
While I love the neon red palette o’ the blue treasure room & the subtle challenge o’ needing to duck jump ’cross the platforms to avoid hitting the lasers that are presumably lighting this room & being knocked back, the rest o’ this treasure feels underwhelming for a treasure so late in the game & the finale to this level.
The challenges you have to jump around while riding the moving trolley platforms leftward & rightward are sparse — so sparse the 2nd half just has 1 high laser you need to jump o’er & long spreads where you just stand there & do nothing — & are tamer than what players will have likely already done in “The West Crater”’s or “The Volcano’s Base” red treasures halfway thru the game — tho it’s also much less tedious than the latter. I guess the part where you have to time a ground pound thru the cracked blocks onto the platform as it comes by is new, but, again, not challenging.
This treasure in general feels very unfinished, with lots o’ empty space. The key is just halfheartedly thrown ’tween the 2 moving trolley sections without any extra challenge to get it & there’s this odd long drop down to the chest, which also has nothing, other than a music coin whose location you can’t guess the 1st time going down.
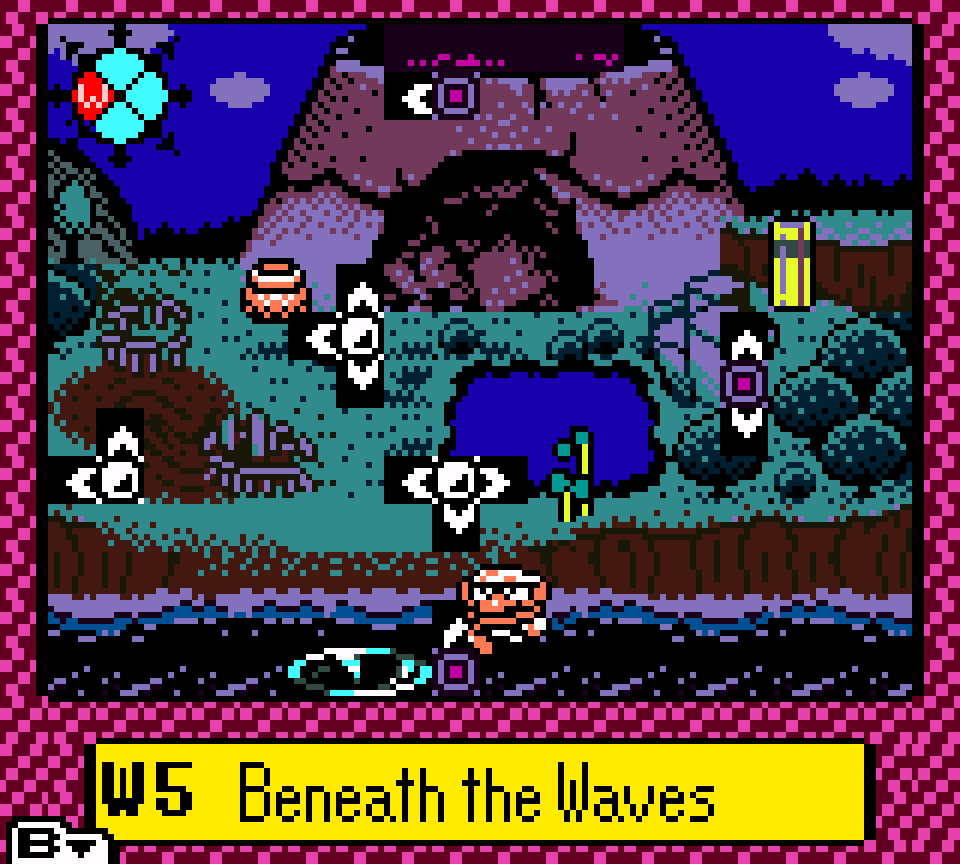
61. W5 Beneath the Waves – Red
’Mong the treasures where you must swim against currents, this is 1 o’ the mo’ interesting in that instead o’ just swimming against a current for a bit, you need to aim out o’ the current @ a certain point & try to find a hidden path behind the foreground toward a door hidden in the big central rock. Granted, I’m mixed on forcing you to blindly thump your way toward the doorway to the key, especially since they put a much easier to find doorway to the other side o’ the key with a Hammer-bot & a wall o’ throw blocks, making it seem like you need to be able to pick up large enemies to get this treasure, too.
The red chest room is also better than the others in this level, using the rare blinding ghost enemy with a unique arrangement where you need to break thru a tall wall o’ cracked blocks & hop across under a low ceiling. Granted, these enemies don’t fit this water-themed level as well as “The Vast Plain”.