

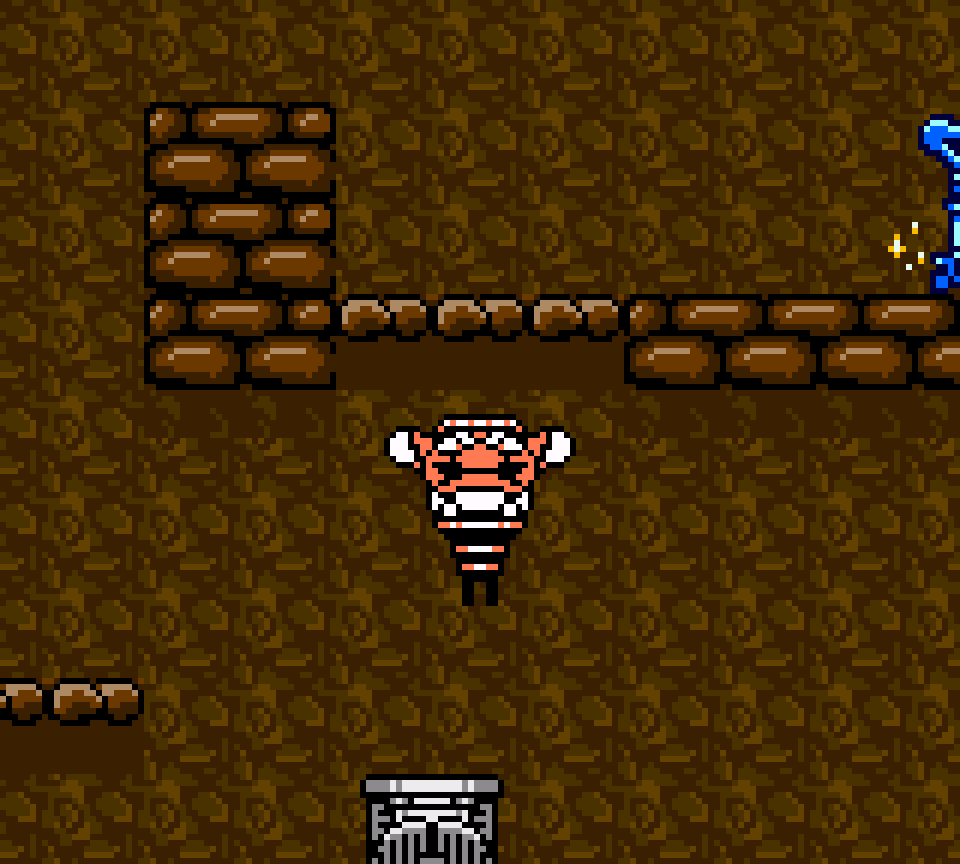
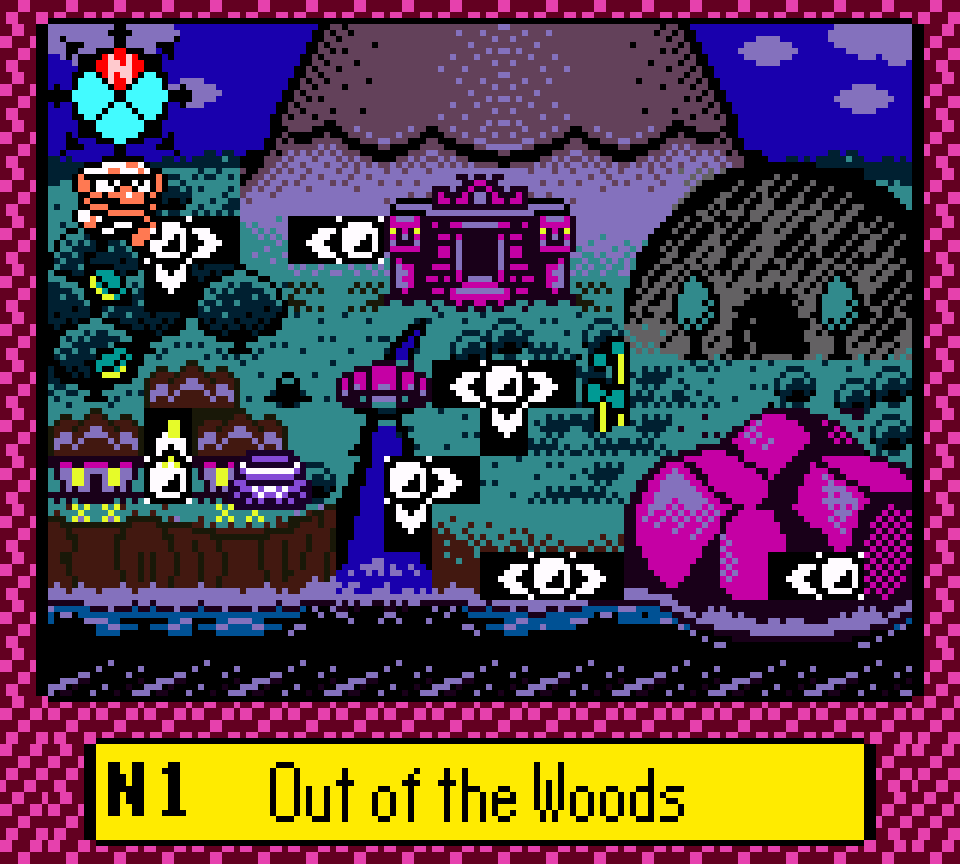
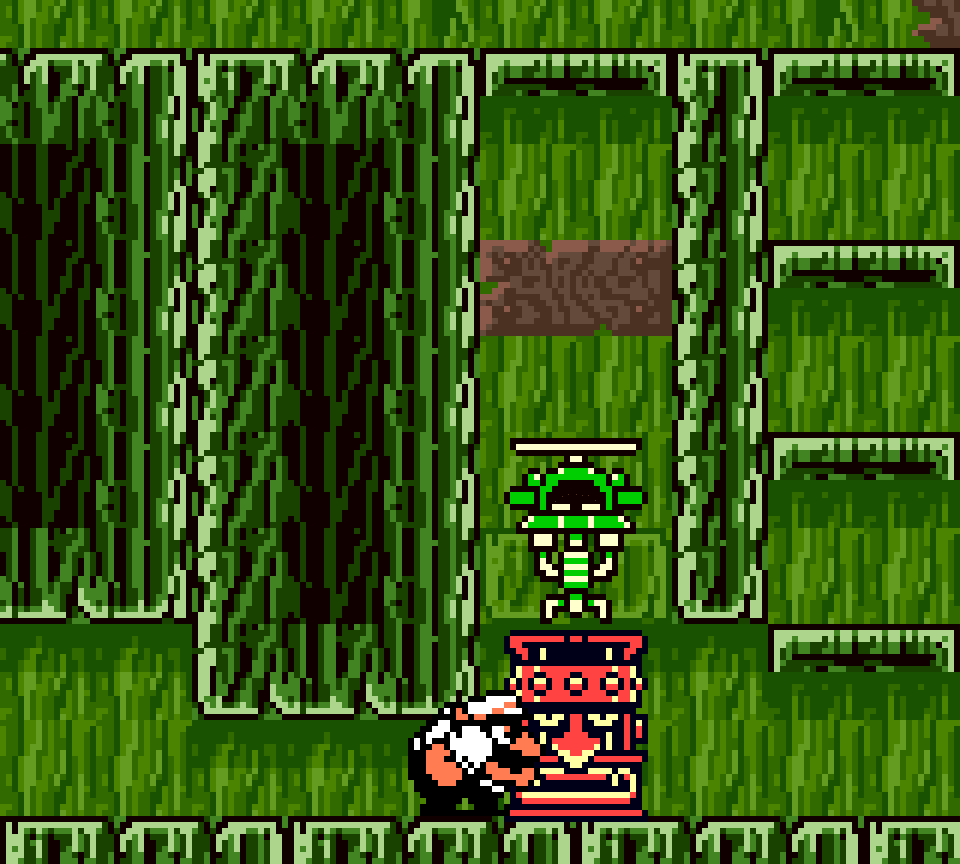
60. N1 Out of the Woods – Green

The crux o’ this treasure, hopping ’long falling leaves while trying to avoid the water shots the fish spits @ you or falling into the lake, is a unique challenge that meshes well with the forest theme while adding the water twist to it. I specially like how they make this room darker & bluer than the rest o’ the level, giving it a mo’ mossy feel. Howe’er, it’s hard to ignore that said unique mechanic is just a new paint job o’er falling platforms & projectiles, which are not the most exotic o’ mechanics, especially in a game like this.
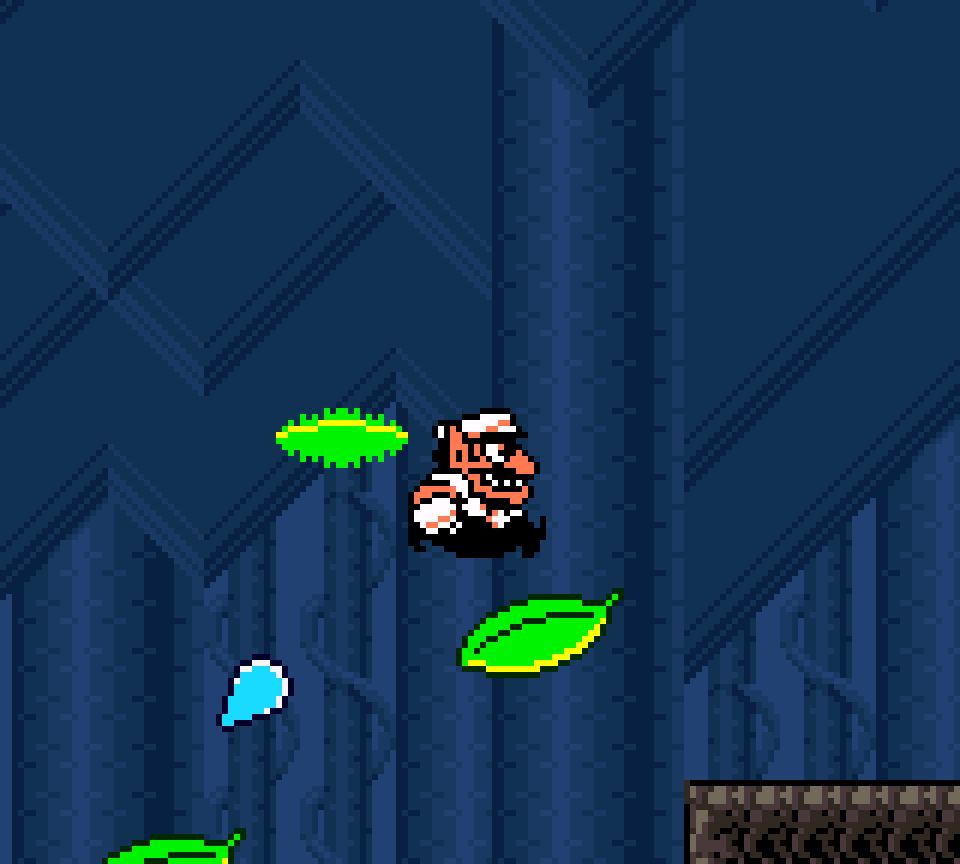
While I like the way they foreshadowed the green key from the beginning, I don’t feel like they tied it into the actual green treasure itself very well. Maybe if what you need to reach the green key, hopping off enemies, was what unlocked the leaf room, but that’s not the case; & e’en tho the sequence requires you to get the high-jump boots before the treasure that unlocks this treasure, I don’t think you actually need to high jump to jump ’cross the leaves. It seems they could’ve found a way to hide it ’mong the leaves — maybe have extra leaves ’bove & to the left @ a branching point. Or, hell, they could’ve placed it high up in the trees, which otherwise just has music coins. That would cohere a bit better since you have to jump ’cross tiny leaves that disappear soon after you land on them.
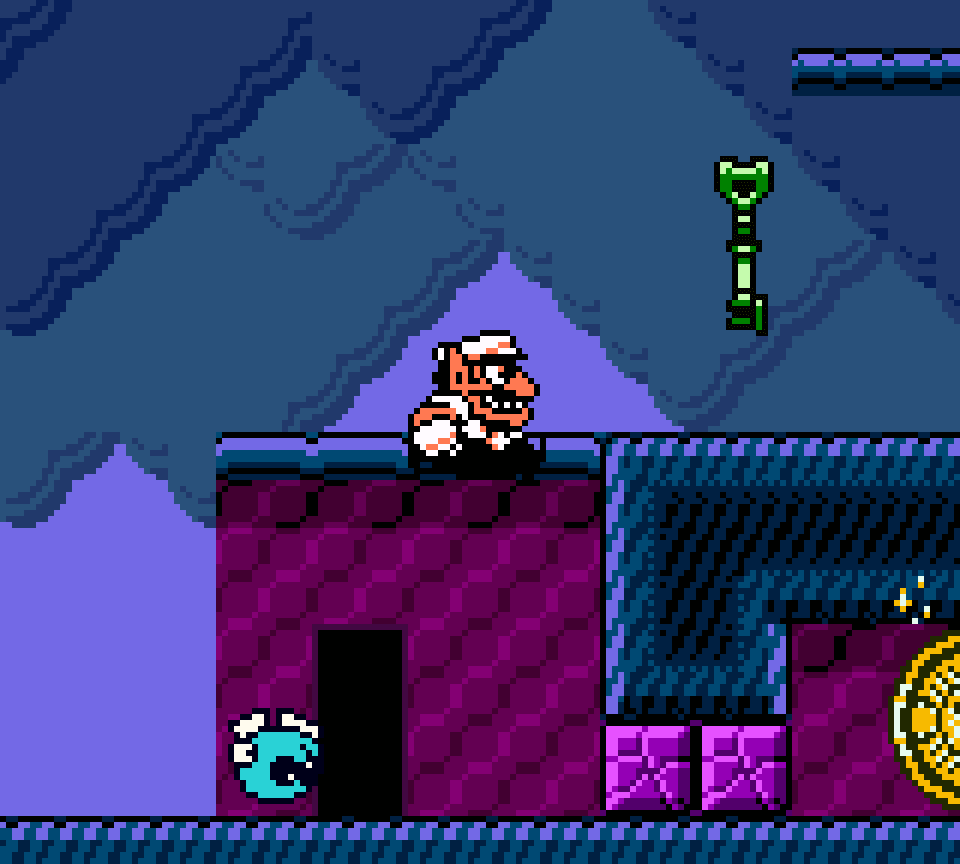
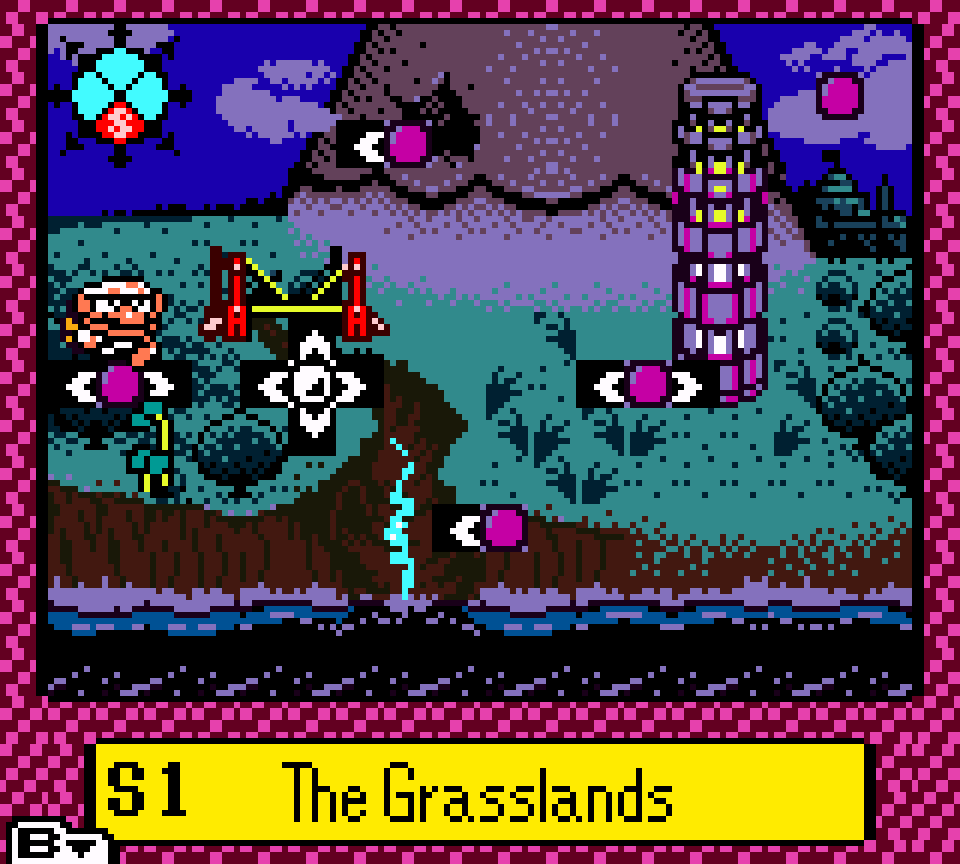
59. S1 The Grasslands – Blue
After the initial lame treasure requirement o’ the winged boot by having the main entrance be up a cliff that requires a high jump, we have a few interesting setpieces: we have 4 Applebies arranged in a square grid surrounding a ladder to make it very difficult for Wario to climb up without eating an apple & falling off the ladder & a nearby barrel to dispatch these enemies, & then we have a simple but novel stove puzzle where you need to break cracked blocks in the way o’ the stove’s path, knock it under a platform, & then get struck by the Hammer-bot so you can bounce onto the stove & up the platform. As a bonus, there’s a music coin high up that also requires bouncy Wario after a player might feel like they’re done needing it. Unlike most other stove challenges, this 1 thankfully doesn’t require you to push the stove too far, minimizing the most tedious aspect o’ these challenges.
Unfortunately, the rest is less great. While I like the way they block the blue chest with donut & string blocks, turning the Appleby & Silky obstacles into necessities, having to break thru a string block & wait for Wario to recover, then break thru a large pile o’ cracked blocks, & then become string Wario again so you can break thru another string block is unnecessary tedium.
58. N1 Out of the Woods – Blue
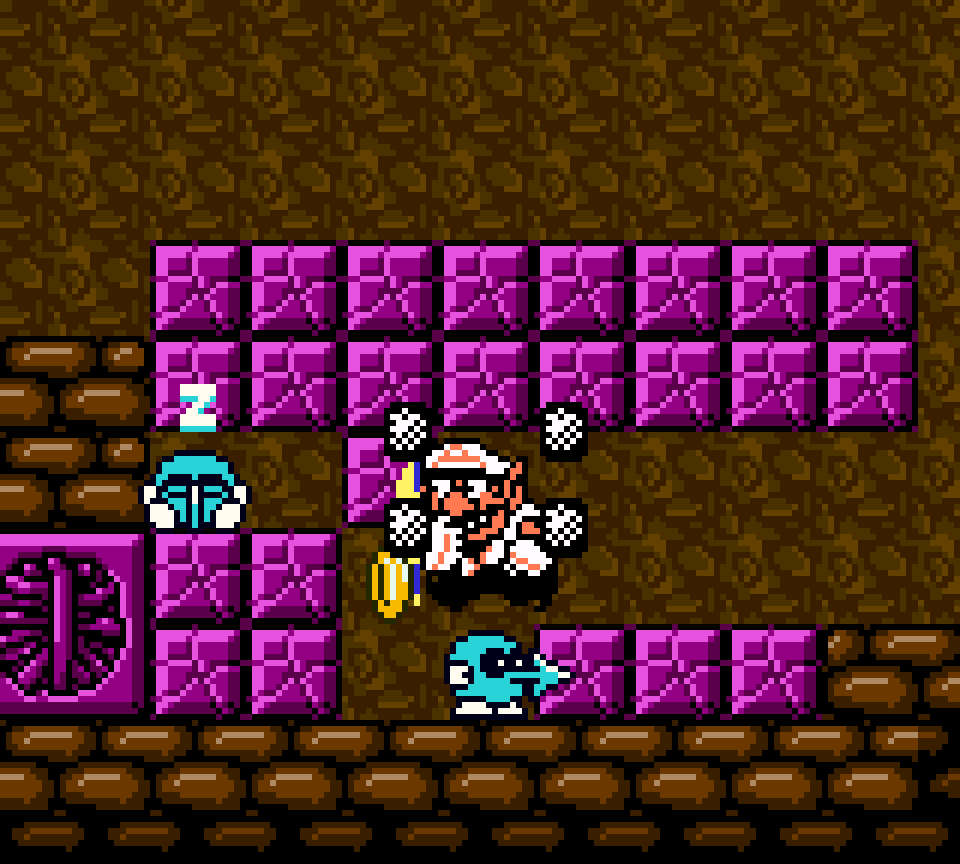
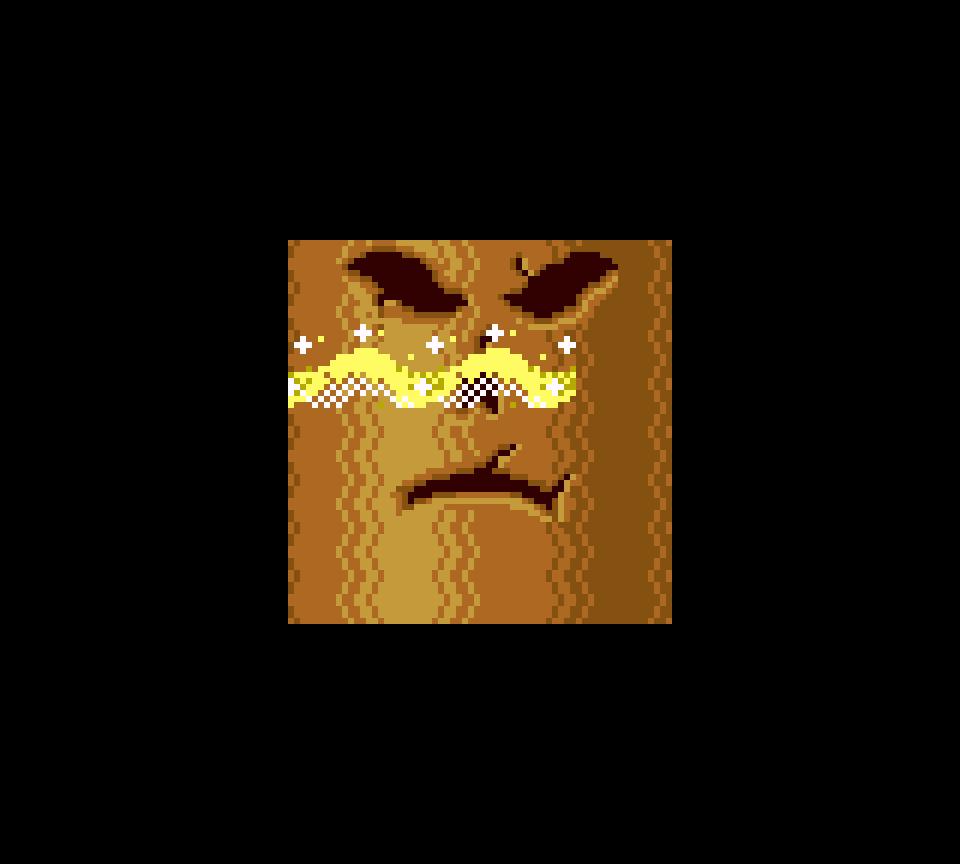
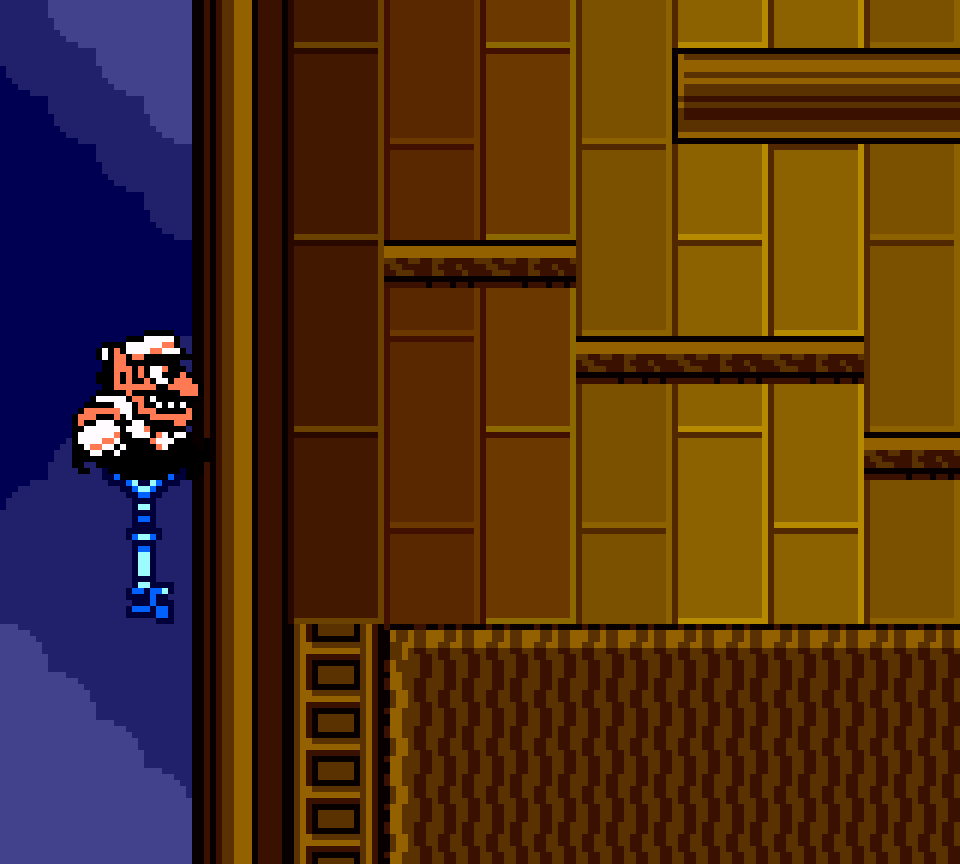
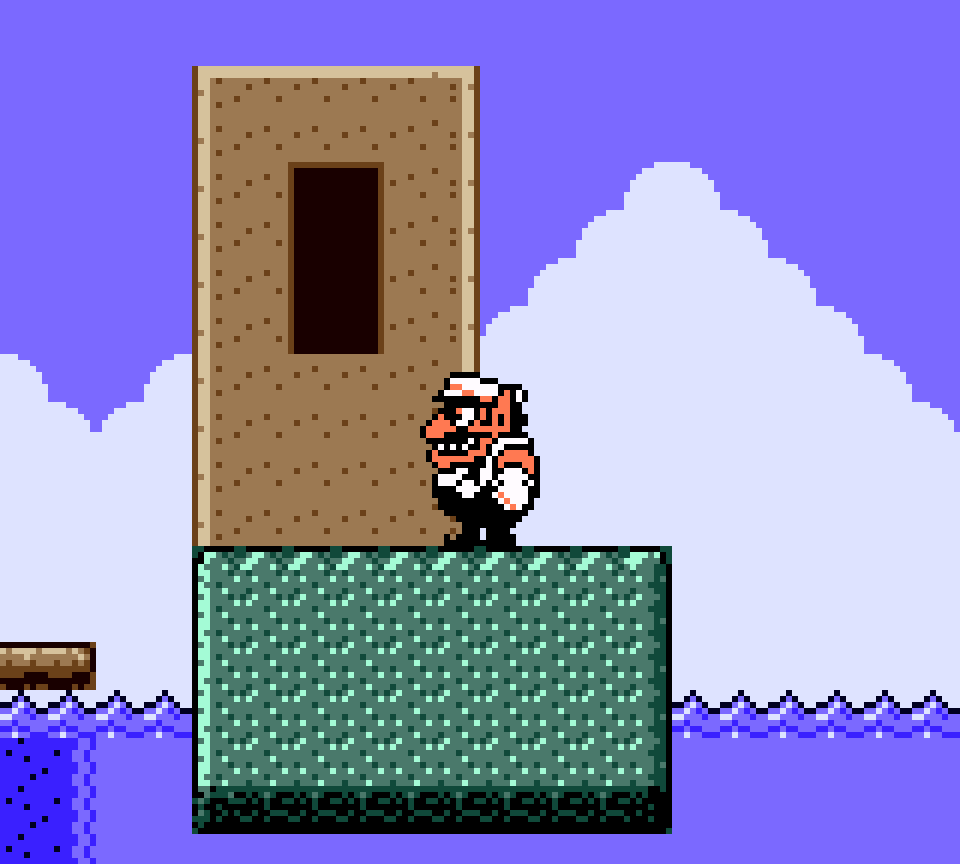
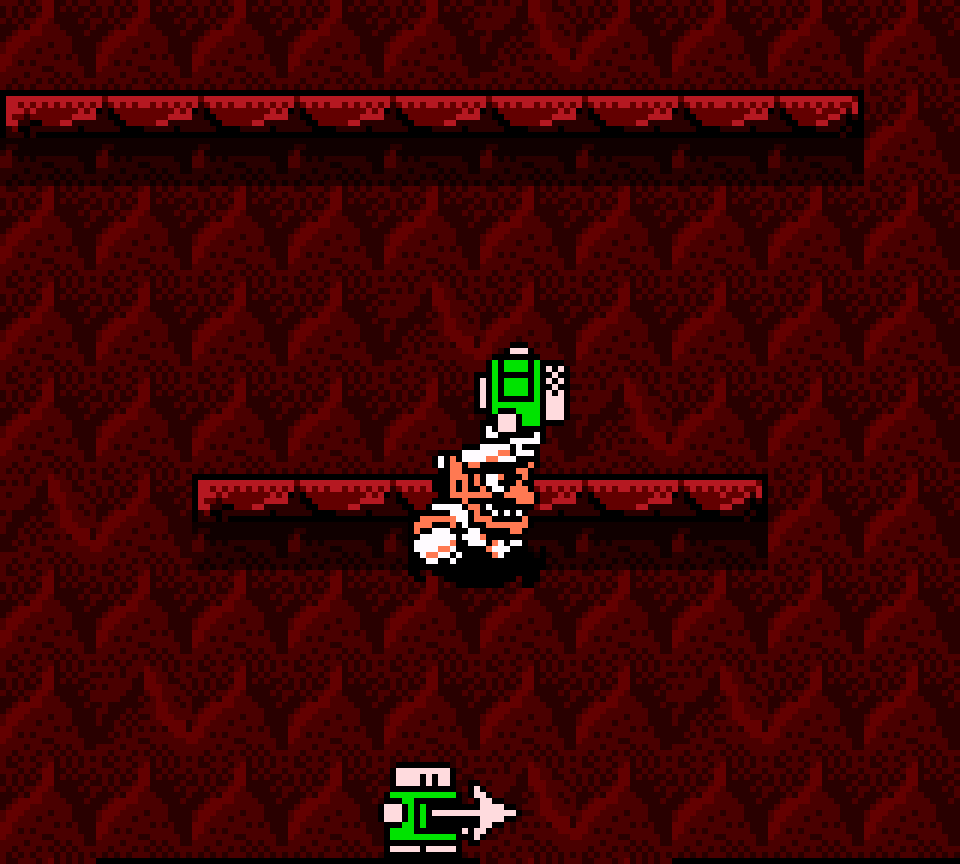
Just as this game starts in “Out of the Woods”’s 1st gray treasure, so this game’s final treasure before the final boss, the treasure that gives you the final music box, is the final blue treasure in “Out of the Woods”, opened memorably with a handful o’ sand, blown in front o’ the frowning face on the tree in the last room, causing it to open its mouth, allowing entrance into a tree area with a rare tileset.
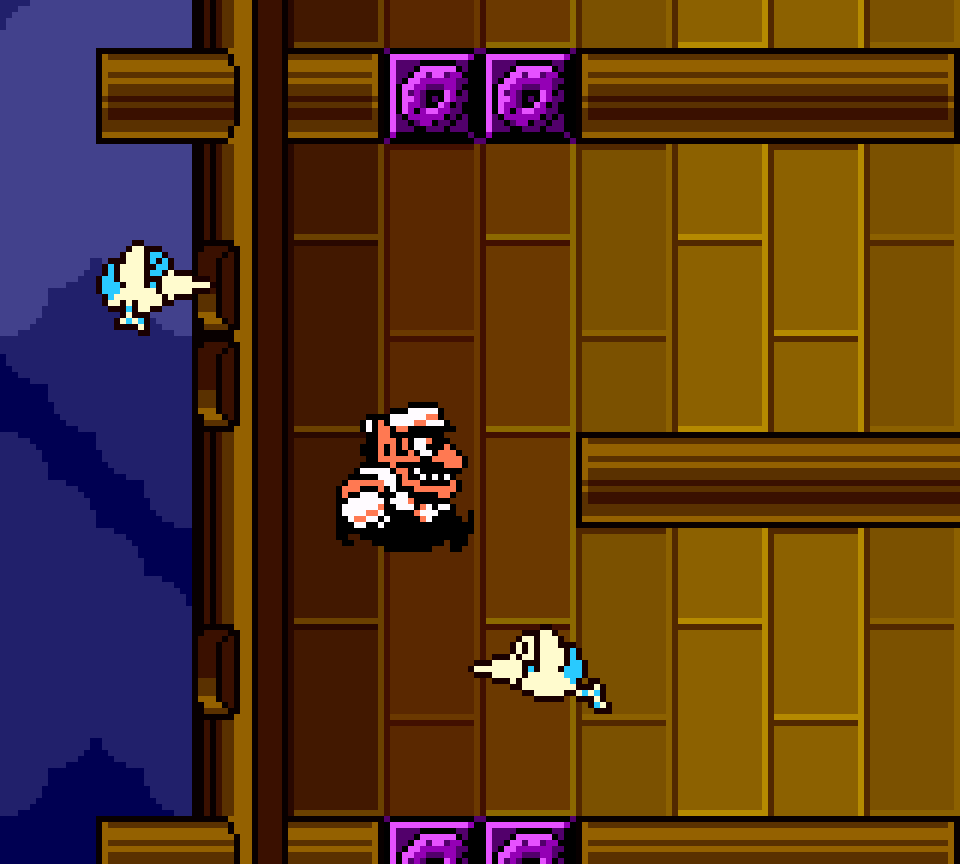
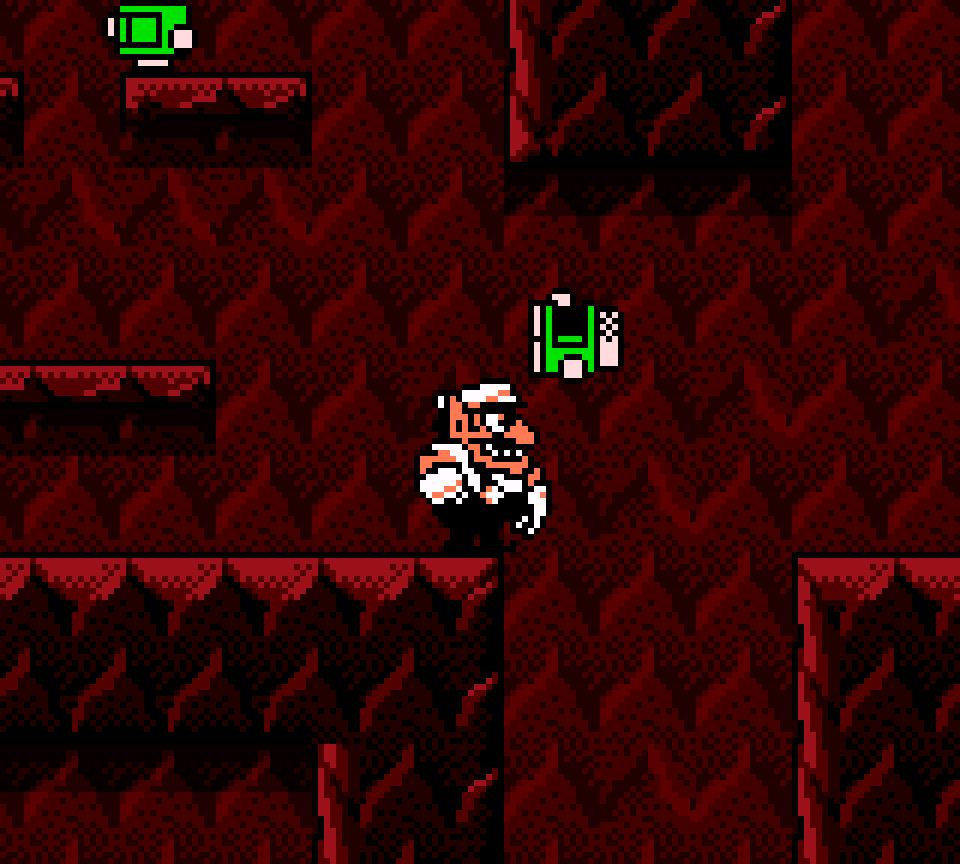
The climb up the tree doesn’t involve anything mo’ exotic than dodging Silkies & birds, but the construction is solid, & ending the main game on straightforward platforming challenges probably works better than introducing an exotic gimmick in the last hour. That being said, I wish they had mo’ variance than the 1 twist where you have to hop off a bird to reach the next platform. Still, this whole section’s short ’nough that it’s not noticeable, & arguably the repetition was necessary to make said twist stand out.
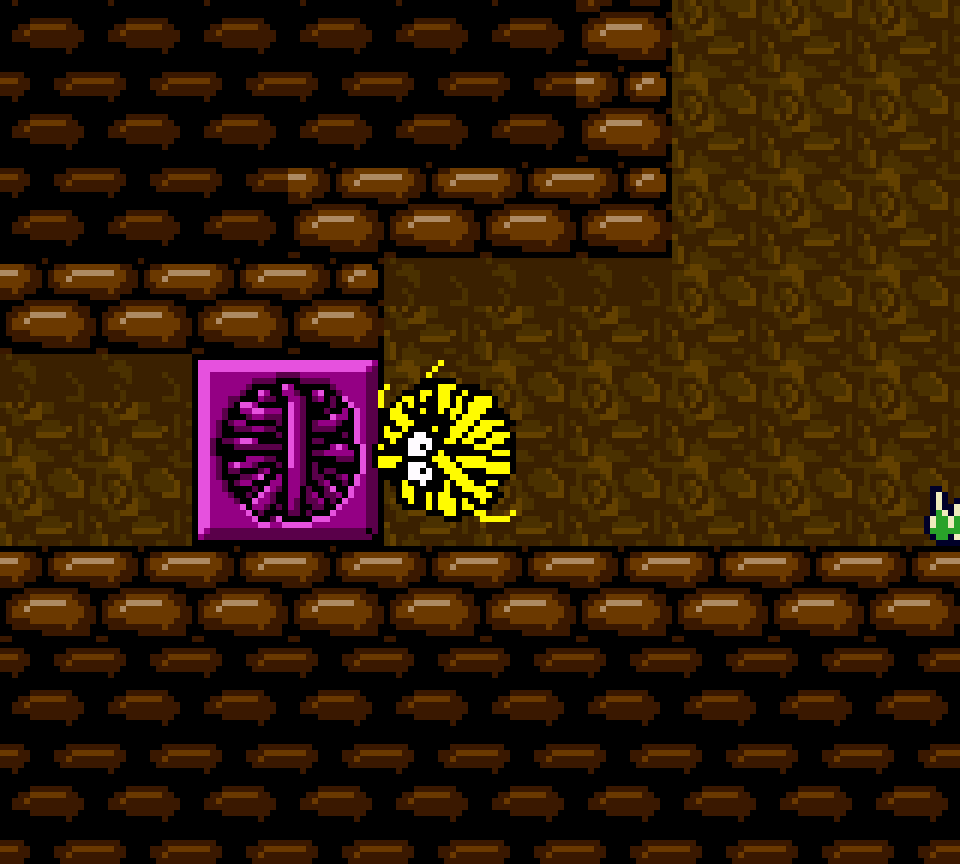
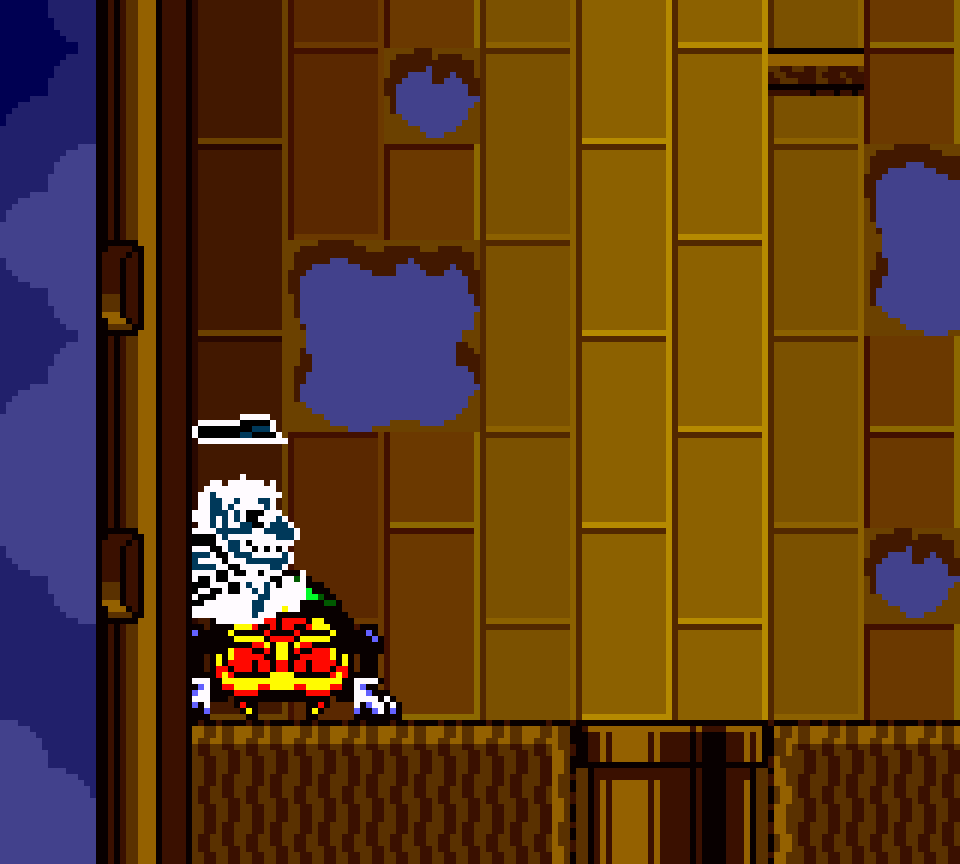
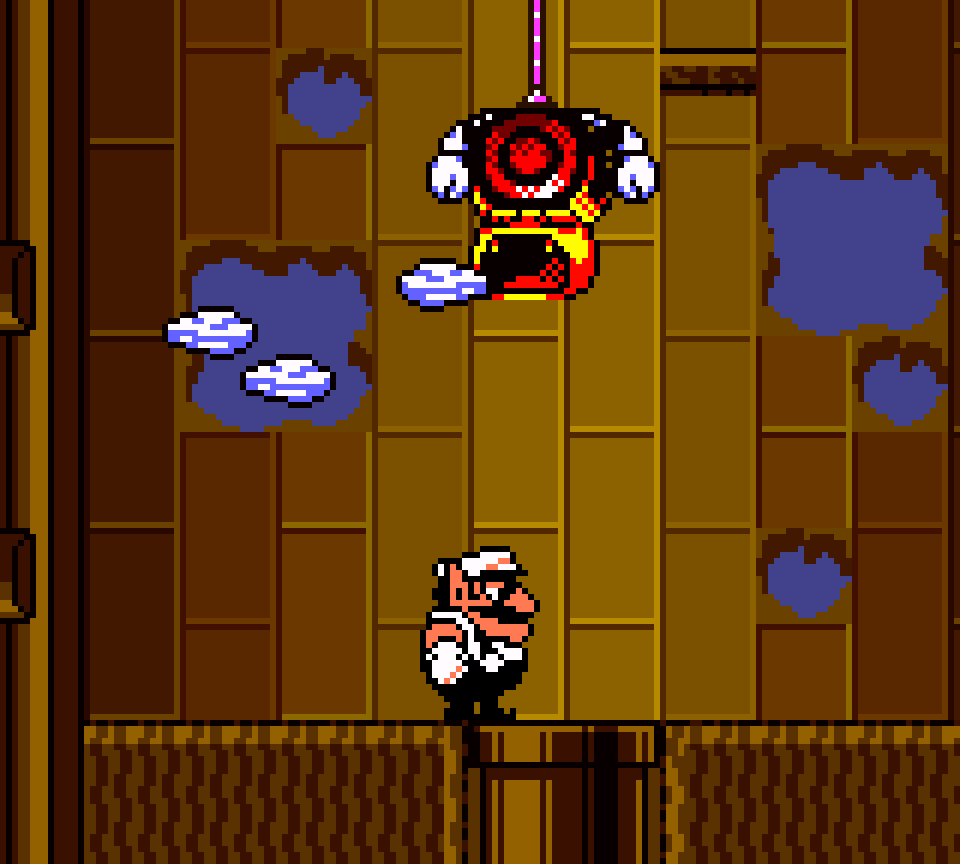
The boss, a spider named Anonster, is cool-looking, but has mixed gameplay. It’s, fittingly, 1 o’ the trickiest bosses, — tho nowhere near as hard as Wolfenboss — specially with its web balls that float down & turn Wario into a ball o’ string & make you guarantee lose the battle if 1 falls on you. The problem is, their movements are so erratic that I’d almost all it RNG whether or not you can avoid them. In contrast, if you manage to avoid the web balls & pick 1 up, throwing 1 up @ Anonster isn’t too hard, & its next phase is free: just stand on the leftmost side, wait for it to land on you & stun you into the wall & for it to bump past you to the right, & then ground pound it before it e’en gets a chance to shoot its mouth webs @ you.
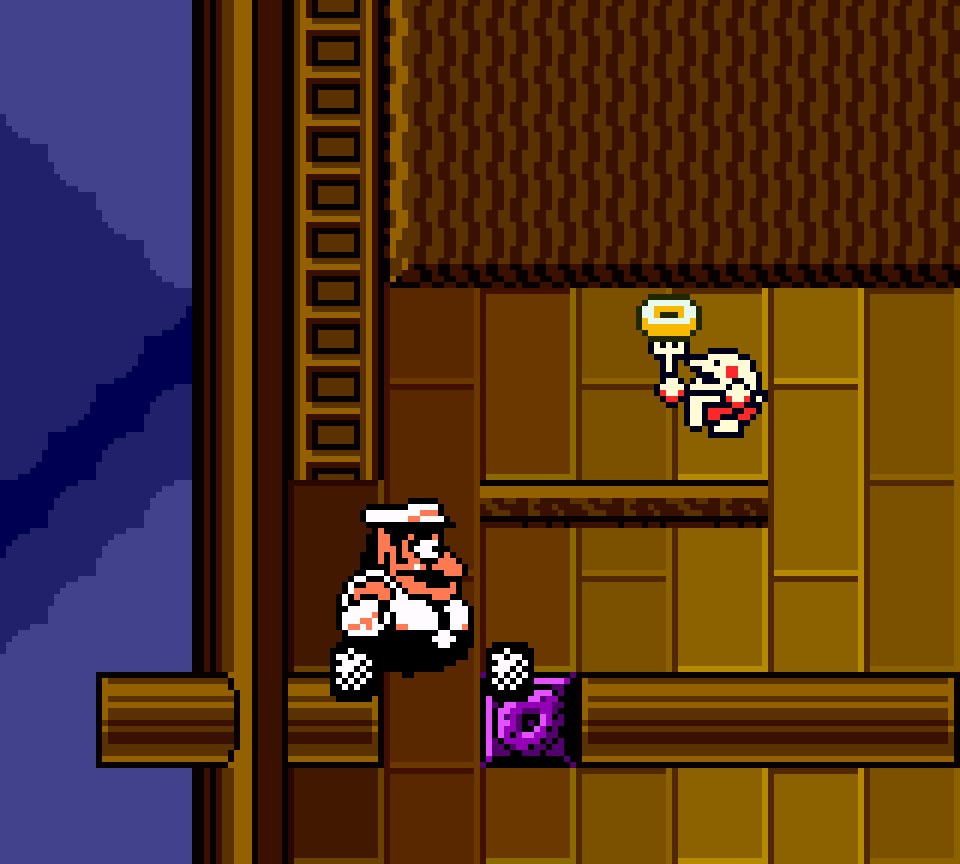
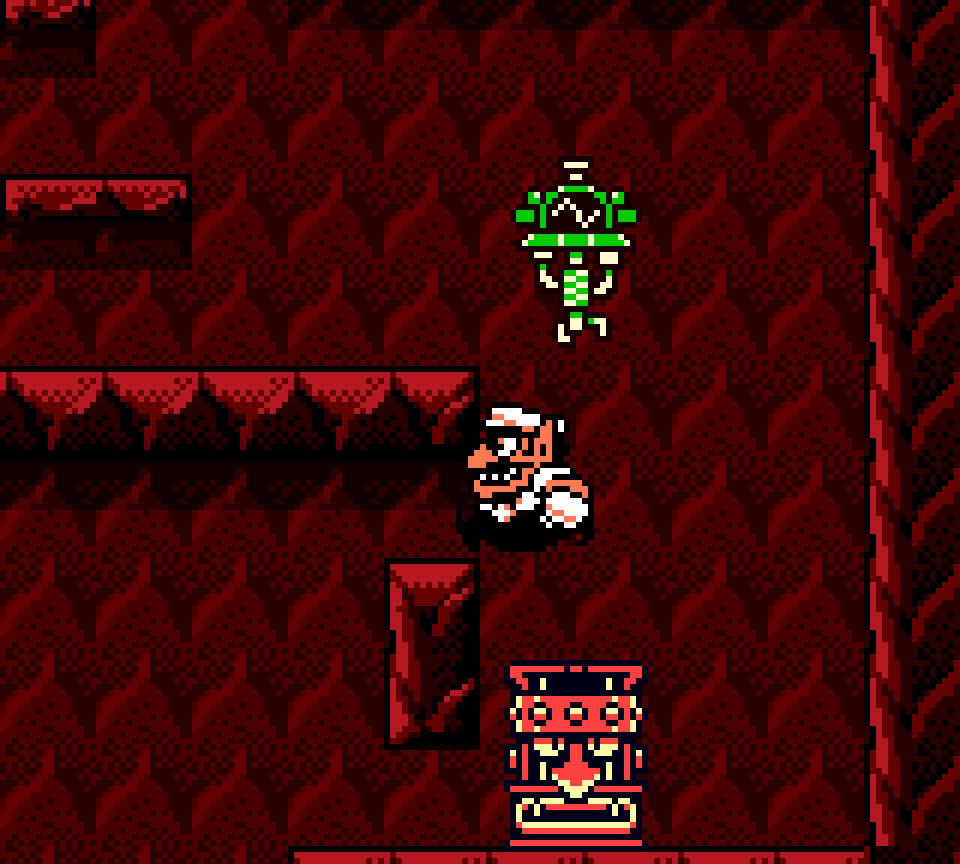
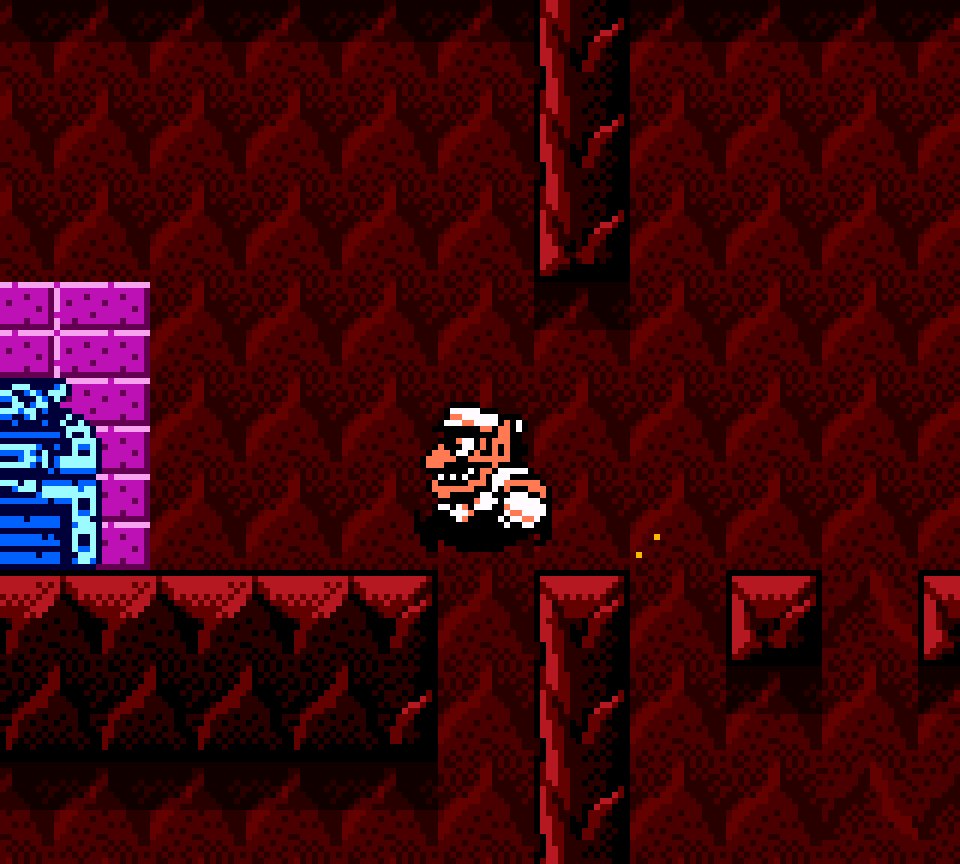
But the biggest problem with this treasure is the blue key, which is just down a side hole in the tree. You need to intentionally fall down there, back outside the tree, & then climb all the way back up, which is just padding. What’s most annoying is that there are so many better places for the blue key: putting it where the green key would fit better as bookends, as you 1st see the key on the 1st treasure. Also, this treasure has mo’ to do with jumping off enemies, since you have to do that on a bird to reach a higher point in the tree, which is necessary to reach the green key, whereas the green treasure has nothing to do with hopping off enemies. Alternatively, the 1st tree section has this whole challenge o’ breaking thru all the donut blocks after becoming Fat Wario from the Doughnuteer @ the top, which leads to just a music coin.
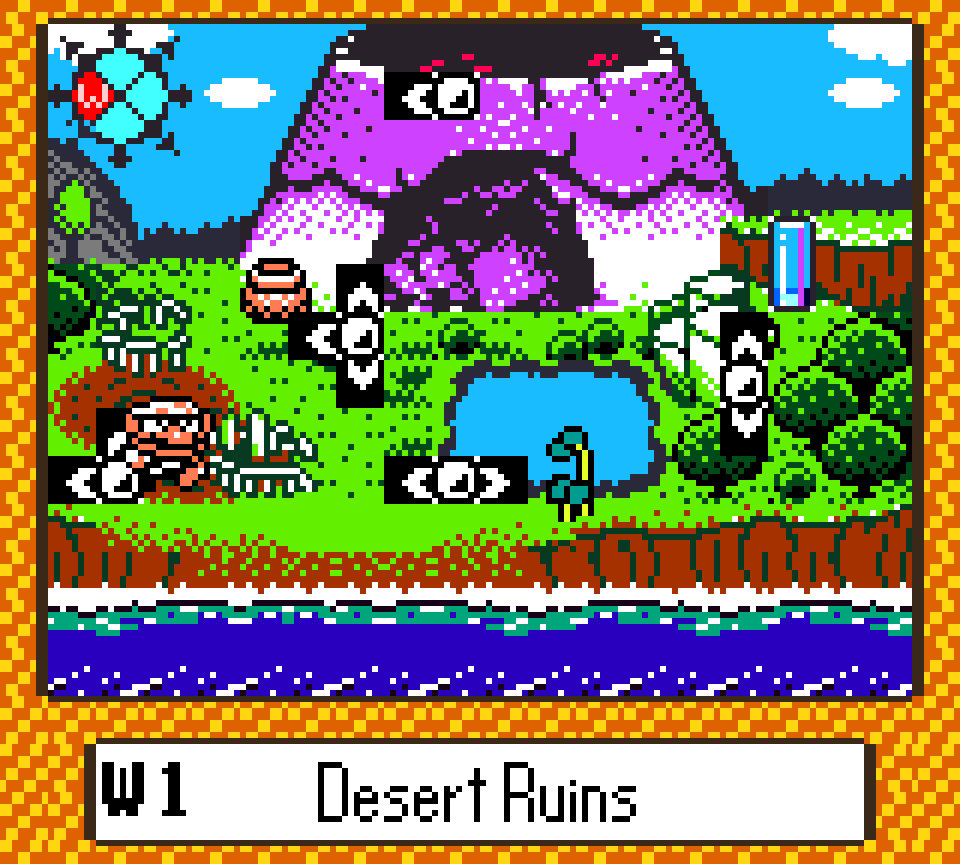
57. W1 Desert Ruins – Blue
Beyond the platforms o’er sand or a chasm before e’ery treasure & groundpounding down the green chest room, there are 3 main challenges to this treasure. The 1st involves a simple puzzle o’ needing to throw a barrel up @ a Hammer-bot to knock it down so it can make you bouncy & able to reach a switch up ’bove to move a block so you can enter the blue chest door. It’s a cool but basic puzzle, but done better in other treasures, & doesn’t fit here. Considering this treasure is opened by your new earthquake groundpounding abilities, it’s surprising they didn’t have a puzzle where you knock a small enemy down with earthquakes. Also, it’s a nitpick, but I don’t like how you have to wait round for Wario to stop bouncing round long after you’ve reached the top platform.

This room is found by breaking thru blocks in the floor, which give no indication that they’re breakable other than the suspicious camera position — & e’en then that doesn’t tell you which parts o’ the floor are breakable. While I appreciate trying to use the ground pound mo’, as minor as it is here, they could’ve a’least added some cracks to the breakable blocks. It’s just arbitrary that blocks that look just as solid as others are mo’ breakable.
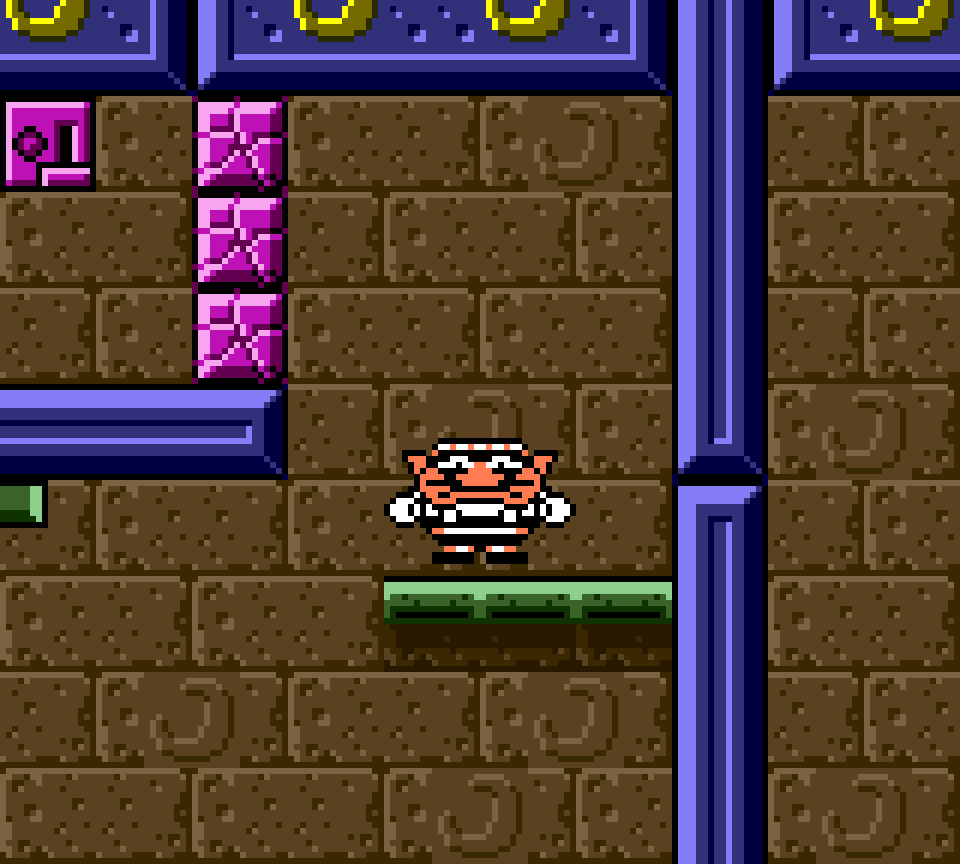
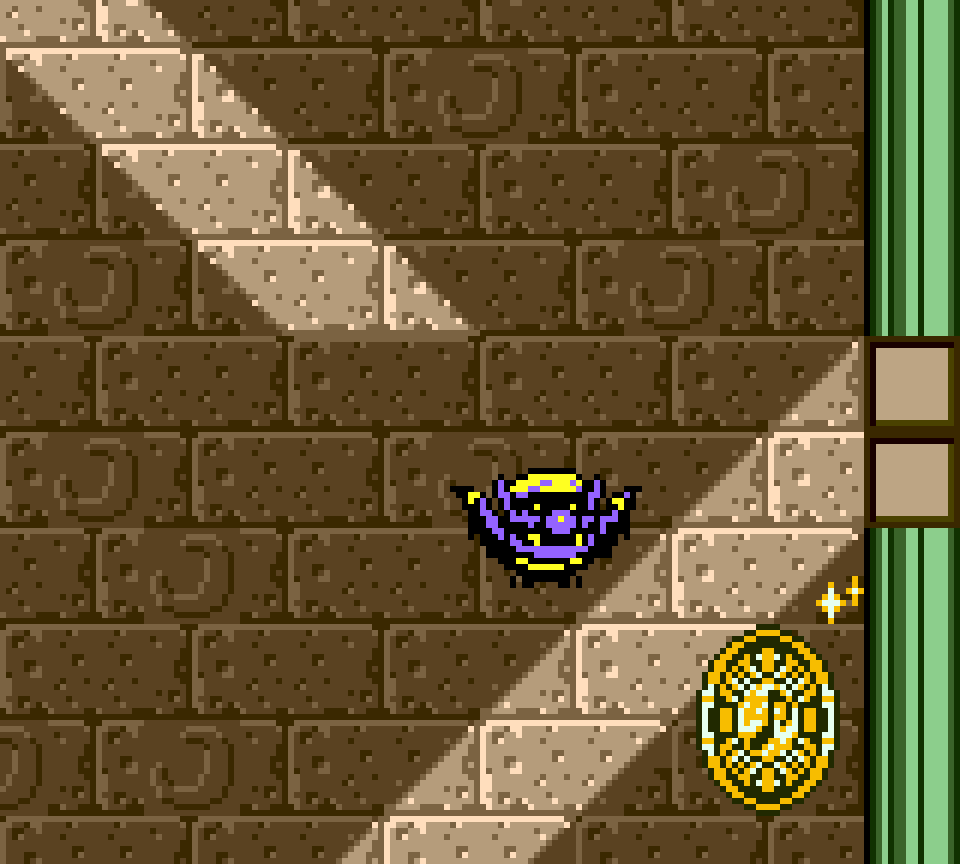
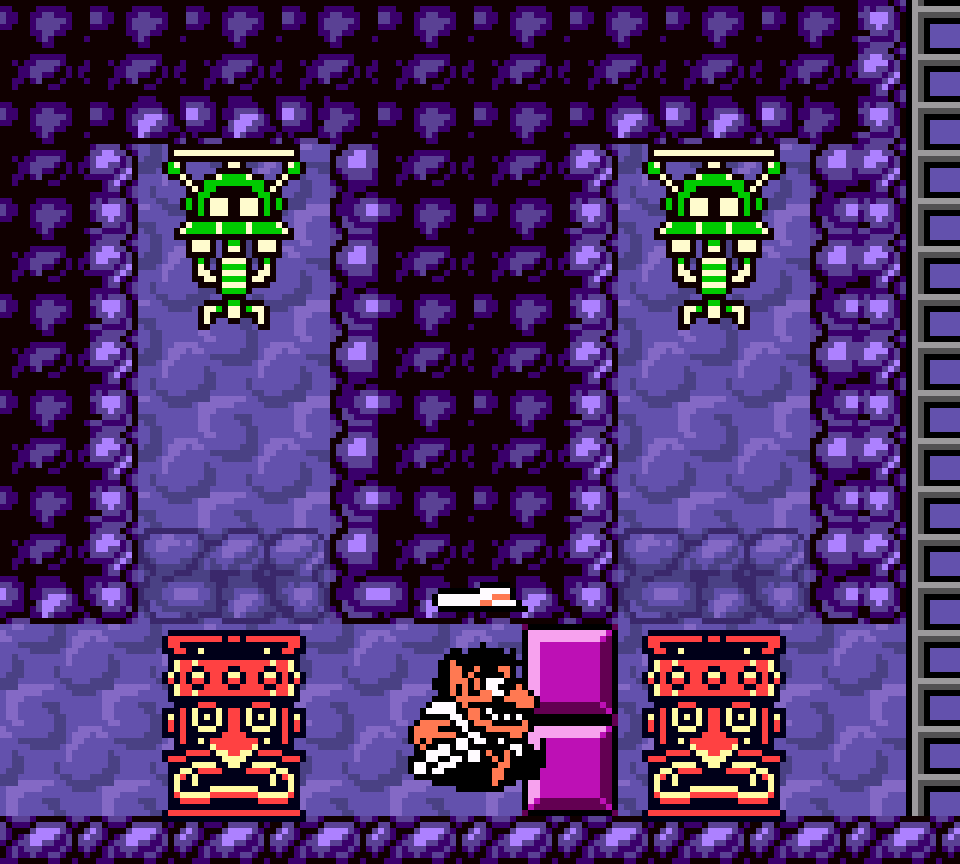
The next challenge, the main challenge, is becoming Vampire Wario & flying up to the blue key & blue chest door, weaving ’tween the slanted bars o’ light. This is 1 o’ the better uses o’ this ability, e’en if it is 1-note & there are a couple much better uses. Some may argue that vampires don’t fit in a desert level, but I kind o’ like the idea o’ a haunted section o’ a desert temple, specially since it’s in the basement area.
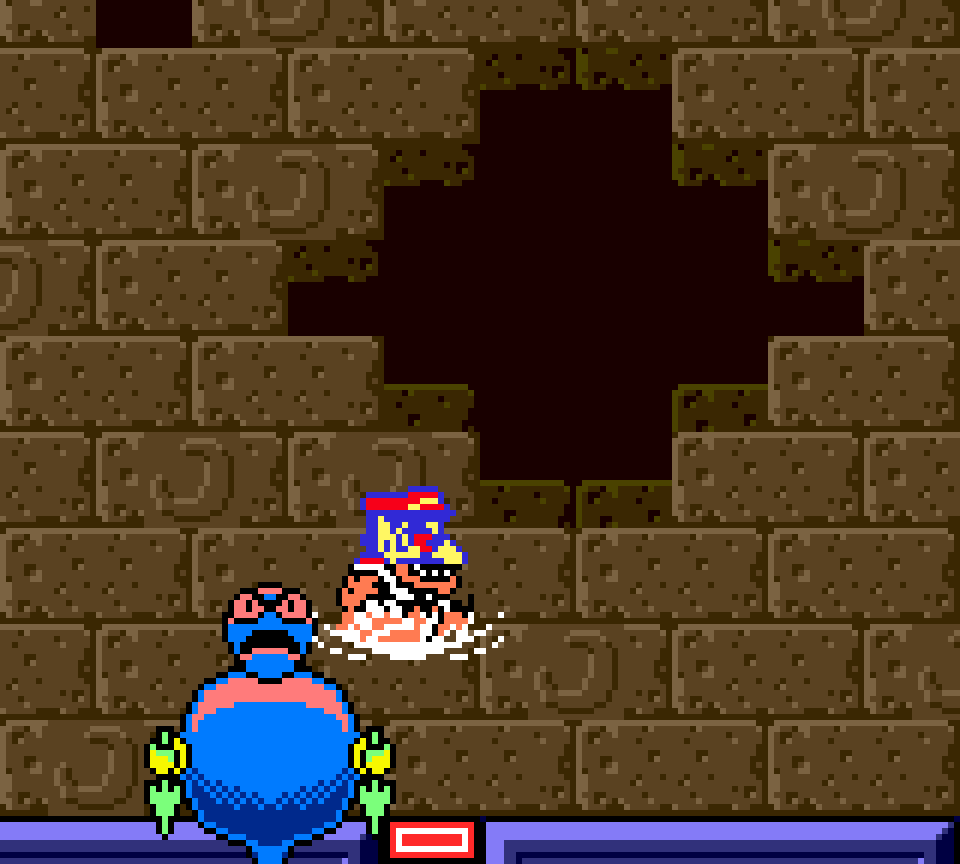
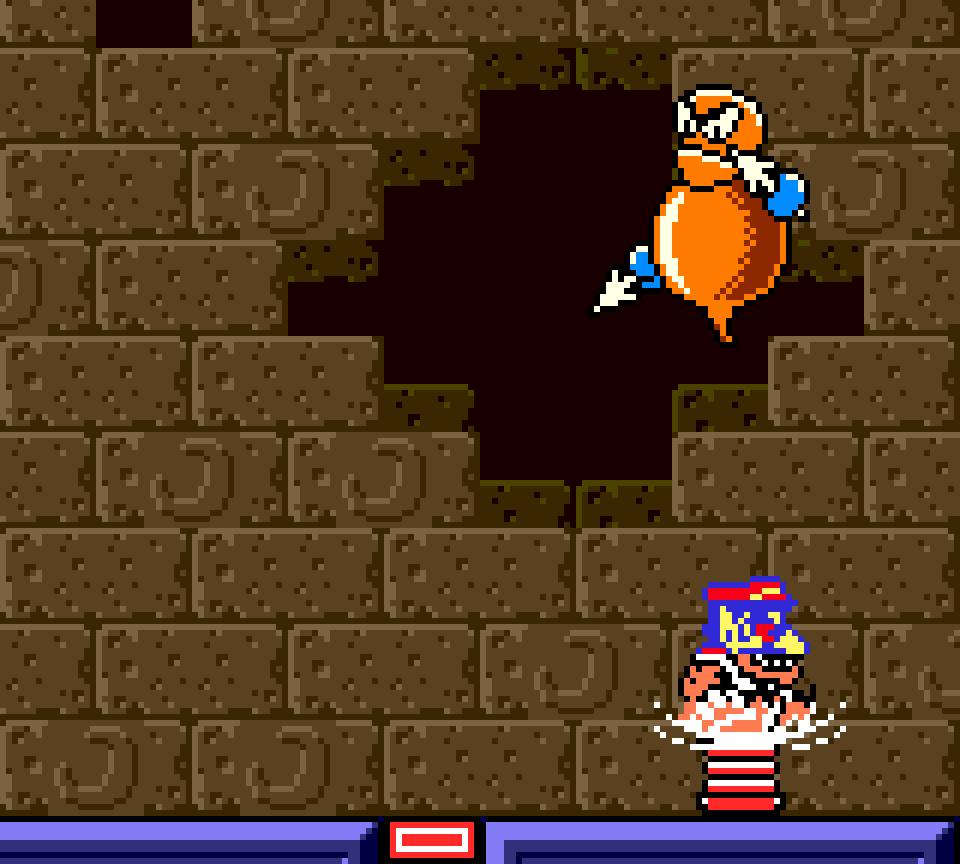
Inside the blue chest door is a boss, Yellow Belly, who might be 1 o’ the most frivolous bosses in this game full o’ free bosses. He just keeps lunging down @ you, making it easy to jump & ground pound his face, & then he throws down a pump so you can conveniently make him fatter till he bursts. Video game bosses are notorious for just offering up their own weaknesses to protagonists, but ’less this boss has a suicidal inflation fetish, I don’t understand why the boss would do this @ all. The boss also shoots spears if you take too long to hit the pump. It’s only due to the delay o’ trying to take screenshots that I just learned ’bout this today as in the past 23 years I’ve played this game I’ve ne’er taken mo’ than a second to ground pound his pump.
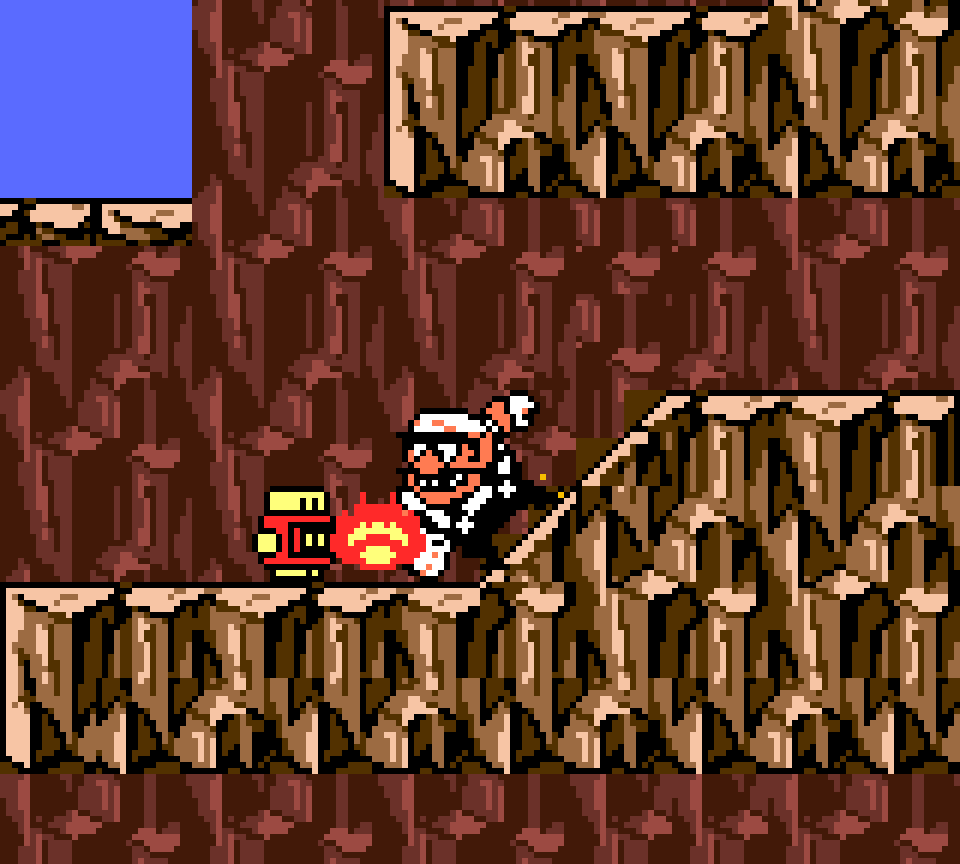
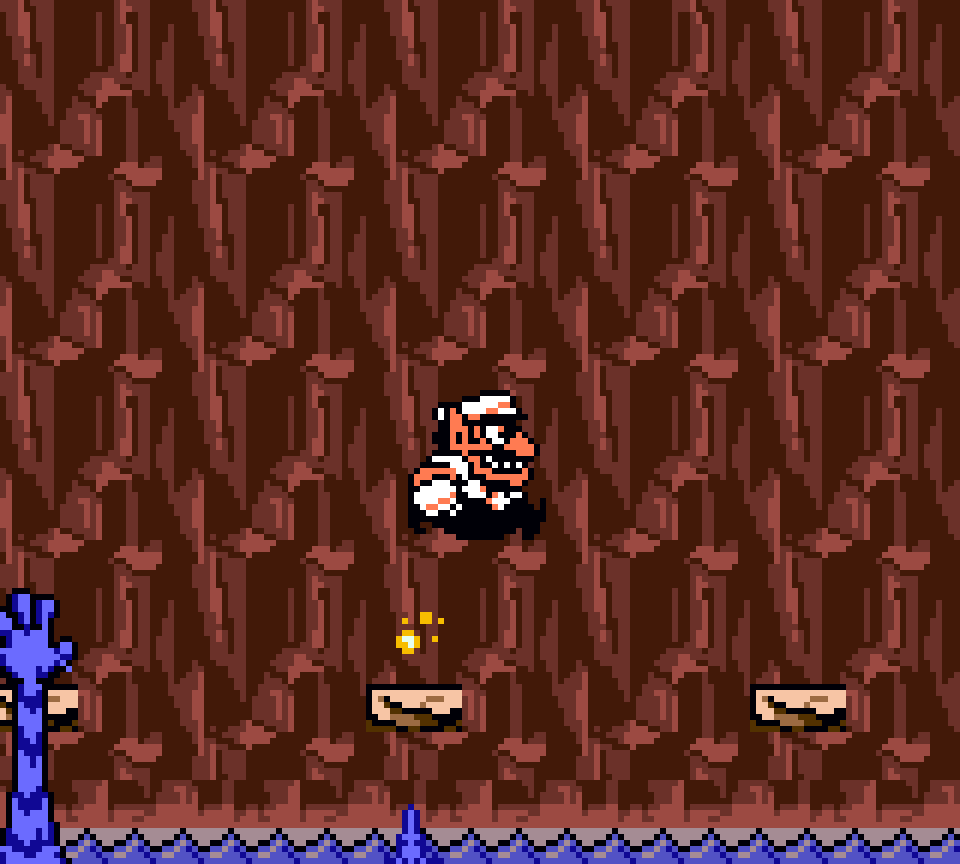
56. N5 The Tidal Coast – Gray
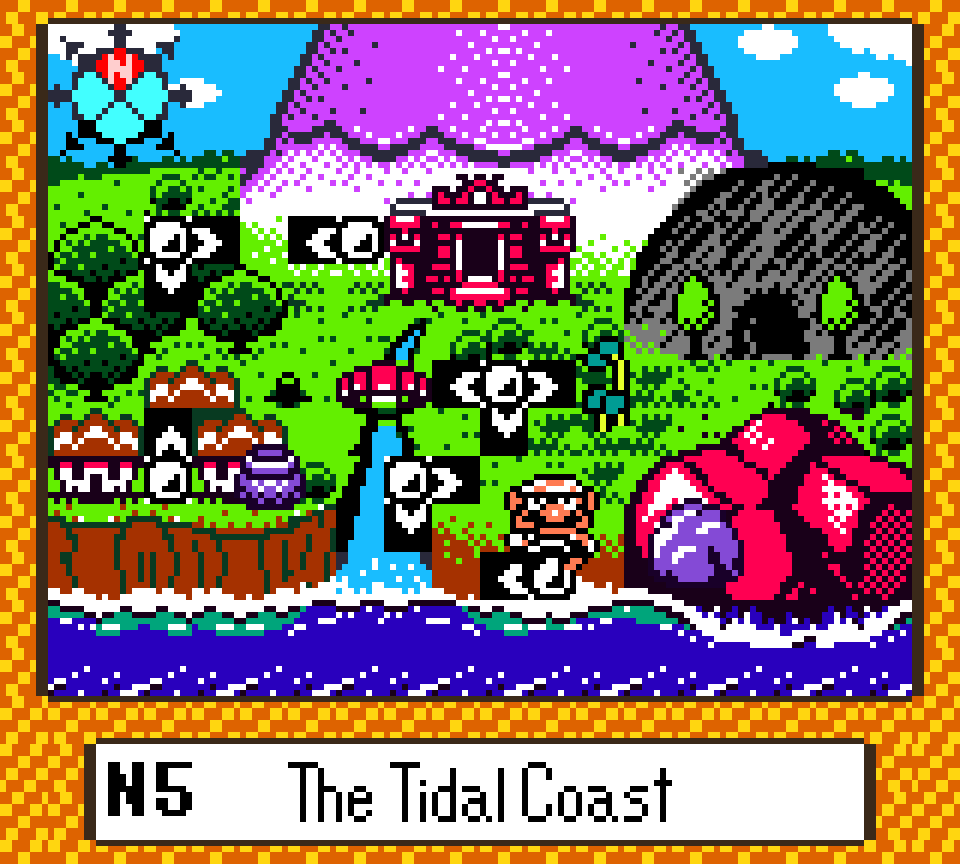
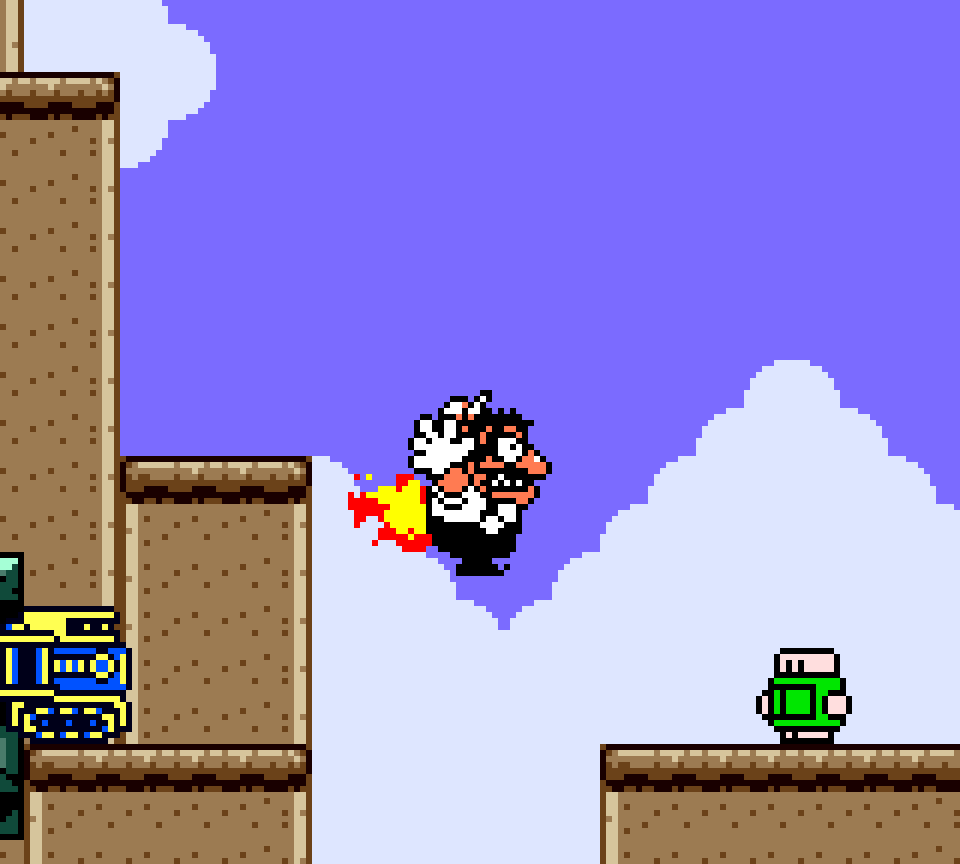
This treasure is a combination o’ 2 decent challenges: the 1st challenges you to intentionally set yourself on fire & jump from platform to platform to the right while avoiding falling into the fire-quenching water to reach the chest, which is blocked off by fire blocks. This is a weird contrast to this level’s focus on water — but makes sense, since the water is the danger to your fire. My only complaint gainst this challenge is that you don’t get any indication that you’re s’posed to be on fire for most o’ the level till you reach the end, so much players will probably go as normal Wario only to see the fire blocks & have to backtrack.
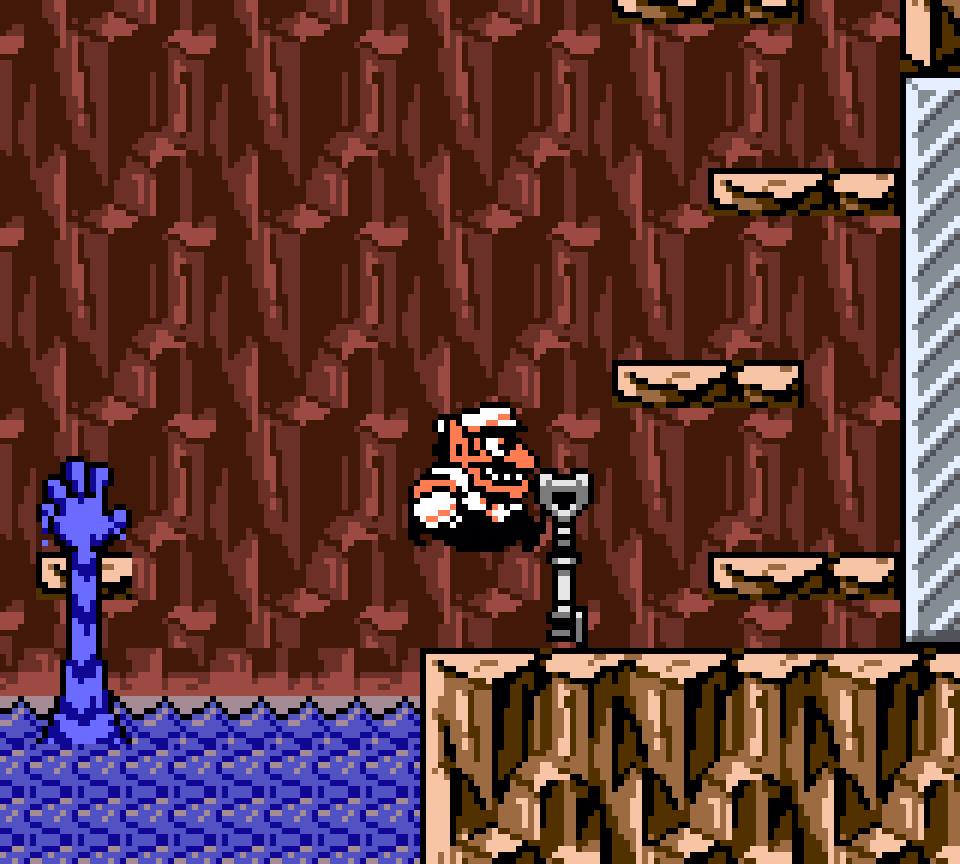
The gray key, meanwhile, has nothing to do with this, but requires getting bopped by the convenient Hammer-bot @ the end & bouncing up to the top & falling into the green beach-rock alcove. It’s 1 o’ several challenges that requires Bouncy Wario, & far from the most interesting, specially since you’ll have to do this ’gain to reach the green key.

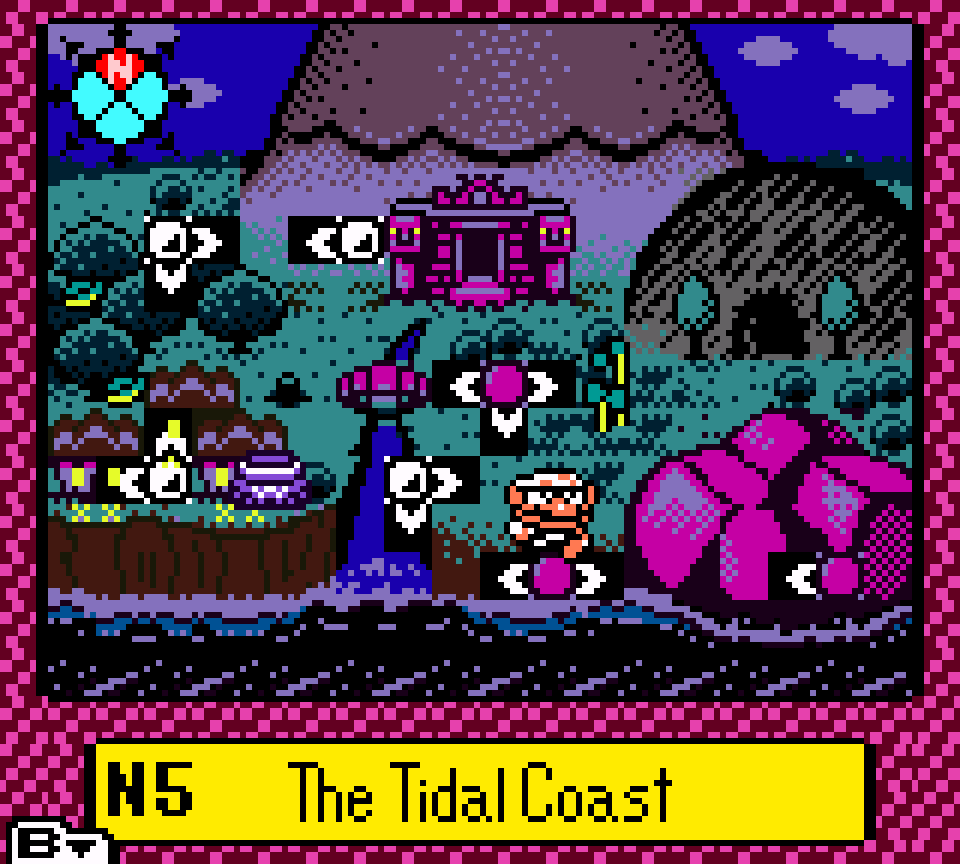
55. N5 The Tidal Coast – Green
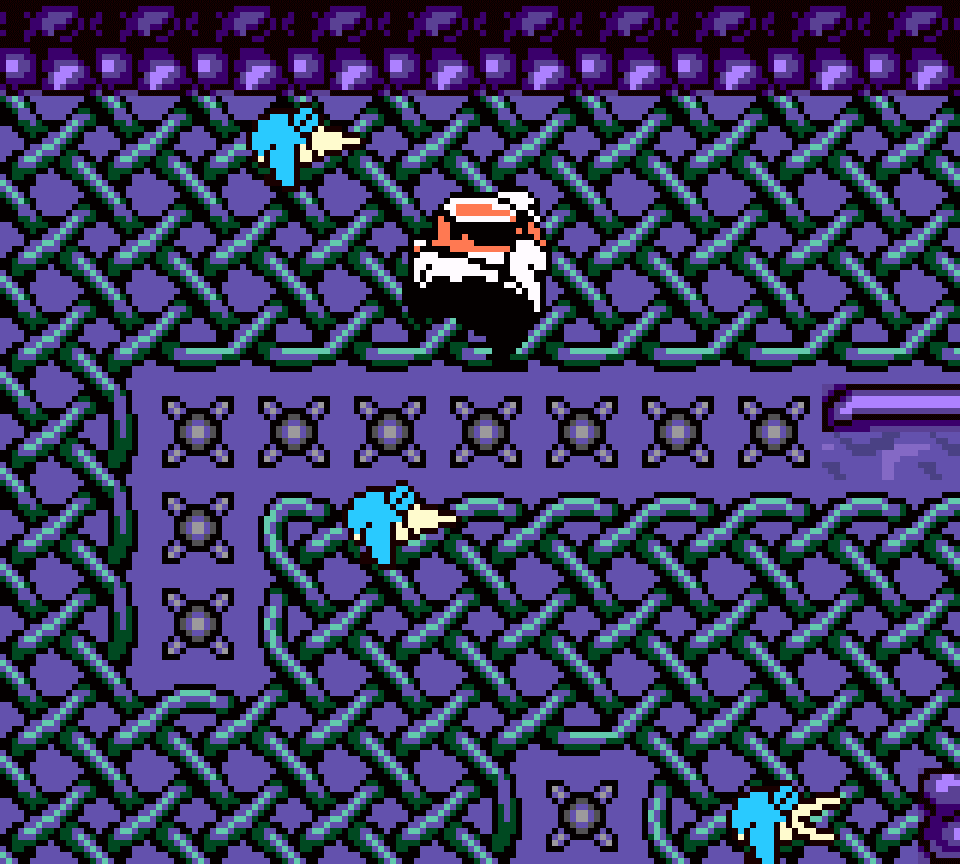
Weaving round the Kushimushi bug enemies & birds while climbing the wire mesh is a fun challenge with some interesting tight arrangements, especially the section near the end where you have to zigzag up & down while weaving ’tween birds — tho the screen crunch does cause some o’ said birds to come from offscreen, which feels cheap. Howe’er, there are other treasures that do the same, & better. For example, this level’s twin, “Bank of the Wild River”, has its green treasure focus on the same mechanic; that & the other treasure opened with the wire-sewing wizard treasure ( a treasure which, by its nature, encourages repeats, ¿since how many different challenge ideas can you derive from climbable nets? ) has mo’ interesting moving dangers.
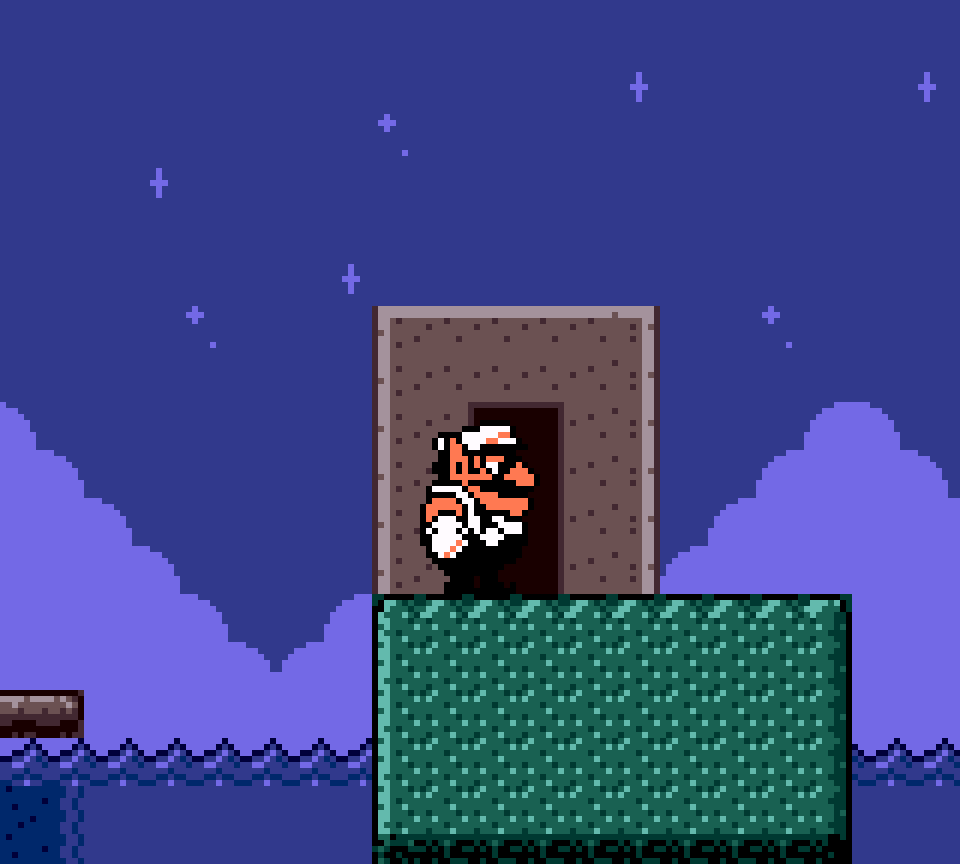
It doesn’t help that, with most o’ the treasures in this level, this treasure doesn’t bother trying to fit in with its “theme” o’ being a tidal coast, being mostly located in a blue cave. The only exception is that the door to these wire-mesh caves is only accessible @ night, when the tide is high, raising the platform with the waterline up to it, as Wario Land 3 operates by the weird Super Mario World logic wherein doors are only accessible if the player can touch them while their feet are on the ground. While cool in theory, in terms o’ actual gameplay it adds nothing other than mild frustration if one wastes their time getting the green key during the day without realizing that they can’t reach the green chest without restarting.
& indeed, separating the green key from the green chest caves didn’t add anything much: it’s just a small room where you have to dodge 2 smashers with the slightest twist that breaking 2 solid blocks ’tween the 2 can cause the player to bump back under the leftmost smasher if they don’t wait till the smasher is on the ground before charge attacking.
54. W6 The West Crater – Red
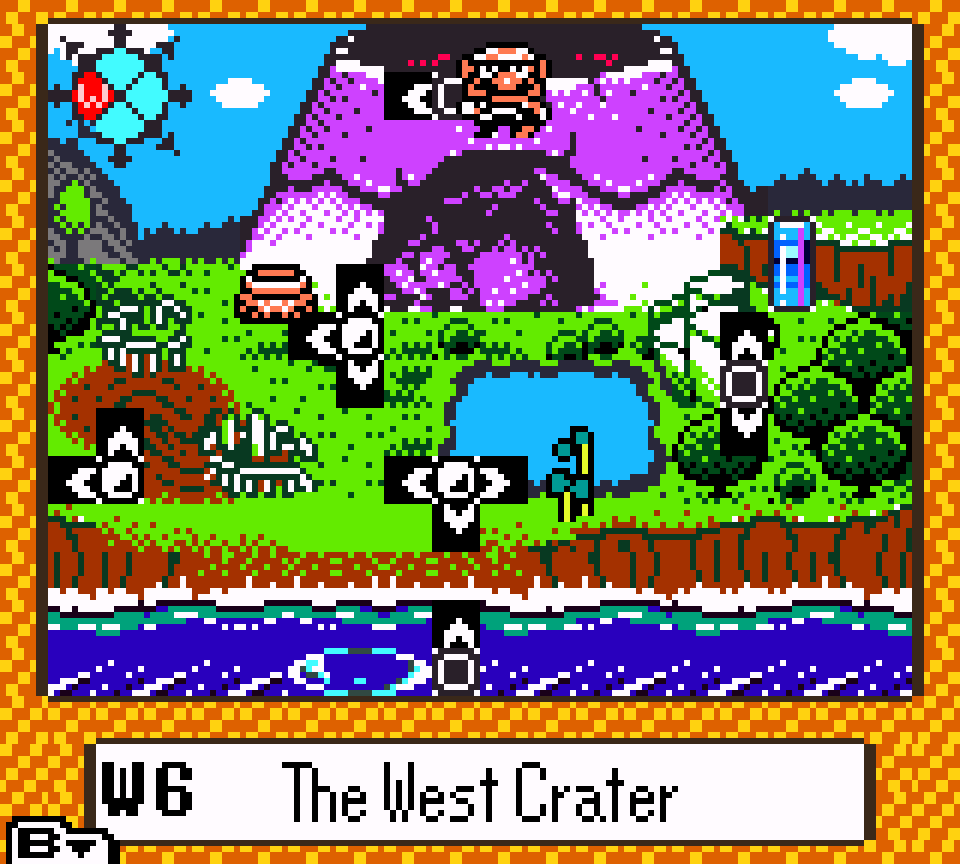
This treasure also involves riding a trolley, but thankfully saves you from having to ride it back & forth like in “The Volcano’s Base”. The layout of obstacles also seems both cleverer & mo’ fair: there aren’t any hitbox problems caused by the spikes & the trolley going to slow like in “The Volcano’s Base”, & there’s an extra twist where you have to start a 2nd trolley while riding the 1st & go back & forth, which is, weirdly, mo’ than “Sea Turtle Rock”’s blue treasure, despite the latter coming much later in the game. It’s also much shorter than those other trolley sections, tho there is still 1 large space o’ nothing where you just stand there near the end for some reason.
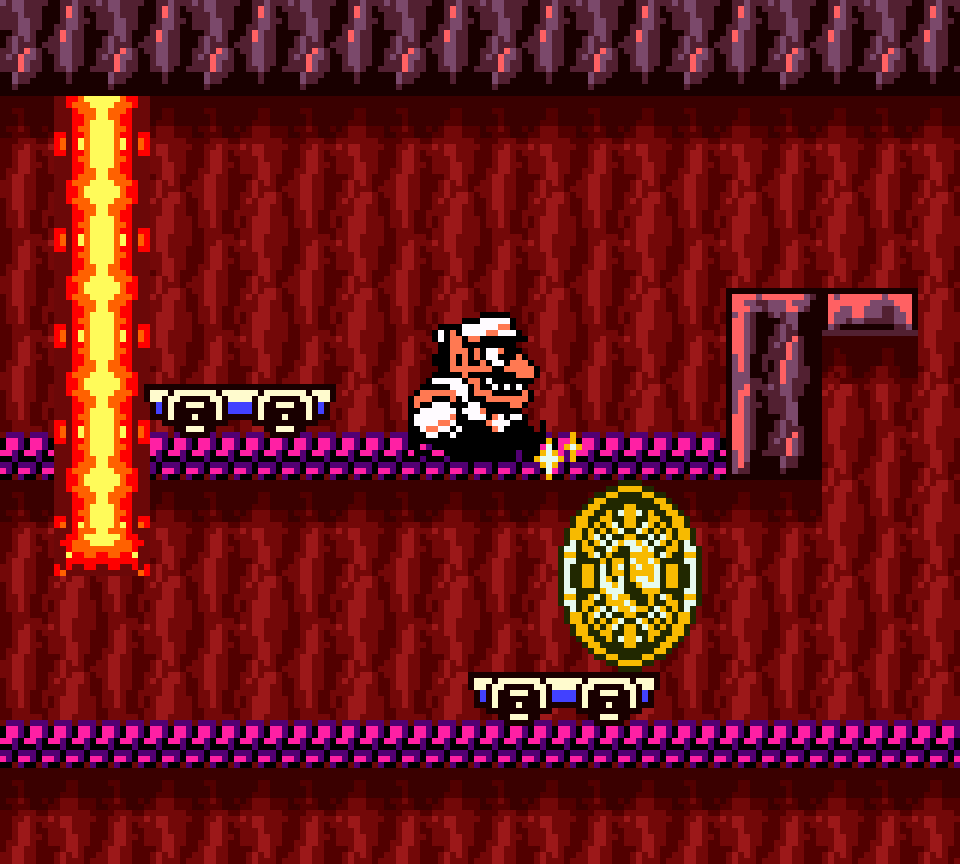
The biggest flaw o’ this treasure is the key, which has nothing to do with this treasure & is just up a room needed for the gray treasure by throwing round a Silky to get past blocks. Reusing an area seemingly created for the gray treasure is clever, but they could’ve done mo’ to make it cohere with the red treasure. The least they could’ve done is have them both unlock with the same powerup: it’d be annoying if somebody remembered they could get thru that room with the ability to throw enemies & go thru the trouble to get the red key only to realize they can’t reach the red chest without the ability to ground pound solid blocks, which comes after the initial gloves.

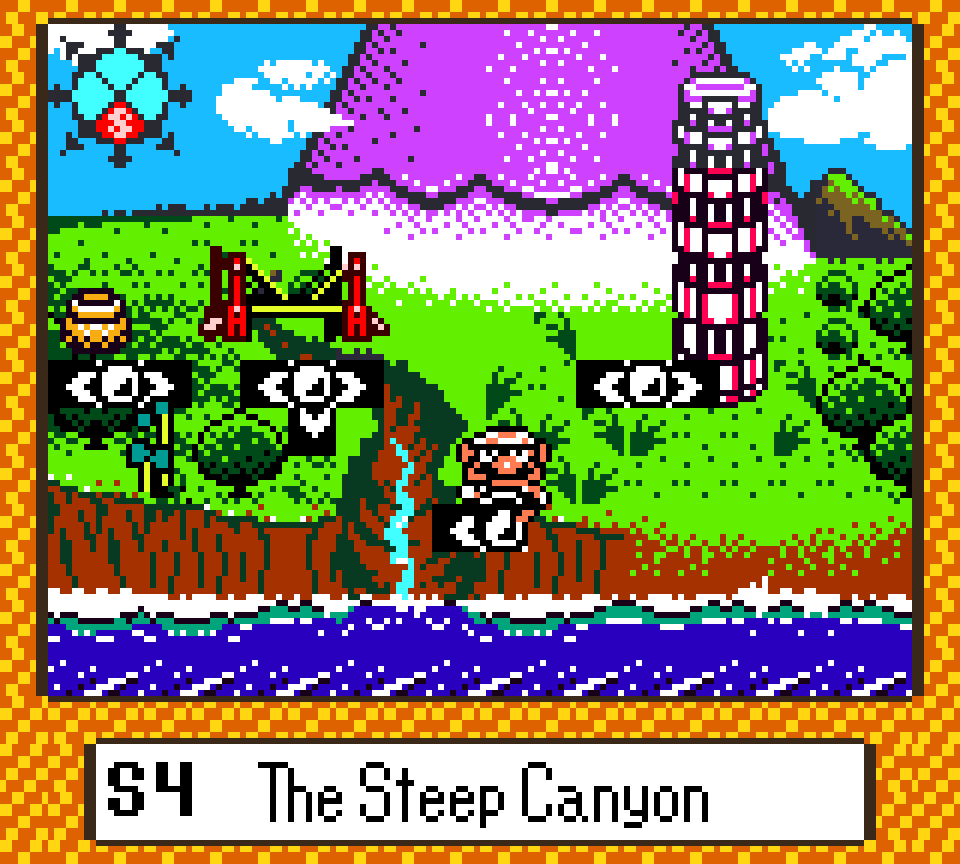
53. S4 The Steep Canyon – Gray
Nothing here is new @ this point, but the way these elements are used is pretty good. You start with a tricky arrangement o’ Fire Robotas that, nonetheless, offer stealth ways to get thru them quickly if players think to break thru the rock ’bove them & sneak attack them from ’bove ’stead o’ just plowing right into them & likely get torched.
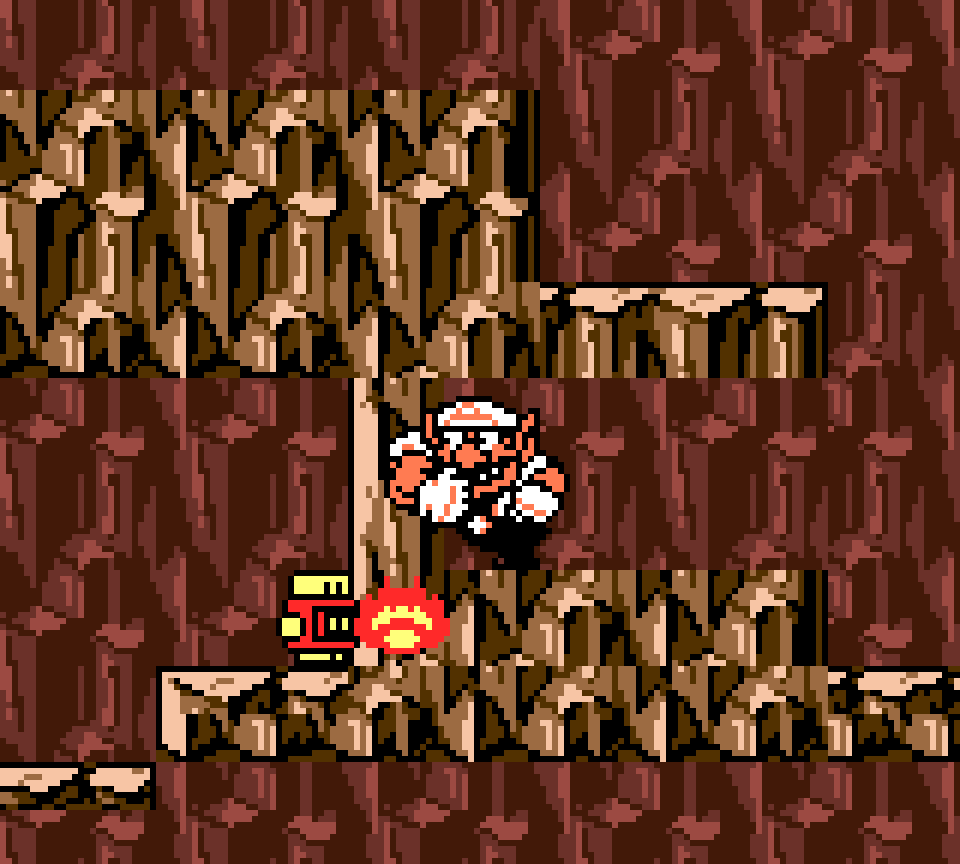
Then @ the end you climb up out o’ the brown canyon up into the blue skies & have to roll far left to break open the passageway to the chest, making quick jumps o’er a giant toad & 1 last Fire Robota in your way, the latter o’ which can just stand round befuddled just before you plow into it. The 1st Fire Robota in this upper section can get you if you immediately start sliding down the slide & don’t see the Fire Robota yet, tho, which can be annoying.

While it’s kind o’ cool to see the sand hands from “Desert Ruin” reworked as lake hands here, they don’t do much mo’ with them here than in that level, only using them 7 times, while having a series o’ normal platforms that just feel like filler in the middle. I do like that they went the extent to having a platform dipping down into the currents round the middle as something o’ a midpoint in case you fall in, blocking you from being pushed all the way to the start.
& the gray key isn’t in an inspired place, just thrown @ the end o’ the bottom section before the climb upward. Part o’ me feels it would’ve been better to put it in the upper cliffs round the middle where the door to the red & green treasures will be later. This would give that area something to do here — tho it would also make this now-empty section less conspicuous as a “to-do” area, which is maybe why they didn’t do this.
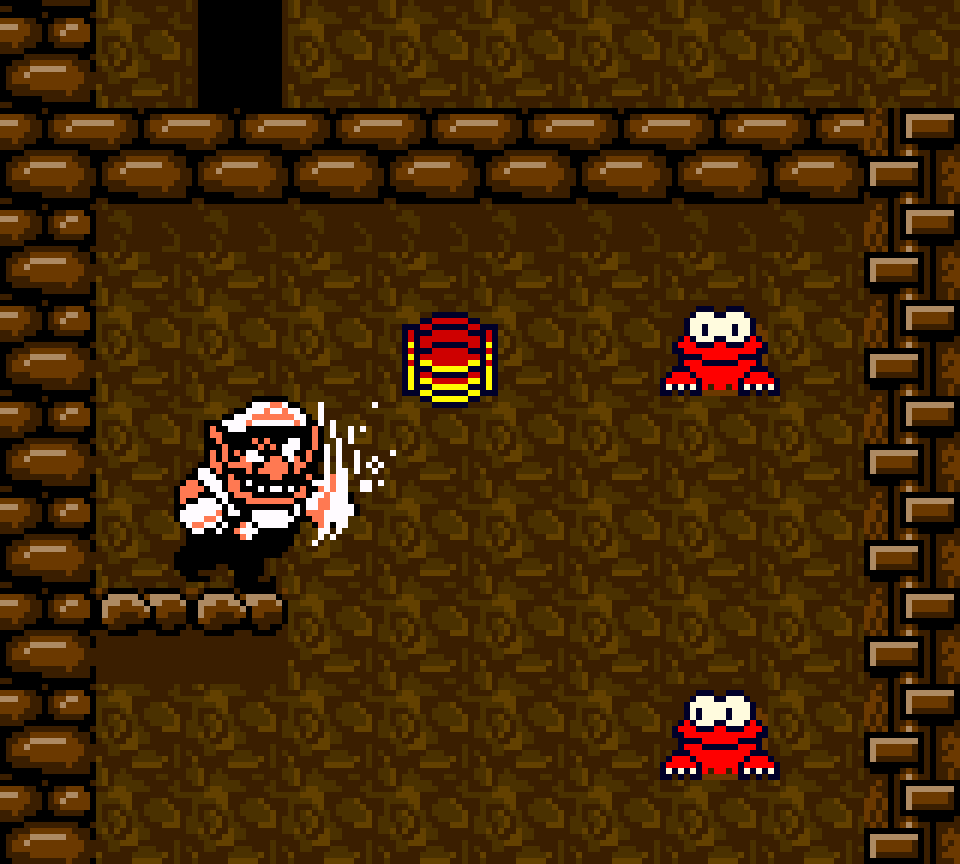
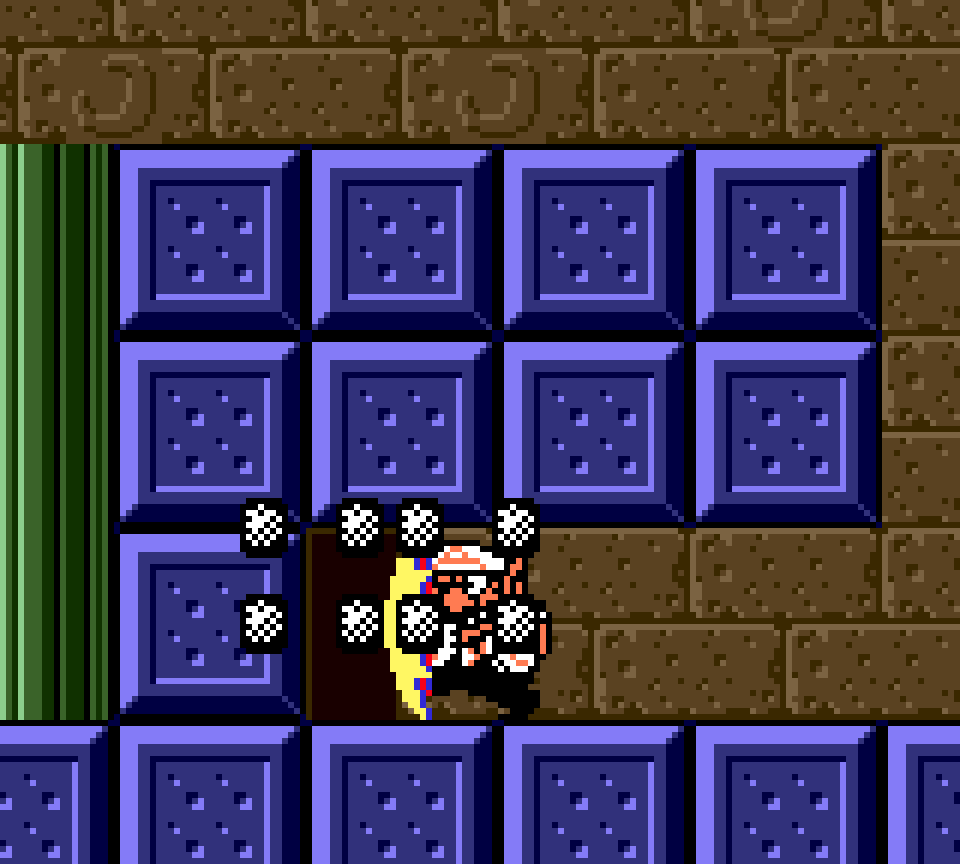
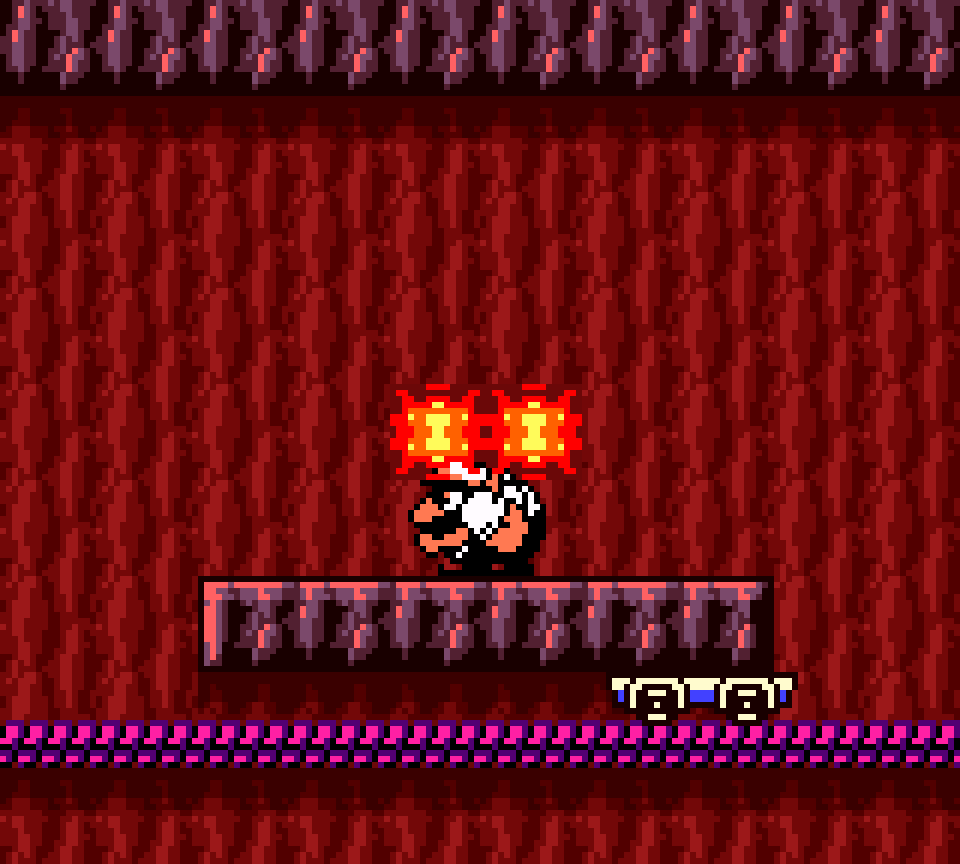
52. S5 Cave of Flames – Blue

The 1st half is, unfortunately, mo’ challenges where you have to jump off enemies while bringing enemies you can jump off higher up & a challenge where you have to throw an enemy onto a short platform to the right so you can, you guessed it, jump off it to reach a higher cliff made worse by the small camera’s proclivity to despawn the enemy or how the hole is just wide ’nough that it’s easy to throw it too short, while throwing too far will just crush it gainst the wall.
Howe’er, after that you have interesting challenges where you have to climb up a long room while avoiding the smashers, including having to use smashers as platforms after they’ve fallen, only to get smashed @ the very top so you can proceed thru the previous room as flat Wario. I especially love the twist @ the end where it seems being flat Wario to cross all the li’l platforms will help, only to realize you can’t open the chest with flat Wario & need to go back, get revived by the convenient Grab-bot, & cross normally. Thankfully, like many platformers, Wario can just run o’er 1-block holes, so you can just run straight down the path without jumping @ all.
These 2 halves not only have nothing to do with each other, but also have nothing to do with this level’s ostensible fiery theme, making it 1 o’ the mo’ conspicuous filler treasures added in to fill out this level’s requisite 4 treasures. Weirdly, despite having 2 halves, they both mainly lead to the chest, while the key is just thrown in the middle o’ the 1st half’s path. This is especially odd as there’s a secret door below the hole where you have to throw the Spear-bot, which has the most ridiculous puzzle where you have to juggle 4 Spear-bots around a series o’ platforms, — tho as a very well-hid secret or a dev path, you can just throw a Spear-bot @ 1 o’ the lower walls & climb an invisible ladder straight to the top — only to lead to a music coin @ the top.
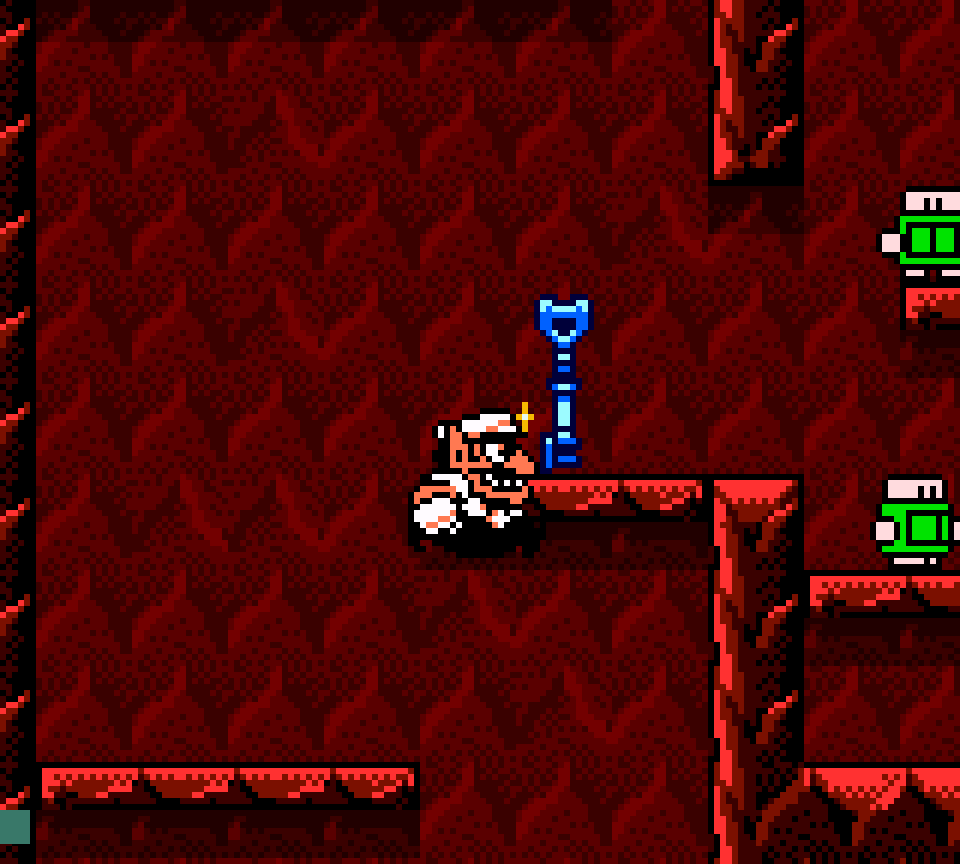
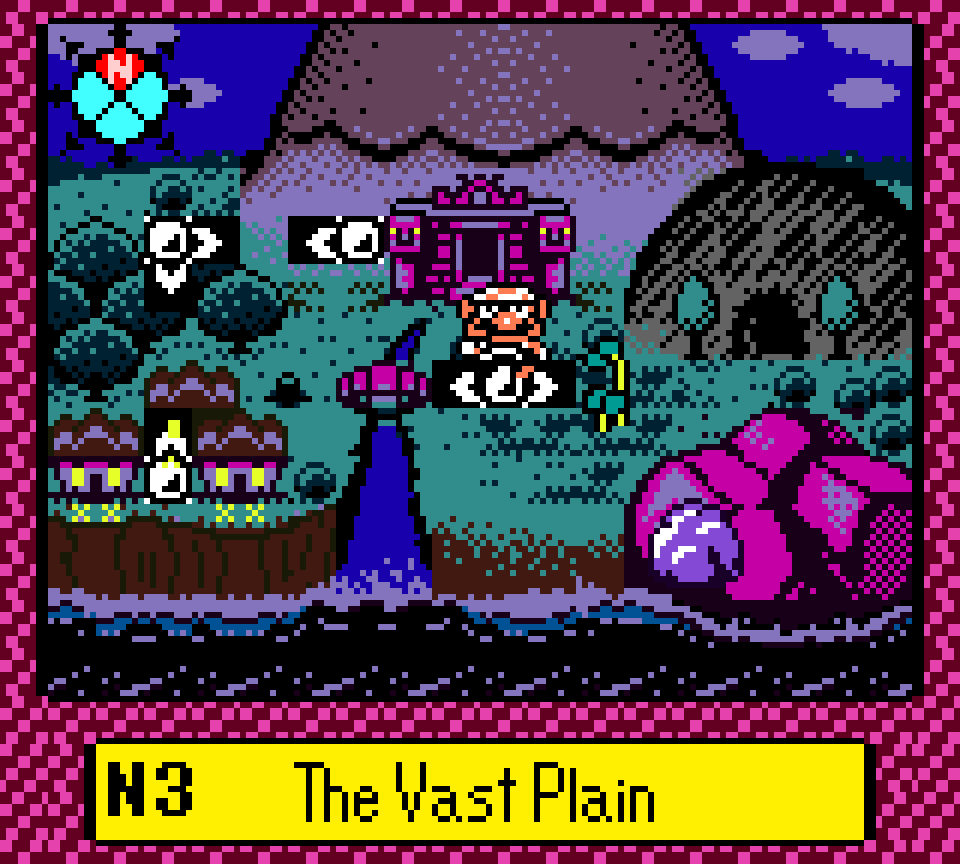
51. N3 The Vast Plain – Green
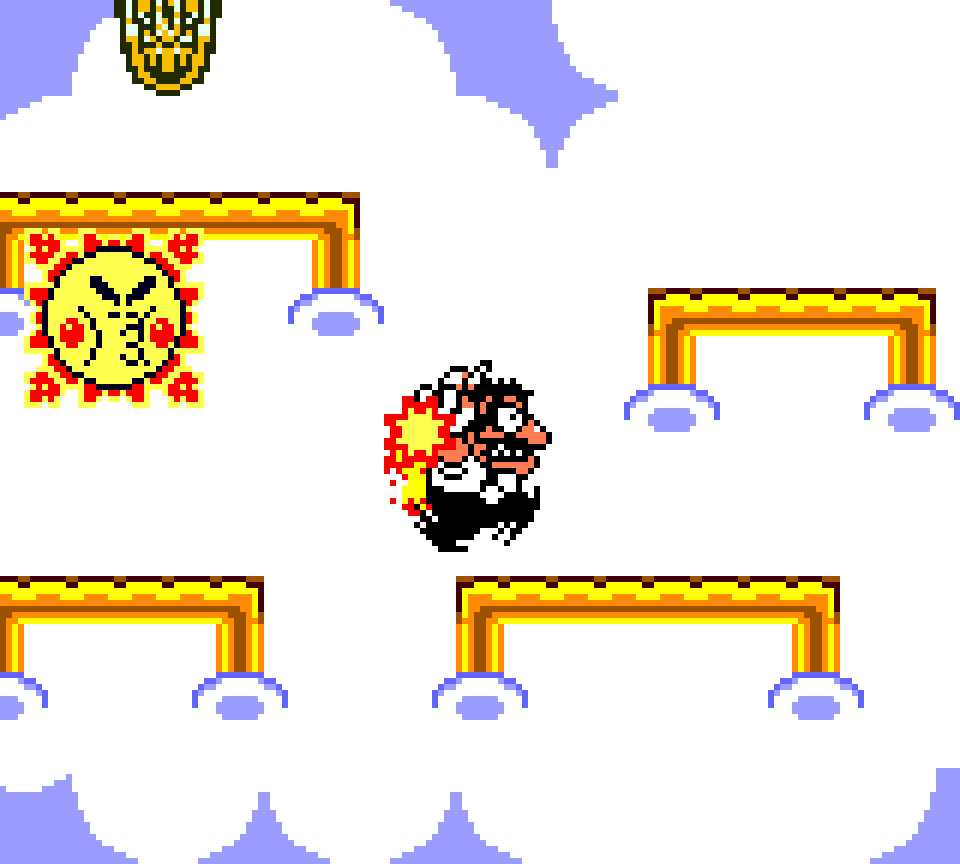
The main focus o’ this level, jumping from platform to platform while dodging a chasing sun or moon’s projectiles, is interesting ’nough, specially with the subtle distinction wherein the sun is mo’ dangerous, since it sets you on fire, making you run uncontrollably so that getting hit by 1 o’ its flames virtually guarantees you’ll fall off the area, whereas the moon’s spitballs just knock you back, which will sometimes make you just land on ’nother platform or e’en just farther back on the platform you were on, twisting the video game cliché where sunny day levels are less threatening than nighttime levels.
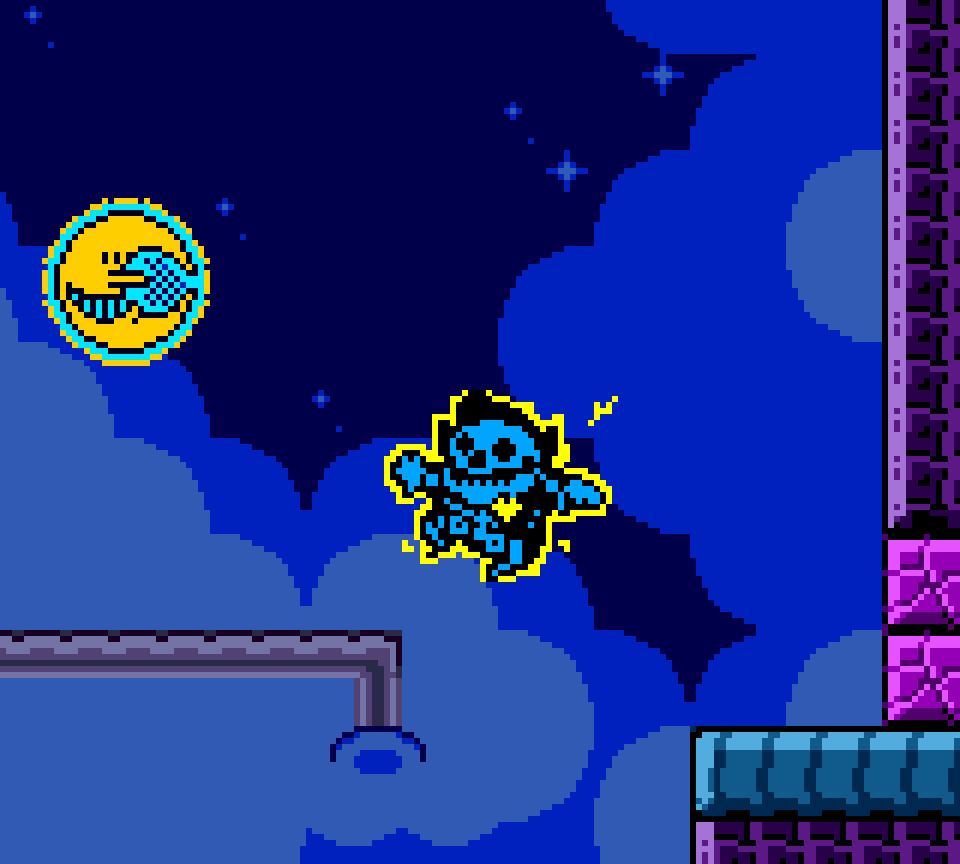
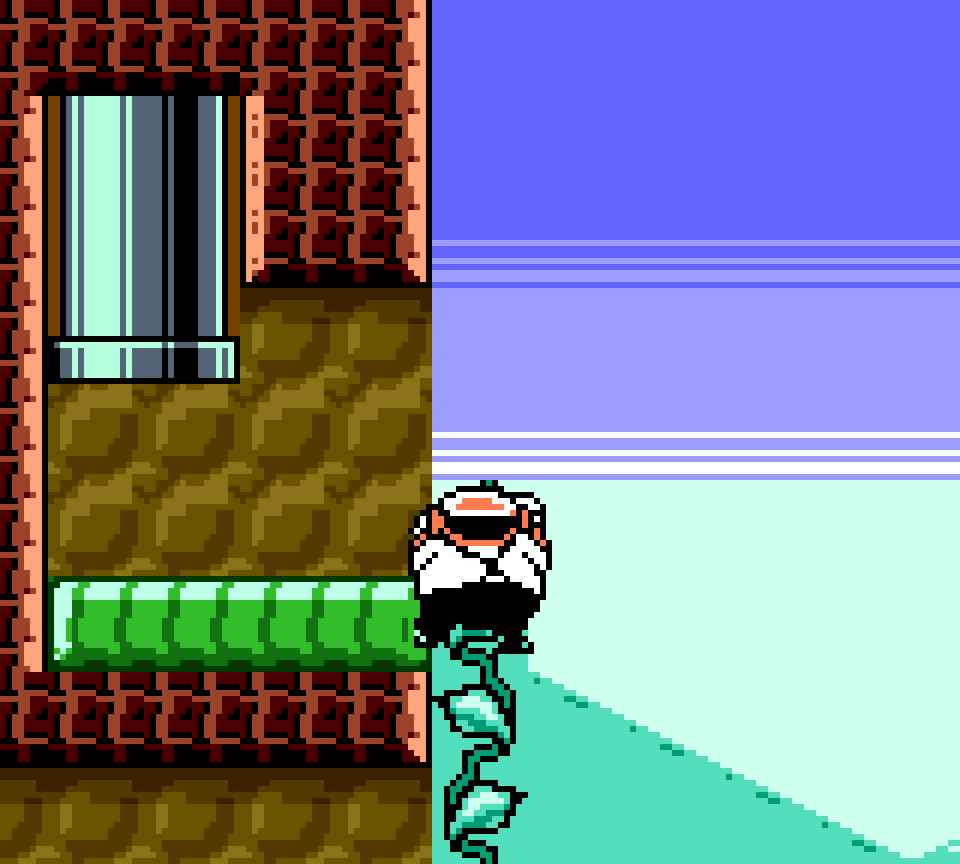
There are 2 major problems with this treasure: 1, it doesn’t mesh well with this level, focusing on a cloudy area in a plain level. Yes, it’s reachable from a beanstalk; but beanstalks don’t fit in well with flat, empty plains. They should’ve made this a garden level — it’s not as if the rest o’ the level gets much traction out o’ being a flat plain.
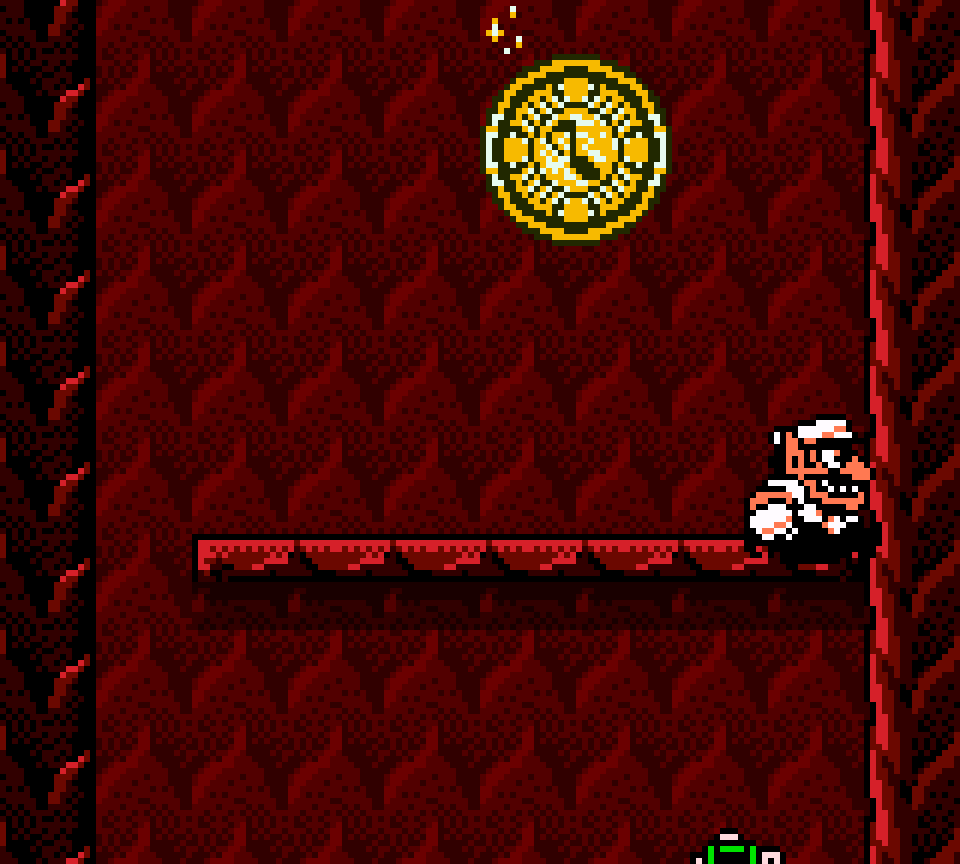
The mo’ serious problem with this treasure specifically is that it has too much extra padding that doesn’t add anything. We have the all-too-common minigolf game, which just adds extra steps, as it usually does. You’re already taking a detour for the key; I’m not sure why we needed a 2nd detour.
& you also have the random green cave ’tween the beanstalk & the cloudy area that’s way underdeveloped: you dodge 2 easy-to-dodge smashers, climb a ladder, & then walk mo’ than 2 screens o’ empty nothing.
The worst thing is, they had a better alternative to this treasure: they could’ve swapped this treasure for the red treasure in “The Pool of Rain”, which is also accessible from a beanstalk & is gotten right round where this treasure is, holding the other half o’ the key that opens “Tower of Revival”. That treasure focuses on platforms obscured by leaves, which fits this level’s focus on invisible elements better than it fits that level, & that level… Well, this cloudy area wouldn’t fit any worse there than here.