

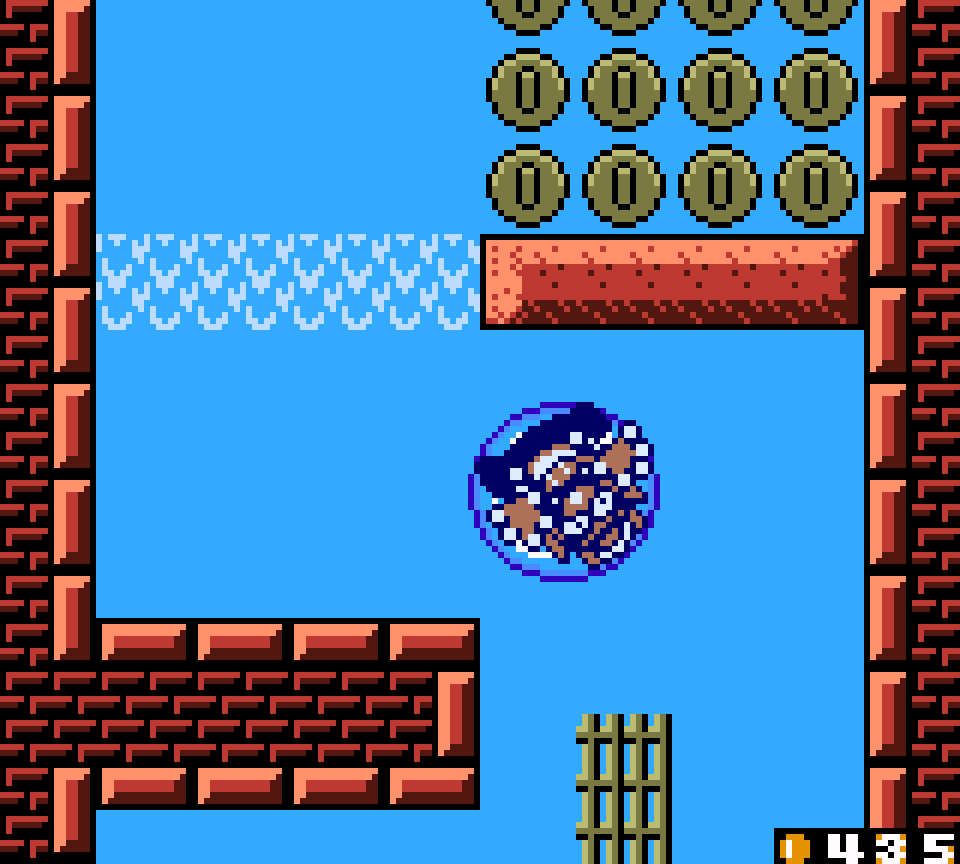
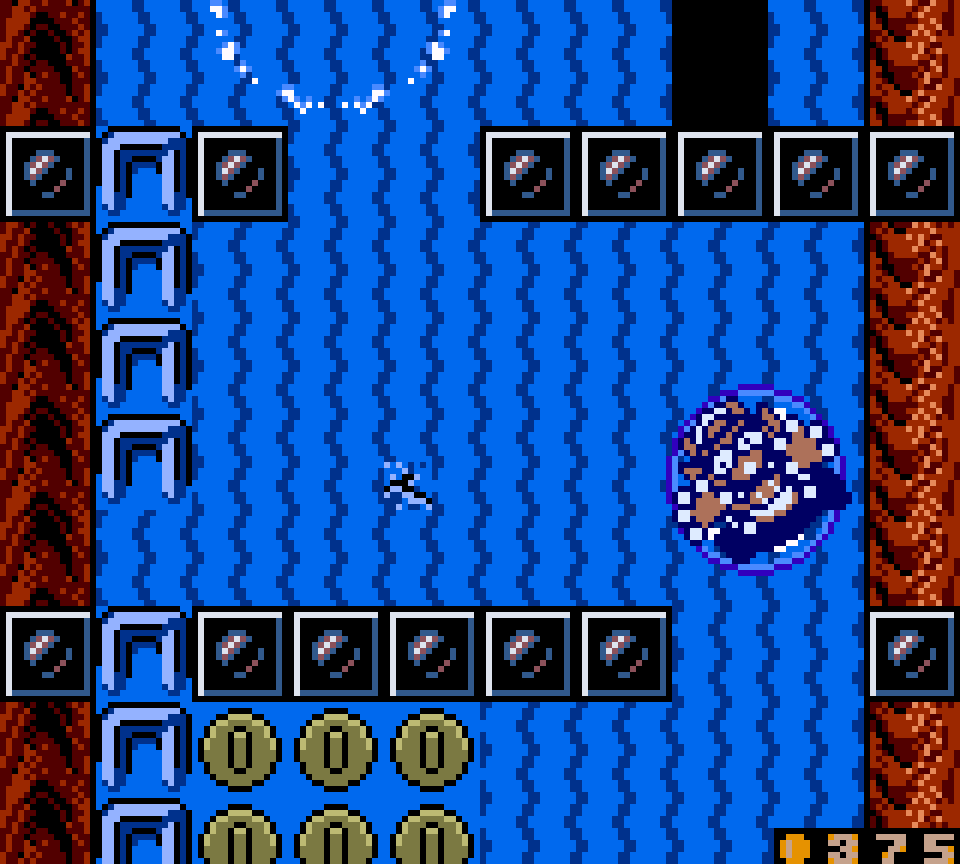
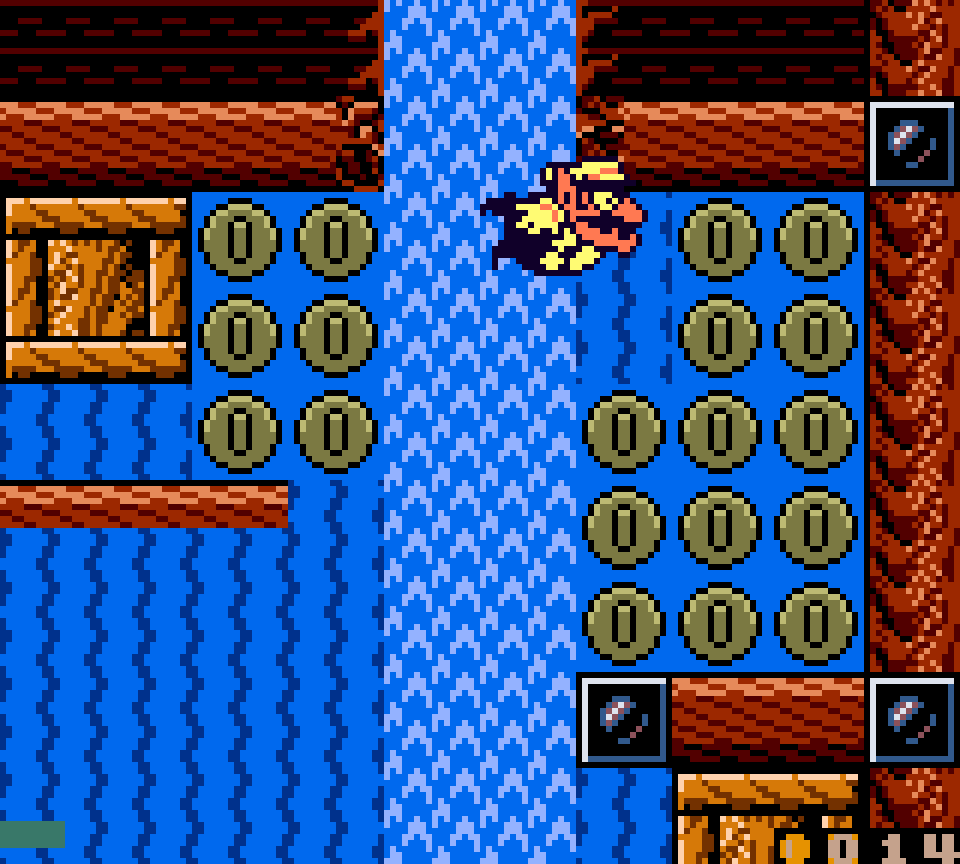
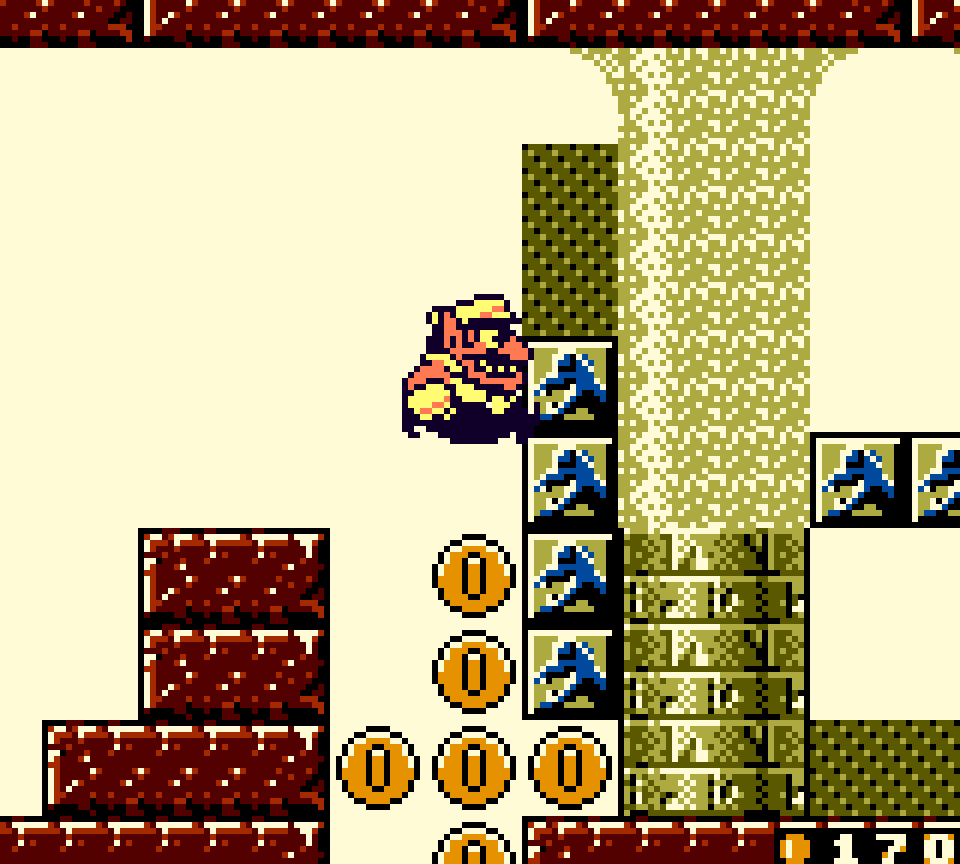
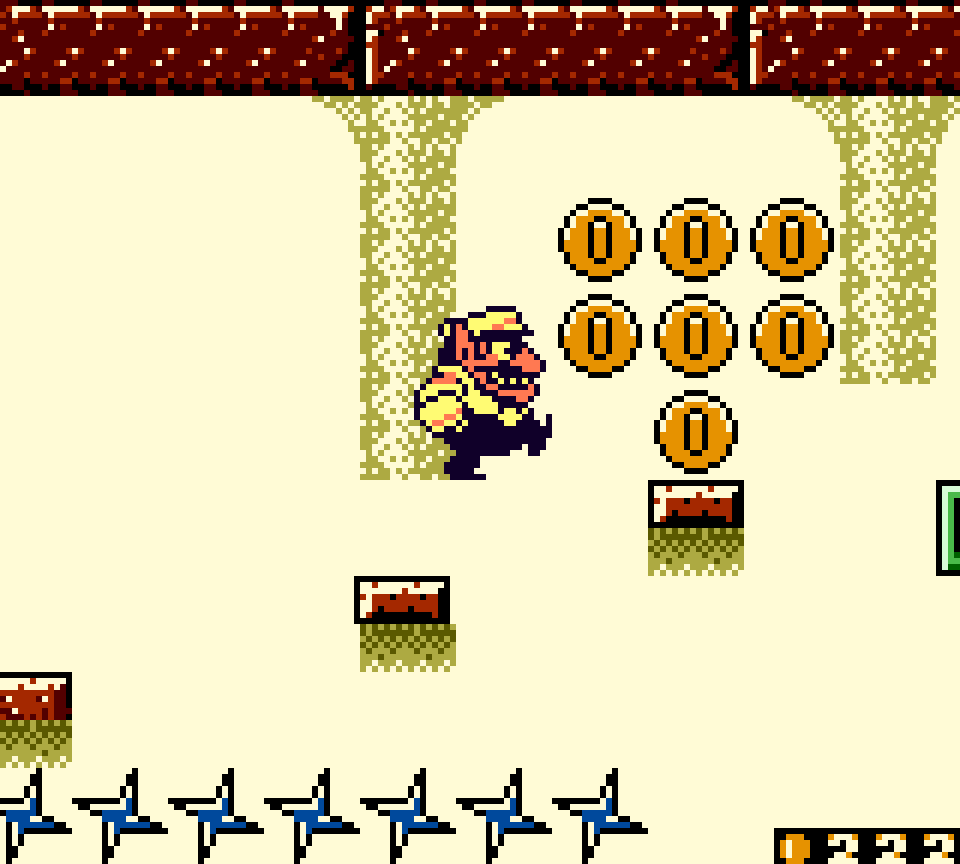
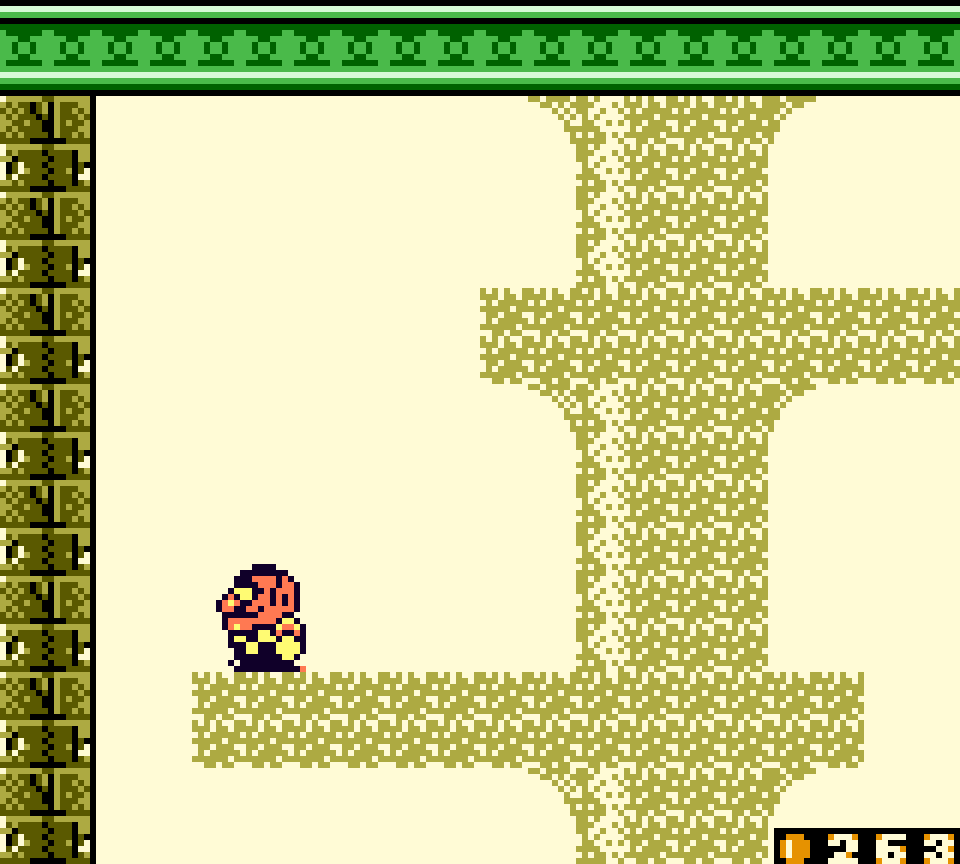
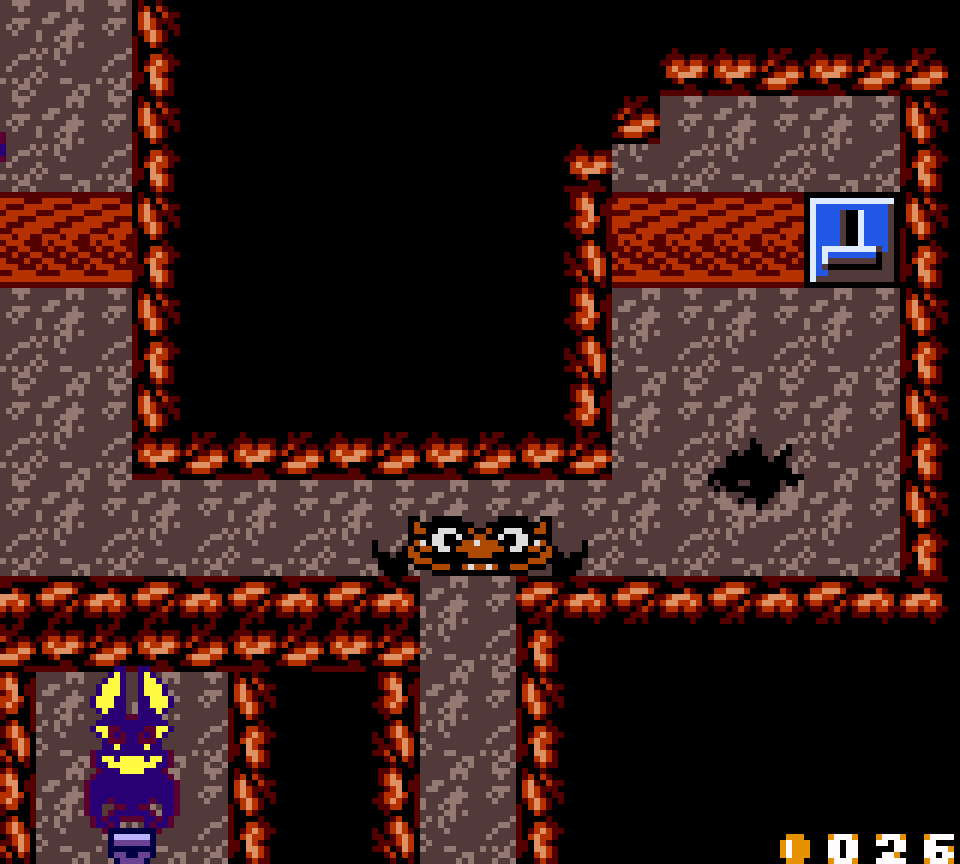
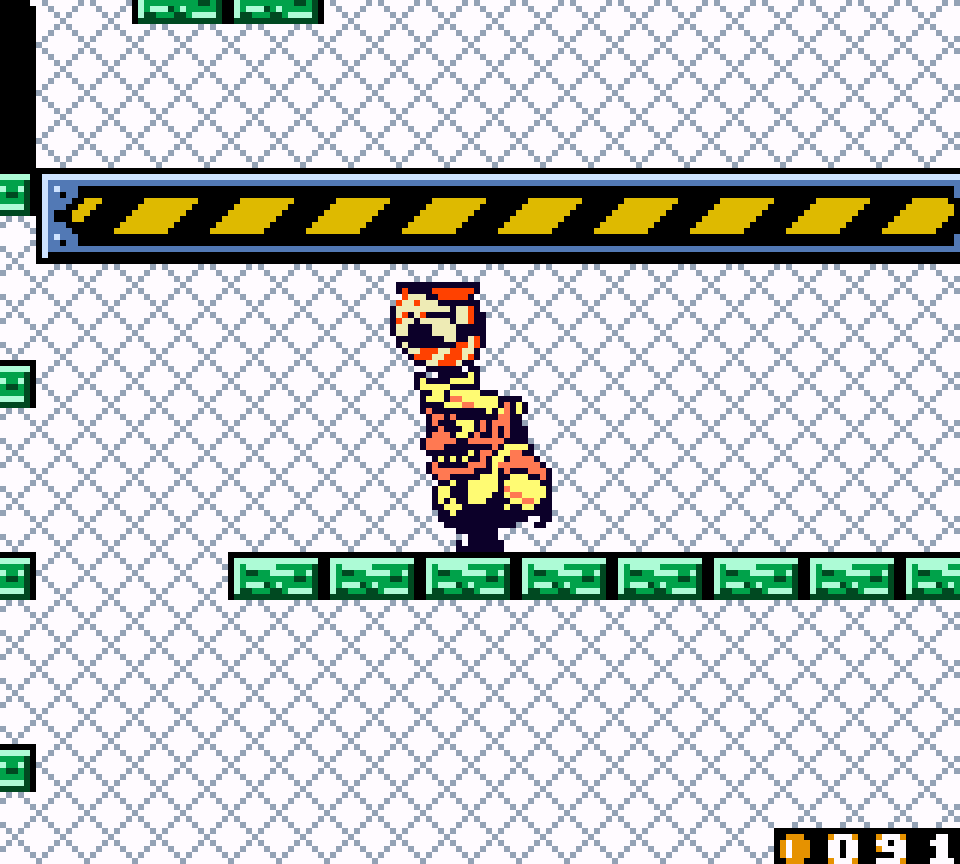
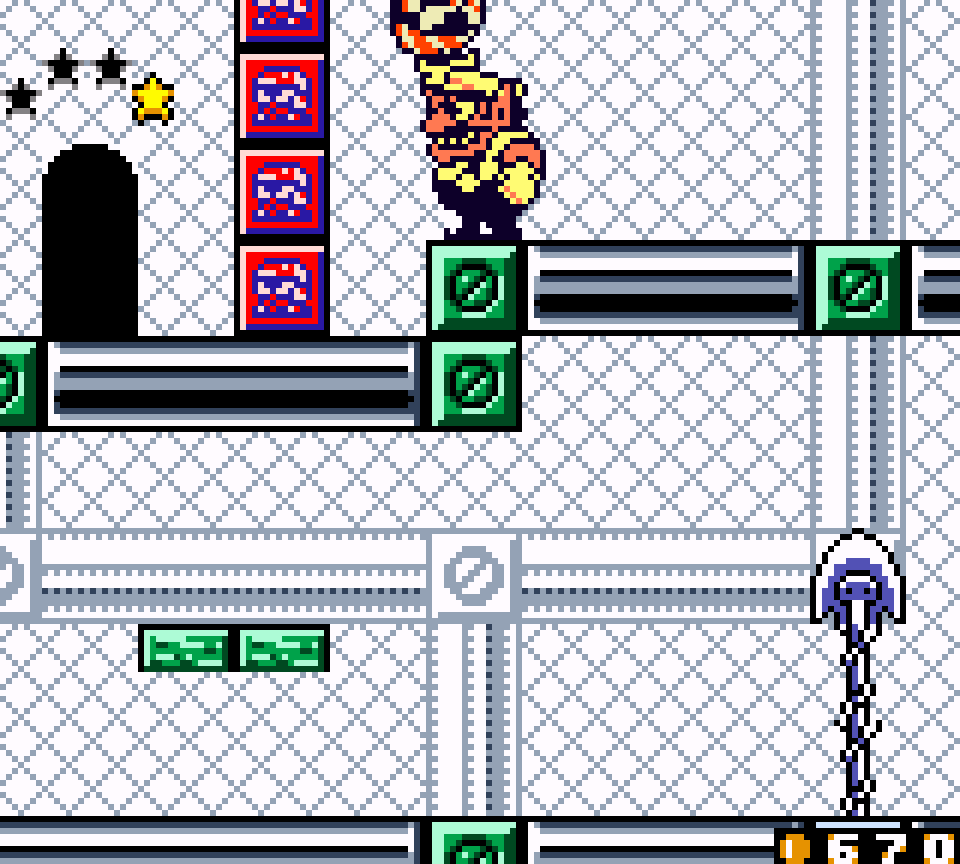
33. One Noisy Morning Story 3: Let the water out!
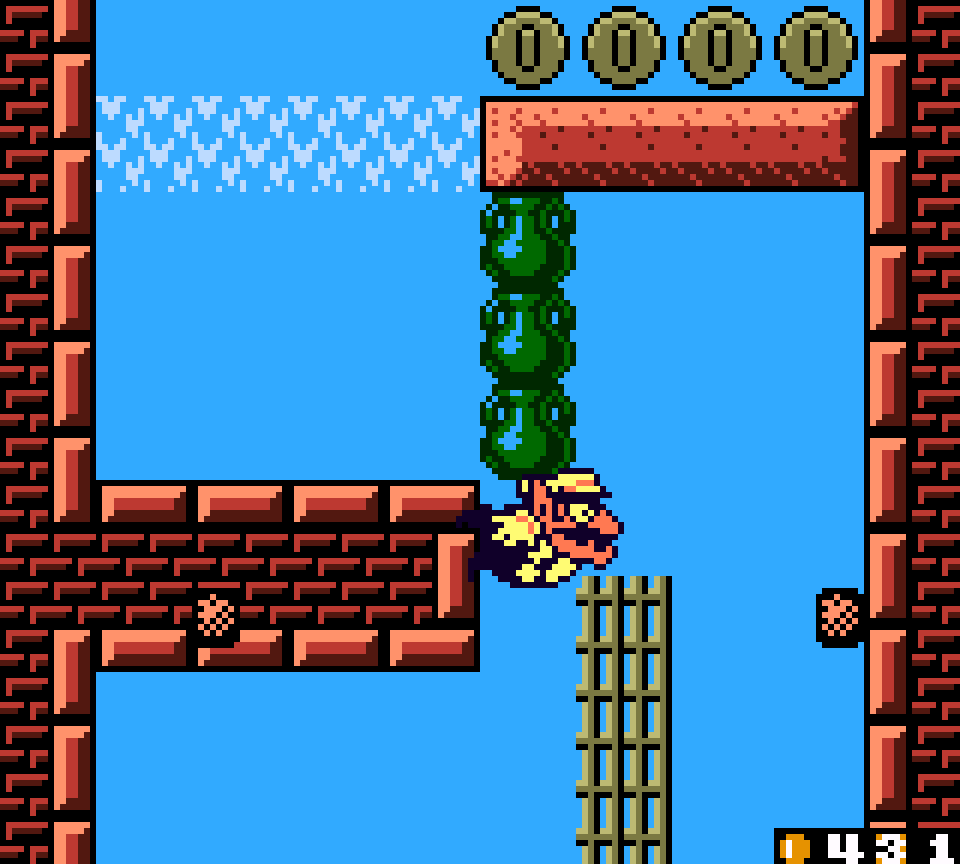
A weaker version o’ the level that comes just before it. While I can understand the interest in wanting to develop the “story” o’ Wario’s castle flooding, taking up 2 / 5 o’ the 1st castle chapter with pseudowater levels is pushing it. This level does a’least use water in a different way, tho it’s less interesting: we have 1 use o’ a switch to make the water fall so you can reach a paltry 20 coins, & then have to switch it back on to reach a high-up shelf to continue the level. If you don’t feel like you absolutely need those 20 whole coins, you can just ignore the switch.
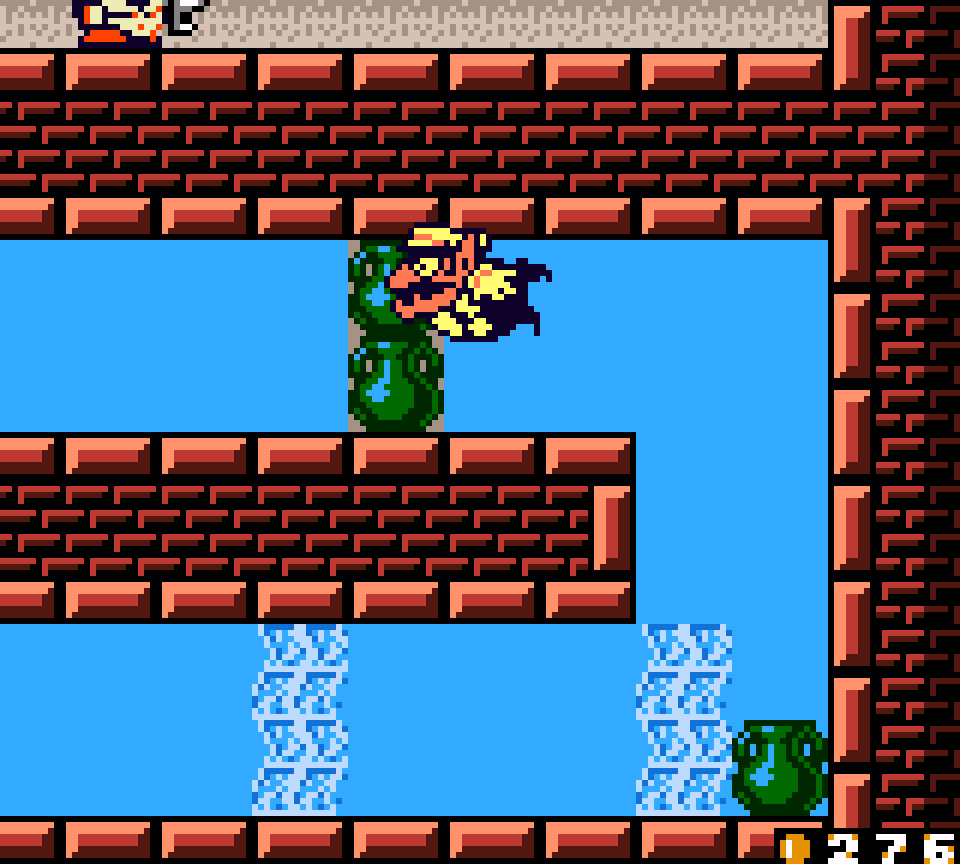
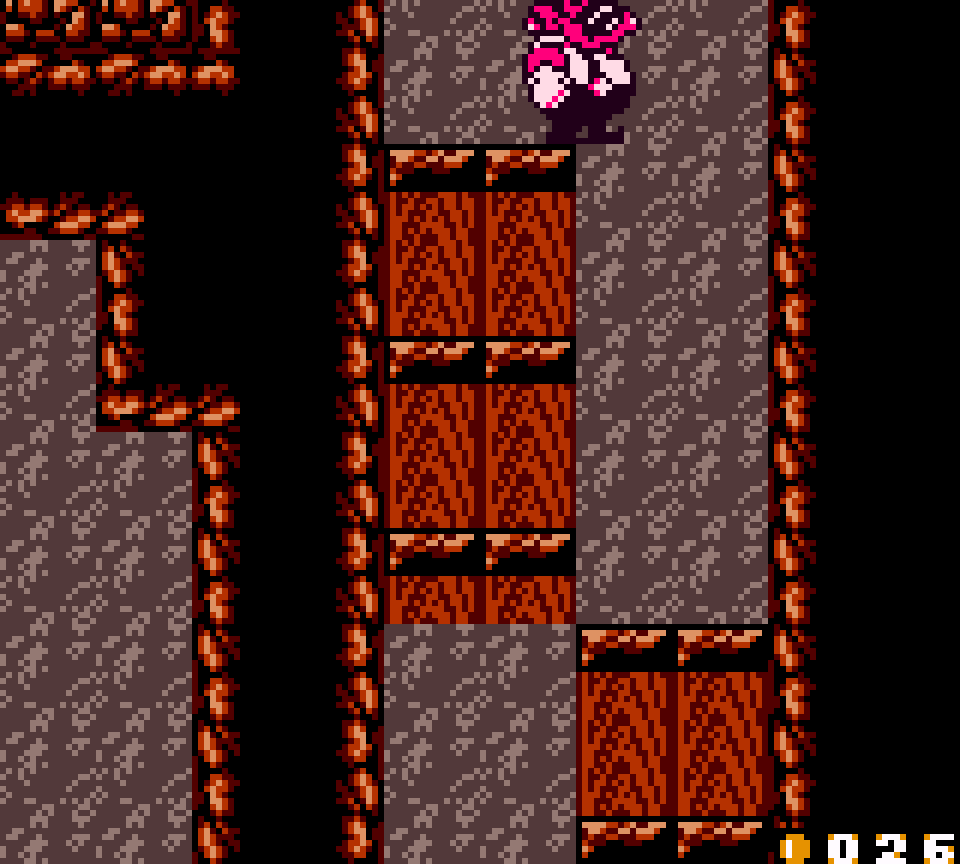
Kind o’ disappointing, considering this is the only level that has this precise gimmick, especially since they set it up to be mo’ meaningful near the beginning o’ the level, with the breakable block ’tween an early & late room, but underwater, & thus unbreakable, making one think that one needs to lower the water to break thru it; howe’er, the switch bizarrely doesn’t affect this room & you just get to the other side by going around doors.
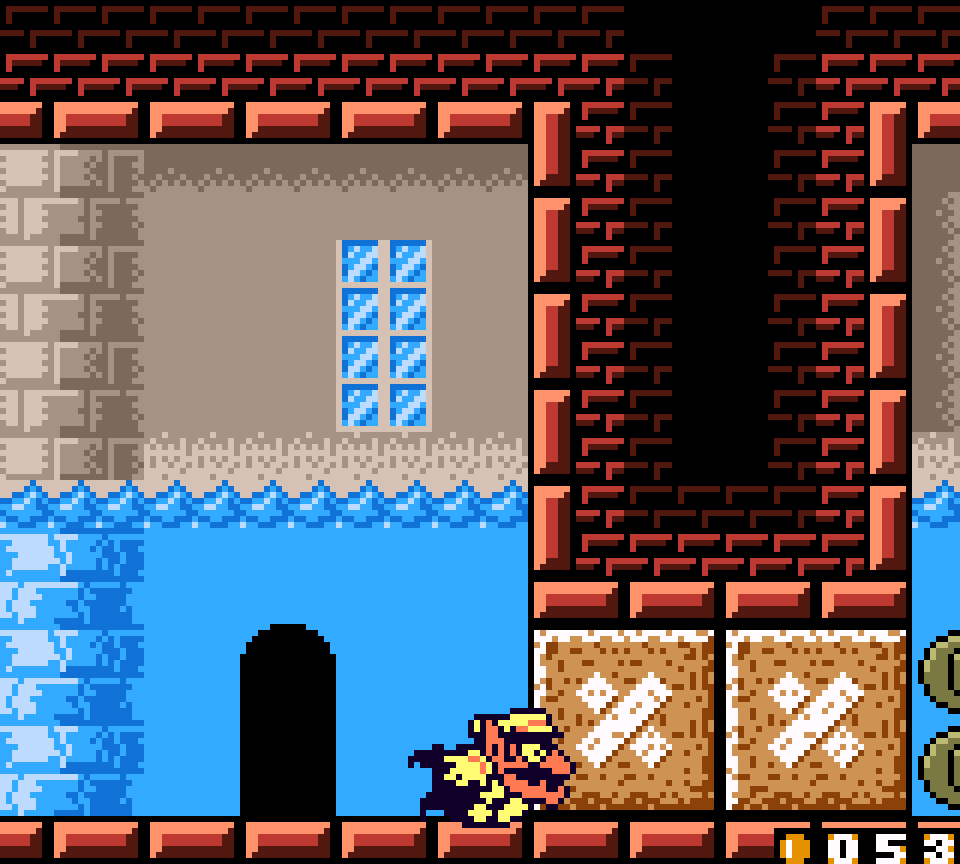
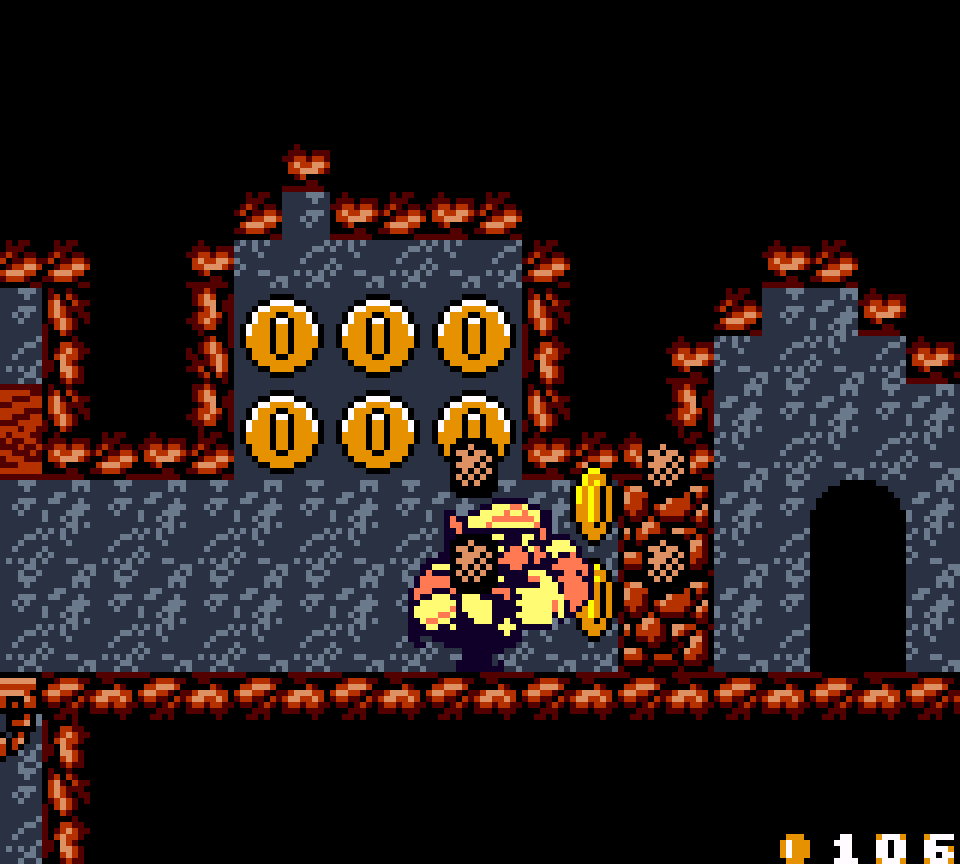
The other main mechanic o’ this level, which is, unfortunately, much mo’ common, are bubbles, which are used in just ’bout e’ery water level in this game; & their use here is especially annoying, since here you oft have to keep clearing pots out o’ the way while avoiding bubbles & then intentionally get bubbled & float all the way to the top to get past the current. Mo’ tedious than challenging. Having 1 o’ these rooms would’ve been cool; but 3 was too much. While other levels in this game have the problem o’ having no focus & just throwing in generic mechanics, this level has the opposite problem, focusing almost exclusively on 1 generic mechanic. The fact that they decide to “hide” the treasure door in plain sight ’bove a row o’ pots doesn’t help, especially since this would’ve made a better use o’ the rising/falling water mechanic.
There is 1 clever use o’ the bubble mechanic @ the end where there’s a wall ’tween 2 halves with a wall o’ pots blocking the exit, where you need to use a bubble to reach the left side & smash thru the wall o’ pots with your head & then bubble up the right side & past the pots, but it’s also kind o’ tedious having to go back & forth. This would’ve worked better if I hadn’t just gone thru a bunch o’ bubble sections before.
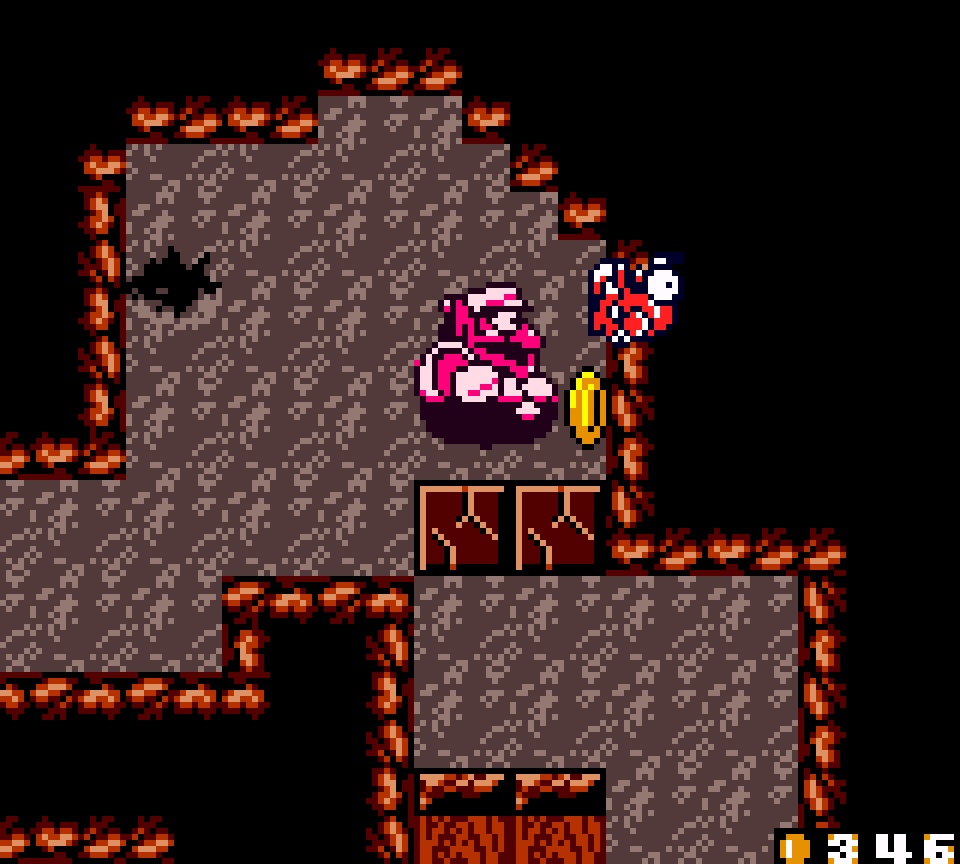
The other focus o’ this level is the other mechanic used in almost all water levels, the sawfish, which can pop in from various vertical positions & rush @ the player on sight, making them harder to dodge than most enemies & quite a difficulty spike for this early in the game. To this level’s credit, tho, it does give tons o’ money, so getting hit by sawfish is mo’ just a short annoyance than anything dire.
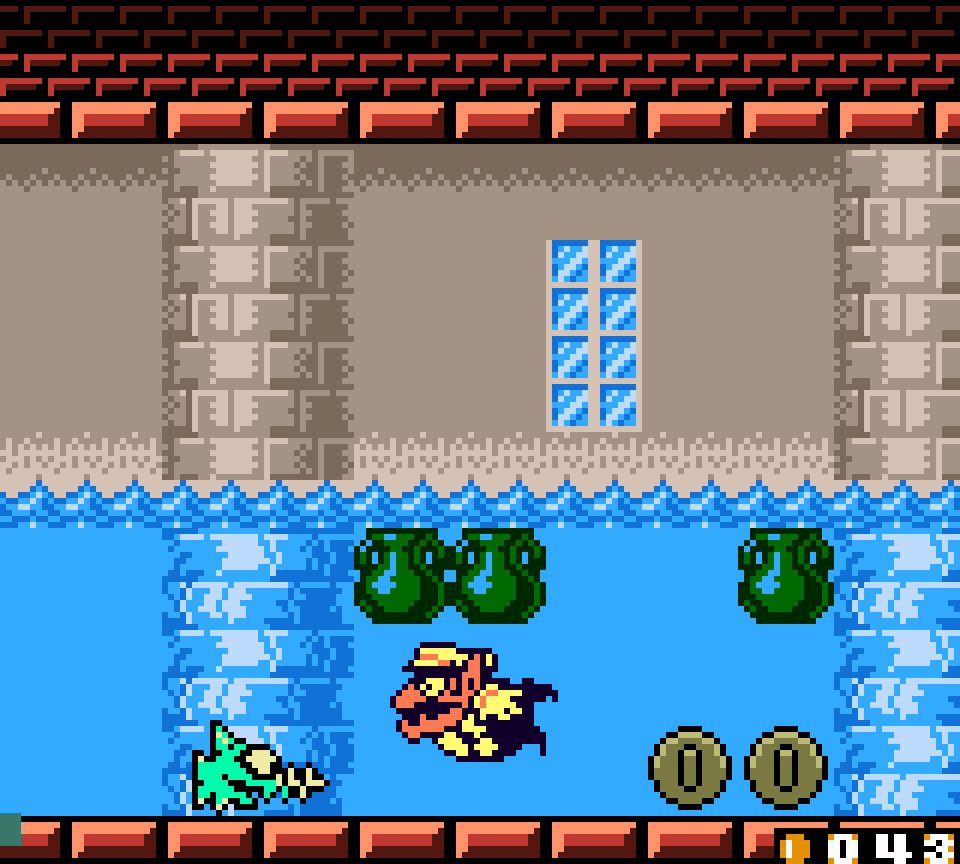
The ending is a repeat o’ the 2nd level’s ending, but less interesting. Rather than turning off the water by hitting a faucet, you just hit some weird block with eyes to, as the level name says, let it out.
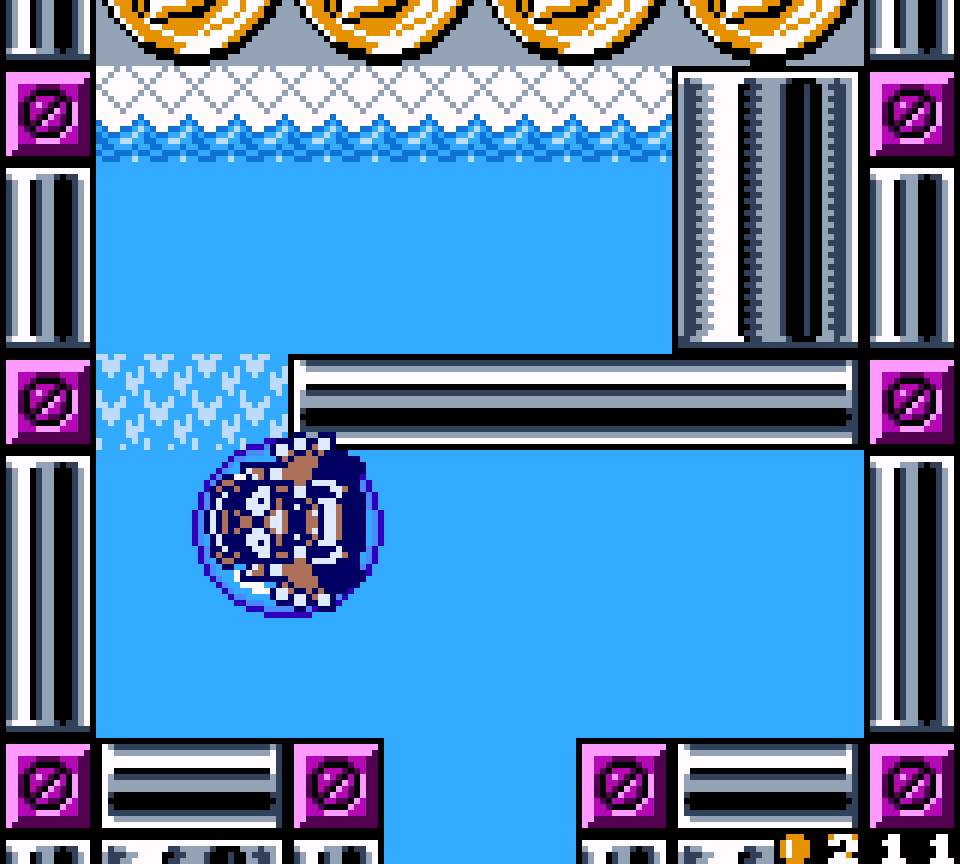
32. Ruins at the Bottom of the Sea Story 1: Escape from the Tea Cup!

While this level does look nice, with its blend o’ its messy pirate ship tileset & water, & it does have some interesting arrangements o’ crates that get in your way, this level is bogged down by its focal mechanics, all o’ which are all-too-common all thruout this game & are not fun: dodging the drill fishes that litter all the tight corridors, giving you no option but to tank thru them & take the tax or wait for them to get out o’ your way, & the bubbles. Thankfully, dodging bubbles only fills 1 small room near the end… ¿but does e’ery water level in this game need to have you dodging bubbles? It’s a basic mechanic with barely any variation worthy o’ 2 levels, tops.
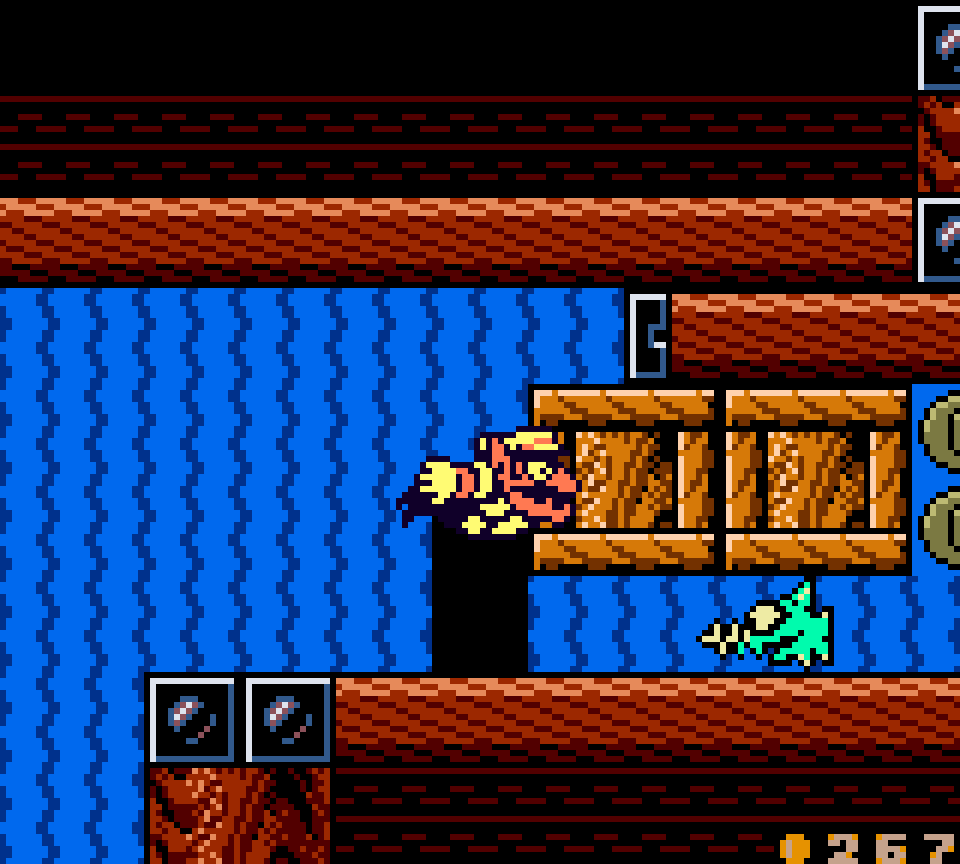
Near the middle o’ the level there’s a detour up to a 2nd floor where you have to throw an Pirate Goom @ columns — helpfully indicating that they are breakable by throwing something @ them by the cute li’l Pirate Goom icons on them — to break thru them & you’re rewarded for this amazing puzzle with a treasure room right out in the open. That being said, I do like how this area loops back to the main path below in a 1-way manner by having you ground pound down a block to drop down.
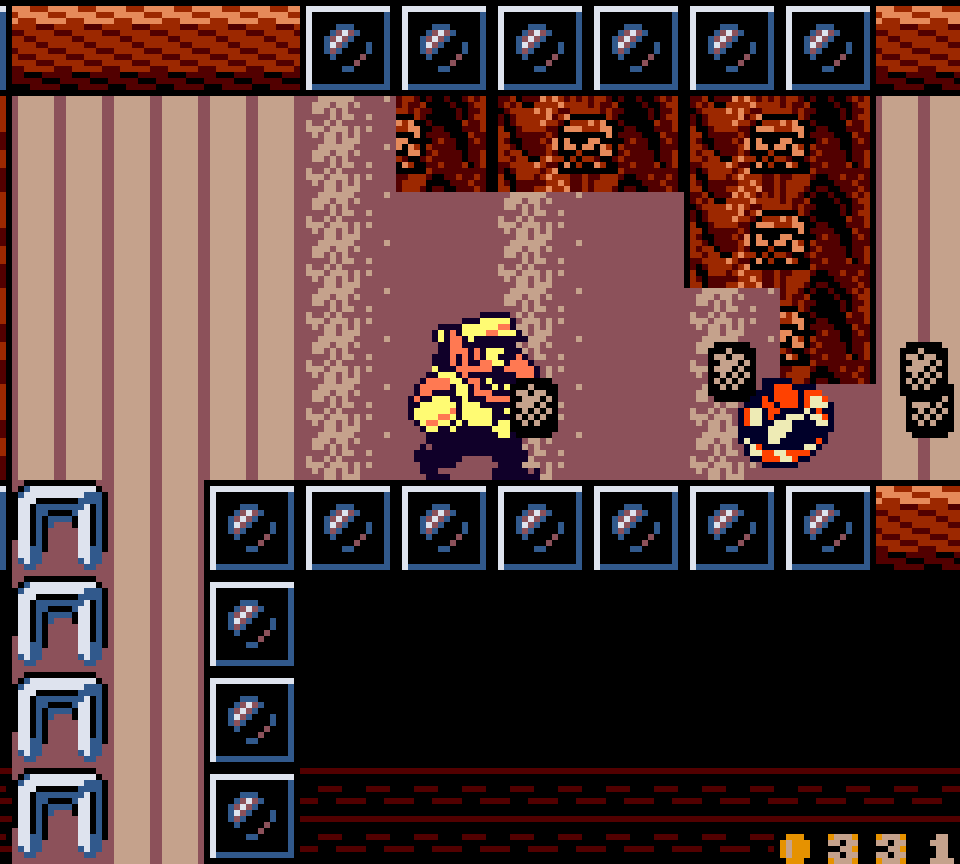
There’s also this room with this weird jug with what feels like an early version o’ Unity physics that you can move around & jump on to reach coins. There are also a few setpieces near the beginning that I guess you could call puzzles where you need to aim Wario somewhat precisely as he’s being pushed by currents to reach coin caches. I don’t see why they didn’t focus the level more on these rarer mechanics instead o’ e’en mo’ drill fish & bubbles.
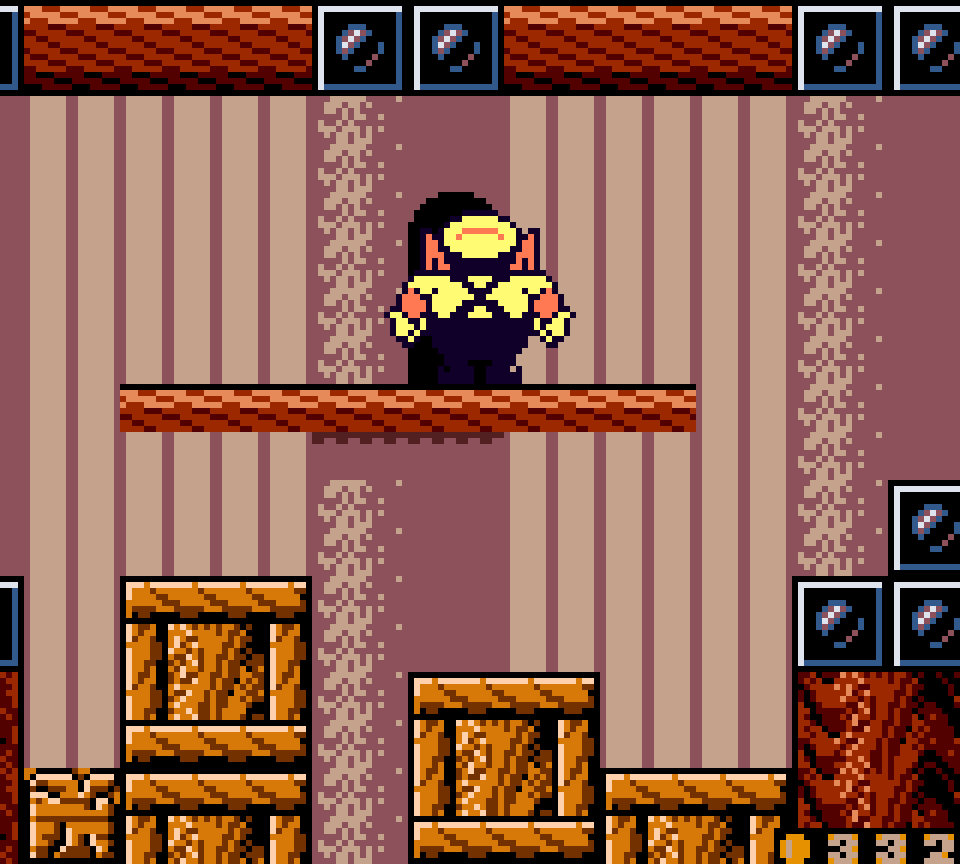
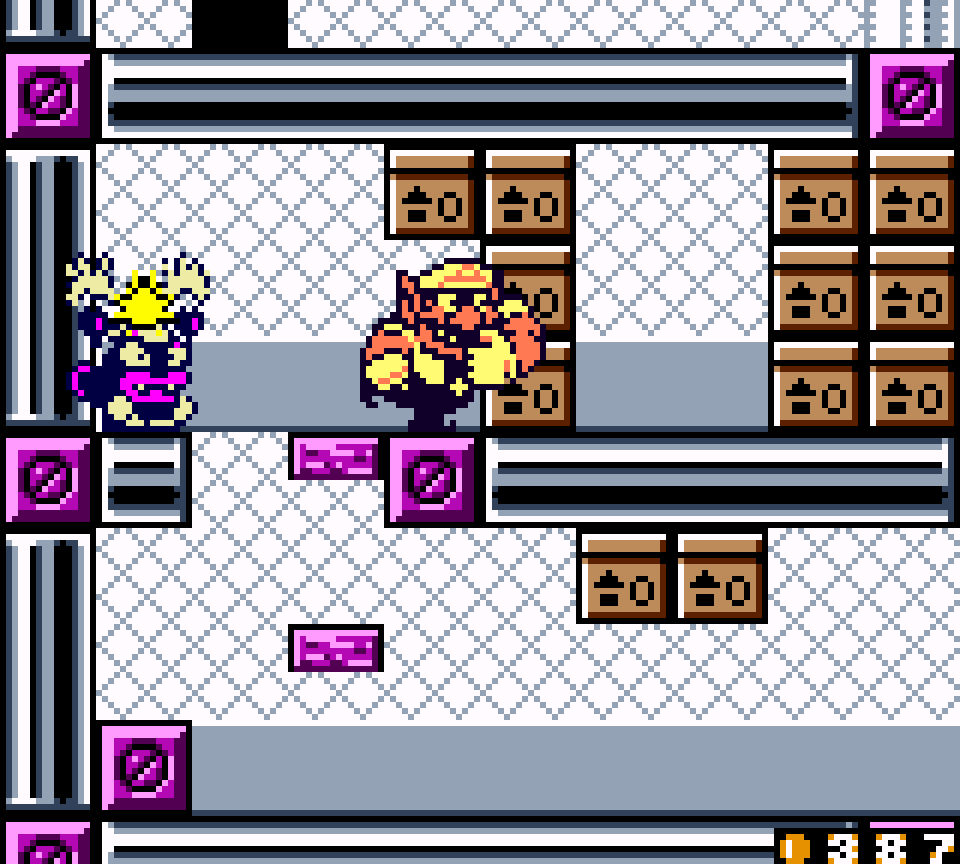
31. Ruins at the Bottom of the Sea Final Story: Captured Syrup!

This level is just a mess, which I guess is fitting for ruins; but the other levels in this chapter did a better job o’ making levels feel complex, but still had a subtle logic & rhythm to their layouts. This level just looks like they threw blocks around randomly & looks hideous as a result. The 1st room is the worst offender, especially since its messiness is all a masquerade o’er the fact that it’s a basic “puzzle” solved by entering the only door you can enter & hitting the switch inside to flip the switch blocks.
Despite being short, this level also lacks any coherent theme: the 1st room repeats the switch mechanic in the level just before this 1, the 2nd room has you hop o’er falling platforms o’er spikes, the 3rd room revolves round wizards that turn Wario small — o’ all levels to have that in — & the switch room has a pointless chef & fat blocks for some coins — the most basic use o’ fat Wario.
Tho, I will defend how the mini Wario mechanic — which is a’least rare in this game — is used in this level, especially the way you can use the seemingly decorative o’erhangings o’ the pillars on the left to reach coin caches. Howe’er, it is lame that you have to get hit & lose coins to lose your mini Wario status & enter the door in the top right & the fact that you can jump & walk on some o’ the background pillars is the most arbitrary & obscure secret e’er.

Also, the bonus is subtly well hidden, under breakable blocks further below the boss room, which one could easily assume would just be where losing the boss takes you, when losing to the boss, in fact, takes you higher up.

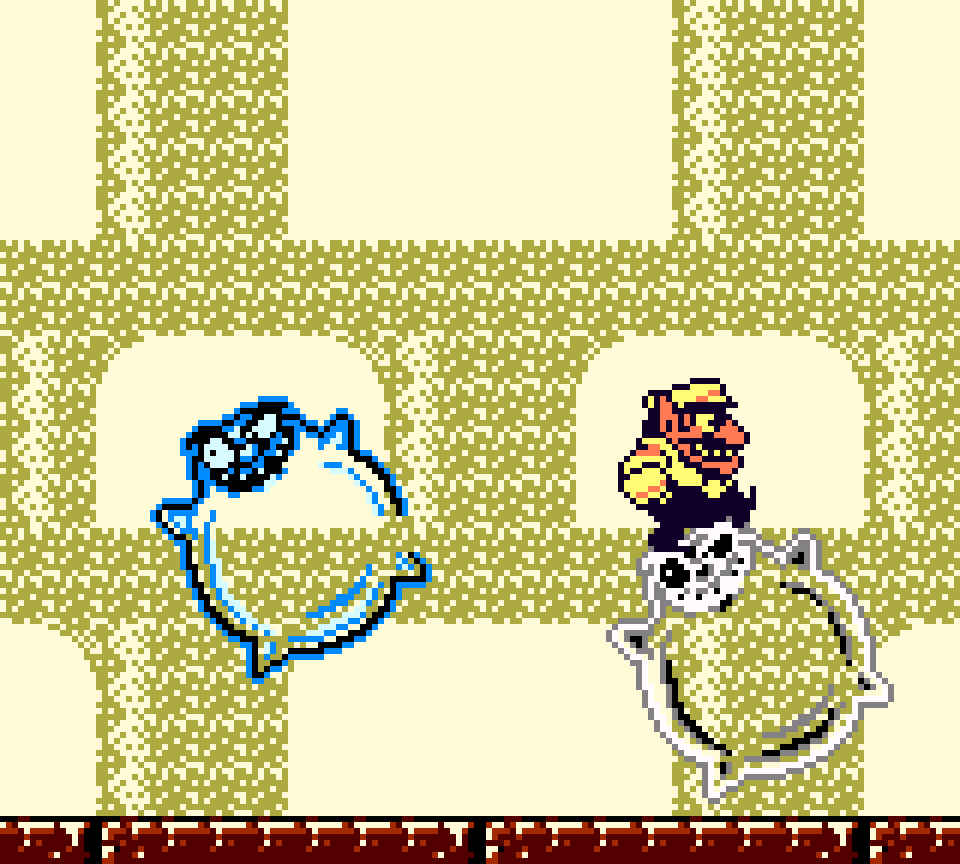
It’s too bad this level is so weak, as I quite like this boss. Its bubble-ghost design looks cool & while its mechanics o’ bouncing back & forth @ angles & creating a hilariously useless & obvious flashing fake version o’ itself are hardly new, they provide a decent challenge without being slow or requiring any waiting. Also, I find it funny that this level involves rescuing Cap’n Syrup from this bubble ghost, but then immediately afterward attacking her & taking back Wario’s treasure.
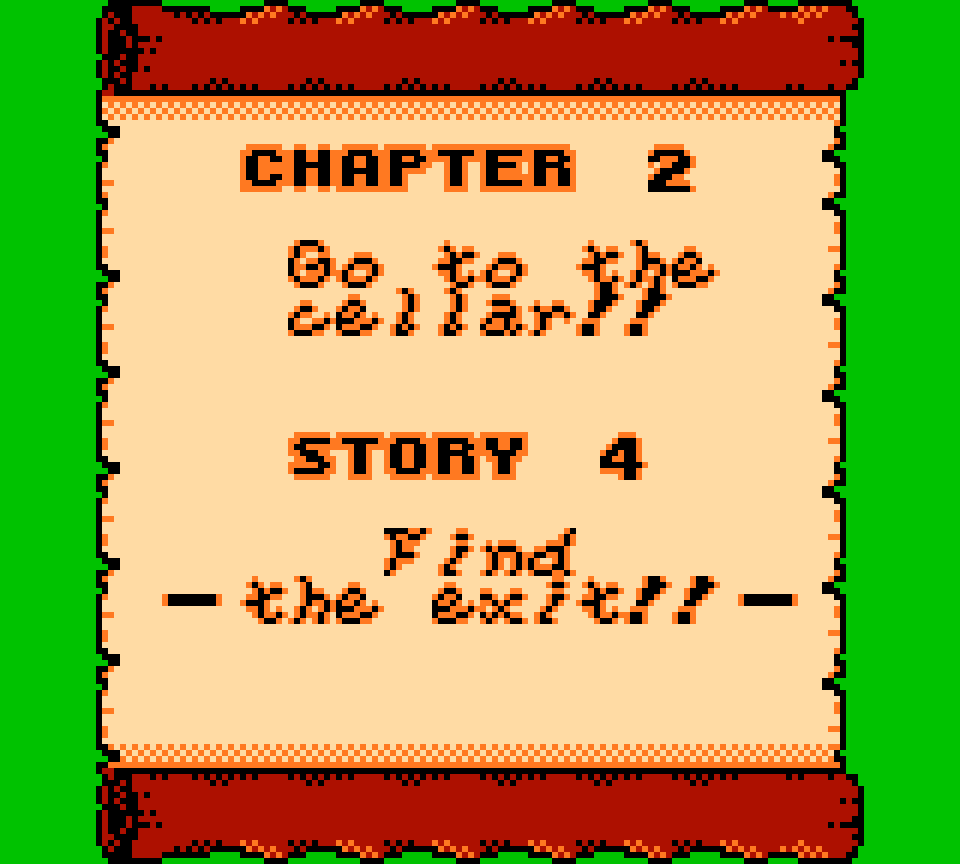
30. Go to the cellar!! Story 4: Find the exit!!
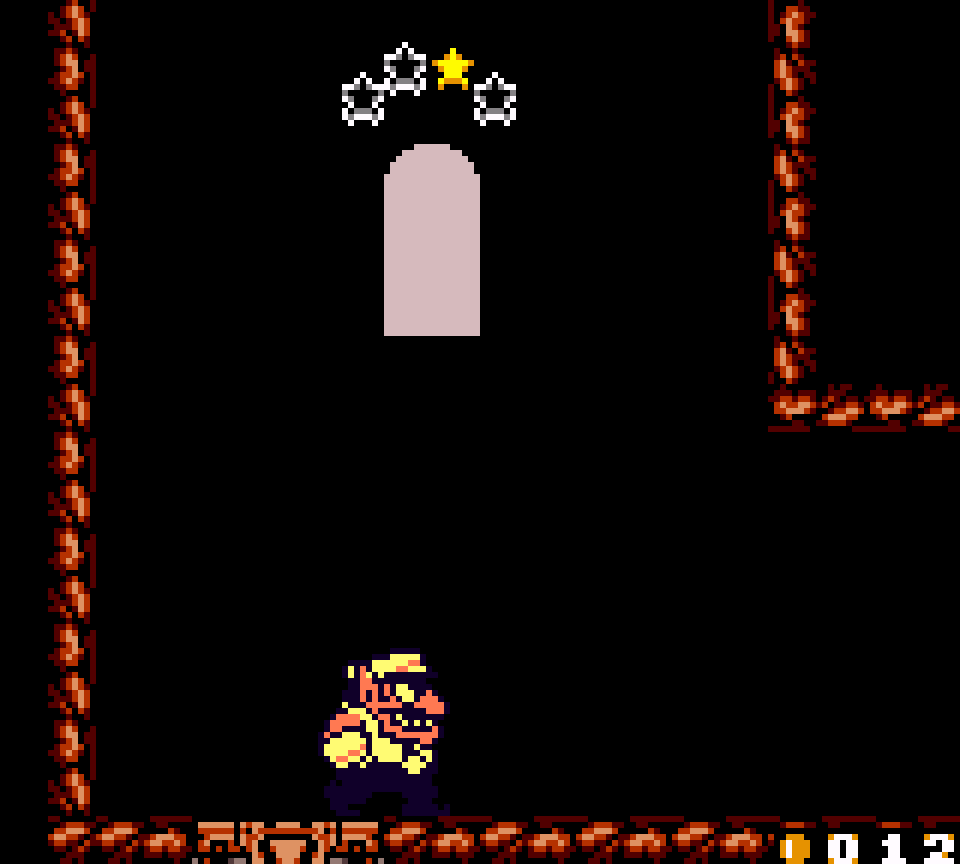
If this level deserves credit for anything, it’s being 1 o’ the few levels in Wario Land II to introduce the seed o’ a concept that would becoming increasingly mo’ prevalent thruout the Wario Land series: levels that circle back to the beginning. Wario Land 3 would repeat this trope in a few o’ its treasures, having you start many levels @ the gray chest, which you’ll return to after you collect its matching key, & ’course Wario Land 4 focused e’ery level on this trope, having you hit a frog switch & race back to the start before time runs out. This is a rougher example than other levels in this game, merely showing the exit on the 1st screen, but leaving it out o’ access without going all around the level.
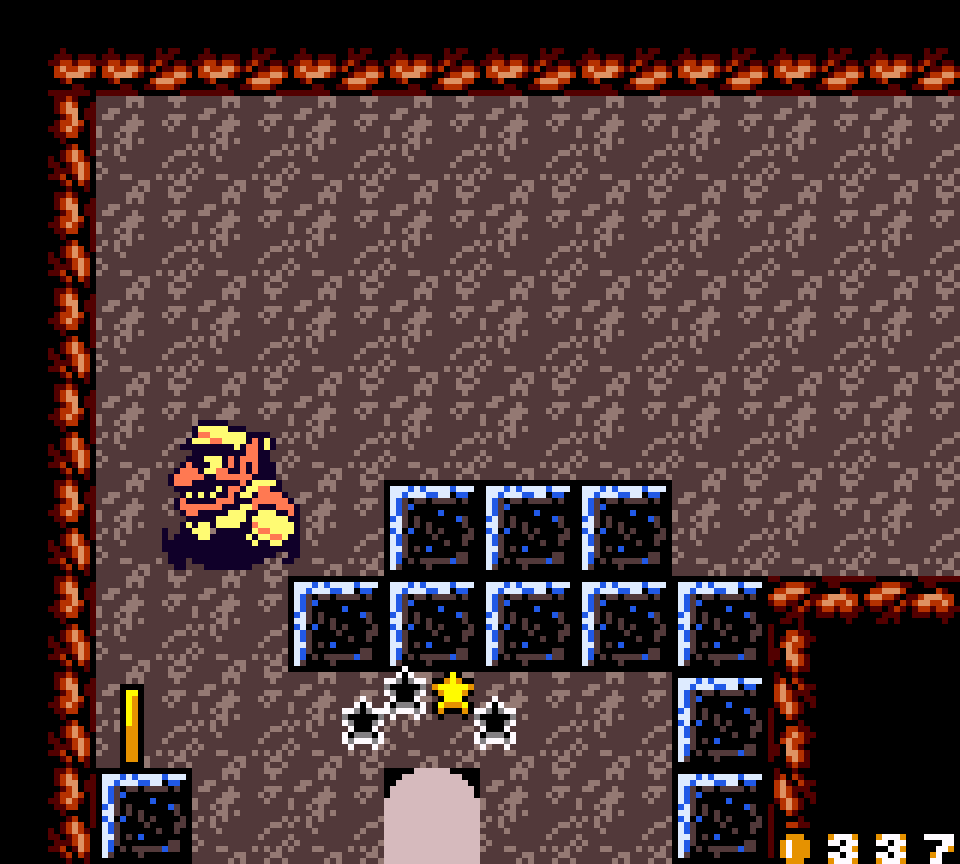
This level adds onto this gimmick a return o’ the dark-&-light mechanic from the 1st cellar level & up platforms that rise when you step on them & down platforms that fall when Fat Wario steps on them from the factory levels. While making the exit visible from the start is hardly a strong ’nough “gimmick” to fulfill an entire level, these other gimmicks are hardly strong ’nough, either, especially since they’re done weaker than other levels: the dark rooms have a consistent pattern o’ just requiring entering a room to do some simple maneuvering — something as simple as fighting D.D.s & breaking thru walls o’ cracked blocks or the most basic o’ Flat Wario puzzles that looks ridiculous next to what you had to do in the 1st chapter — to hit a switch & turn the lights on without any o’ the extra paths the 1st cellar level had.
Meanwhile, the arrow platforms work much better in the factory mazes, where they act as a slight complexity to navigating, not a basic challenge on the linear path. Probably the most inspired use in this level is how they hint @ the existence o’ a breakable wall @ the point where the rising platform stops rising, which is still rather arbitrary.
In fact, I would argue that the lights-out mechanic hurts this level’s main mechanic o’ finding an alternate path to the exit: you can’t see what’s blocking you from the exit @ 1st, since the lights are out, making it easy to think there is a trick to get there or that the trick is to go back after turning the lights on. Indeed, the 1st room is notable in how the lights-off/lights-on mechanic does nothing for that room: unlike most rooms, you can’t do anything mo’ with this room when the lights are on than when they’re off. It all essentially feels like setup without payoff, & distracts from what should be the real payoff o’ getting on the other side o’ the solid blocks. Showing the solid blocks from the start would make it feel mo’ fulfilling.
E’en weirder, they add in a series o’ platforms that go up to the top, but the player can’t get past the top, but will only sometimes become fat seemingly out o’ nowhere. But what’s blocking you isn’t hidden by the lights being out, but by it being offscreen. When you finally reach the top @ the end it’s revealed that cracked brown blocks that only Fat Wario can break were what blocked you, surrounded by a cook who was the cause for you becoming fat when near the top on the bottom half. Thanks to this cook, you can now break thru the top back down to the bottom, but there’s no reason to do so ’less you somehow missed the obvious treasure door.
Speaking o’ which, the perfect proof o’ how basic & poorly thought out this level is, with all these mechanics with which this level tries to fill itself, the bonus is “hidden” ’hind a bunch o’ cracked blocks you can obviously charge-attack thru, otherwise out in the open.
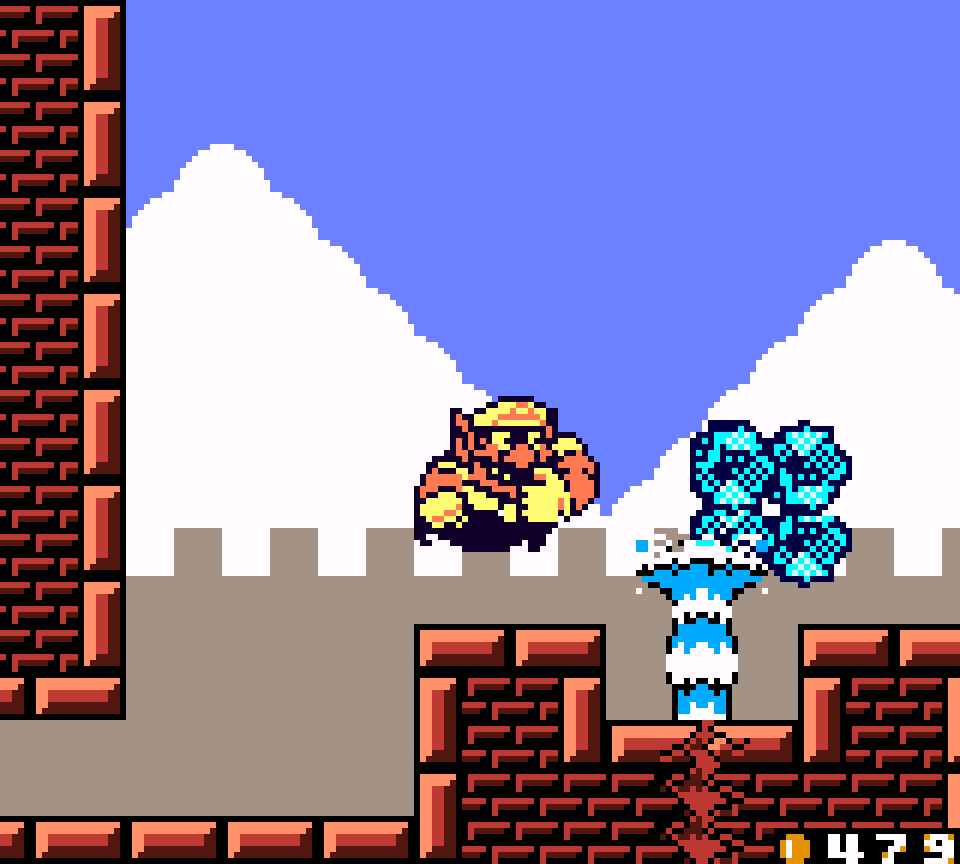
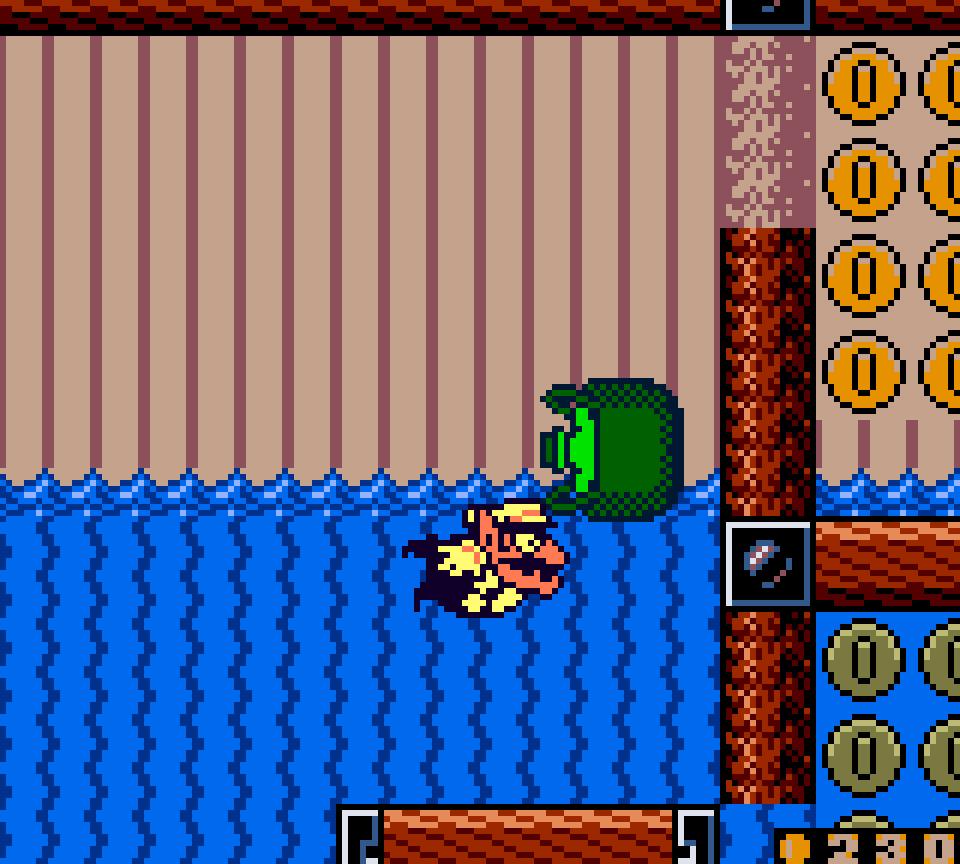
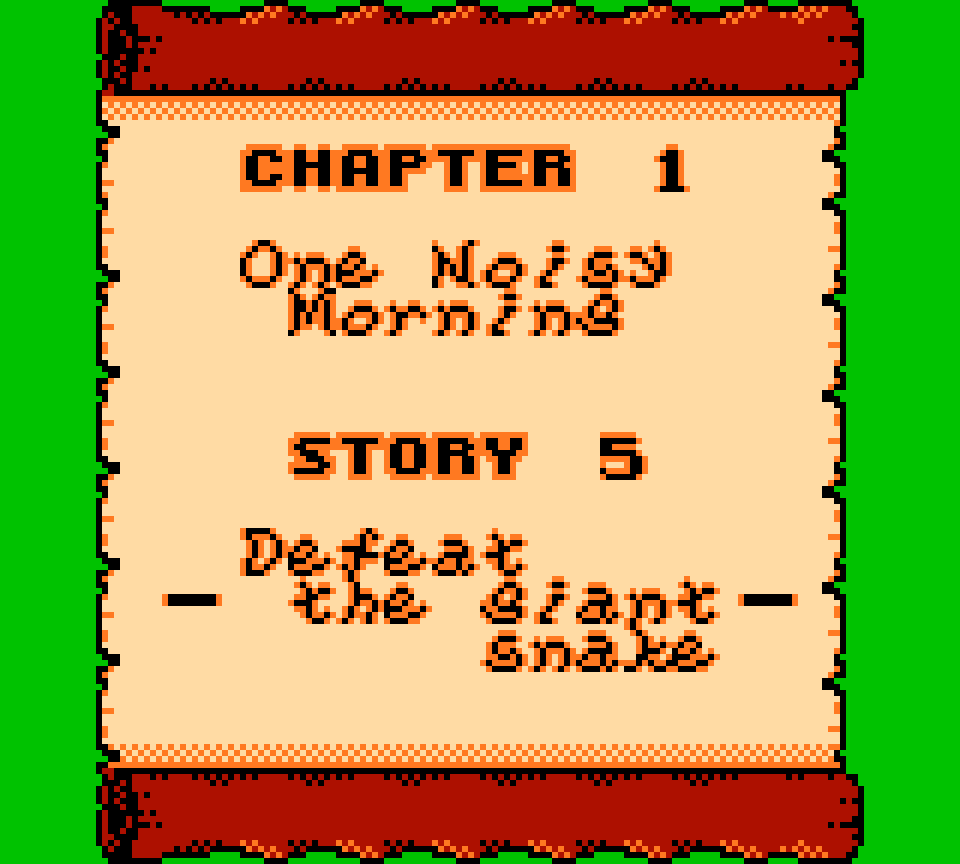
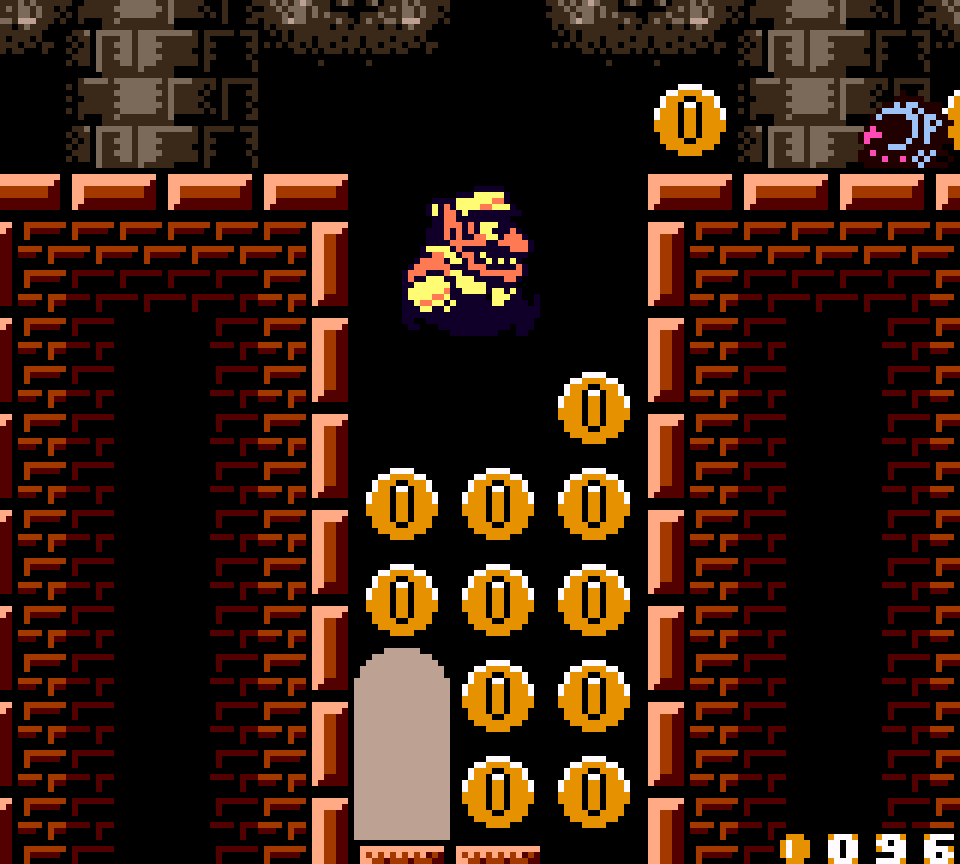
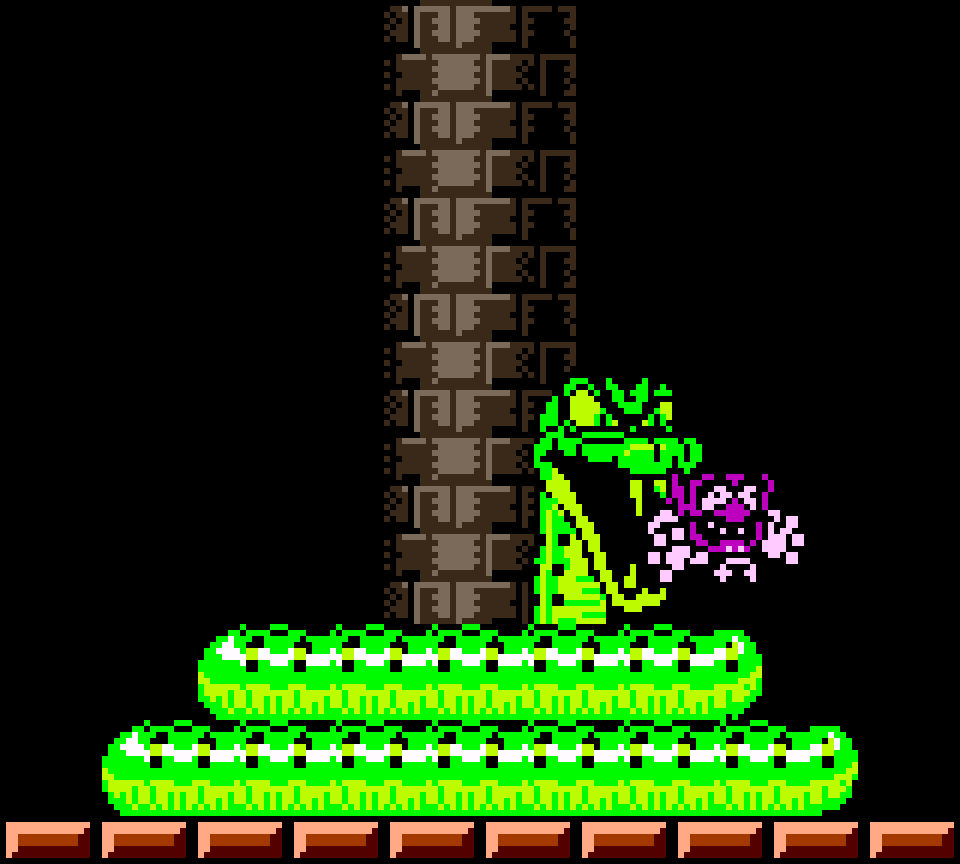
29. One Noisy Morning Story 5: Defeat the giant snake
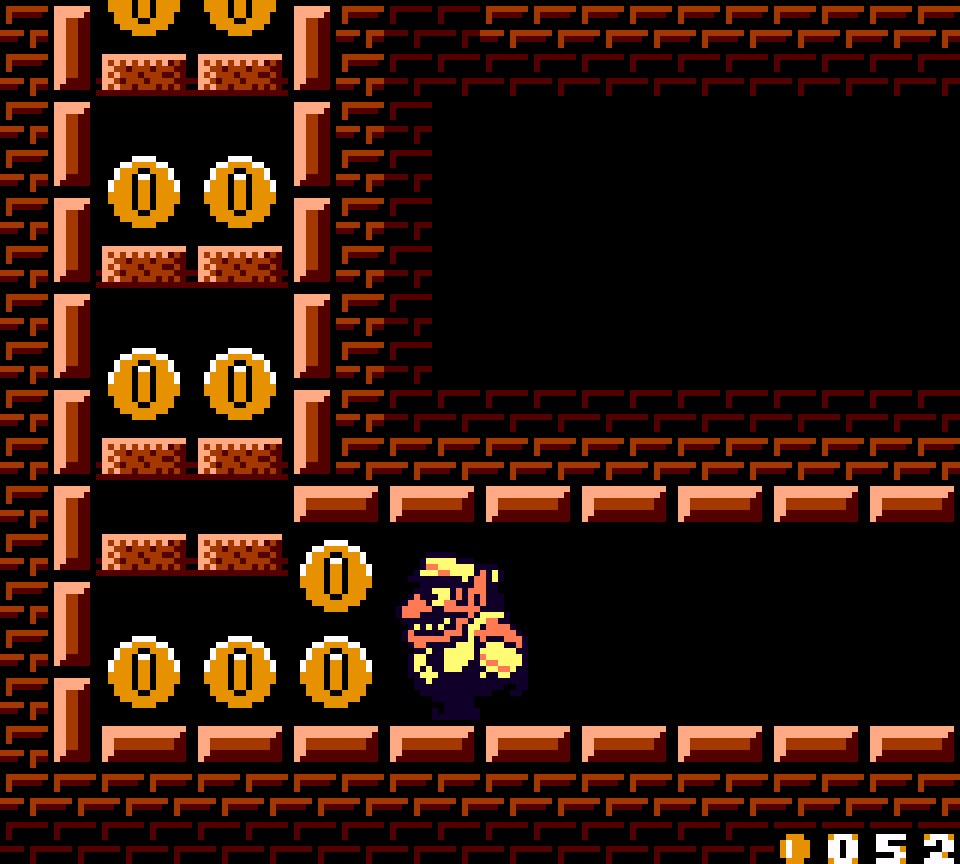
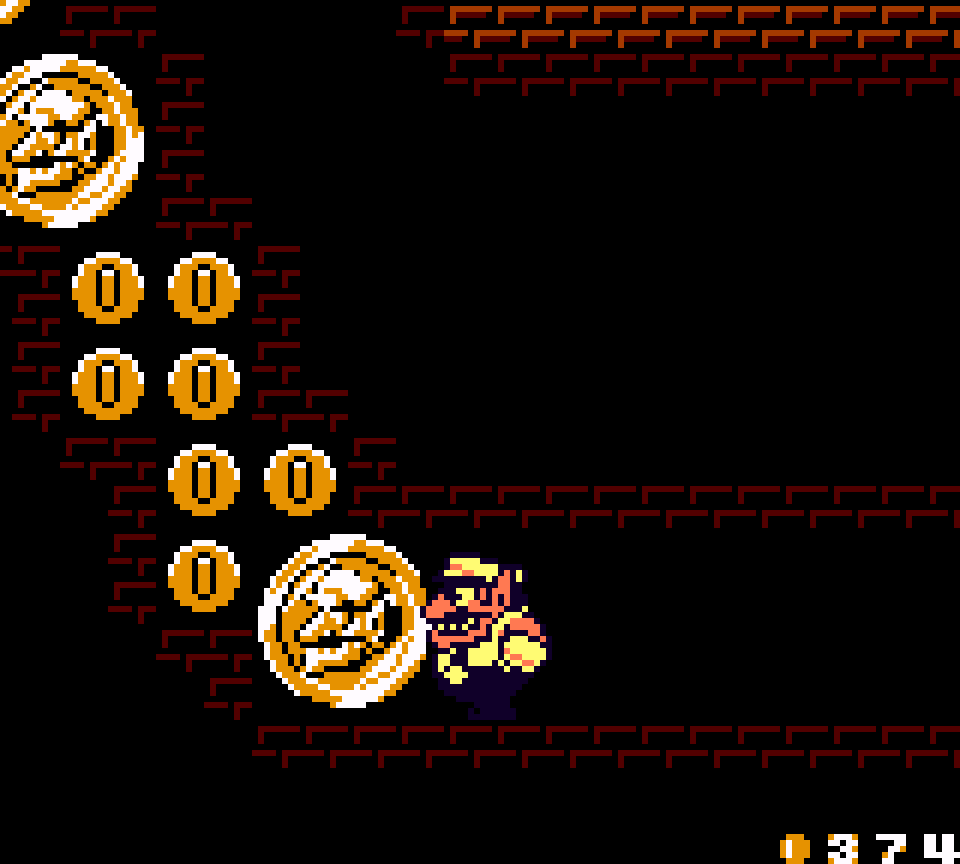
If I can say 1 thing ’bout this level, it’s that it doesn’t waste level, with e’ery walls seemingly packed with money, which fits well with Wario’s castle, which generally has that pattern.
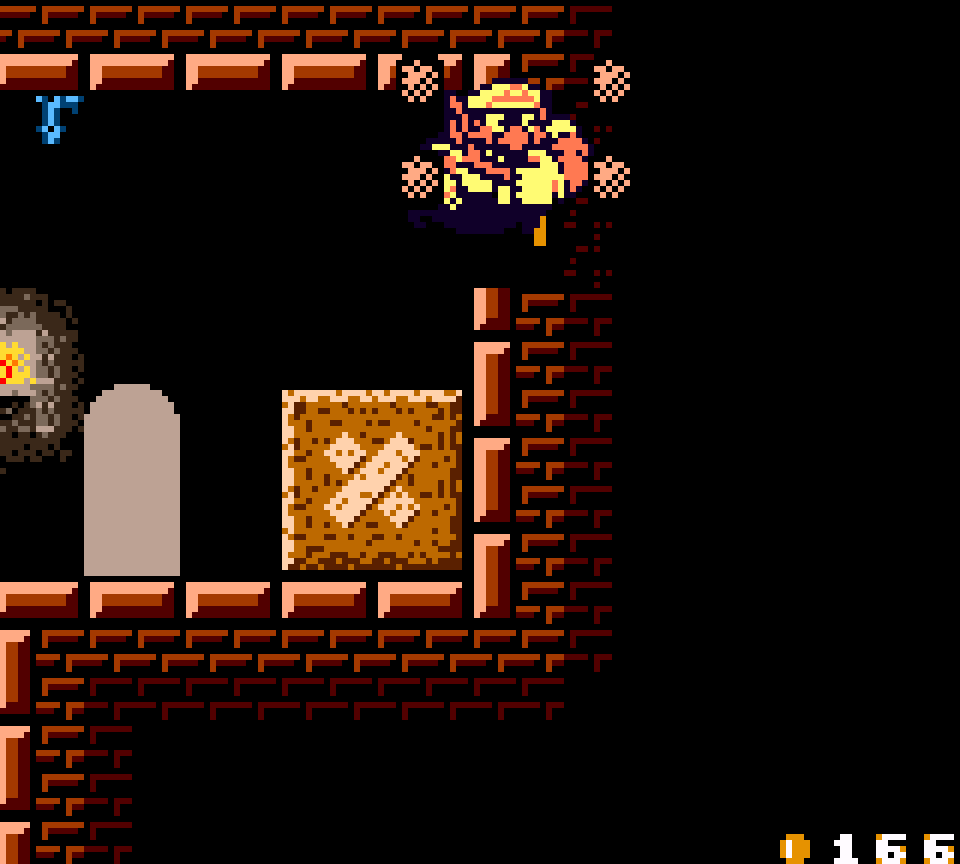
They also find a good balance for hiding the secret exit, what is likely the 1st secret exit players will find, thru a breakable wall signified by a slightly darker back wall, hidden ’hind a suspicious stack o’ crates, neither too obscure nor right in plain sight. I also like the way the top half o’ the level connects to both a secret passage @ the start o’ the level & the location you get sent to if you lose to the boss, with a downward-only passage leading directly to the boss, offering a shortcut to the boss from the start.
Unfortunately, the same can’t be said for the treasure location, which is yet ’nother “fall in random holes till you find the hole hiding a door down it”. E’en tho there are Zombies round there, they don’t e’en challenge you to fall thru floors to reach it, tho I s’pose they do add the challenge o’ not letting you enter the treasure door if you fall to it as zombie Wario.
Like most bosses in this game, this boss isn’t great, giving you just a random snake with an arbitrary attack pattern that you can, nonetheless, cheese by just standing in the corner & jumping as soon as the snake lowers its head — a’least when the hit detection doesn’t randomly decide that the snake hit you ’stead o’ the other way round.
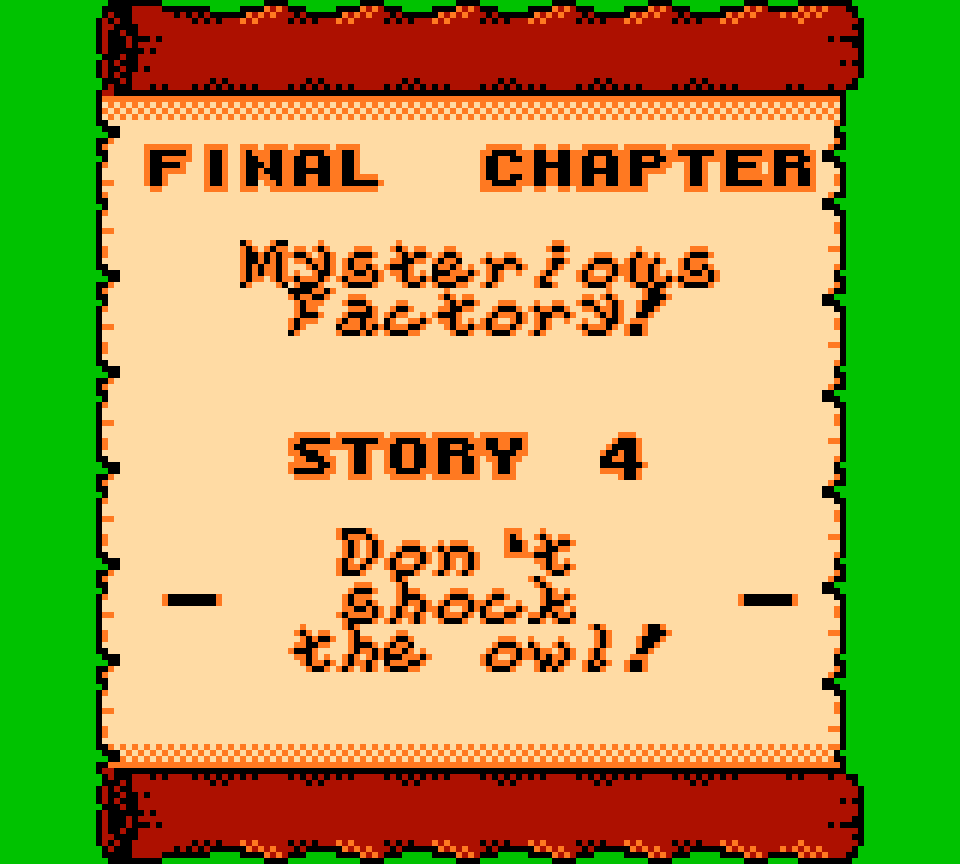
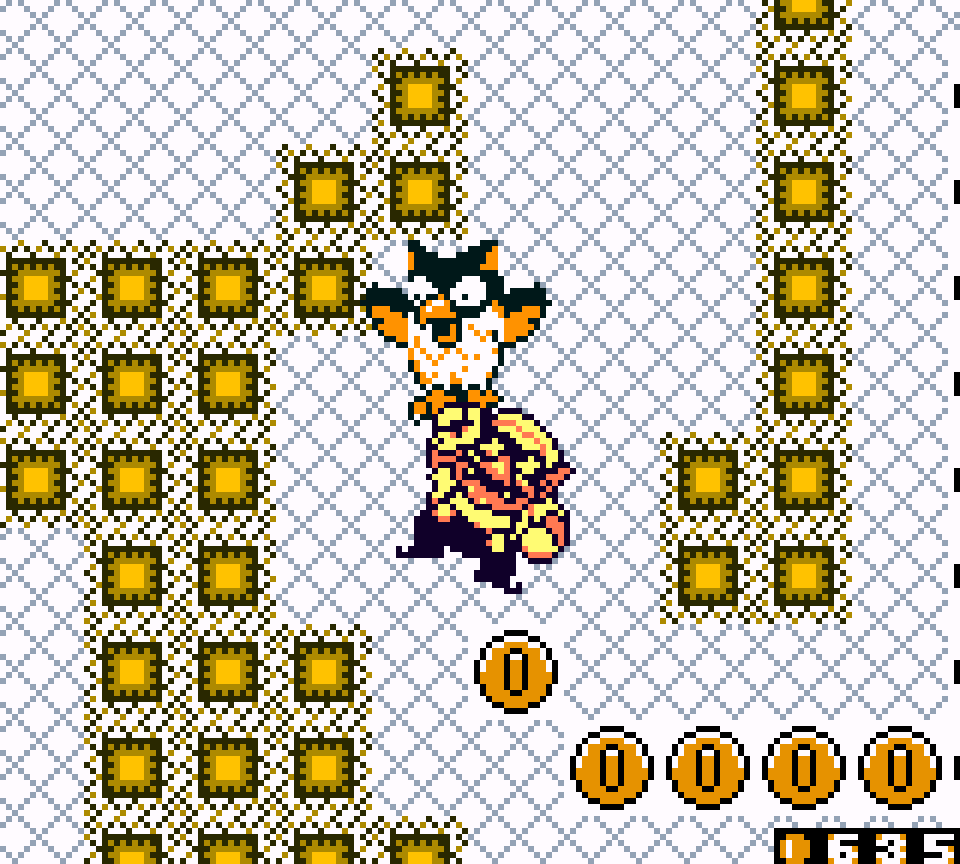
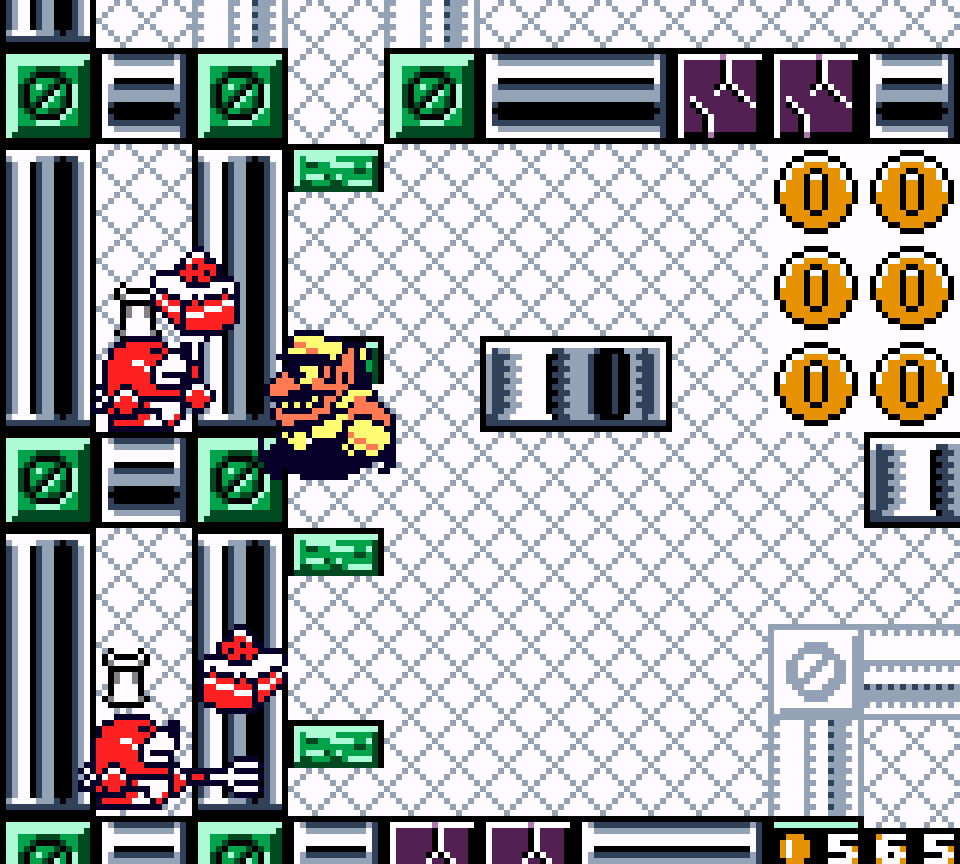
28. Mysterious Factory! Story 4: Don’t shock the owl!
The maze o’ weird electric squares that fills the main room is a fine ’nough setpiece, being the ultimate challenge in this game in timing movement ’tween the thin passageways while riding the owl, as well as challenging the player’s ability to find their way thru.
Unfortunately, the subrooms littered thruout said maze are all weak: we have a room where you just break thru a bunch o’ blocks as you go down, go back up, & carry a Pirate Goom back down so you can break some throw blocks to reach some coins; a basic underwater section where you need to get bubblified to reach to top & get some coins & then dodge bubbles on the way back, as if this game didn’t have ’nough o’ those & as if it fit this factory level where you ride an owl in any way @ all; a room where you get fat to break thru blocks to fall down a long chute & then climb back up while trying to avoid getting fat while collecting a few coins; a room where you fall down a long chute while collecting some coins & then climb zigzagging back up while breaking thru a bunch o’ blocks ( ¿sounds familiar? ) & dodging the electricity from the purple catfish enemies…
¿& how does this level end, in the final subroom? You just grab a Pirate Goom, dodge 2 blades, & throw it @ a wall to reach the goal. ¿The twist? If you go right instead o’ left you can break thru a different wall to reach the treasure door. ¿You have a maze & you decide to not hide that treasure door anywhere in its many nooks & crannies, but just in plain sight, on the other side o’ the goal room? ¿Was this an intentional troll? This final subroom is probably the easiest part o’ this level, too.

All o’ these subrooms feel like half-implemented ideas that had been left on the cutting-room floor & thrown into this level as filler without e’en any consideration to how they’re ordered. They could’ve just cut out all the subrooms & just put the goal door & treasure door directly into the main maze & it would’ve improved this level.