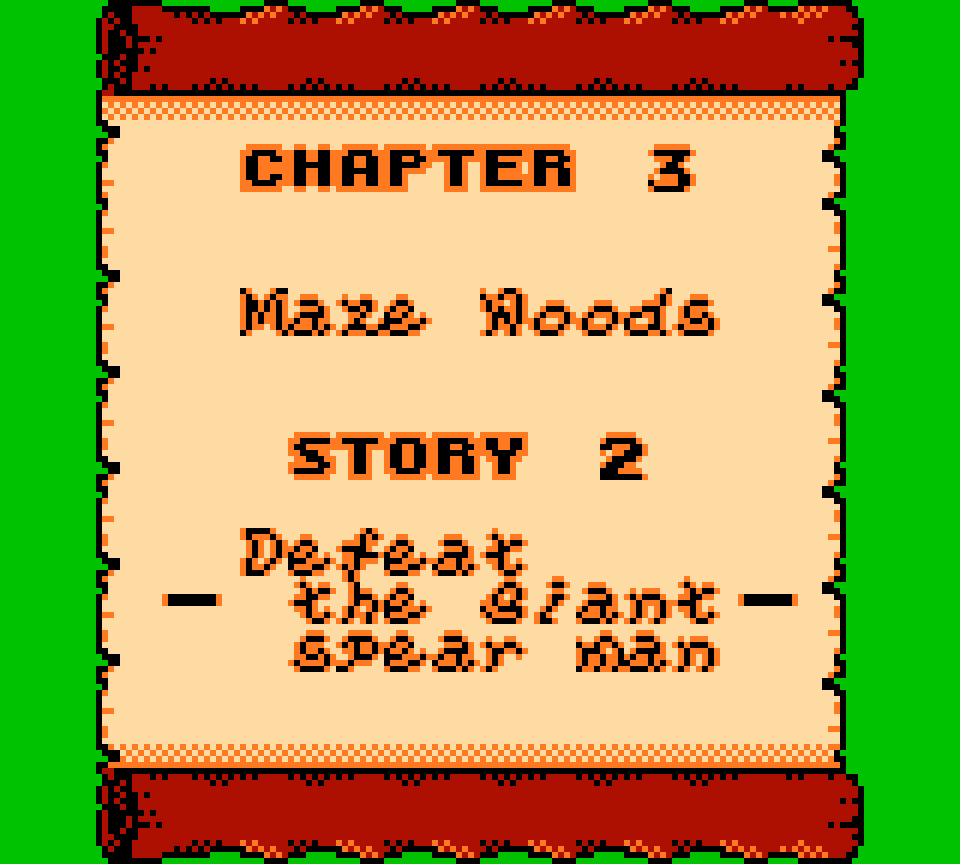
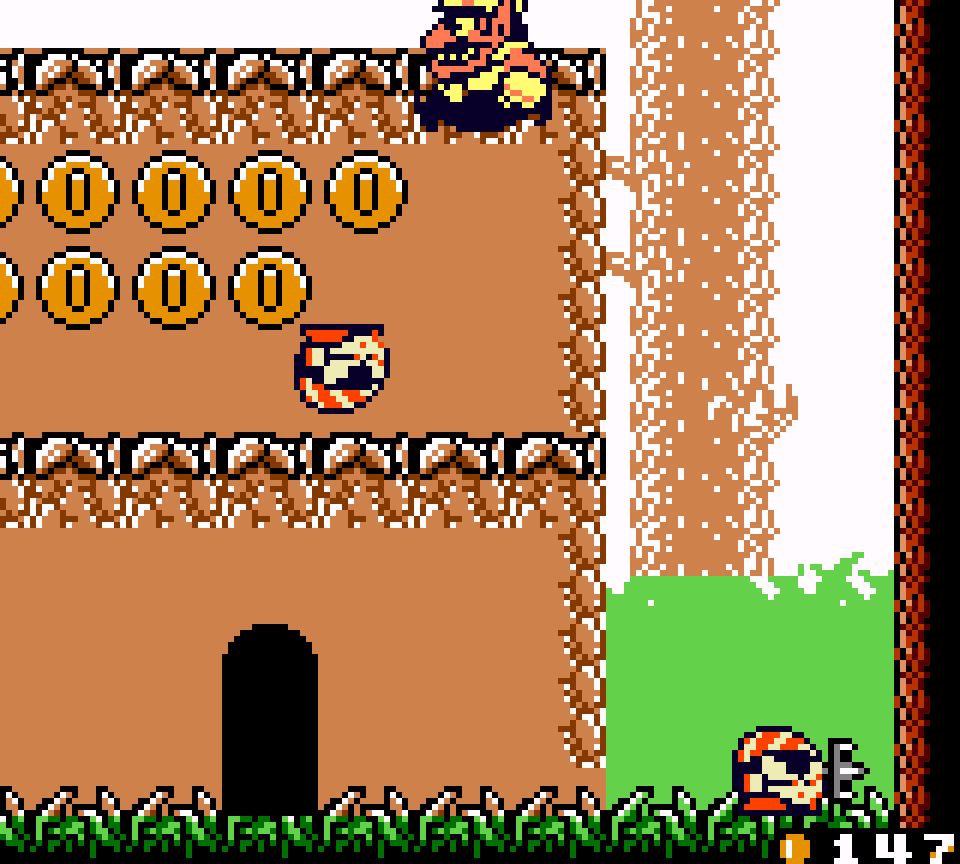
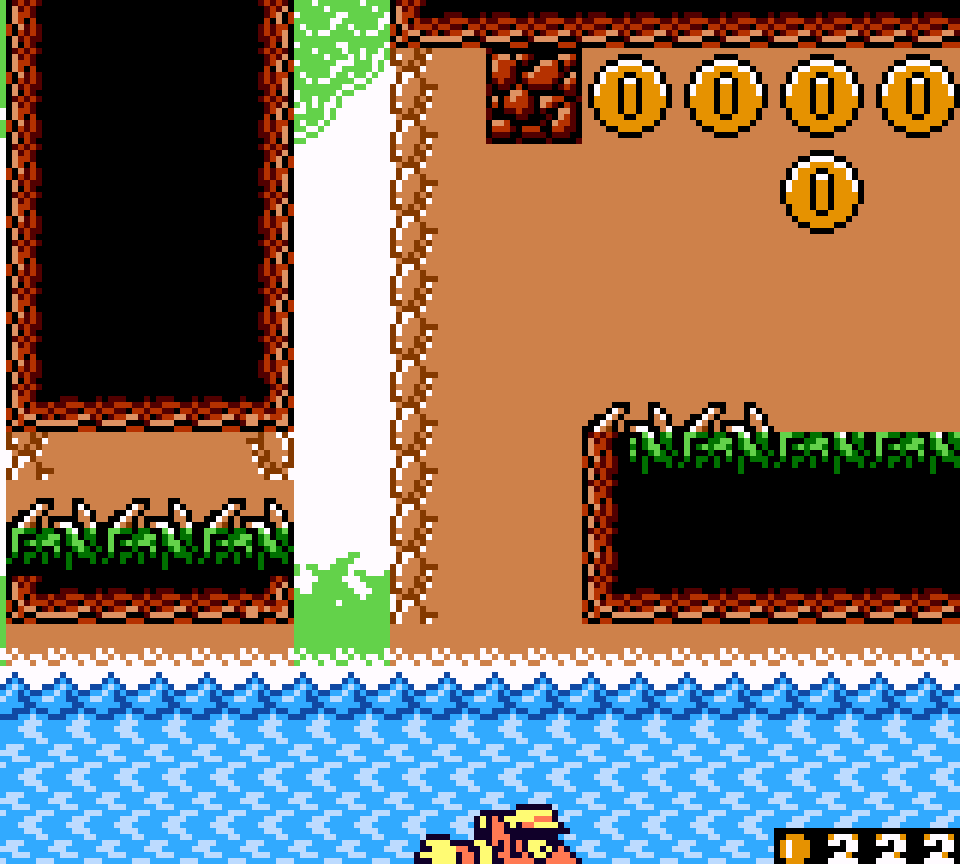
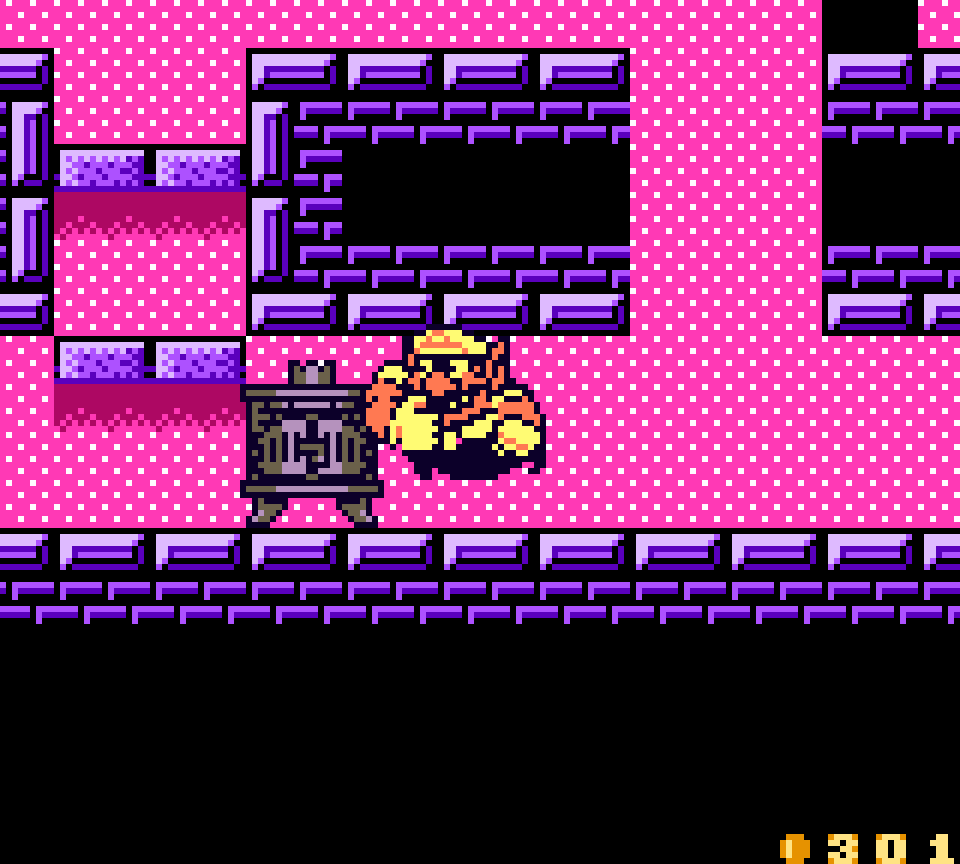
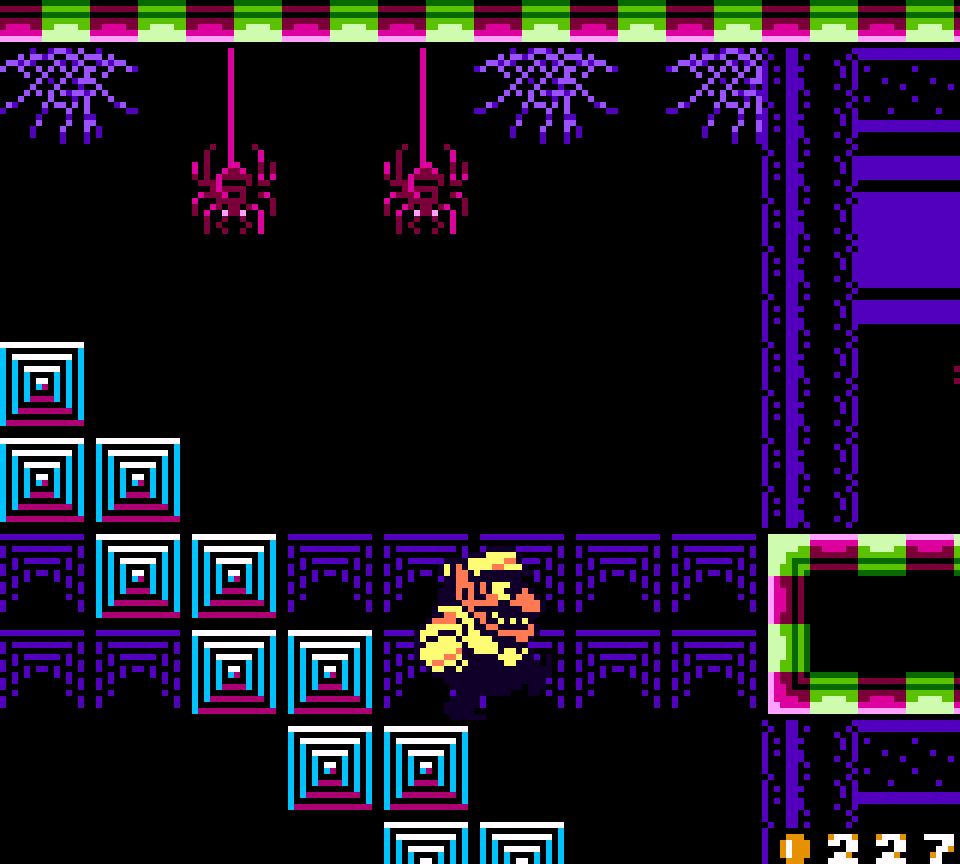
27. Maze Woods Story 2: Defeat the giant spear man
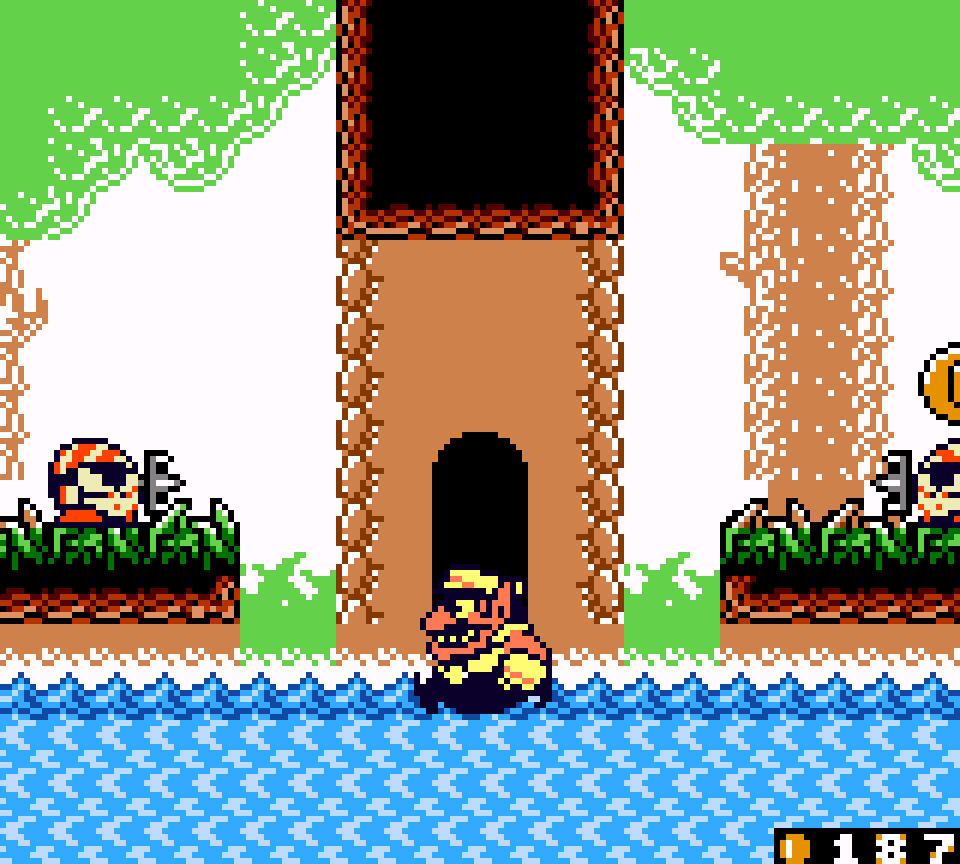
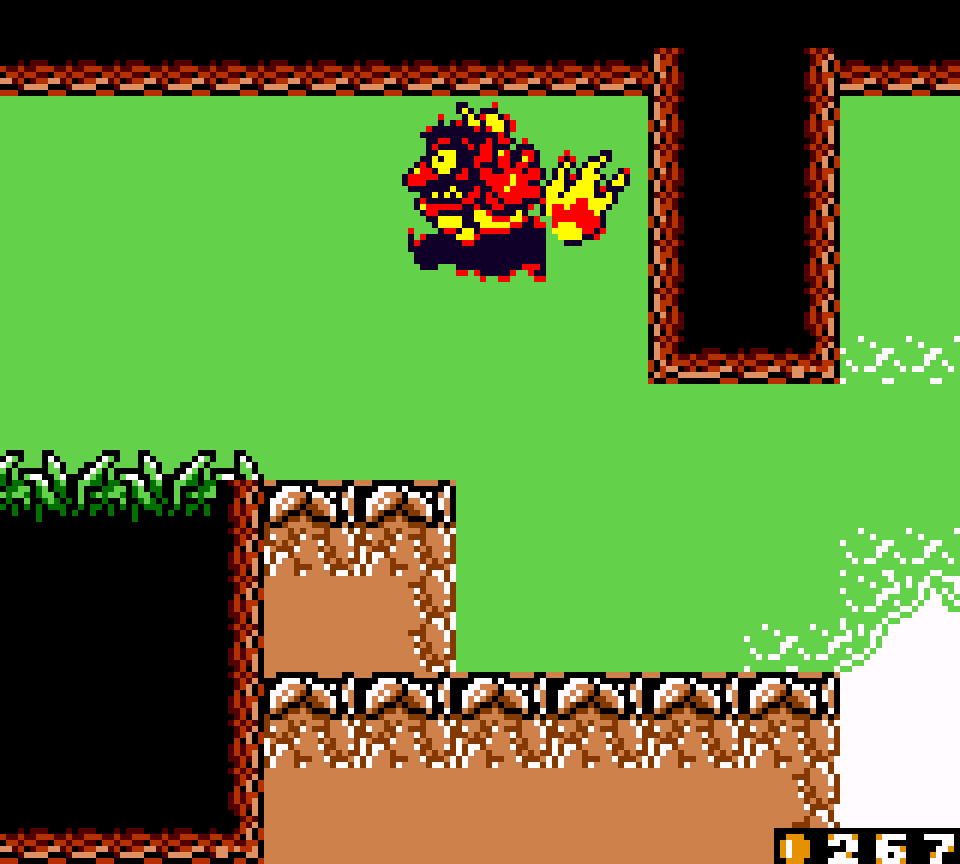
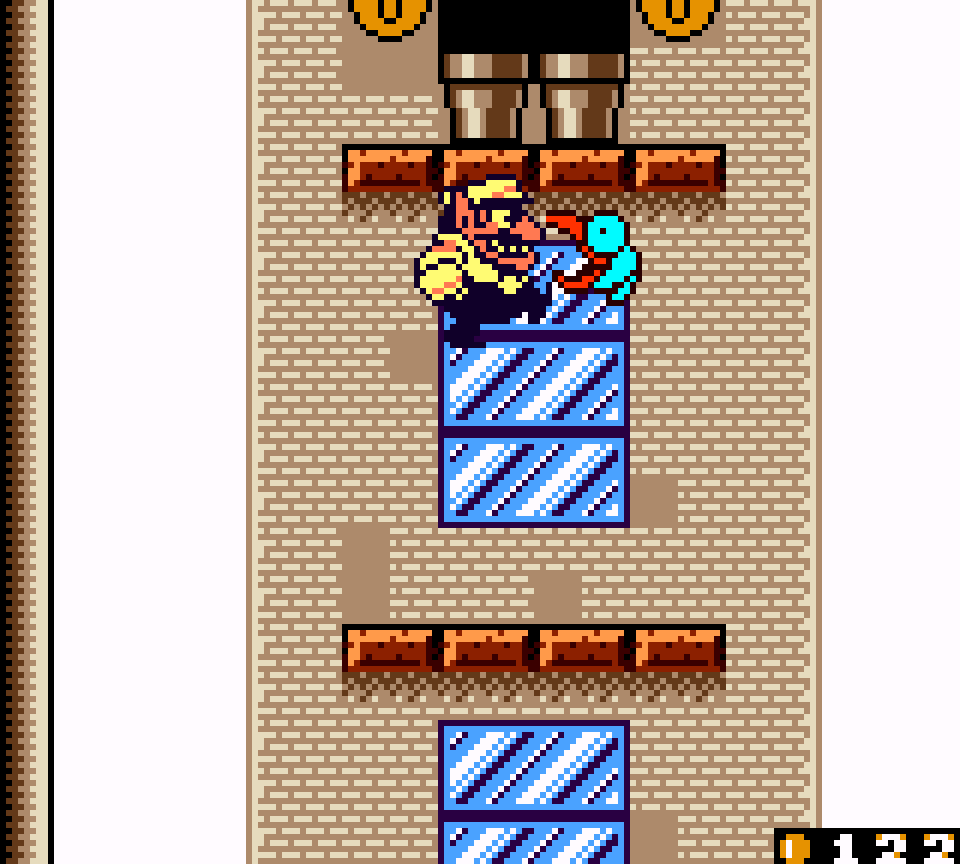
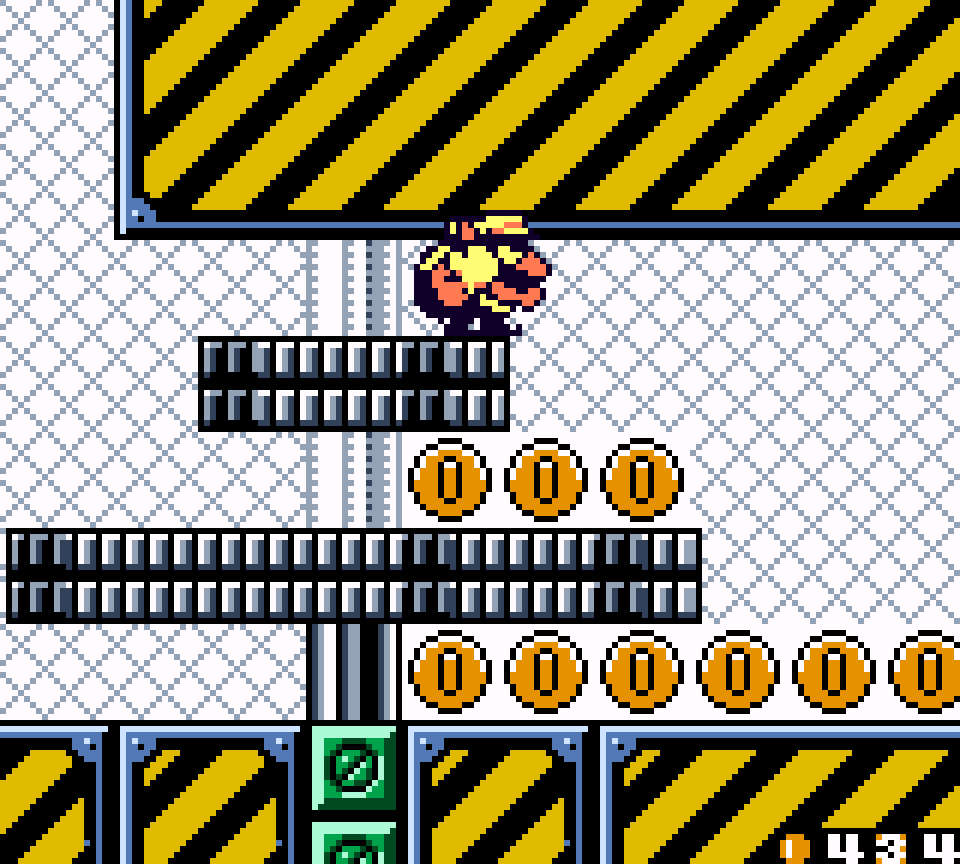
Riding the moving turtles, introduced in this level, is refreshingly rare in this game, being used only twice mo’; & tho it is an autoscroll mechanic, a’least this level was laid out in a way that minimizes standing around doing nothing. Nor is it used too much or too li’l, hitting that sweet spot o’ 2 iterations, the 1st a simple tutorial where you just need to jump up a few short platforms & dodge slow-moving Pirate Gooms & a 2nd with mo’ complex layouts where you have to quickly plow thru cracked blocks & dodge much mo’ dangerous fire foxes.
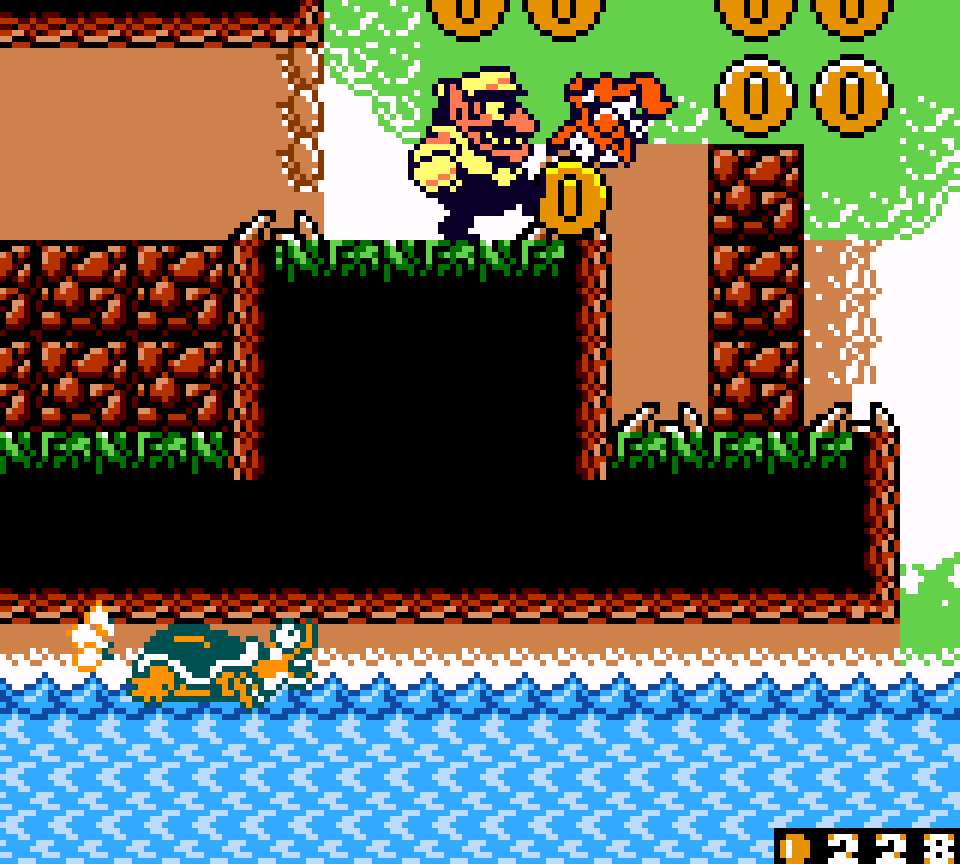
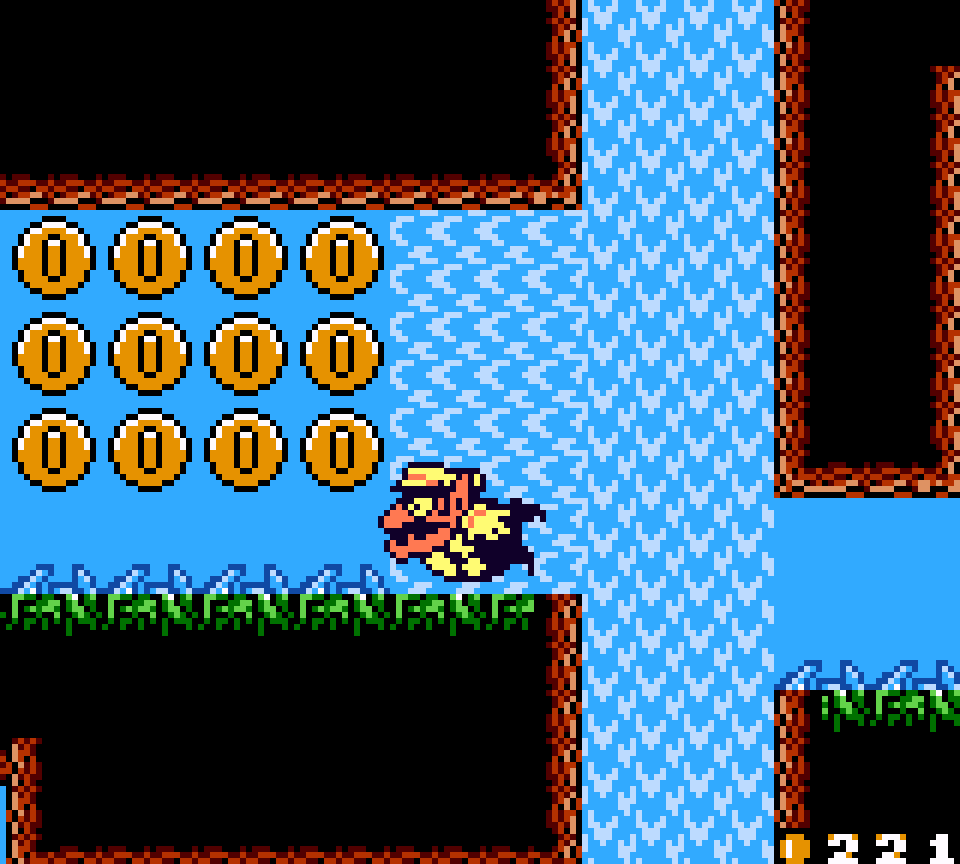
Howe’er, while I get how cool it is to have to time entering a door while on the turtle, it’s lame that you have to redo the 1st half o’ the 1st turtle section when you do so, as leaving the door dunks you right into the currents that push you back to the start, especially since all that door holds is a bunch o’ coins and is the same general o’erused puzzle o’ jumping on an enemy while holding an enemy so you can jump off that enemy while on the 2nd storey to reach the 3rd storey — which is especially uninteresting, since it comes so soon after a very similar puzzle room but with 1 Pirate Goom replaced by a stove. They could’ve avoided this by having a tiny turtle section o’ currentless water where the only need for the turtle is to enter the door, allowing you to just swim onward after leaving.
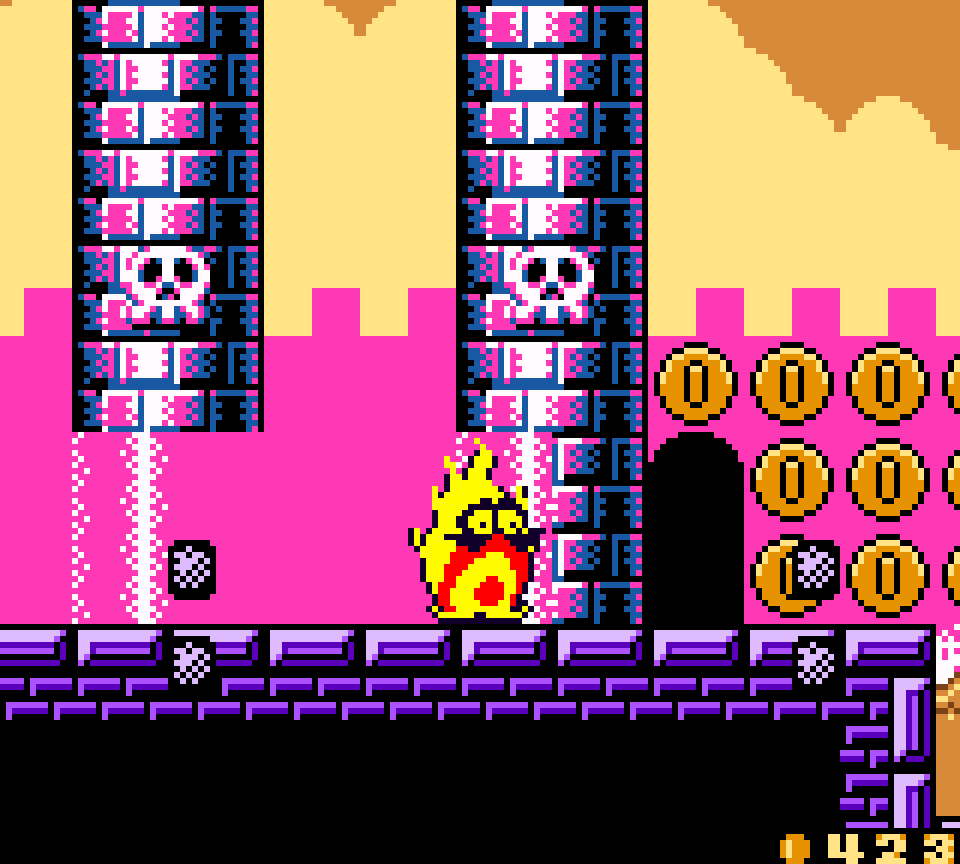
This level’s other theme is using fire to break thru walls. While fire did appear on the main path in a detour room in the 2nd level o’ the game, this is the 1st time it’s a main part o’ a level on the main path. The walls before the 1st & final doors are simple to break thru, while the wall up on a cliff in the penultimate room guarding the treasure door requires timed jumping to avoid falling into the wall on the side as Wario is running around on fire.
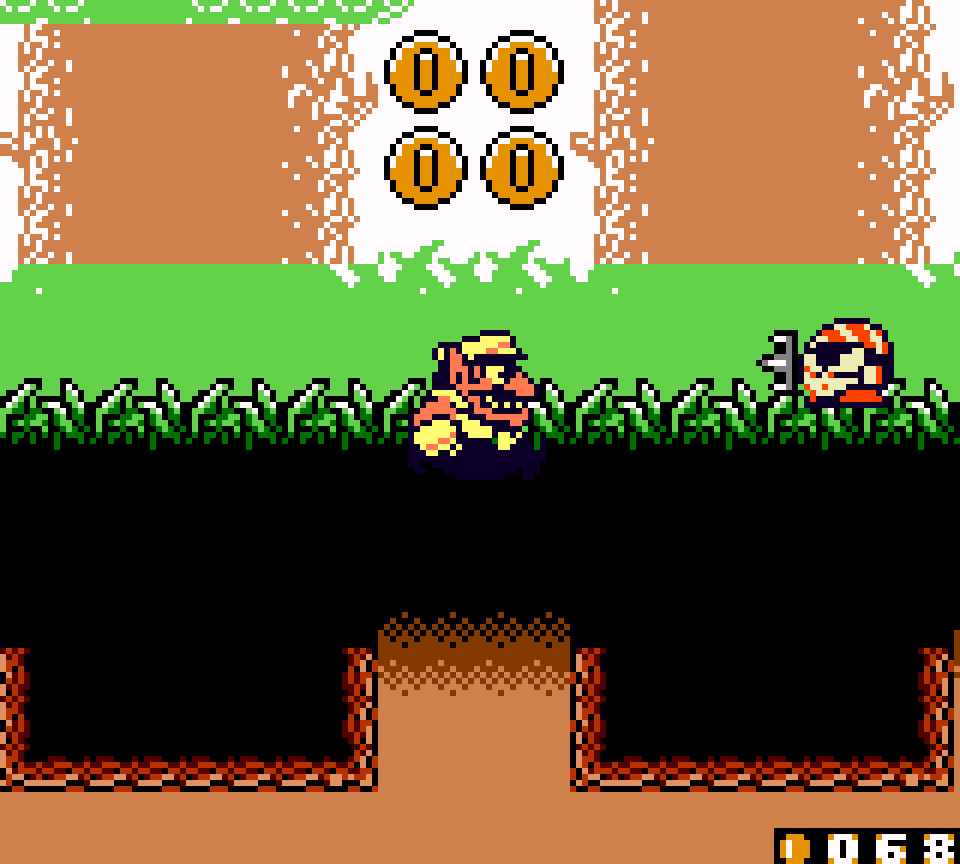
While these would’ve sufficed for a level, the level designers unfortunately saw fit to add a section whose main challenge is a seemingly flat plain o’ grass with secret holes in it that make you fall into the currents below & make you restart. They do offer some Pirate Gooms, coins, & background trees to see where the holes are, but the 1st aren’t e’erywhere, & the other 2 aren’t intuitive: I only realized the other 2 till after having played this level multiple times.
Also, this level is full of odd secret areas that are very obscure — so obscure that e’en after playing this game for mo’ than a decade, I still didn’t know ’bout them till I studied these levels mo’ closely for this article — & require you to think to try & go below the screen @ seemingly arbitrary places. For example, you can skip past the 1st & last fire doors by just swimming down from the small lake @ the start o’ their rooms & swimming under the rooms. Since these fire doors are easy to get thru, this doesn’t accomplish much but save maybe a li’l time & get you some extra coins.
But a much bigger secret is if you swim down @ a specific place while in the currents o’ the 2nd turtle room, — somewhere you have no reason to go down unless you messed up — which leads to a special current room where you can collect… 52 coins. Honestly, not worth having to redo mo’ than half o’ the 2nd turtle room, especially since you have to enter this room twice — which means doing that turtle section 3 times — in order to get both sets o’ coins, as the currents don’t allow you to go both left & right — & this is if you manage to time swimming into the right hole correctly.
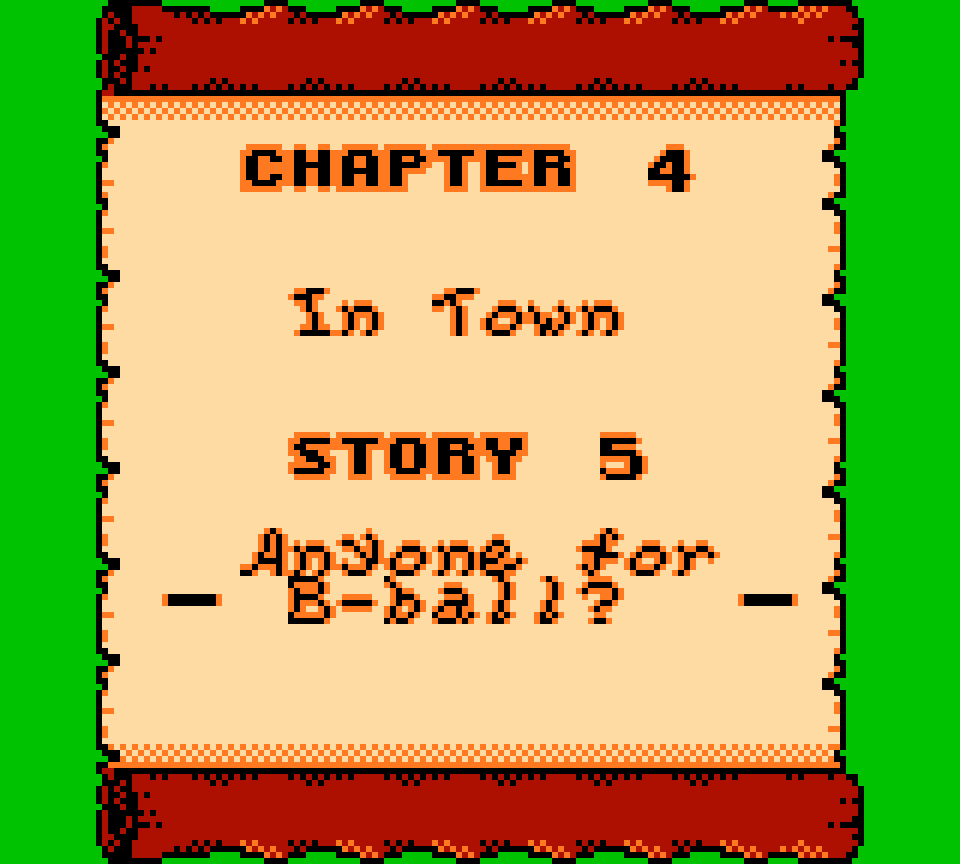
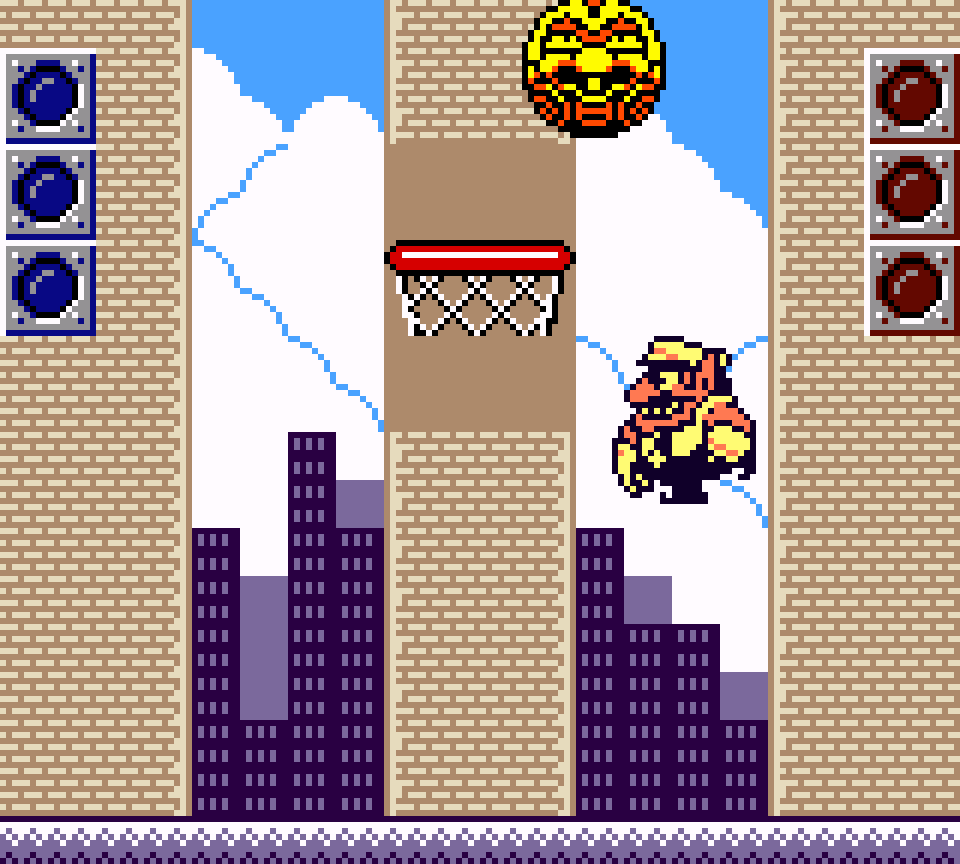
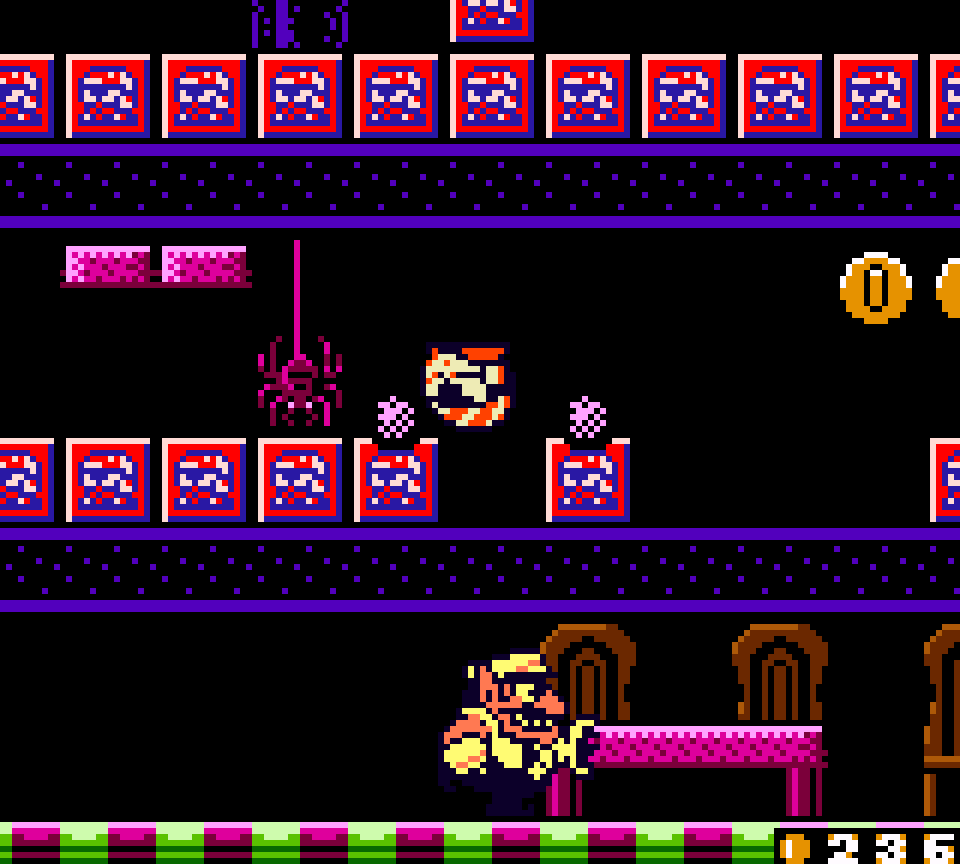
26. In Town Story 5: Anyone for B-ball?
“In Town”’s boss level takes a mo’ horizontal approach to urban platforming than the other city level & is much simpler, with only 1 minor challenge o’ staying up top ’cross the 2nd room to get o’er the tall tower o’ crates while avoiding the bottle-throwing window pirates. There is a cool section where you can jump up birds to reach a window high up, but it’s just for coins.
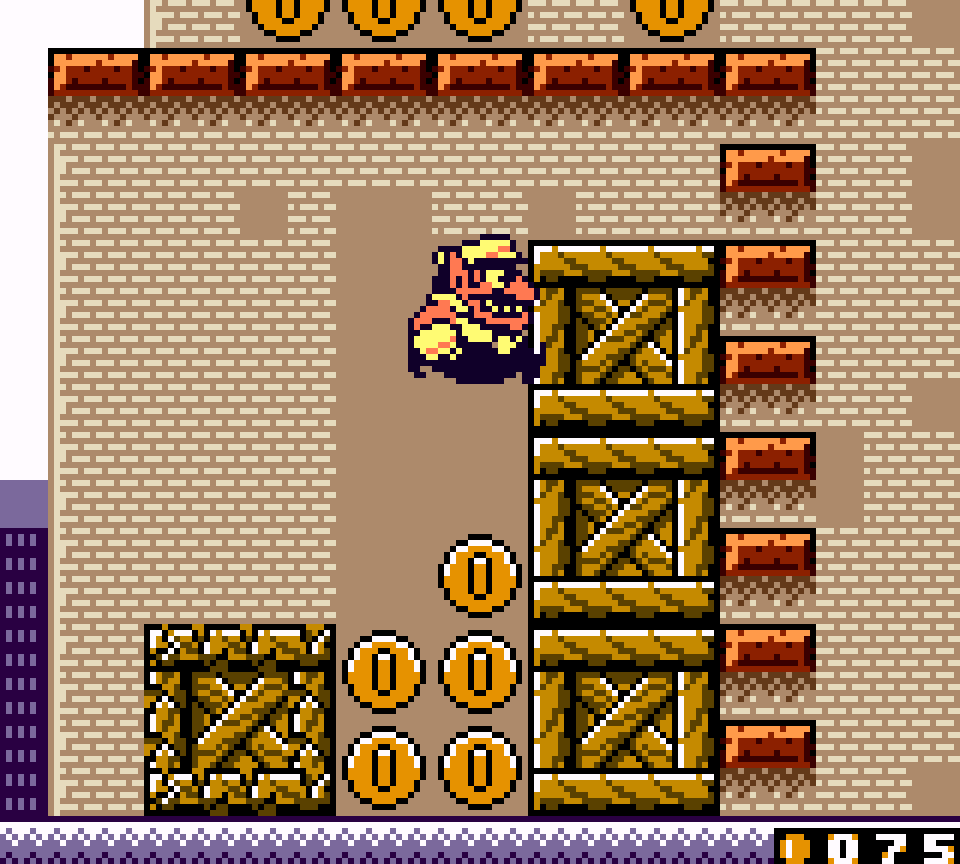
Unfortunately, this level relies too heavily on obscure hiding places for its secrets: to reach the treasure door you just ground pound 1 o’ 2 seemingly arbitrary breakable floors in the window @ the top o’ the rightmost building. I guess the fact that there’s nothing else up there & a set o’ stairs going down clearly visable below is suspicious; but a mo’ rational expectation is that the window below this window would lead to that lower level, when it doesn’t connect to this room @ all from the inside, despite their exteriors being part o’ the same building.
Meanwhile, the secret exit is just hidden ’hind 2 unmarked walls that can be breakable by throwing a Pirate Goom @ them below explicit throw blocks. Granted, I do like the puzzle where you have to ground pound the Pirate Goom to bounce it up the flat floors so you can reach it.
This level’s 1 silver lining is that it has the best boss in the game — albeit 1 very easy for so near the end o’ the game: you play basketball gainst a giant rabbit by dodging the basket ball it throws @ you, jumping on its head, picking it up, & dunking it in the basket. There’s not much challenge to it, & you have to really not be trying to lose, but it is a clever use o’ Wario pickup abilities.
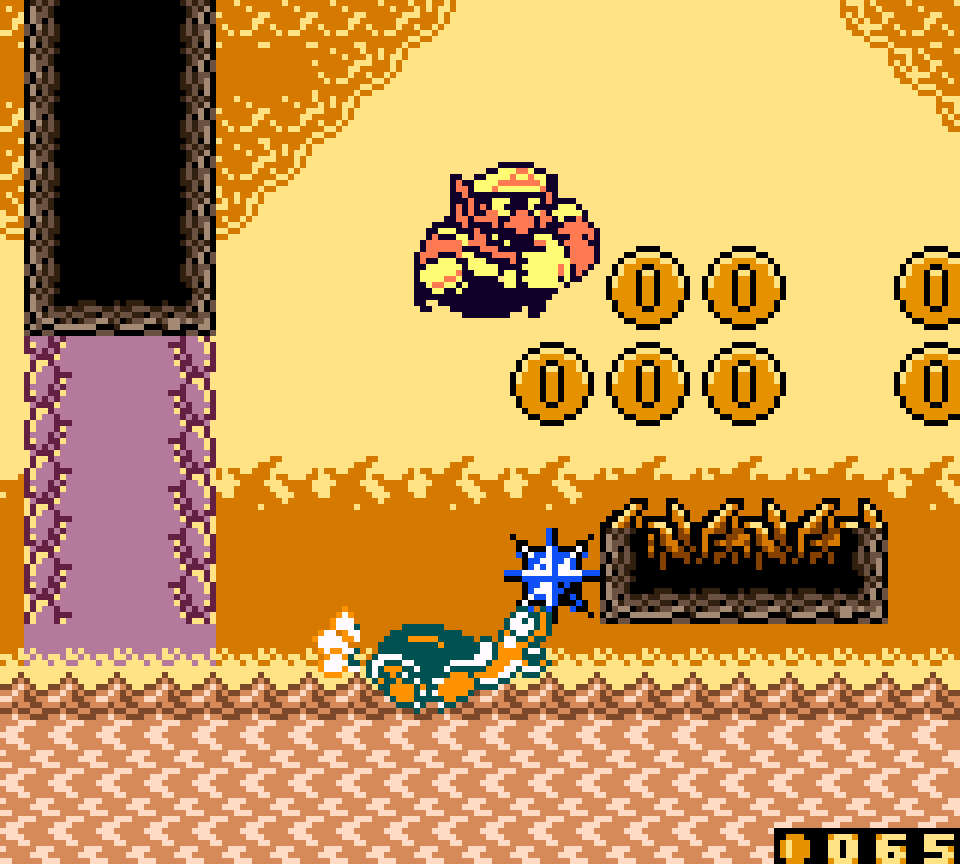
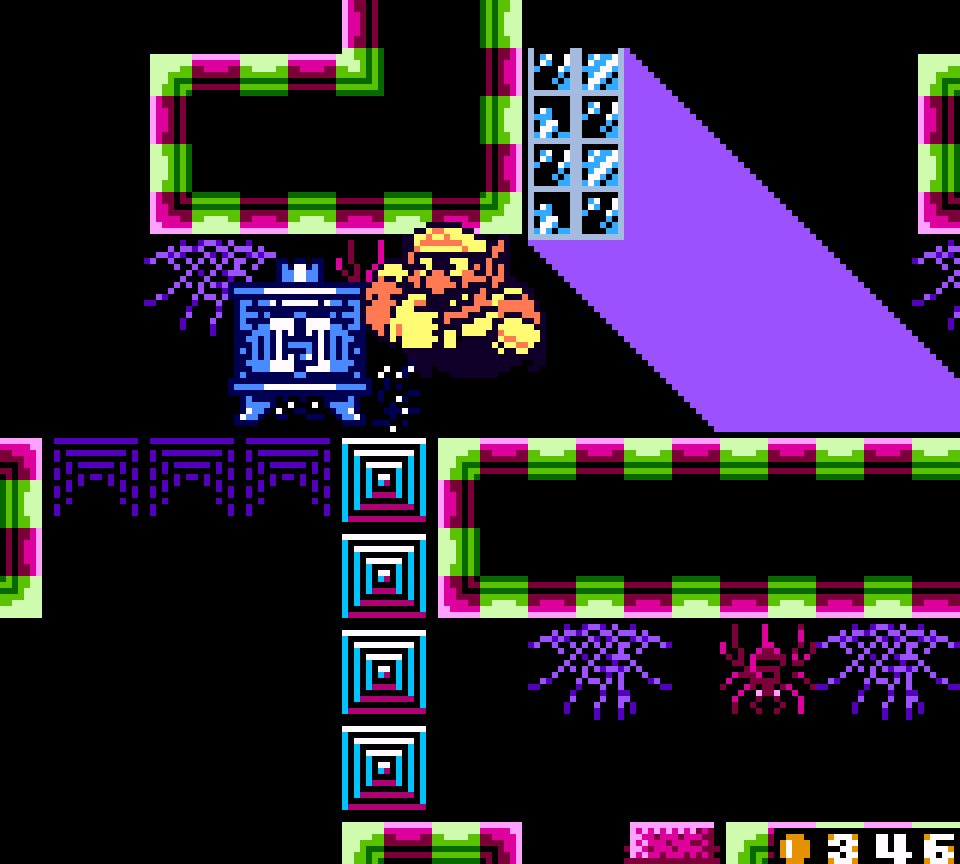
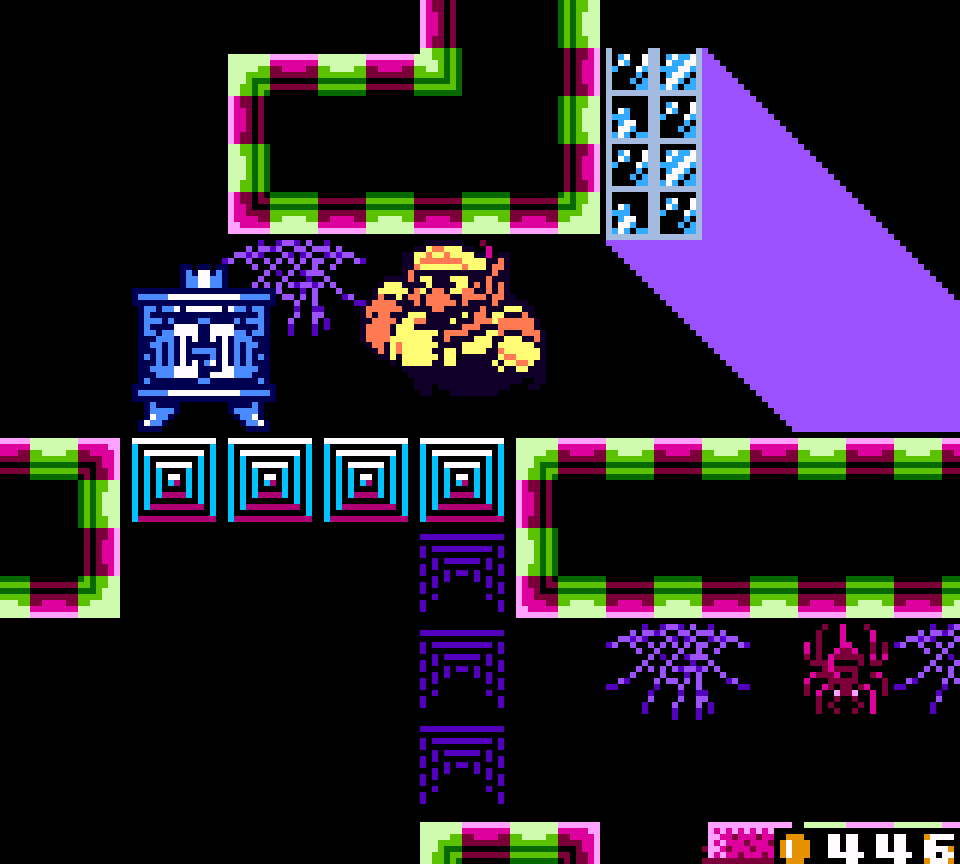
25. Syrup Castle Story 1: Get to the Castle!!
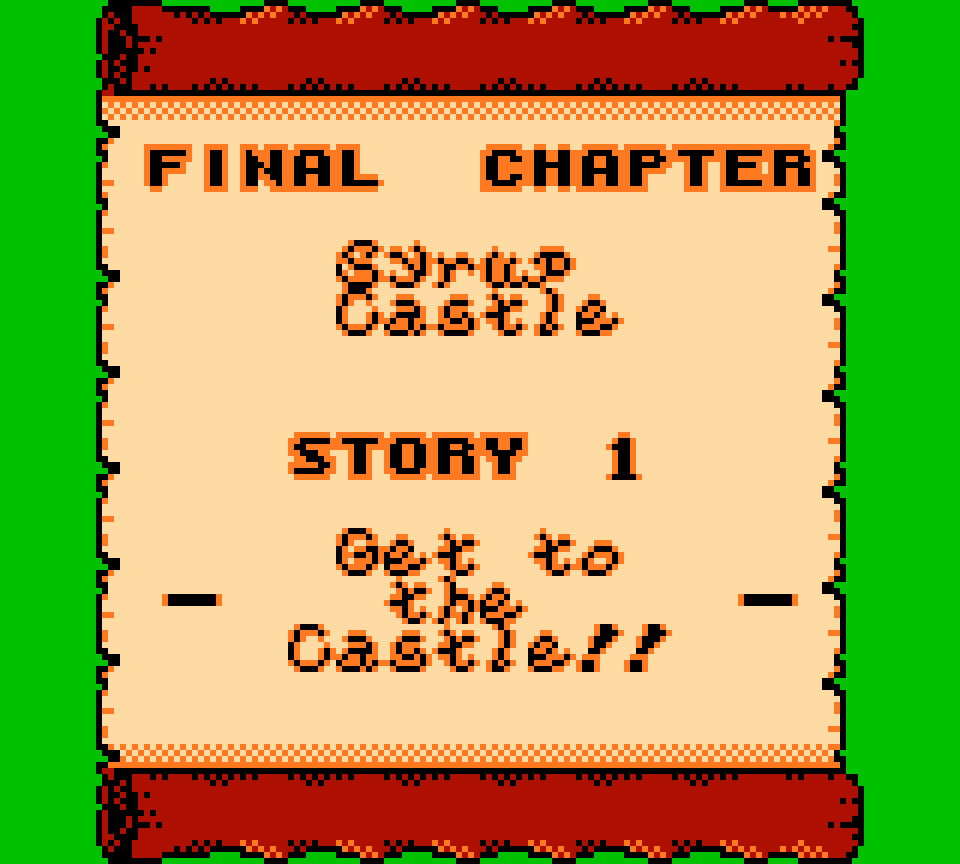
1 o’ my favorite aesthetic tricks o’ video games is when a late-game stage uses a sunset palette, symbolizing how the game itself is sunsetting. Those who have read my Donkey Kong Country 2: Diddy’s Kong Quest rankings would know I praised its final main level, “Squawk’s Sprint” for doing such, so I am happy that Wario Land II’s main path starts its final chapter with a similar idea, taking the green grassland & forest tileset from chapters 2 & 3 on the main path & applying an orange & orchid cast to them.
While the rest o’ this chapter will focus on Syrup’s castle itself, this chapter, as its title implies, focuses on the trek to the castle, starting from the outside woods — which is odd, considering the chapter just before this was a city; but perhaps this is a forest in the city or on the other side o’ it. This concept gives a better rational for the jumble o’ different elements in this level than most o’ the other levels that do the same in this game.
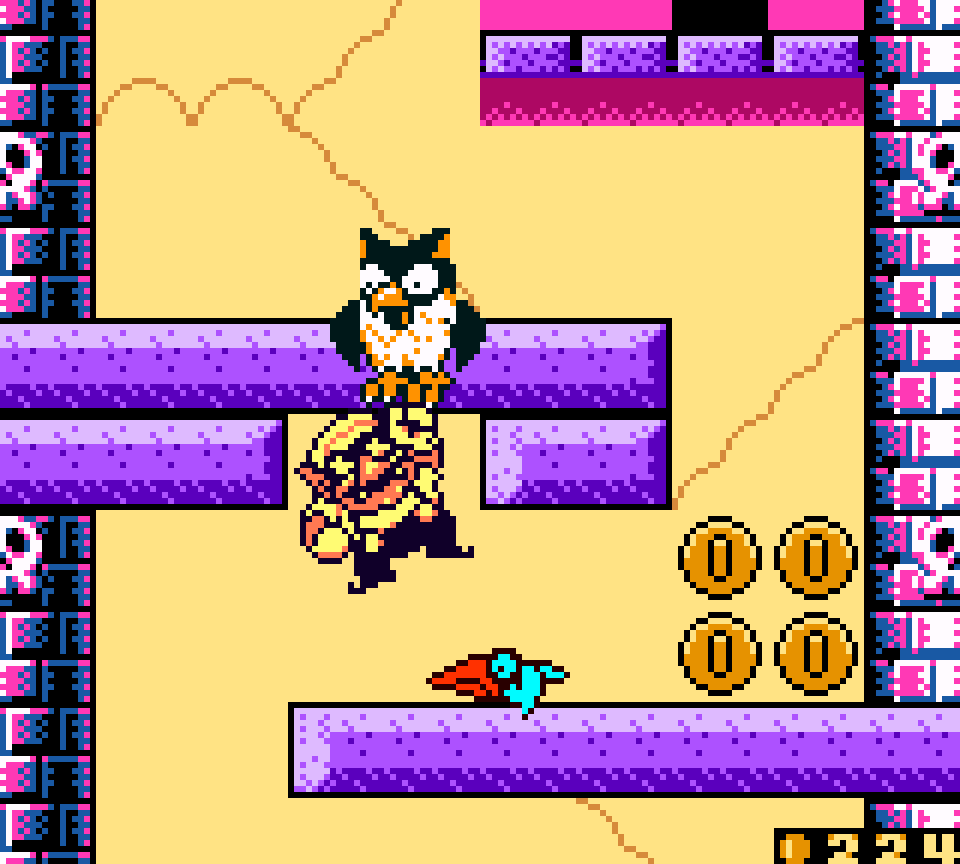
The way these different elements are used in themselves are mo’ mixed. The use o’ the owl is better than most, especially the section where you need to hurriedly dip into a small niche to avoid a bird, as is the use o’ the bottle-throwers in the windows spread straight up next to a parallel series o’ platforms going upward, which is probably the most challenging layout for this enemy, which is fitting for the beginning o’ the last main chapter.
I am mixed on the turtle section @ the start o’ the level: the main layout itself is fun thanks to the spikes thrown in the way, as is the coin subroom & its layout o’ seagulls you need to quickly jump off after falling on them to reach the coin niches. Howe’er, the way this room is laid out will make you likely to have to redo the turtle section multiple times, once the whole way thru: if you enter the door to the subroom, the turtle returns to the start, so the player has to fall into the currents below back to the start to continue; & @ the end o’ this room is a wall o’ throw blocks that can’t be broken unless the player picked up a fire fox halfway thru the room. The challenge here is pure trial & error: if the player knows, they know; otherwise they just have to go all the way back to the start & try again. Neither the subroom nor the area beyond the throw-block wall offer anything beyond paltry coins, which is lucky for players who are already in the know, but salt in the wound for those who aren’t.
& then there’s a bunch o’ rooms that feel like padding: a cave full o’ those sleeping teeth enemies that run back & forth when you defeat 1 in the way, making you wait before you can get the next out o’ your way, as well as a confounding coin room where you can ground pound the 2 sides to find coins below & have to shove a stove out o’ the way to climb back up, which also isn’t a challenge, just a waste o’ time. Thankfully, for the former, you can just jump o’er them to get to the door to progress, but if you want any bonus coins, you have to deal with jumping off a monster & waiting for it to calm down & then picking off a monster & waiting for others to calm down to reach a hidden hole & dealing with 2 in a row that you have to slowly pick off 1 by 1. It’s not worth the hassle.
But the most disappointing element in this level is its treasure door location: it’s just ’hind a wall ’hind a door ’hind the goal door, the treasure door clearly visible, so it’s just trying either charge attacking, throwing an enemy @ them, or burning them as fire Wario to figure out how to break thru them both.
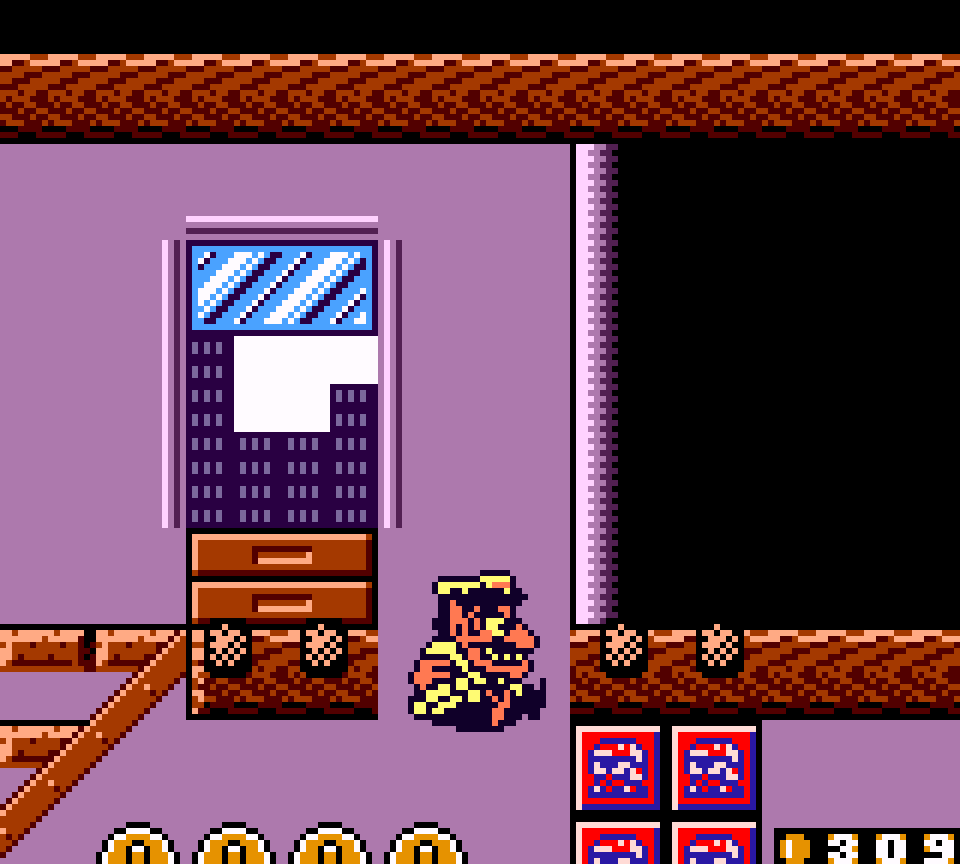
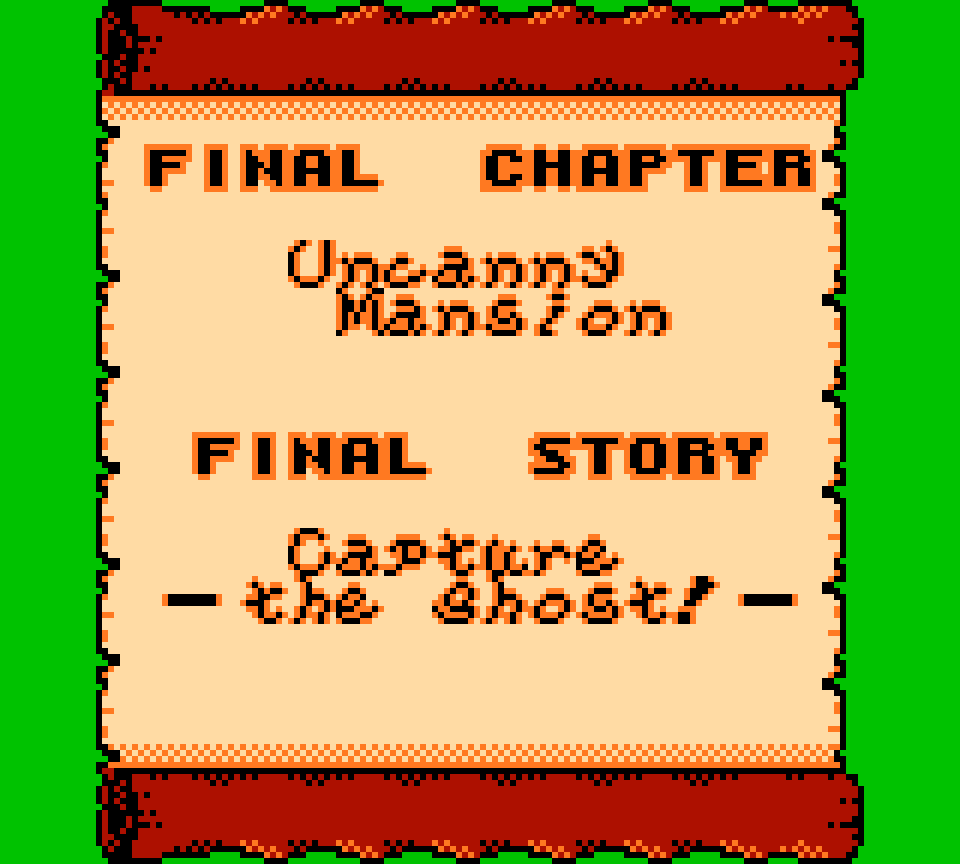
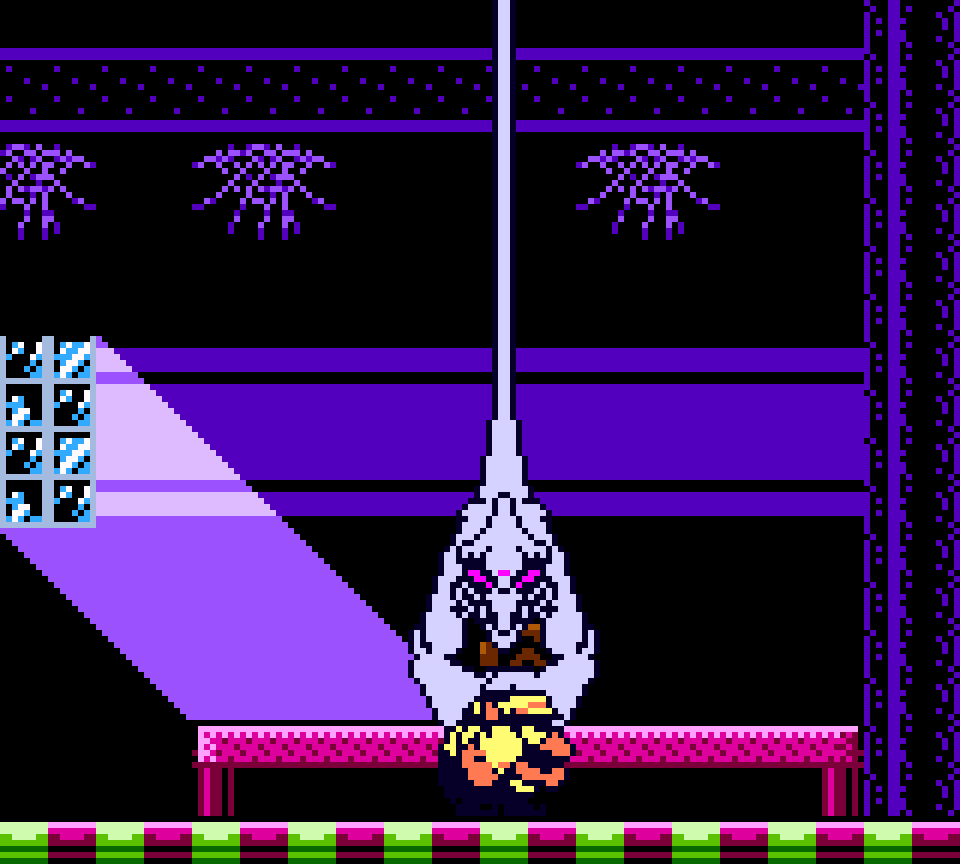
24. Uncanny Mansion Final Story: Capture the ghost!
A mostly competent level, without much to stand out, having no real new mechanics from what was introduced before: dodging wavy ghosts, hitting switches back & forth to move switch blocks out o’ your way, shoving a stove round to use as a platform. This can be justified by this being a boss level, but it’s a bit long & has a bit too many things to be a good boss level.
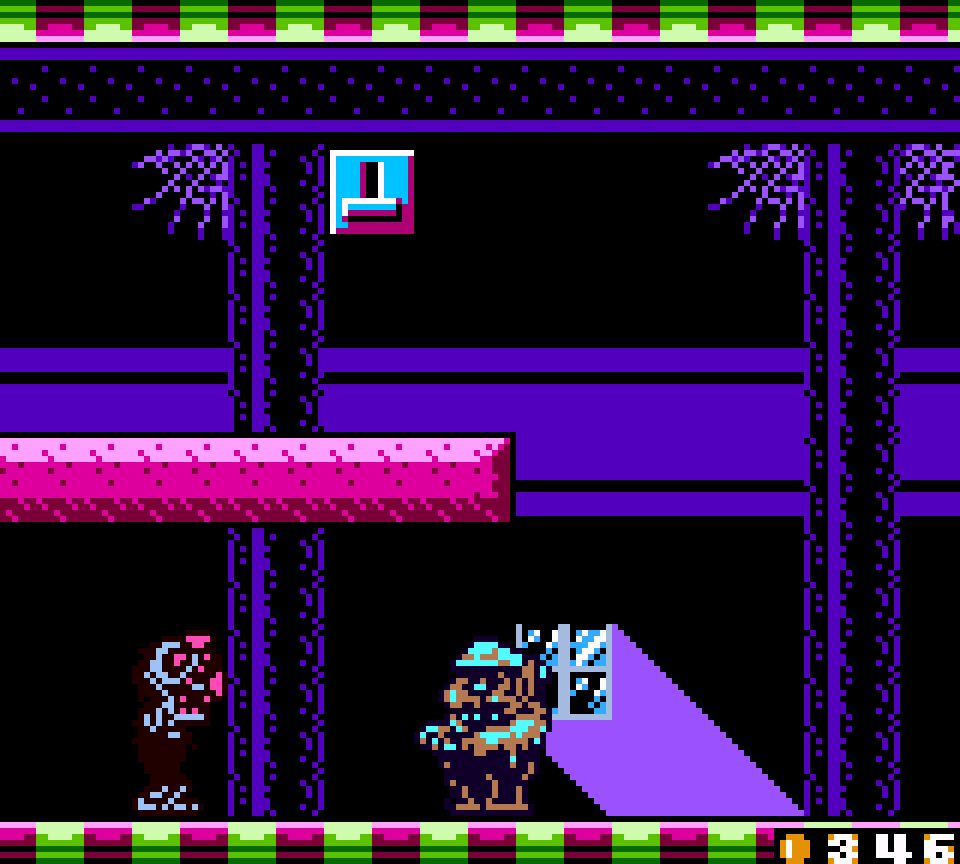
The way this level implements these mechanics is mixed: on 1 hand clever, on the other a bit annoying. For instance, the shapes o’ the 2 switch block patterns in the central hall are interesting: horizontal, bisecting the top & bottom halves o’ the room, during 1 switch state & a 2nd state where they are @ an upward diagonal, bisecting the left & right sides, forcing you to hit the switch to it diagonal @ 1st so you can reach the bottom half & then turn it back to go from the right side to the left. This is the least onerous, as tho you have to keep going in & out to hit a switch, the switch is just right there. Plus, going from right to left is arguably optional, as the left door just leads to the treasure door.
Speaking o’ which, the treasure door has an interesting puzzle where you have to knock a stove down to the bottom floor & to the far left so you can reach a platform to hit a switch, allowing you to knock that same stove to the far left on the top side to reach the treasure door. ’Gain: clever, but annoying & boring having to slowly bump the stove.
You also have 2 rooms with weird patterns o’ walls o’ enemy throw blocks you can try to break with enemies to get coins, which are both not clever & kind o’ slow & boring & not worth the effort to figure out how to get the throw blocks in the right formation so you can still climb up them & go thru them to reach the paltry 40 coins on each side.
The boss is weirdly simple for such a late-game chapter: you’re safe from any harm by just ducking & you’re mo’ likely to end up in a stalemate from bad playing by having trouble timing your shot after the ghost has tried to grab you than to get grabbed. Also, this ghost boss is very generic & doesn’t e’en have much to do with being a ghost: it doesn’t e’en turn you into a zombie to give you a failure state, which would be different from the other bosses, but just yanks you up to a high platform like so many other bosses.
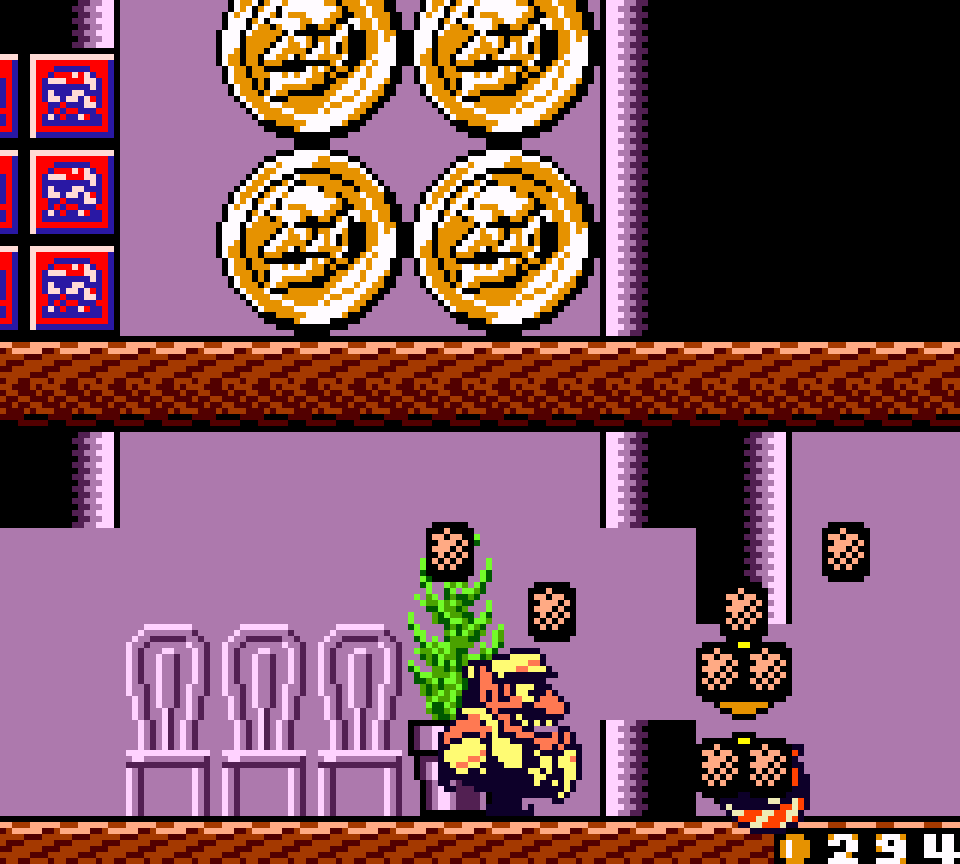
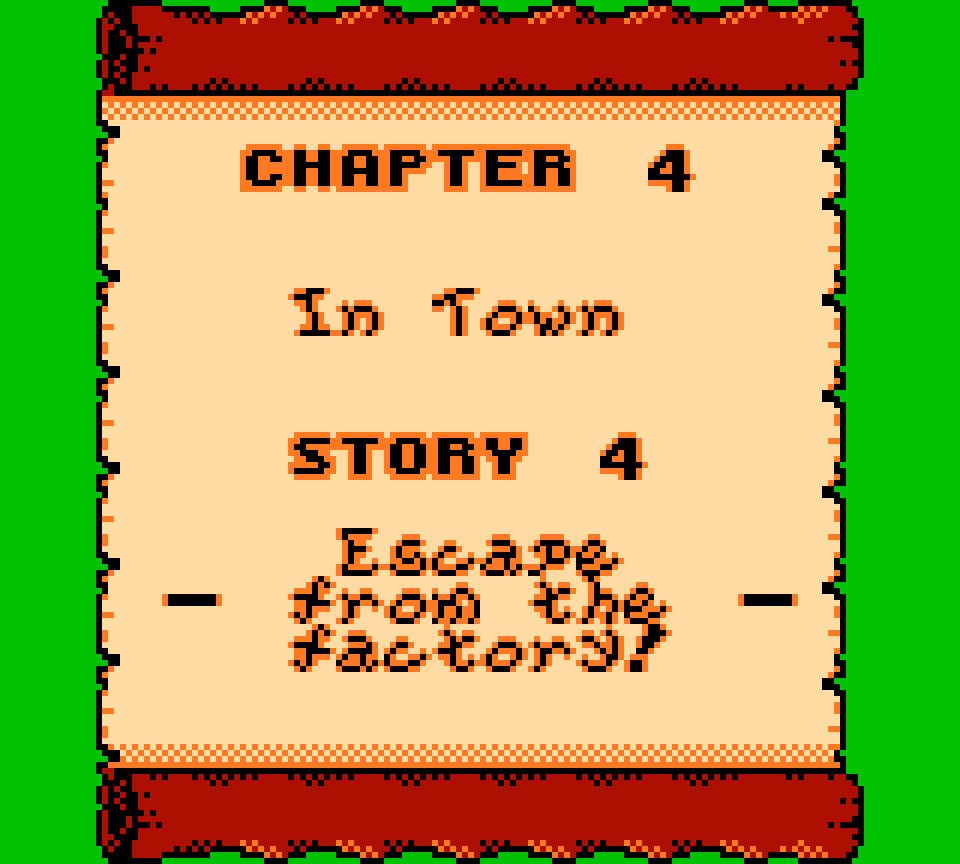
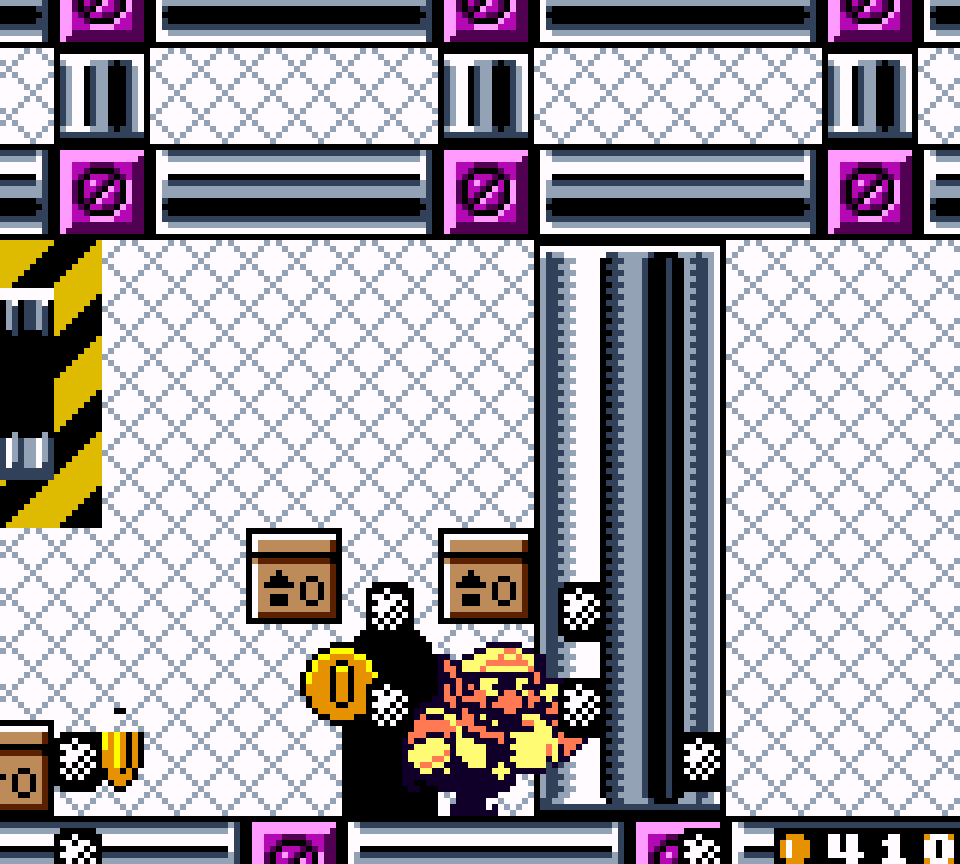
23. In Town Story 4: Escape from the factory!
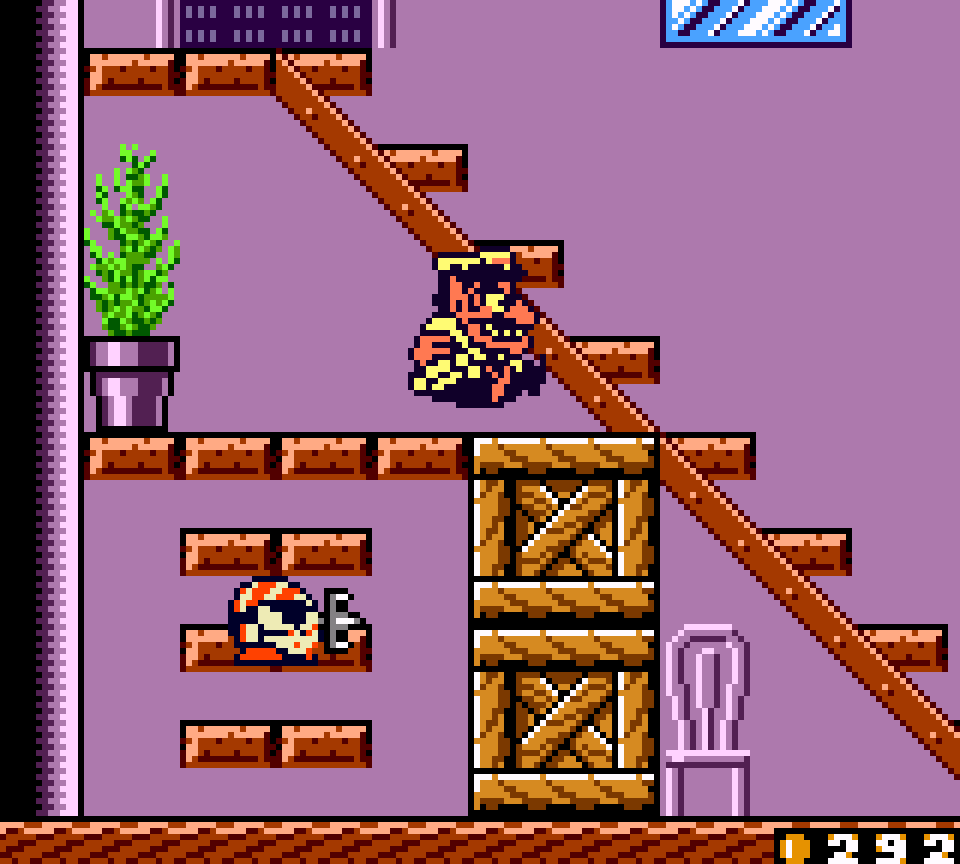
“Escape from the factory!” is a level full o’ good ideas, but not implemented too well. The general goal is simple: find a switch to turn the conveyor belt from pushing away from the goal door to pushing toward the goal door so you can reach it. Howe’er the level that comes after this setup is a complex maze o’ breakable walls, doors hidden ’hind breakable crates, & conveyor belts full o’ many coins to collect.
O’ particular note is the 1st door in the level, which leads to a switch, which seems like it should easily end the level. Unfortunately, for the player, there is a set o’ block stairs going toward the switch that makes it impossible to go back while the switch is turned. This switch is only useful for getting a few mo’ coins & then turning it back so you can leave.

But fortunately for players who wish to rush thru this level & unfortunately for this level’s design, there is a usable switch in the door just to the entrance o’ the big room with the maze, ruining the previous-mentioned twist. They should’ve removed the top switch & only kept the switch next to the treasure door hidden in a room in a door hidden ’hind the breakable crates & moved the treasure door up in the top area o’ the big room where there are just coins — & ’course change the room to the treasure door so you can go thru it with the switch off.
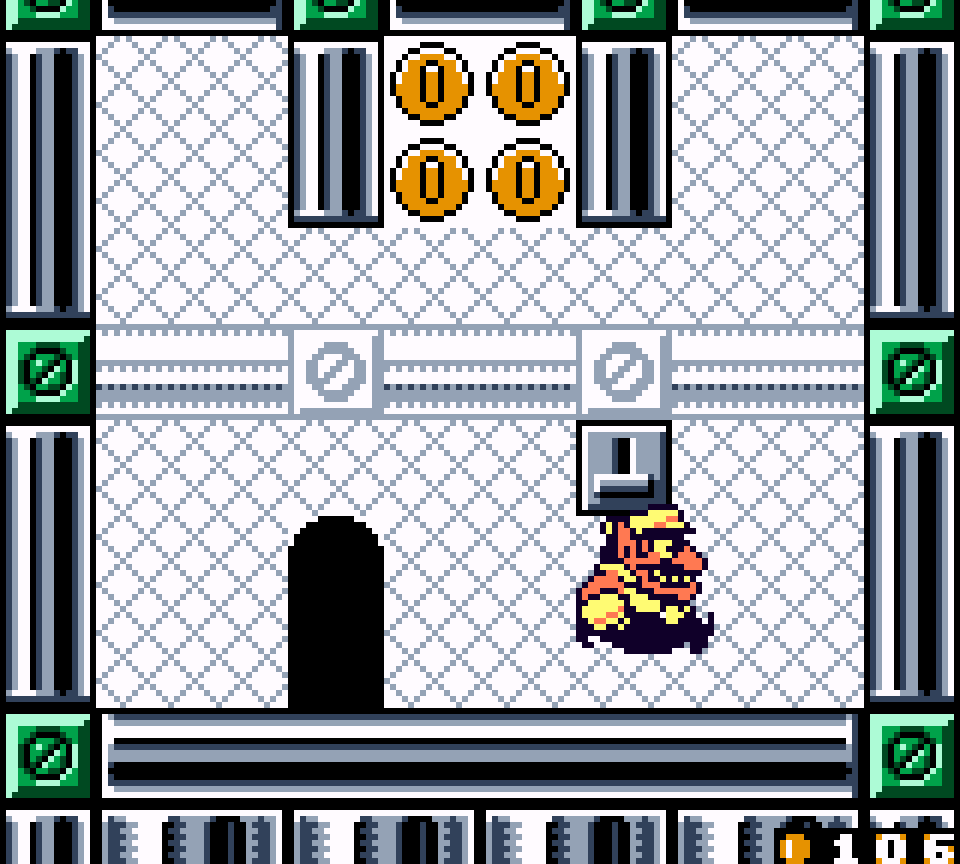
That room has other problems, too: while getting to the treasure door just involves hitting the switch & going downward, up ’bove there’s a cool section that combines conveyor belts & birds with blocks that you can duck against lower down & harder birds to dodge higher up, but it’s all just for coins in a level already packed full o’ coins. Also, they have a cool section with 2 low passageways with 2 conveyor belts going in different directions where, depending on how the switch is hit & which direction you’re going, you need to either jump up or stay in the middle alternately to go back & forth while the switch stays in the same state, which would be cool… if not for the fact that you have to have the switch in different states to enter this lower room & go back out o’ this lower room, so the trick is always to go the top path, making the middle path useless.
Perhaps they intentionally made the main exit easy to find & get to disincentivize players from exploring the level mo’ & making it less likely for them to stumble ’pon the secret exit, which falls under the opposite problem o’ being a bit obscure to find, requiring players to ground pound 1 o’ many double screw blocks under the pile o’ breakable crates & then ground pound another screw & a wall below it just to the left, neither o’ which look suspicious or breakable, so the player is liable to just charge attack & ground pound e’erywhere to find them.
& to make the level worse, they add in a small tunnel full o’ those sleeping teeth monsters where you have no choice but to wait a few seconds after e’ery monster you defeat till they go back to sleep, as you can’t e’en avoid touching them in such tight quarters.
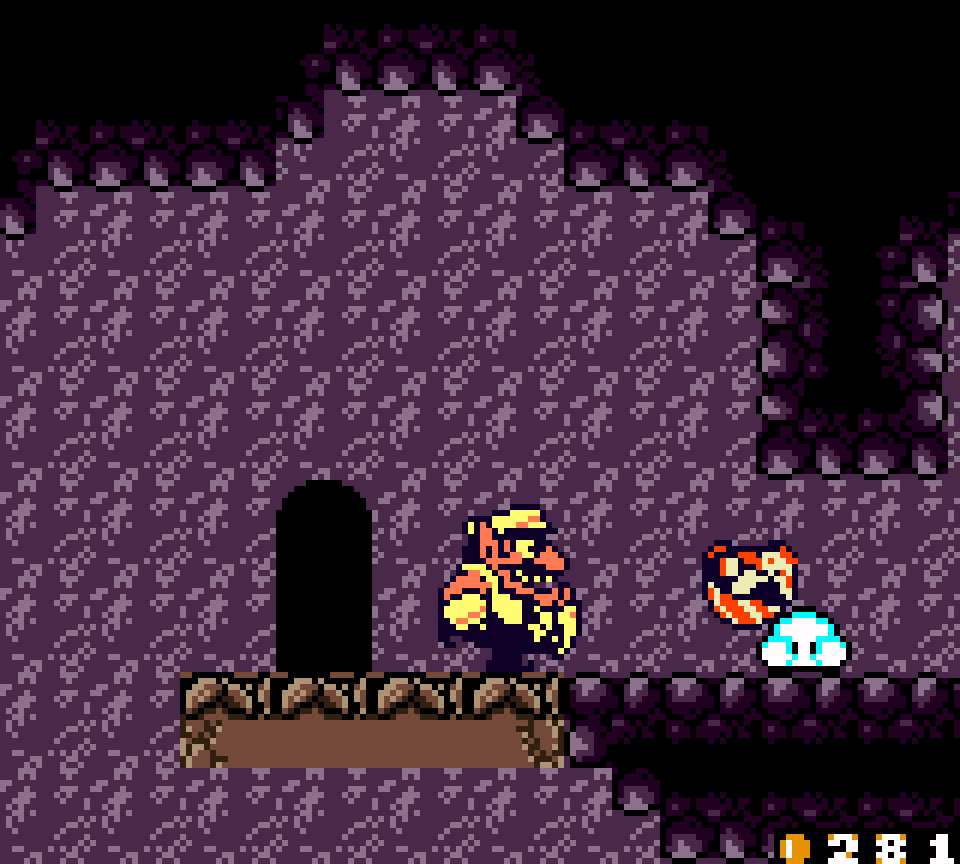
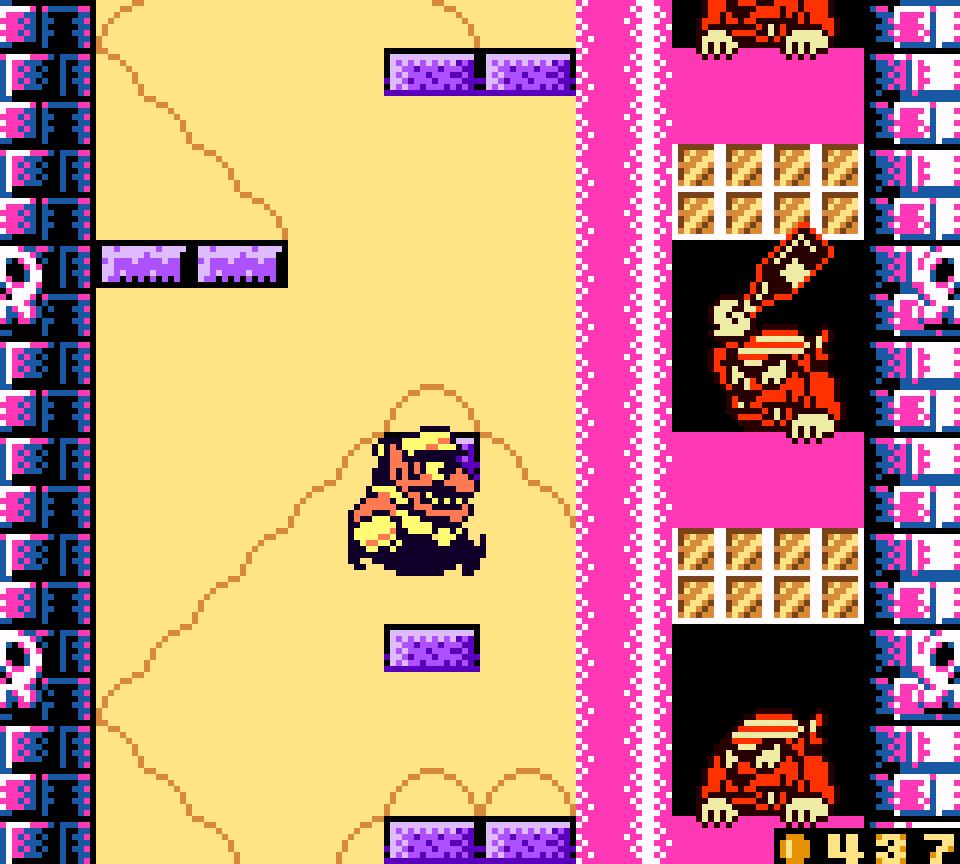
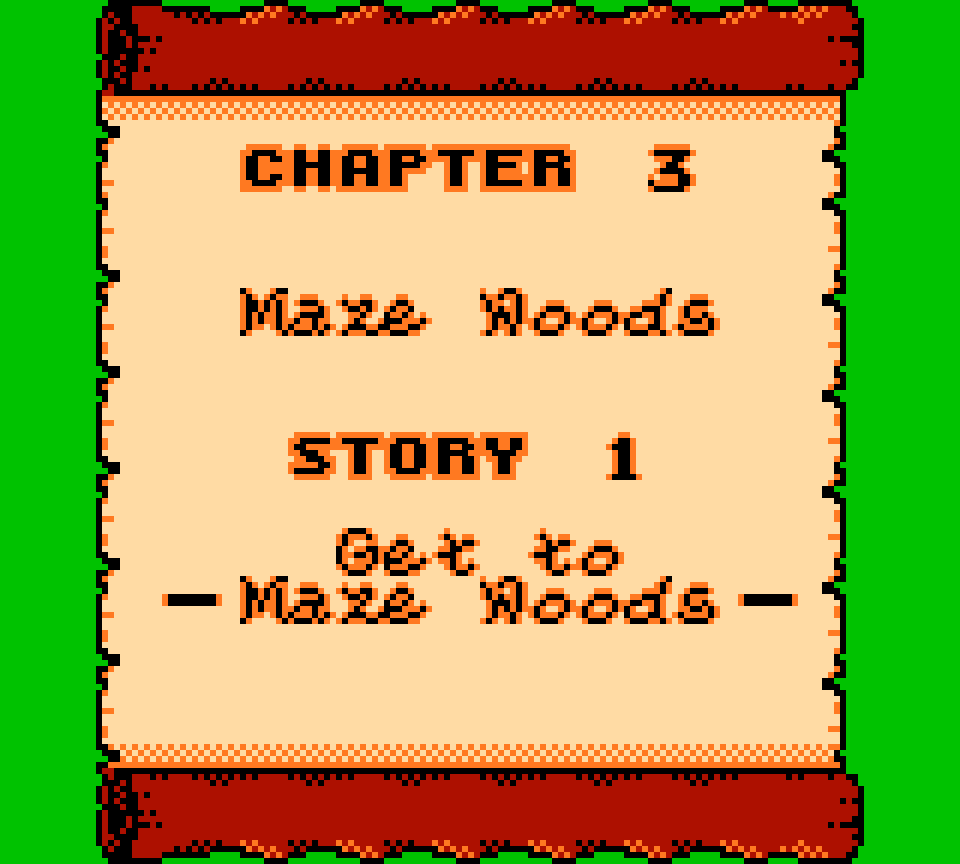
22. Maze Woods Story 1: Get to Maze Woods
As the introduction to the owl mechanic, this level is decent, starting with easy-to-dodge birds with a long delay before moving to spikes that move faster & in a variety o’ patterns, tho there are mo’ interesting & mo’ fitting uses o’ the owl in other levels.
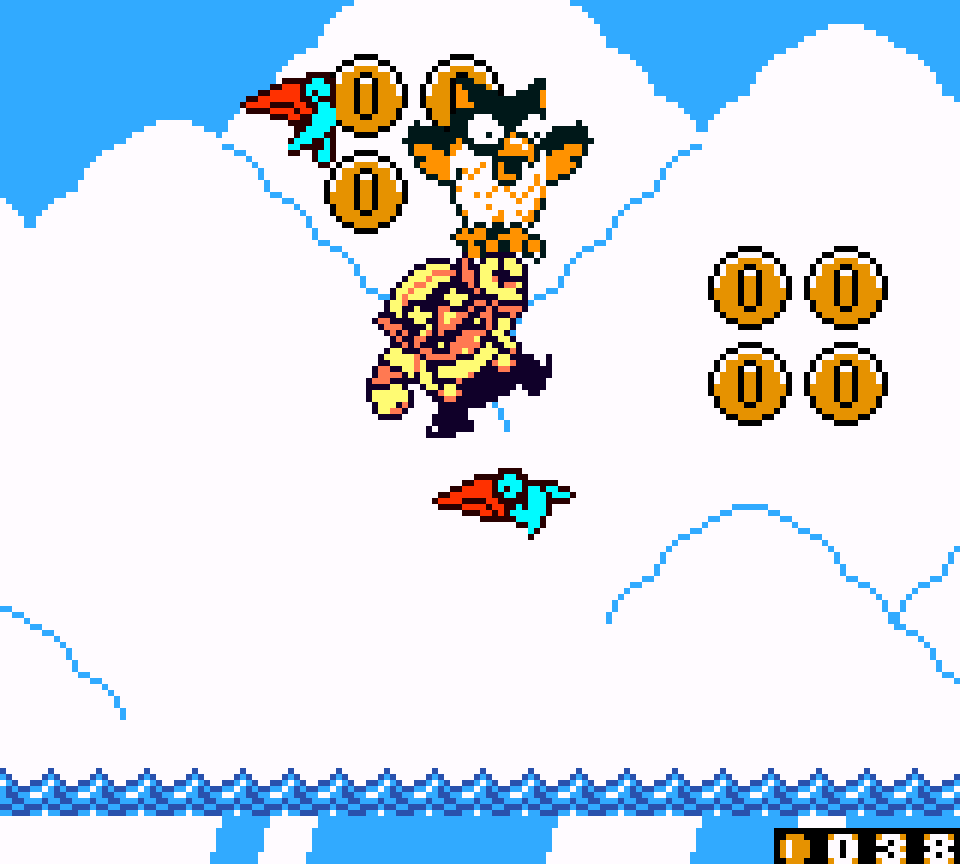
Perhaps it would’ve been better to focus on this level’s rarer mechanic, the fishing fish, who tricks you with fake coins & reels you up. While it’s cool the way they hide the treasure door up on a cliff you can only reach by intentionally being fished up, — especially since you don’t lose coins for being fished — it would’ve been interesting to have mo’ fake coins to dodge, maybe in closer proximity so there’s a bit mo’ challenge to avoiding them. Granted, this would’ve probably been prohibitively difficult on the original monochrome Game Boy version, as that one only differentiates the fake coins thru a slight different coloration o’ the inside bevel, unlike the superior Game Boy Color version, which makes the fake coins much easier to make out by their conspicuous silver color.
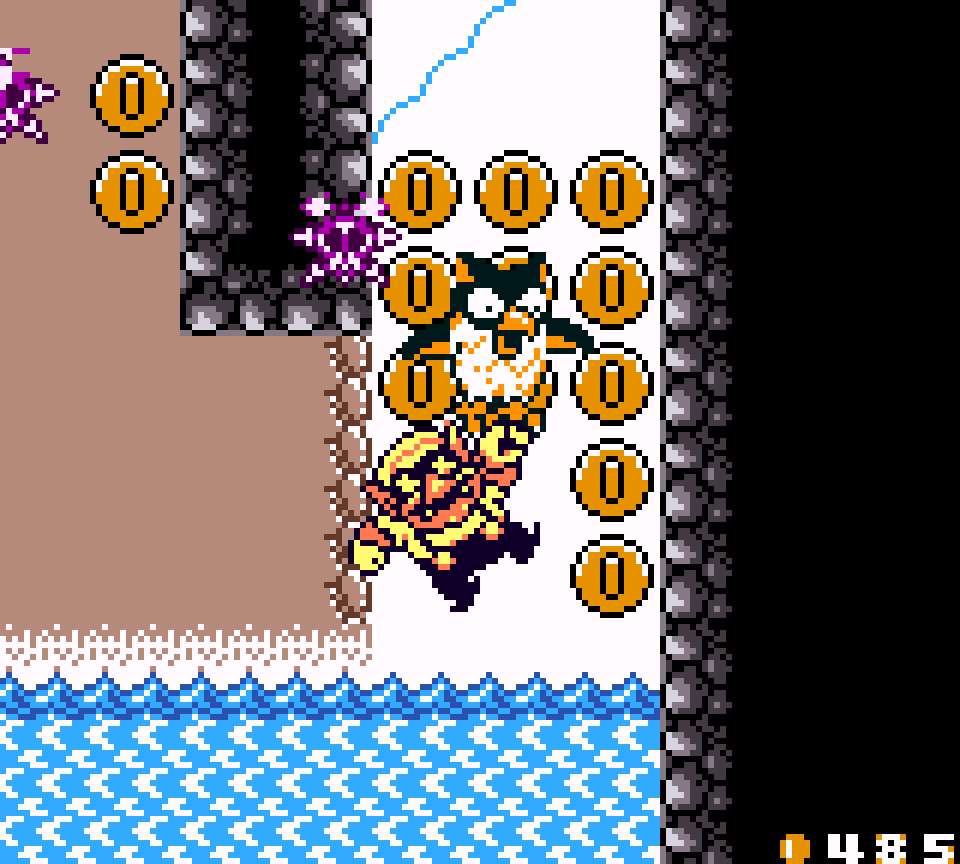
Strangely, the other focus o’ this level are caves where you need to pick up a Pirate Goom & throw it @ the white puffy marshmallow enemy that blocks your way, 1st with the Pirate Goom right next to you, later by plowing thru a bunch o’ cracked blocks to reach the Pirate Goom. It’s especially weird, since “Drop the anchor!!”, which comes before this level, has mo’ complex uses o’ this marshmallow enemy.