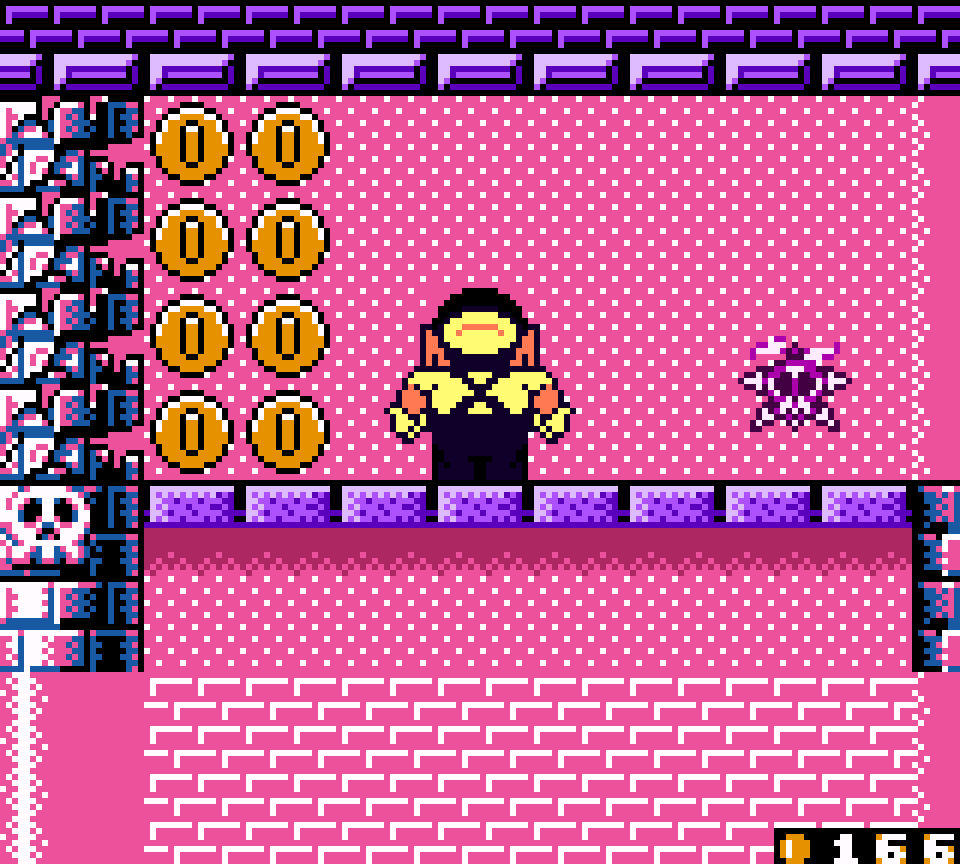
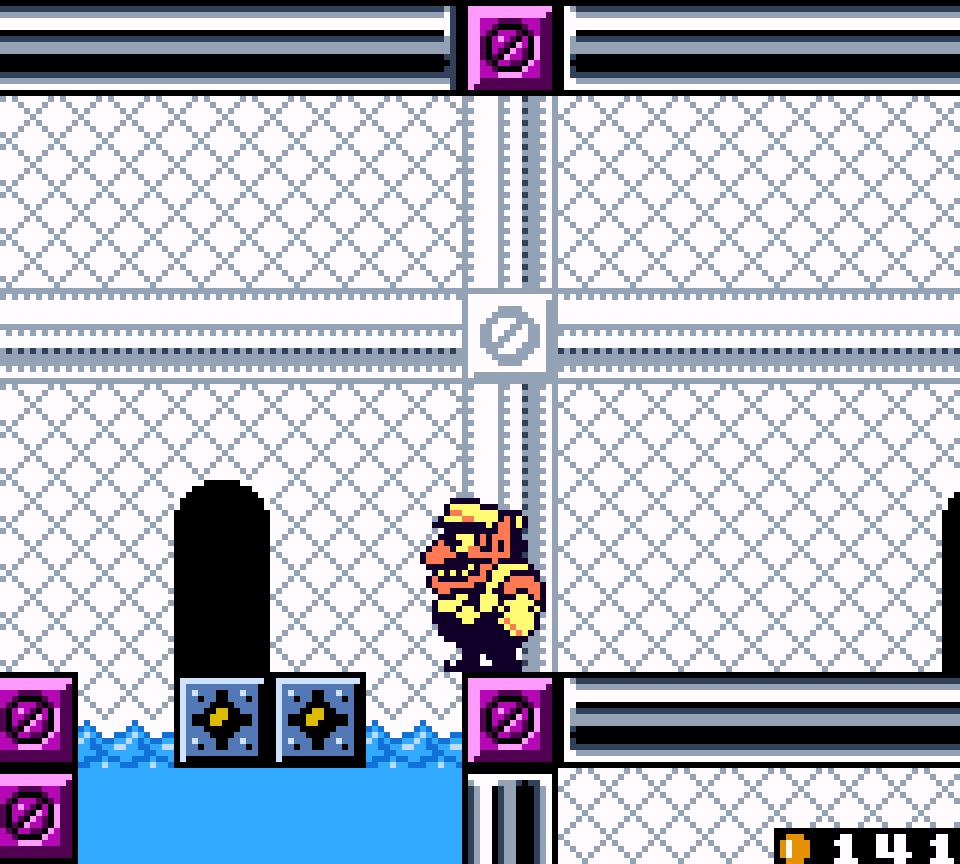
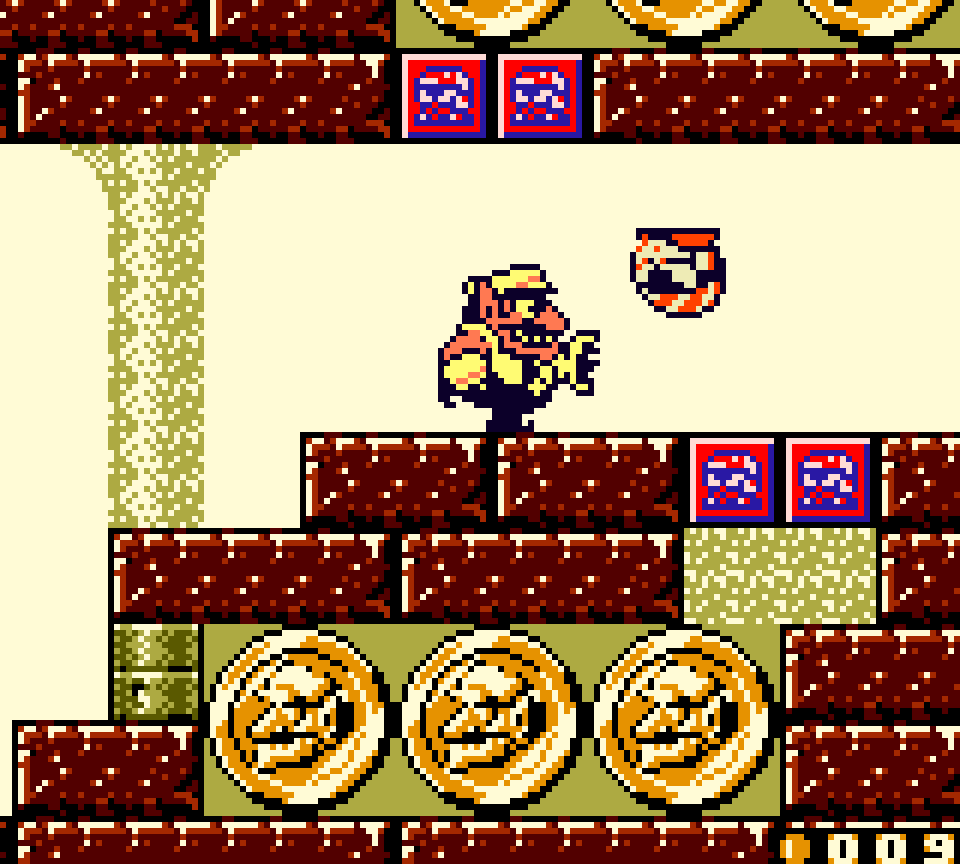
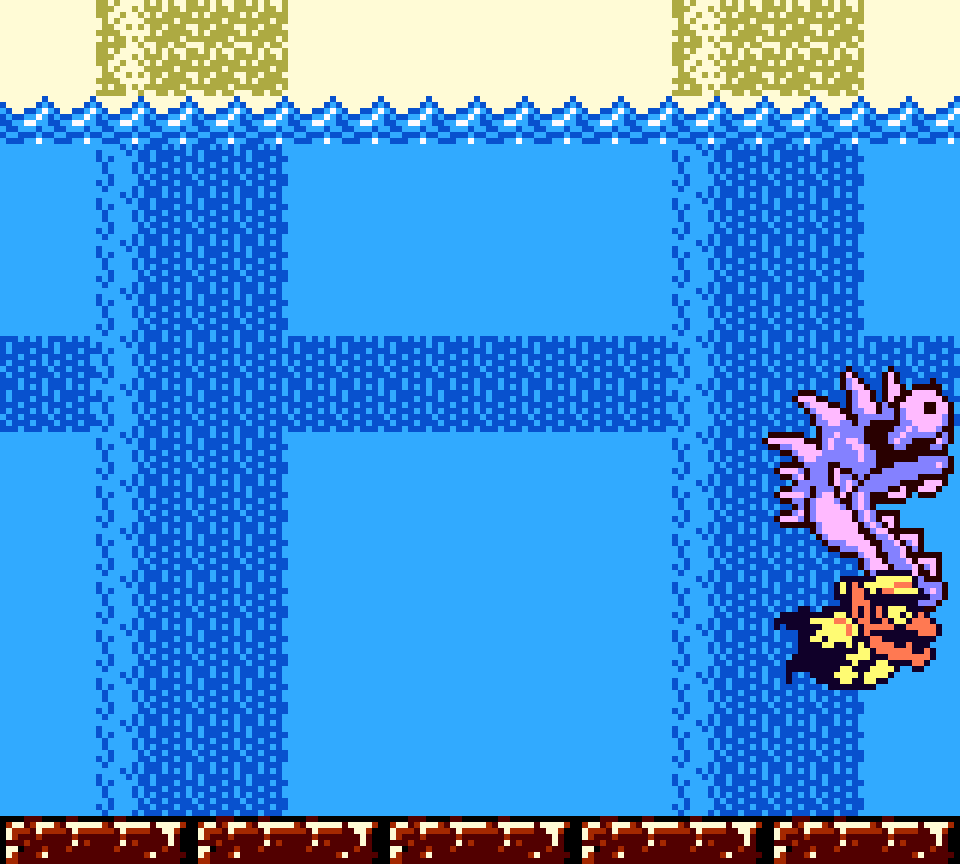
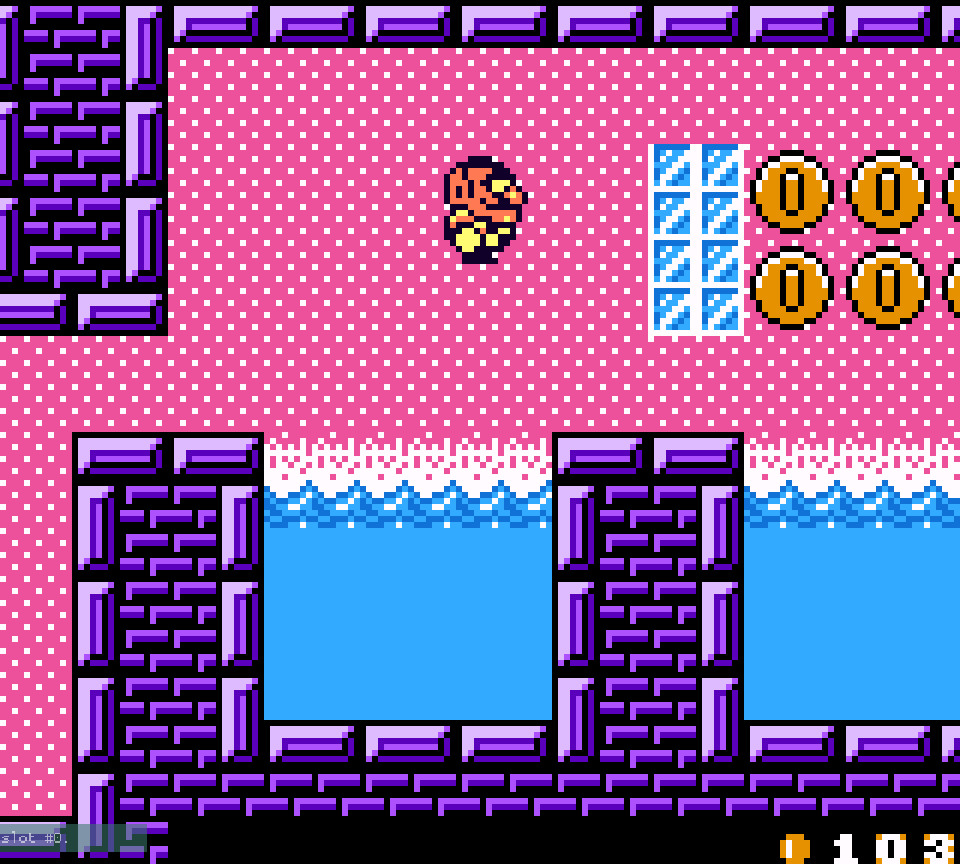
21. One Noisy Morning Story 2: Turn off the giant faucet!
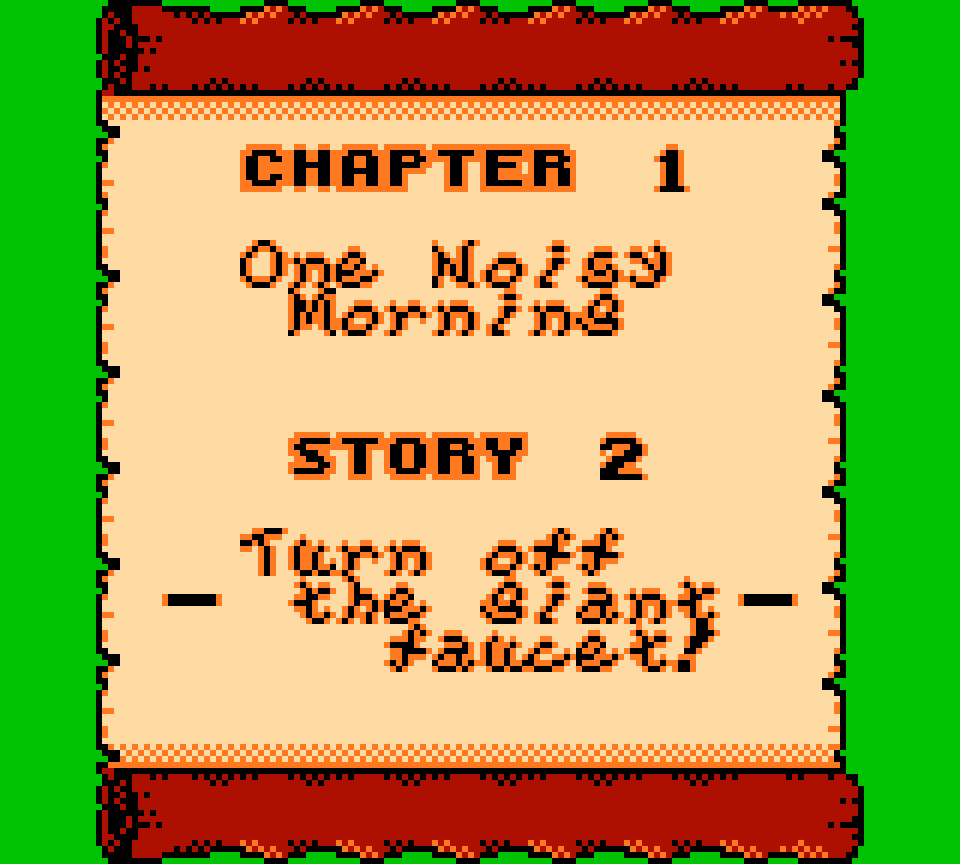
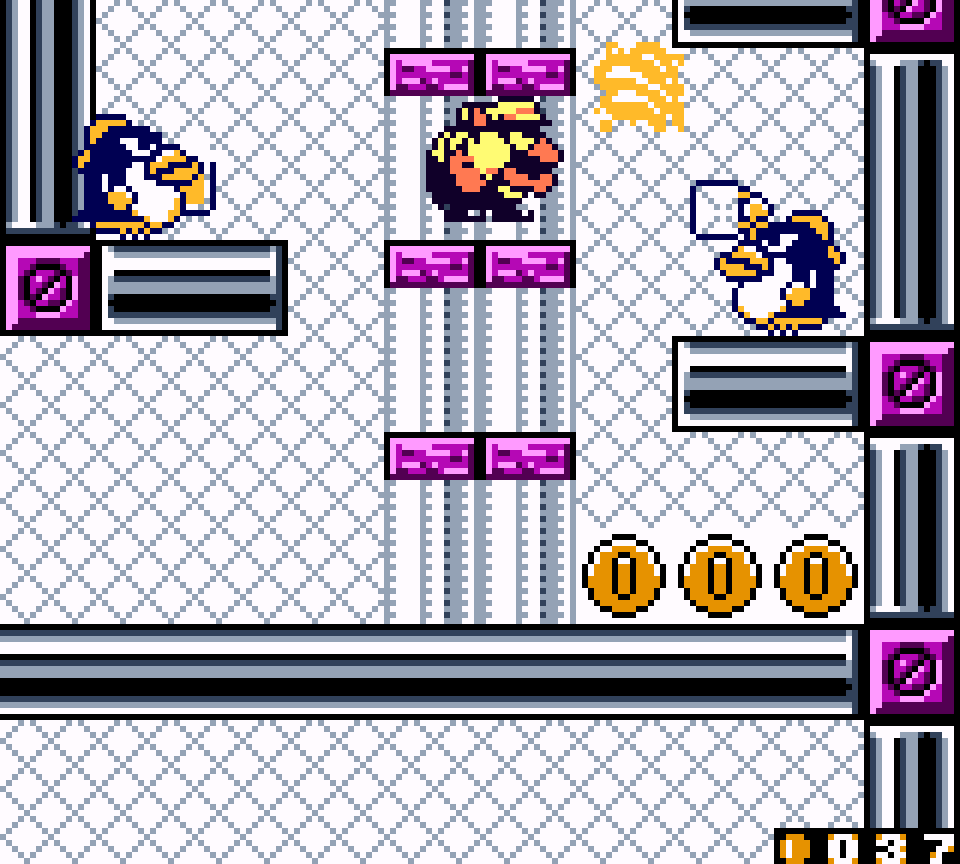
The better “flooded castle” level, replacing the sluggish swimming round bubbles & Drills with mo’ exciting platforming challenges o’er rapids that threaten to push you back whence you came, including 1 place with furniture that keeps spawning from broken-open holes, only to break ’pon hitting the wall @ the end, where you have to time a jump on it so you can be standing on ground to enter the treasure door — since e’eryone knows it’s scientifically impossible to go thru doorways while in the air.
This level’s ending is also similar but better than its sequel, replacing hitting some random block with shutting off the faucet causing this flooding in the 1st place by elbowing its spigot 3 times, with the extra visual touch o’ having the amount o’ water coming out decrease a bit with each hit.

Also in contrast to both the 1st level & the 3rd, which are both quite long mazes full o’ secrets, this level, while it has its own secrets buried in the dark walls, is mo’ linear & short, which is a good balance.
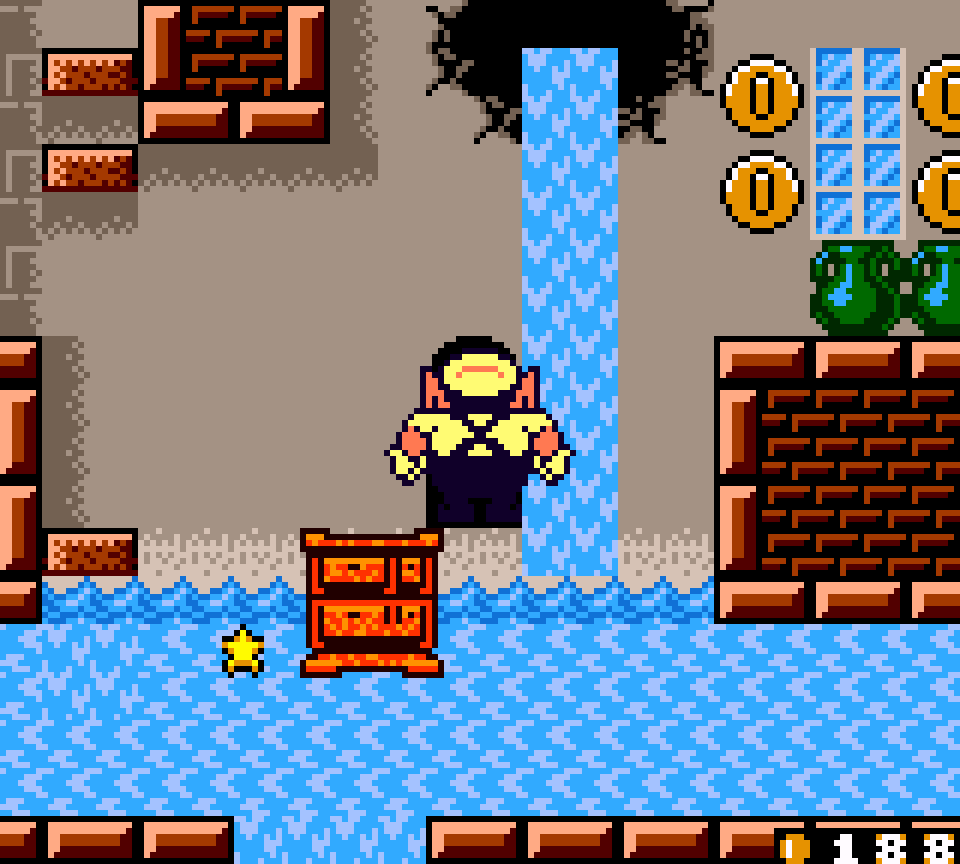
That said, while I like the idea o’ the bridge rooms to get past the insurmountable currents near the beginning & end, said bridge rooms aren’t developed much. While I like the idea o’ having a Fire Wario section in this water level for contrast, the only point o’ engaging in this long-but-not-challenging task is for 12 measly coins. That’s hardly mo’ than you lose by getting hurt by something in this game.
& while I like how they pack this level with secret caches o’ coins, the 1s in the walls can get repetitive, especially coming after the 1st level that had a ton o’ wall caches, & too many o’ them, like the water currents rooms, take you backward & make you redo parts o’ the level as a “reward” for finding these bonuses, especially going downward inside the left wall in the 3rd room, which makes you go down into the currents back to the 1st room.
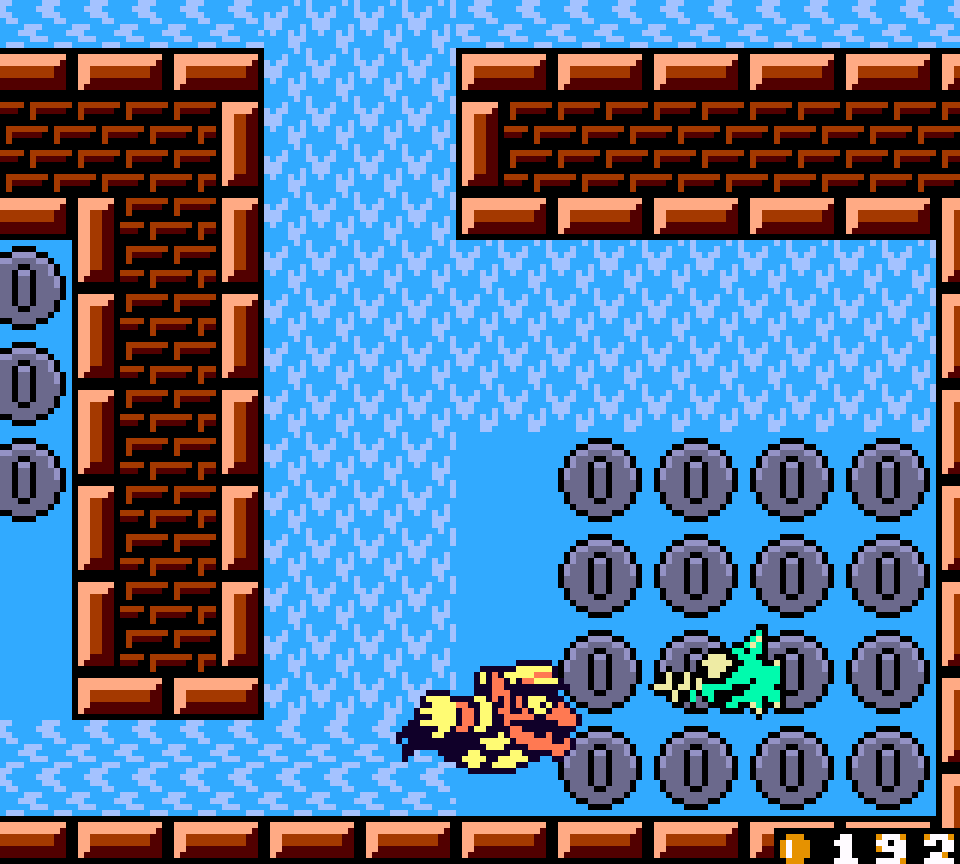
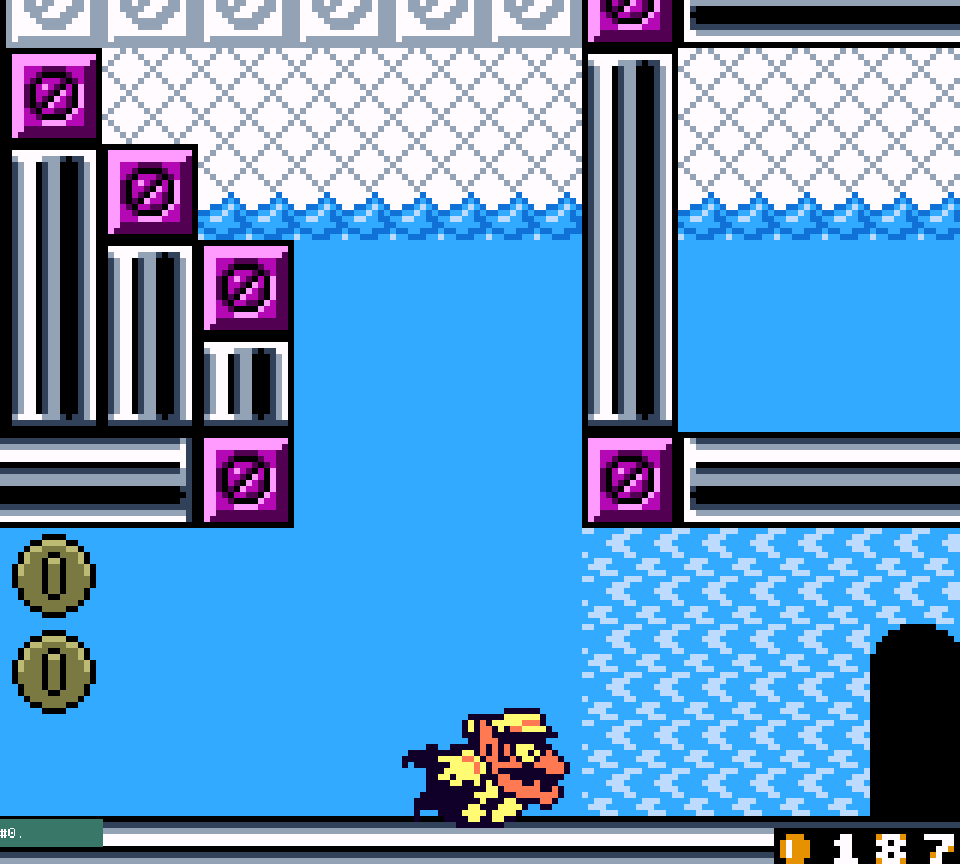
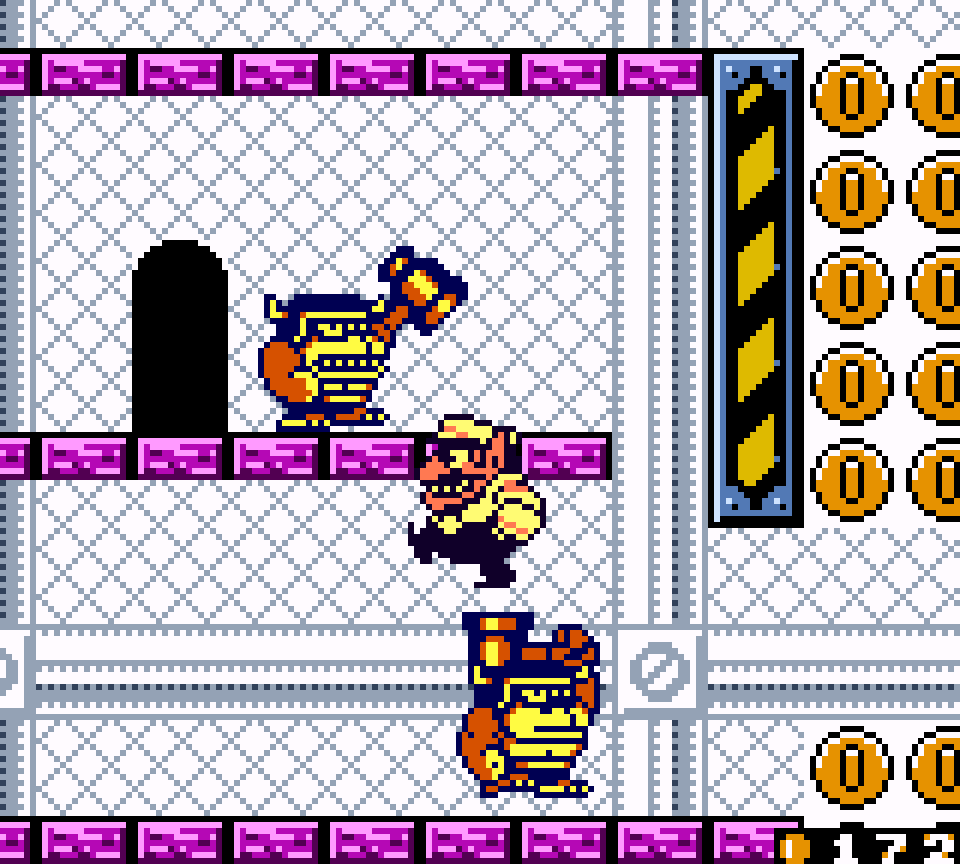
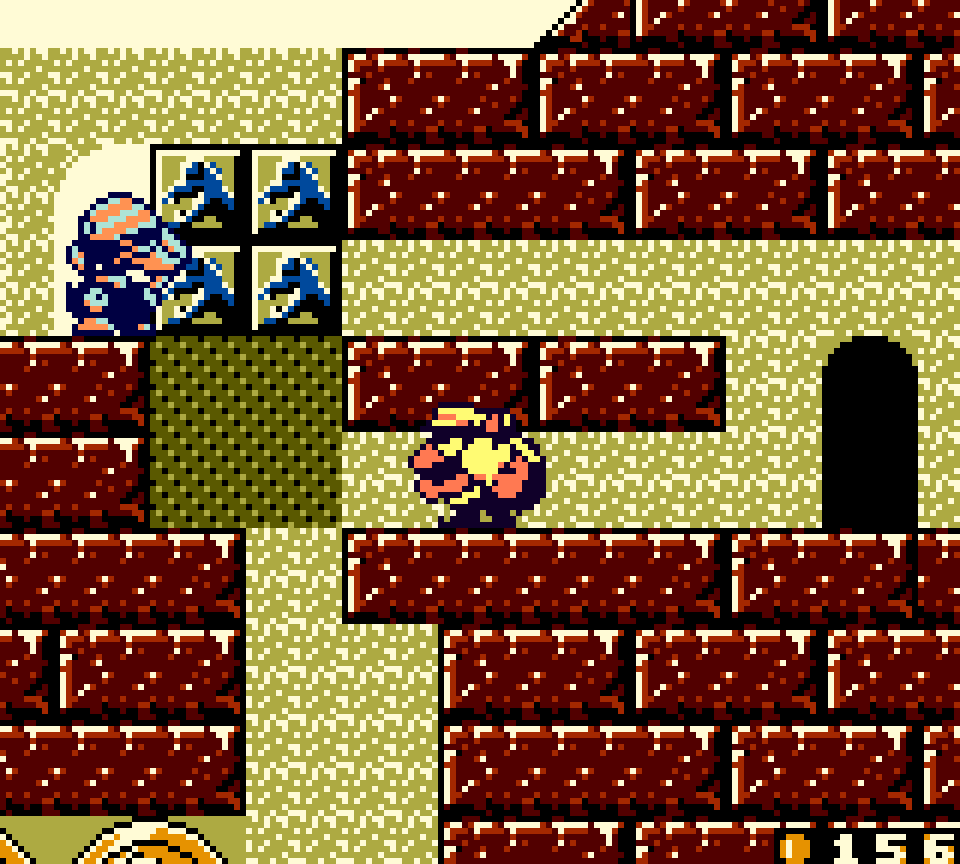
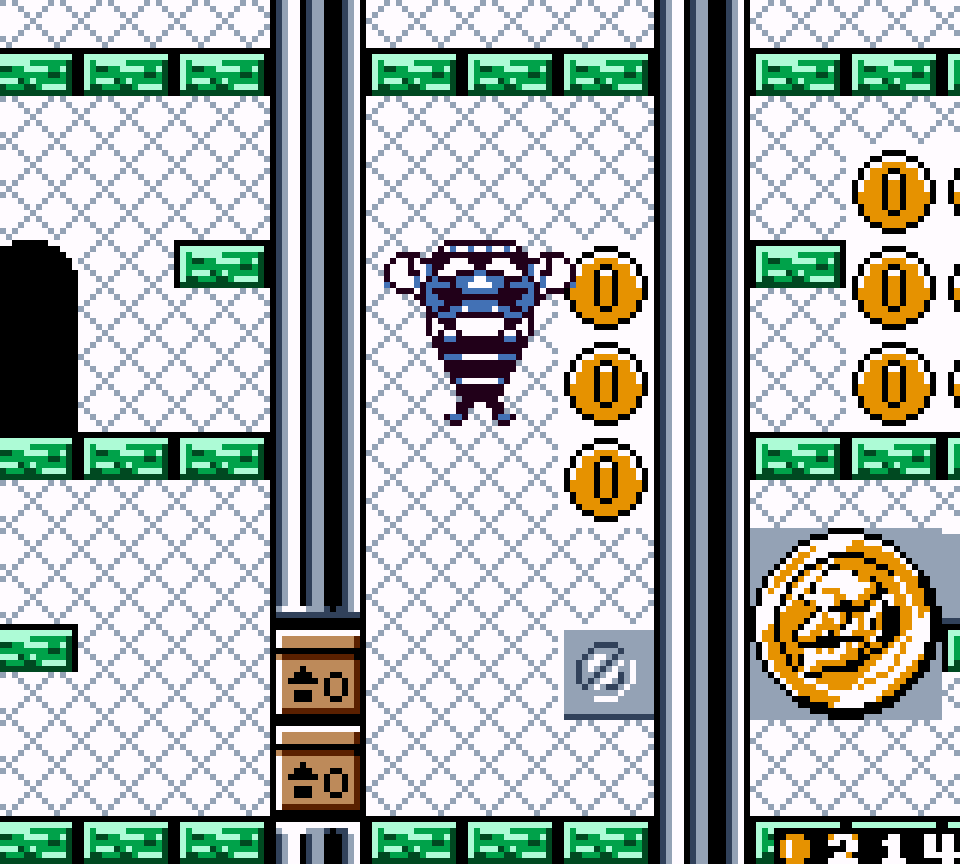
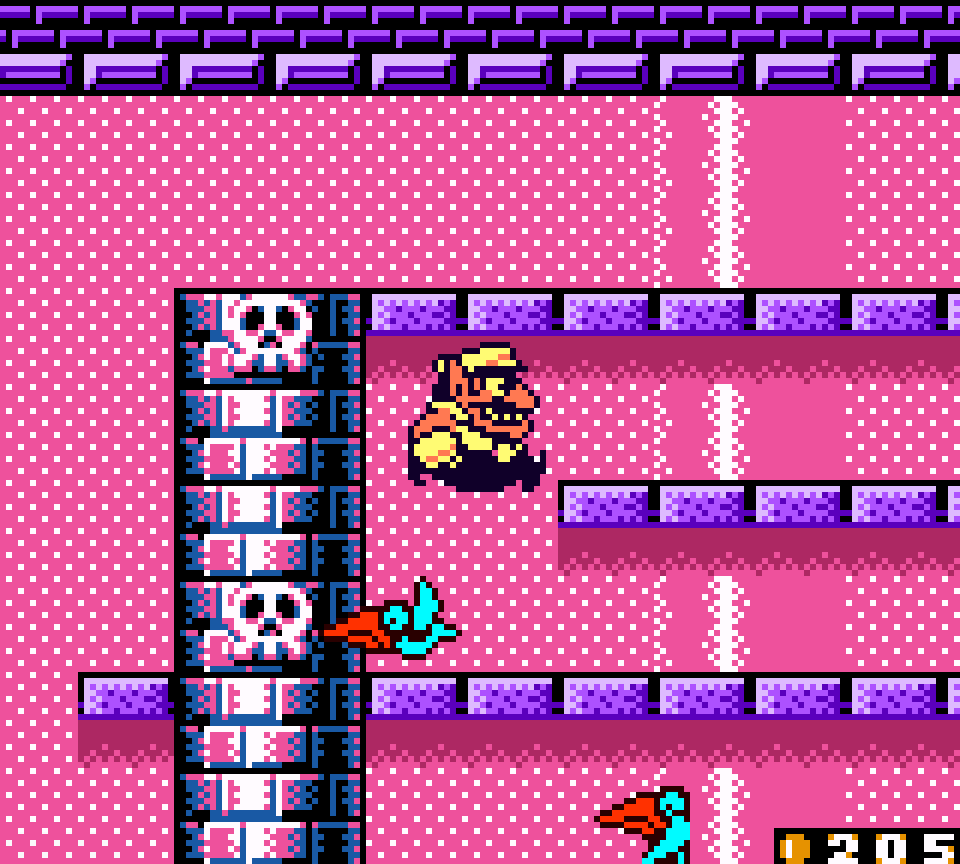
20. Mysterious Factory! Story 3: Move through the water!
Unfortunately, the potential o’ mixing factory, water, & switch elements wasn’t quite fulfilled as well as it could’ve in this level: what we have is the pattern o’ the path onward being blocked & a nearby switch that you need to hit to change that. & in none o’ these cases is there any interesting puzzle to hit the switch. The 1st iteration does punish you if you lack the foresight to know you need 1 o’ the enemies @ the start o’ its room to break thru a wall o’ enemy blocks guarding the switch by making you go down into the currents & go all the way round from the start o’ the level again; — & you can’t see the enemy blocks till after you’ve fallen down the tall wall which is too high to jump back up — but this isn’t an interesting puzzle, but a needless annoyance & waste o’ time.

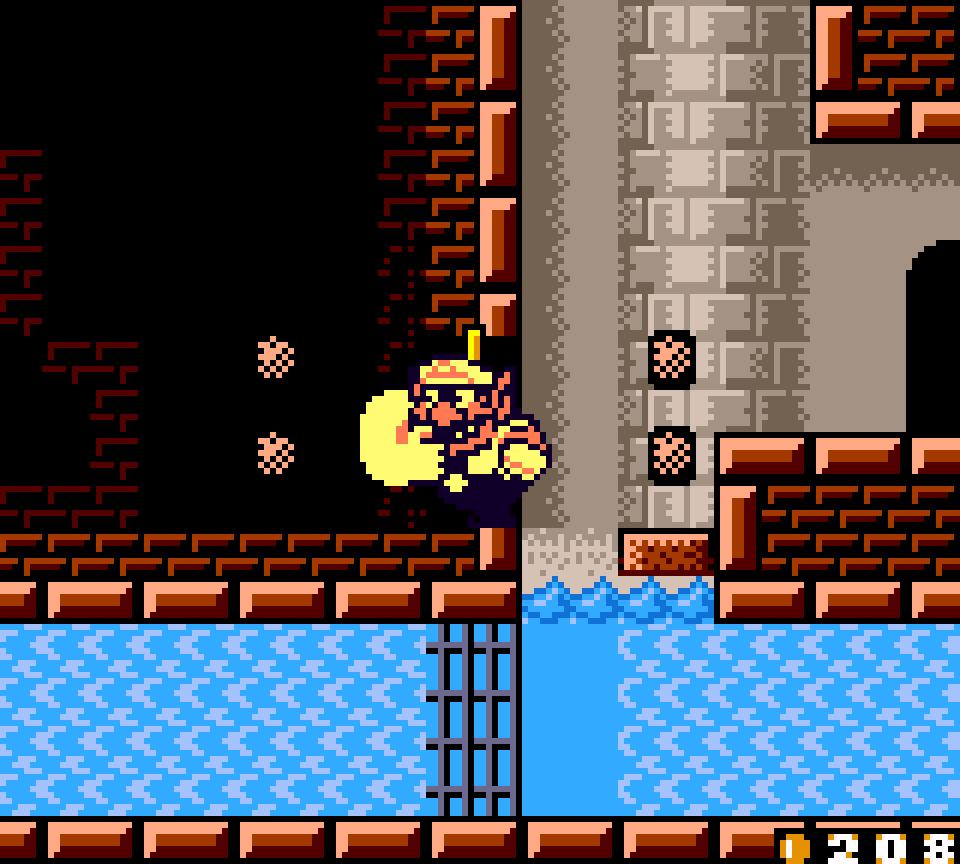
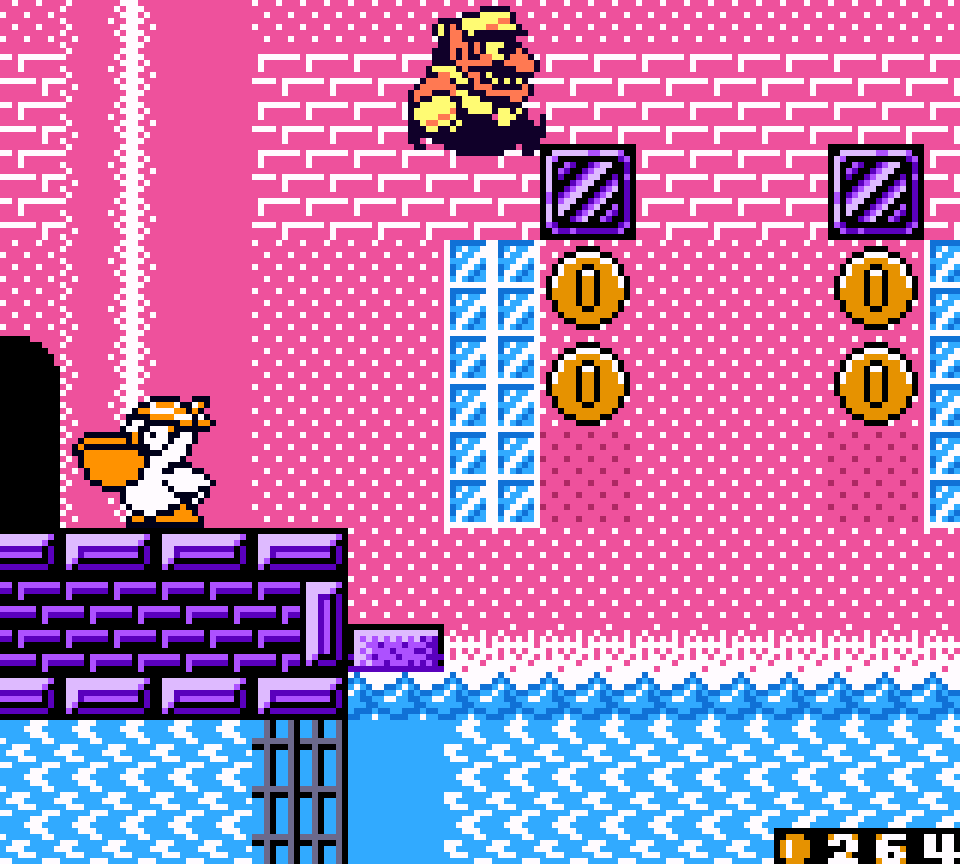
They do a’least change up the aesthetics o’ the way they block your path: the 1st time it’s a current in your way, the next it’s a door you can’t enter till you raise the water to raise the platform under it.
The twist for the treasure room isn’t all that enthralling, either: the switch is just right next to the goal door, so the “puzzle” — other than the same basic fire Wario puzzle that unlocked the goal door in the 1st place — is to not be to hasty & to notice the switch before you enter the goal. From there you just go back to the door that was inside the current that you couldn’t miss, since it’s right in view on the main path.
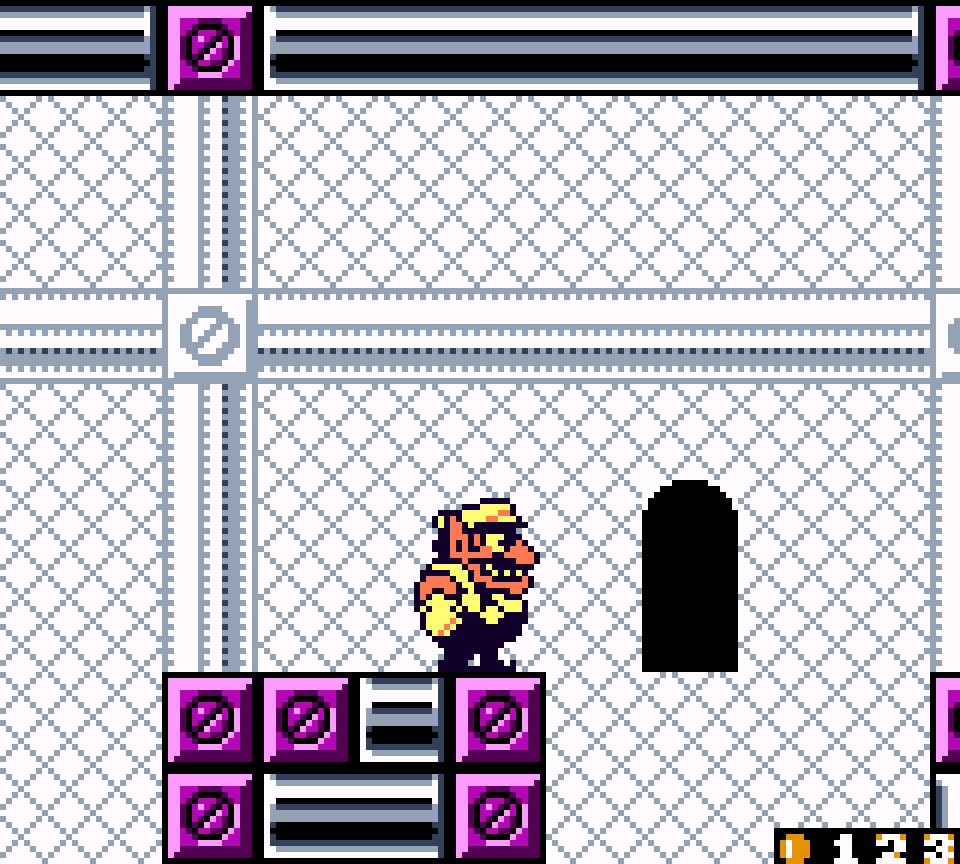
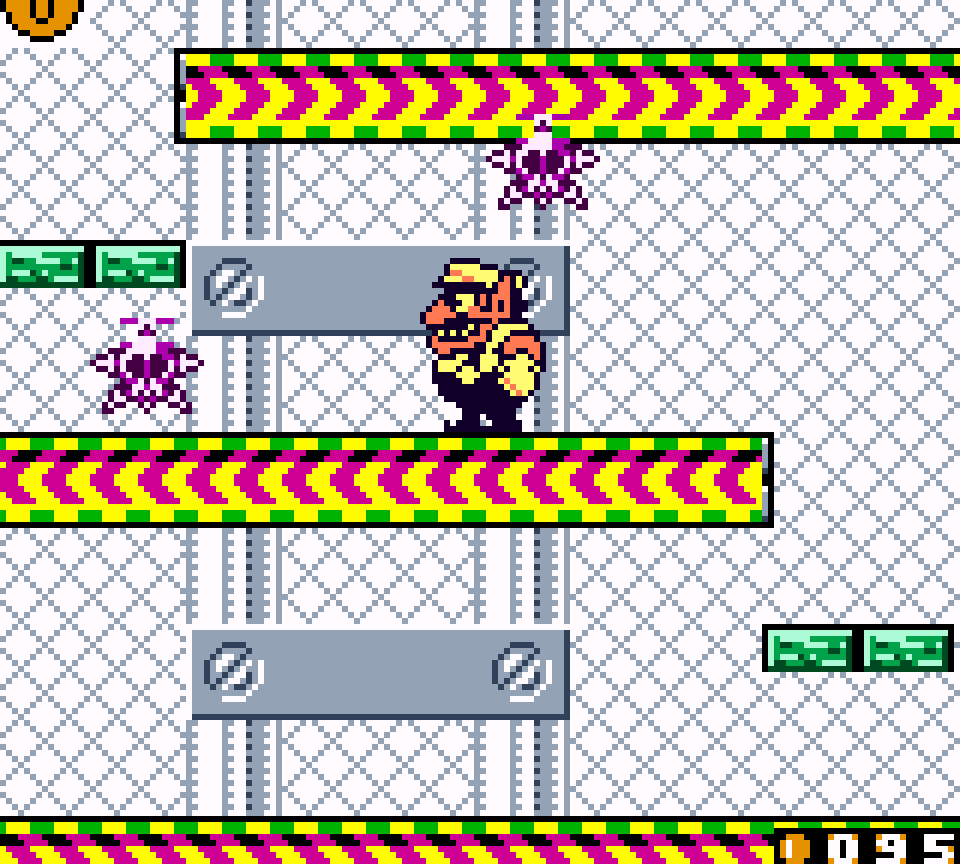
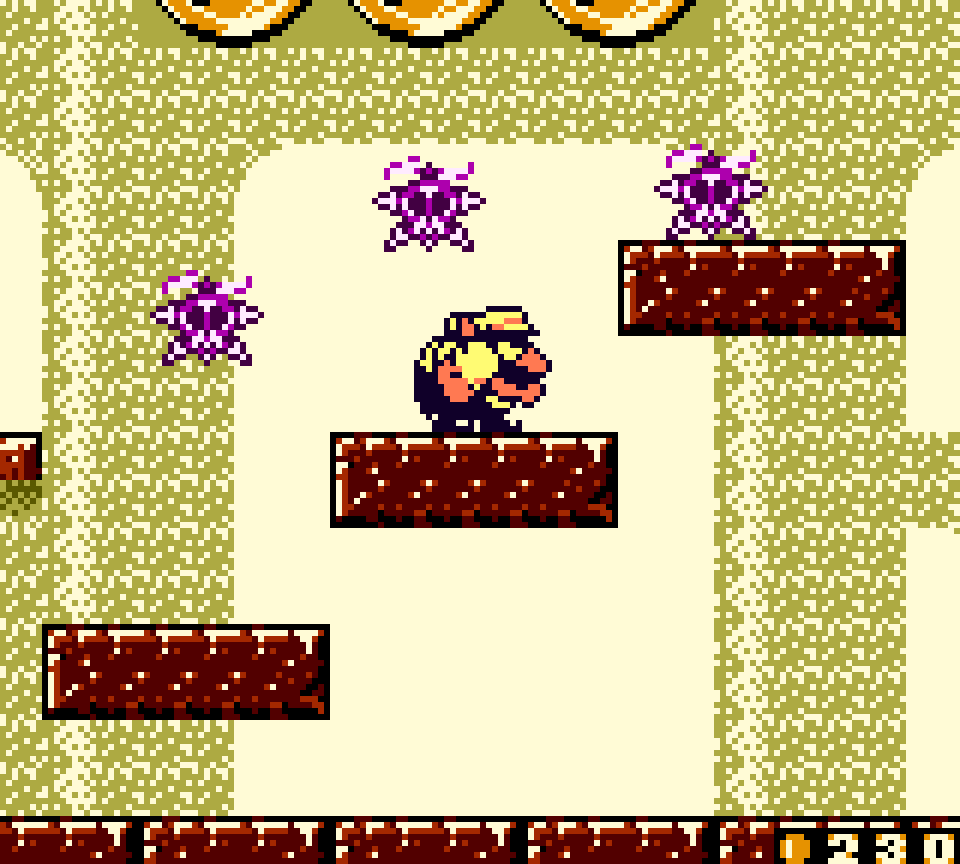
This level does have 2 subrooms that are much mo’ interesting: 1 where you have to dodge the spikes moving left & right, up & down, & in circles, while also maneuvering on conveyor belts, & ’nother with the Pogo Guys with hammers who can make Wario bouncy & bounce to the top. The latter is the hardest iteration o’ this underused mechanic, as if you let yourself go too far up you’ll just get some extra coins & lose some coins by getting stabbed by spikes. In order to reach the door out o’ there, you need to jump off a Pogo Guy below up to the door, but without getting hit by the Pogo Guy on that upper level.
19. Maze Woods Story 3: Through the thorny maze!!
This level is an interesting mess. Tho its owl sections are not as deep or well constructed as those in “Mysterious Factory”’s “Don’t shock the owl!”, almost e’erything else ’bout this level is mo’ interesting. & it’s not as if this level has the least memorable owl sections, as they have this weird setup where you can reach the goal door in the middle o’ its room from 2 different sides with 2 different owls, 1 o’ which is accessed by messing up an earlier owl section & falling to the bottom, which is presumably a way to make it easier on players ( tho either o’ the owl paths that lead to the goal door are harder than the optional path before them ).
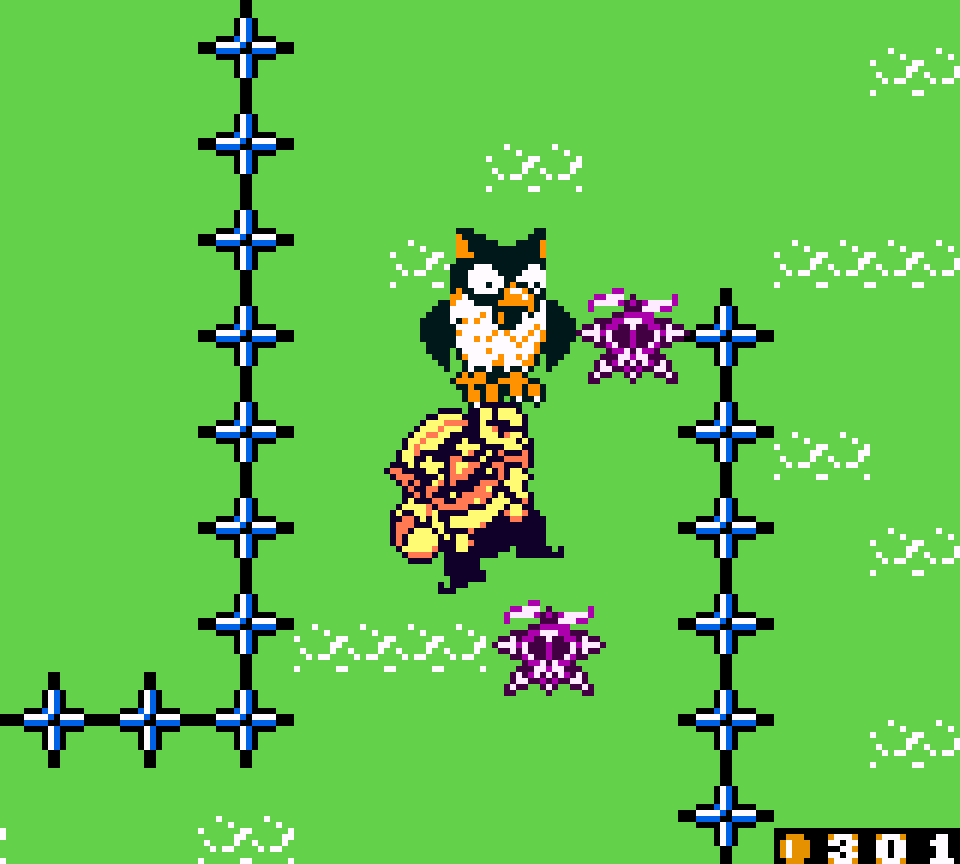
The rest o’ this level is dodging moving spikes while avoiding falling into beds o’ still spikes, jumping on seagull platforms, & a timing jumps as rolling Wario to plow thru certain cracked-block passages, most o’ which fit well with this level, — tho the seagull platforms are admittedly iffy & possibly would’ve been better if they could’ve had a crow sprite replacement — especially the moving spikes, which you also have to dodge in the owl sections. ’Course, most o’ these are common mechanics done better elsewhere; mo’ interesting are the weird arrangements o’ tree trunk platforms & walls you have to maneuver round with doors inside some o’ the tree trunk walls.


The treasure door is well placed, hidden — tho its door is teased from the other side ’hind cracked blocks you can’t reach with a charge jump — ’hind the middle o’ a sequence o’ cracked-block passageways that requires specifically-timed jumps as rolling Wario to plow thru it.
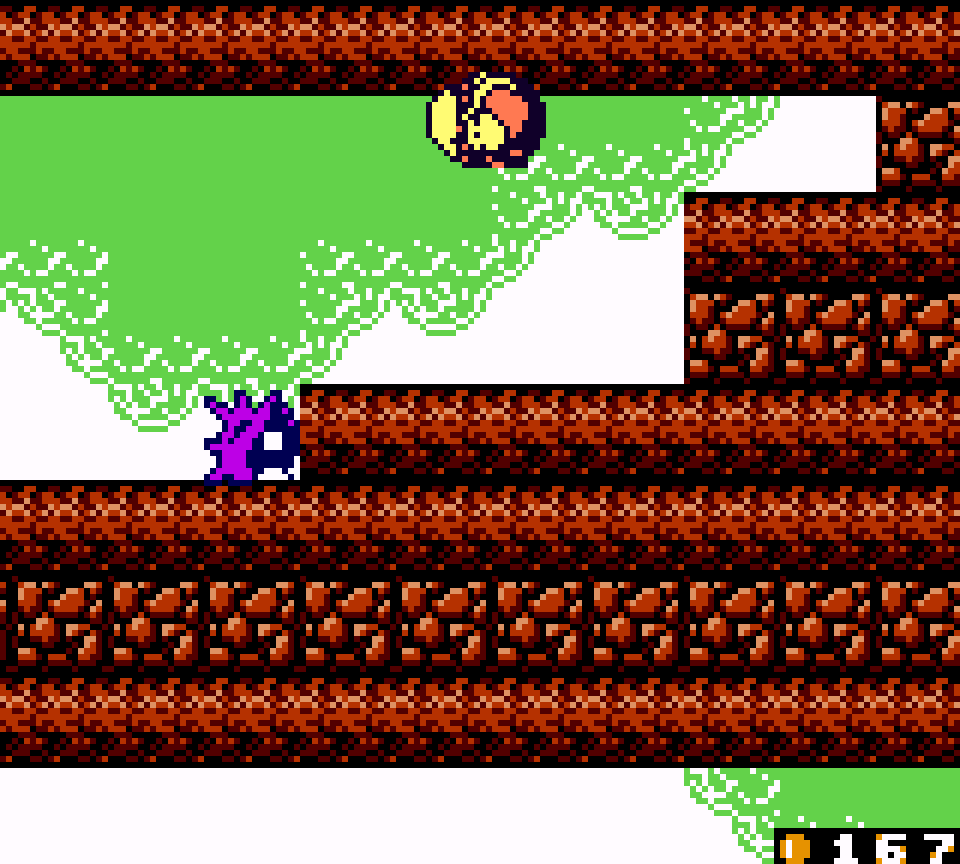
Not e’erything ’bout this level is so great, howe’er: the 2 rooms that seem to be inside trees are pretty lame: the 1st just has you dodge a few annoying electric catfish for 40 coins & an e’en lamer room later where you just pick a path down & only 1 gives you coins — pure trial & error.
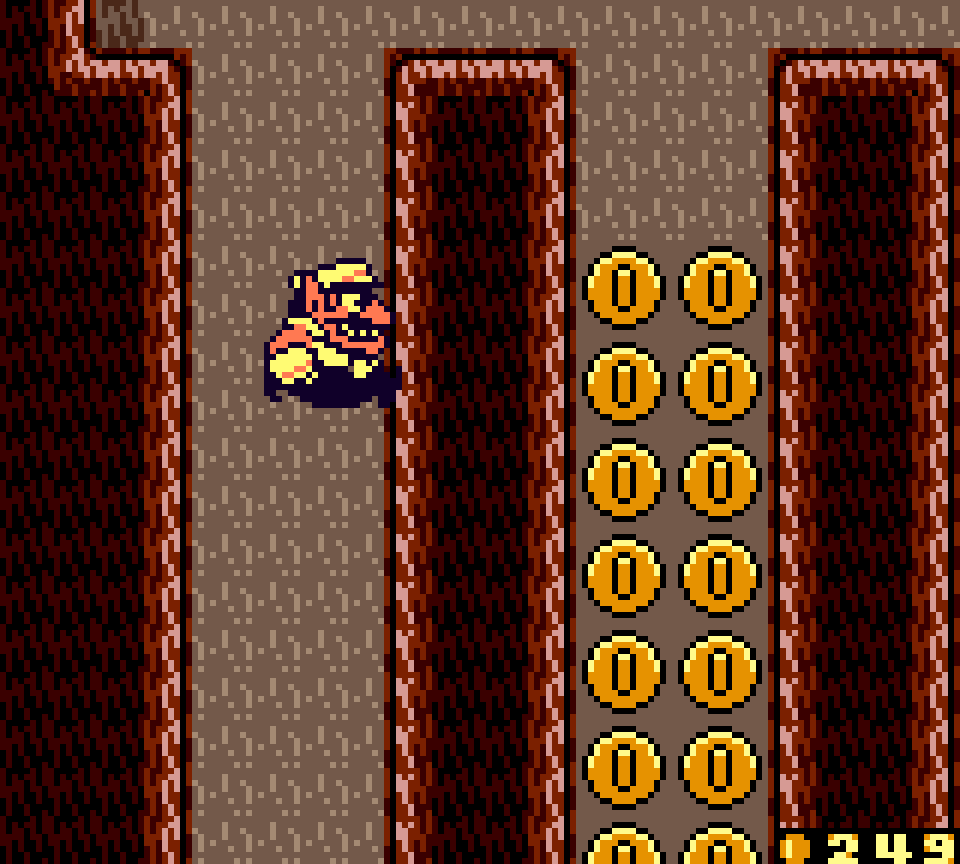
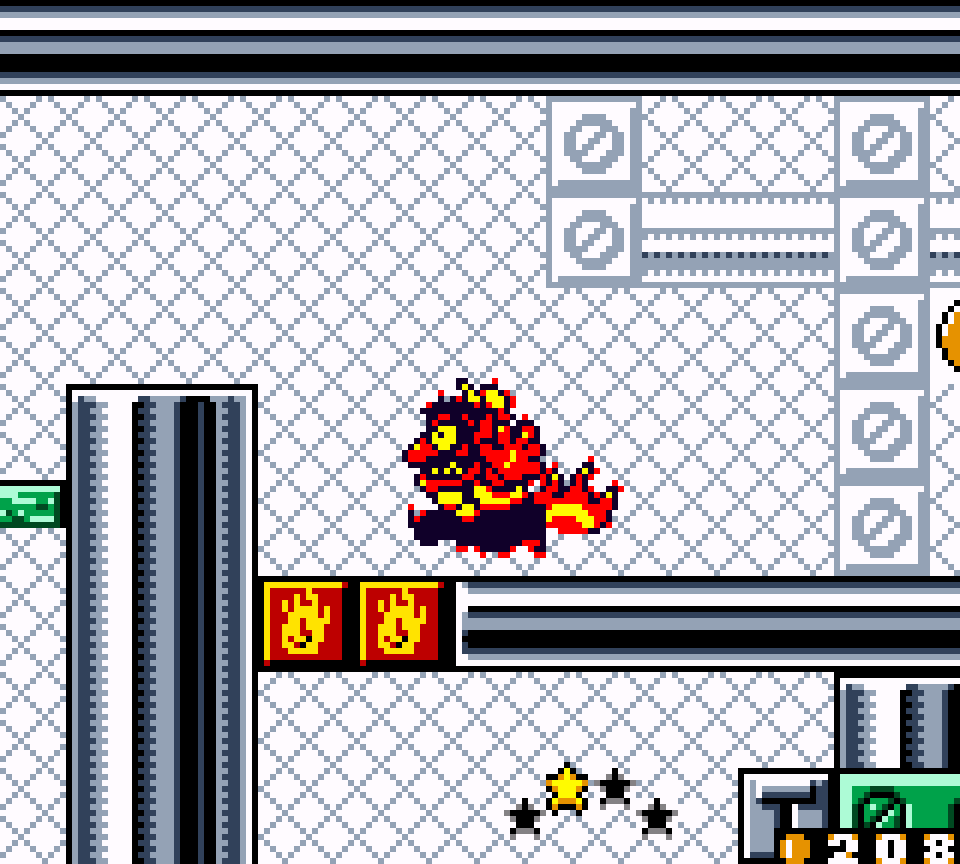
18. Ruins at the Bottom of the Sea Story 4: Escape from the ruins!
This level is certainly the most creative & well-constructed uses o’ switches in this game, including the way you have to go back after hitting a switch to reach the bonus door by jumping up the blocks that had now shifted to the left & the way it hides the secret exit in the bottom right o’ the X-shaped room with the switch-block wall that toggles ’tween being horizontal to vertical on each switch hit. Granted, “Uncanny Mansion”’s “Capture the ghost!” does something similar. The switch is hidden behind breakable walls, which isn’t the cleverest thing, but these breakable walls are heavily telegraphed by the conspicuous holes in front o’ them, & you can see the coins ’hind some o’ them.
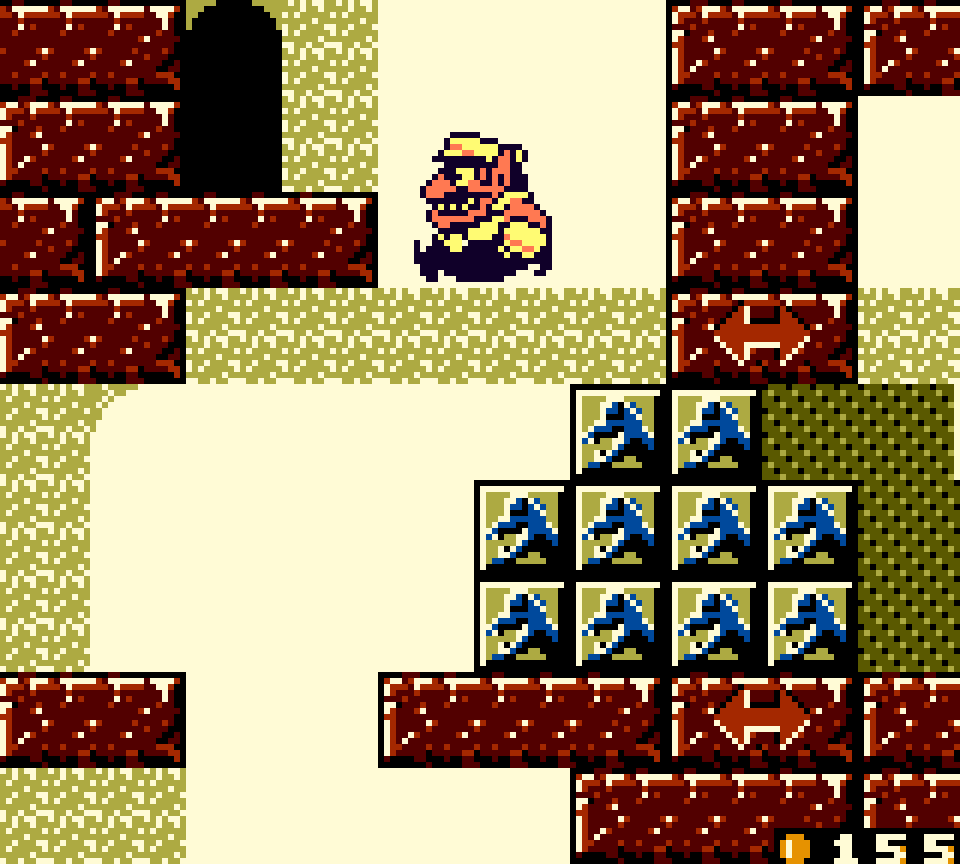
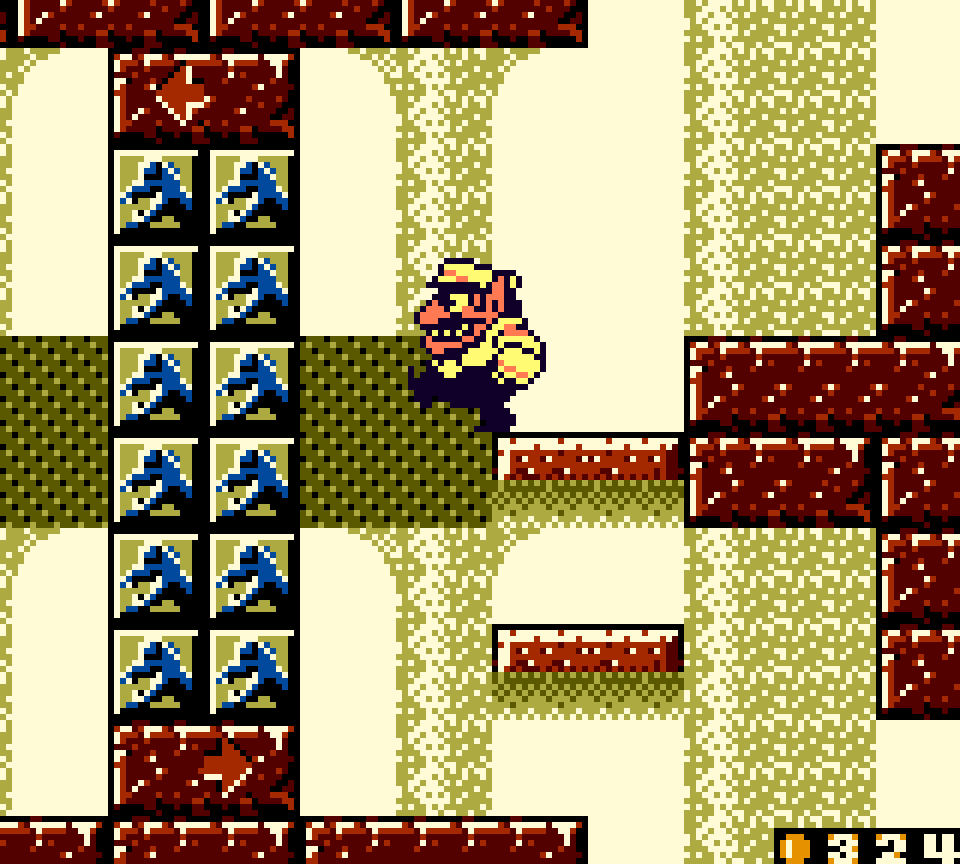
Unfortunately, this level is bogged down by repetitive, banal tasks, such as many places where you just throw a Pirate Goom @ Pirate Goom blocks & collect coins as weak ways to spice up rooms that just exist to give you a switch to hit, especially since many o’ these areas are tight squeezes, meaning the enemies get bumped off your hand as you try to navigate to the throw blocks — which I guess is s’posed to be the “challenge”, but it’s not an interesting challenge. The nadir is a setpiece @ the beginning: you need to hit a switch to enter a small niche that leads to the door that continues the rest o’ the level; but if you hit a switch later on & go back, you can go down another niche & grab coins… but afterward you have to climb back up & hit the switch again to continue again. The coins probably aren’t worth the effort to get. The bland graphics don’t help, especially as this is the 3rd level in a room where you encounter them.
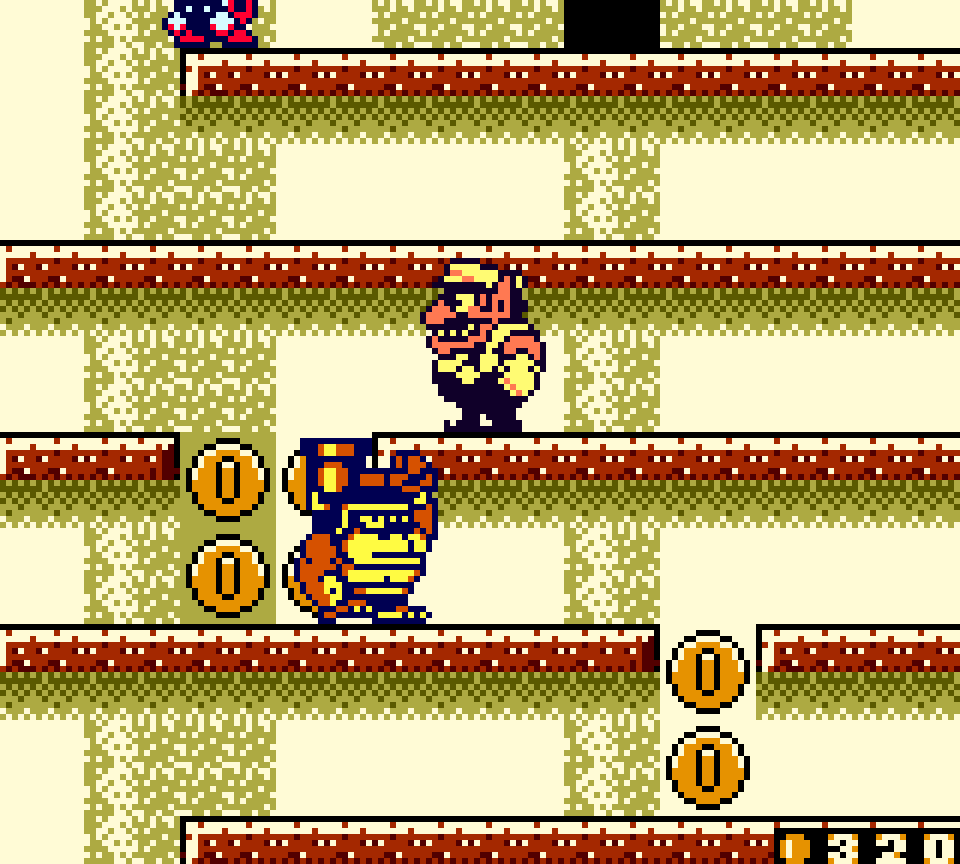
On the other hand, I kind o’ like that this level focuses on its switch gimmick & doesn’t distract itself too much with simple rooms with mechanics used all thruout the game. Here there are only 2: 1 where you need to dodge spinning spikes to reach a switch & ’nother where you need to go down a bunch o’ thin platforms while dodging the hammer apes. These are rarer mechanics & the hammer ape section has the twist that the way up to the goal door isn’t obvious: you may think you need to bring a hammer ape under its platform & become bouncy to reach it or e’en jump high ’nough that the hammer ape on that platform hits you, but bouncy Wario bounces past the goal & up all the way to the top. Instead you need to grab a Punch & jump off it while avoiding the hammer apes completely.
The boss is very basic & generic: it’s just a big-jawed fish that chases you & you need to avoid letting it grab you from below while swimming under it & bonking it on its jaw. The most notable aspect o’ this boss is that this level, which isn’t the final story o’ this chapter, has a boss @ all, which, weirdly, leads you to the beginning o’ the “In Town” chapter, making this chapter act mo’ as a shortcut with 2 fewer levels than an alternate ending; to reach the end o’ this chapter, one needs to find the aforementioned secret exit.
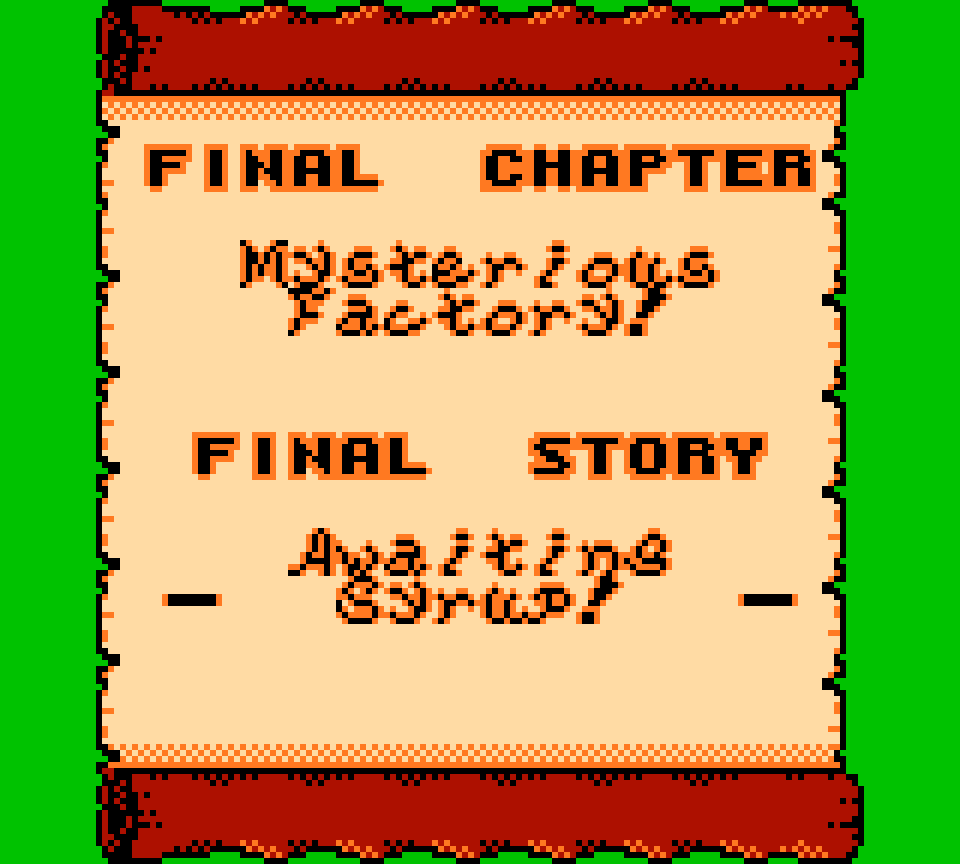
17. Mysterious Factory! Final Story: Awaiting Syrup!
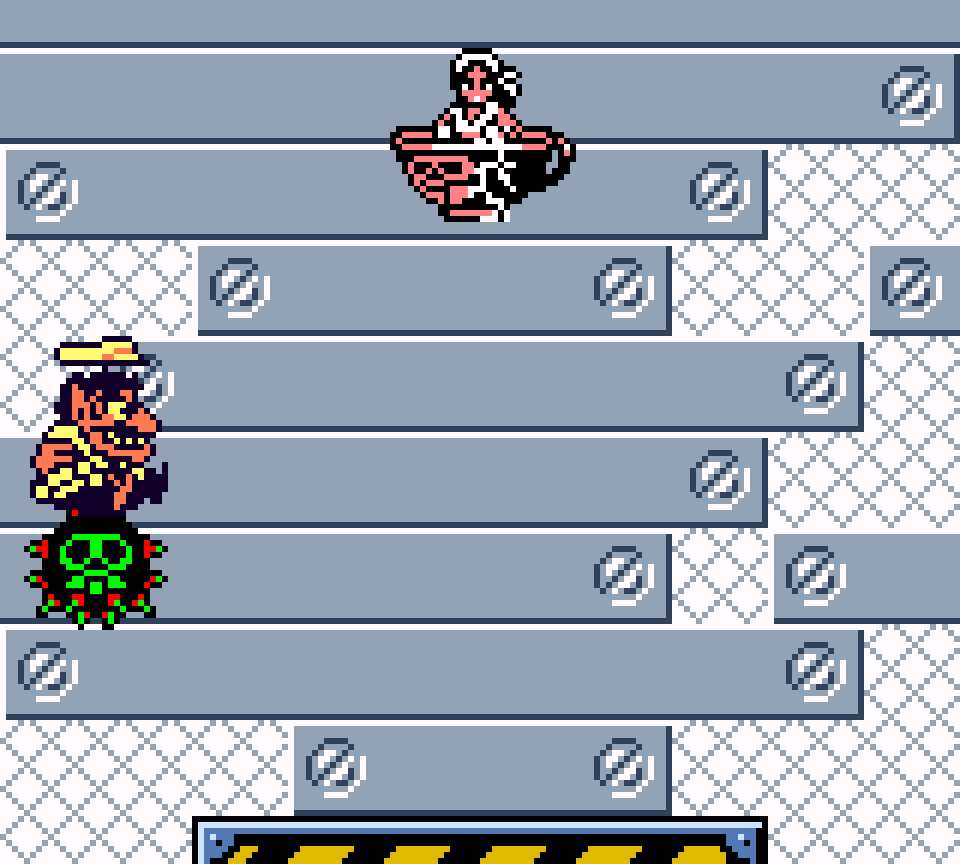
A short level with a few clever setpieces, foremost the treasure door location, which is up 1 o’ a series o’ vertical passages that you can only go up as bouncy Wario. While I’m not fond o’ the pick-a-path part o’ this, they do cleverly twist that element by requiring you to pick the path to the right o’ the bonus door, which has a wall o’ breakable blocks ’tween it & the bonus door shaft. The reason you have to pick the right passageway is because the bonus door shaft is so saturated with platforms that your character just keeps jumping up them all the way to the top, past the door; the right passageway has a large gap without an platforms where Wario will just keep bouncing in place, keeping him from rising all the way to the top outside o’ these shafts. Contrast this version o’ this setpiece with the much worse version in this chapter’s “Move through the water!”.
The rest o’ the level is competently-implemented setpieces that repeat elements from other levels in a not-particularly-remarkable way, including a section where you’re jumping gaps & dodging rising & lowering spikes on conveyor belts like in “Into the Factory!” & a short sections where you dodge rising & falling blades like many other levels. The room with the alcoholic penguins is vacant, tho: you can try to climb up for a few coins — a miserly 39 coins — ’bove the lake, but otherwise you can just cross the lake & jump up a few platforms while dodging beer.
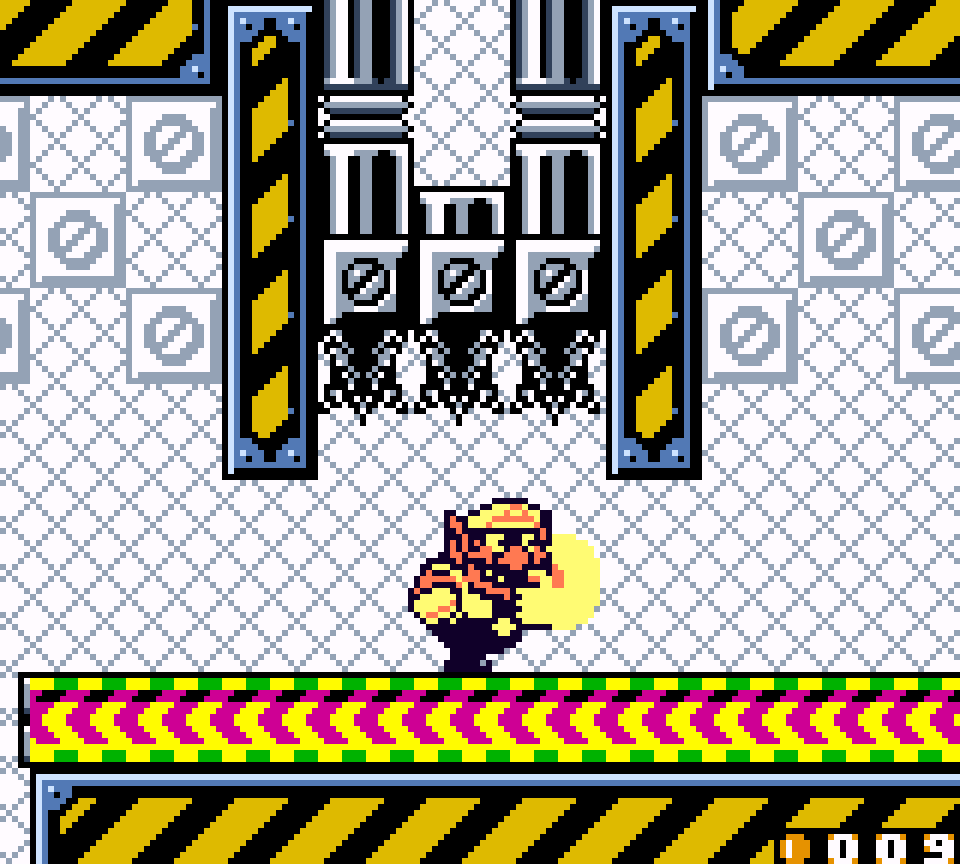
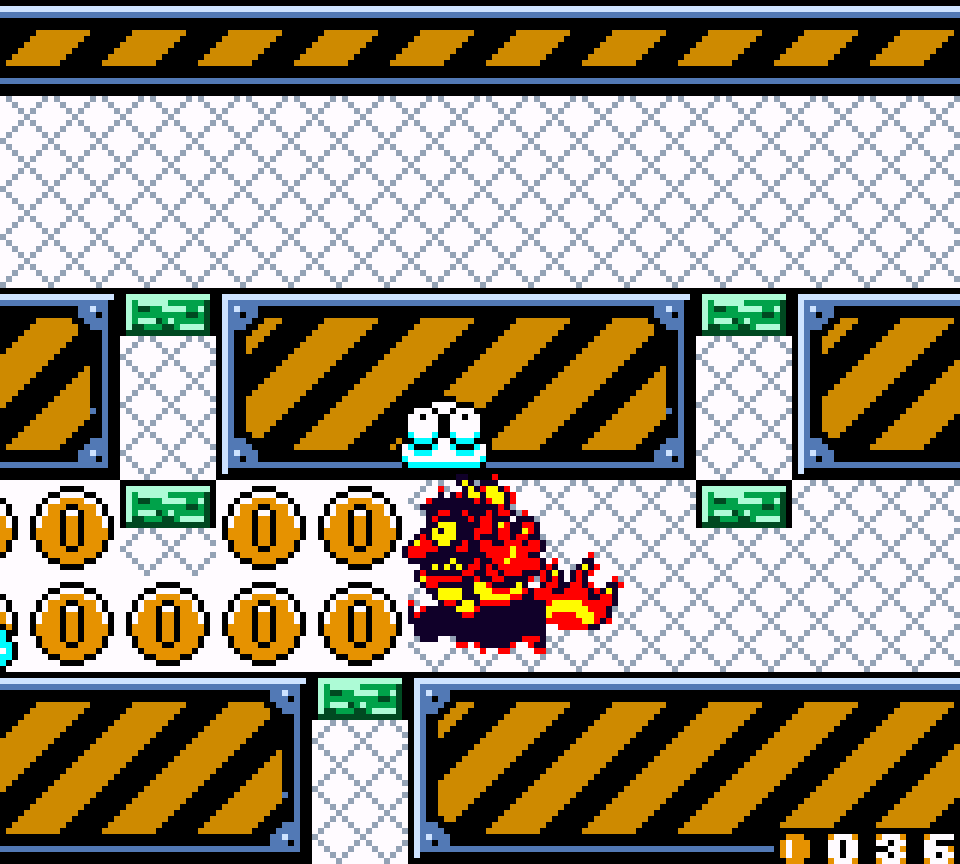
There is a cool part where instead o’ having to slowly throw enemies @ the puffy marshmallow enemies you can just light yourself on fire & plow thru them. Not a mindblowing setpiece, but unique & a fun palate-cleanser.
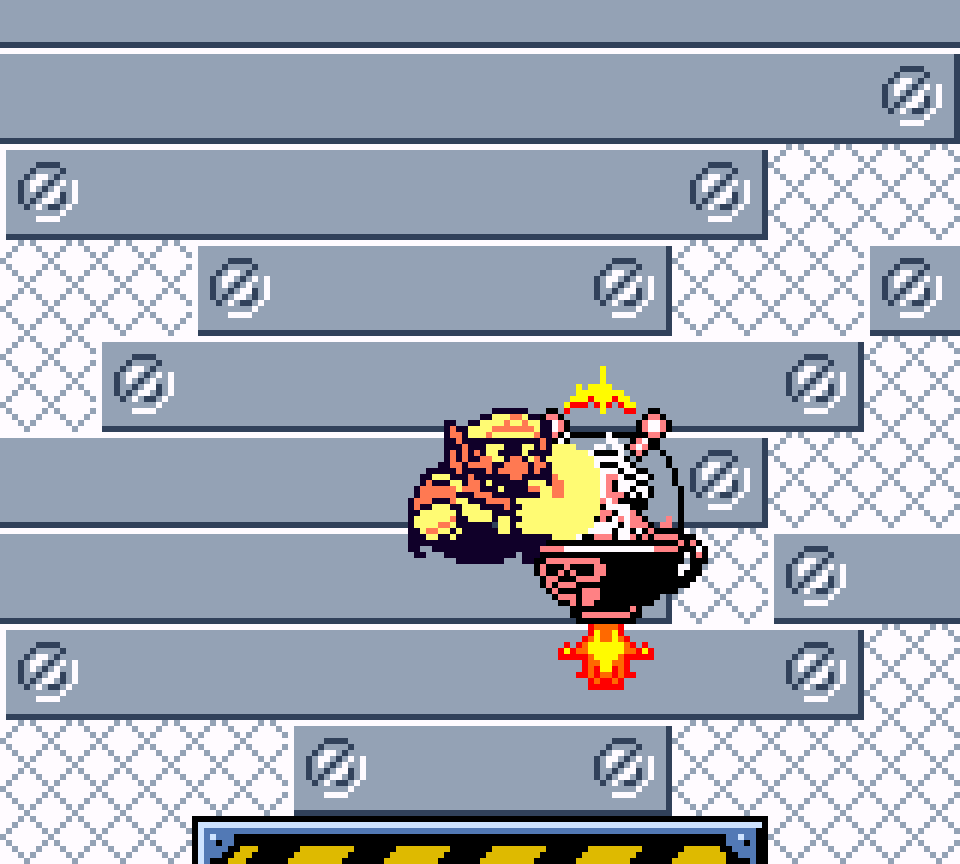
The weakest part o’ this level is the boss. I’m curious if anyone has e’er beaten it their 1st try, because I fail to see how anyone could anticipate the gotcha with the bombs that lower & go sideways: on the 1st iteration they consistently go below you & you need to jump on them; but on the 2nd iteration, they 1st go high ’nough that you can’t jump on them & if you try they’ll knock you off the stage & make you lose the battle. The 3rd iteration has the bomb move sideways & fall with a quake, which can also easily knock you off without warning. In addition to this, the hitboxes are terrible: many times e’en when I clearly jumped on the bomb, Wario gets hit. It’s also just o’erall not interesting or memorable, with Syrup just flying round in a machine she must’ve bought off Dr. Eggman & a free but boring opening where you just charge attack her window.
16. Syrup Castle Story 2: Storm the castle!!
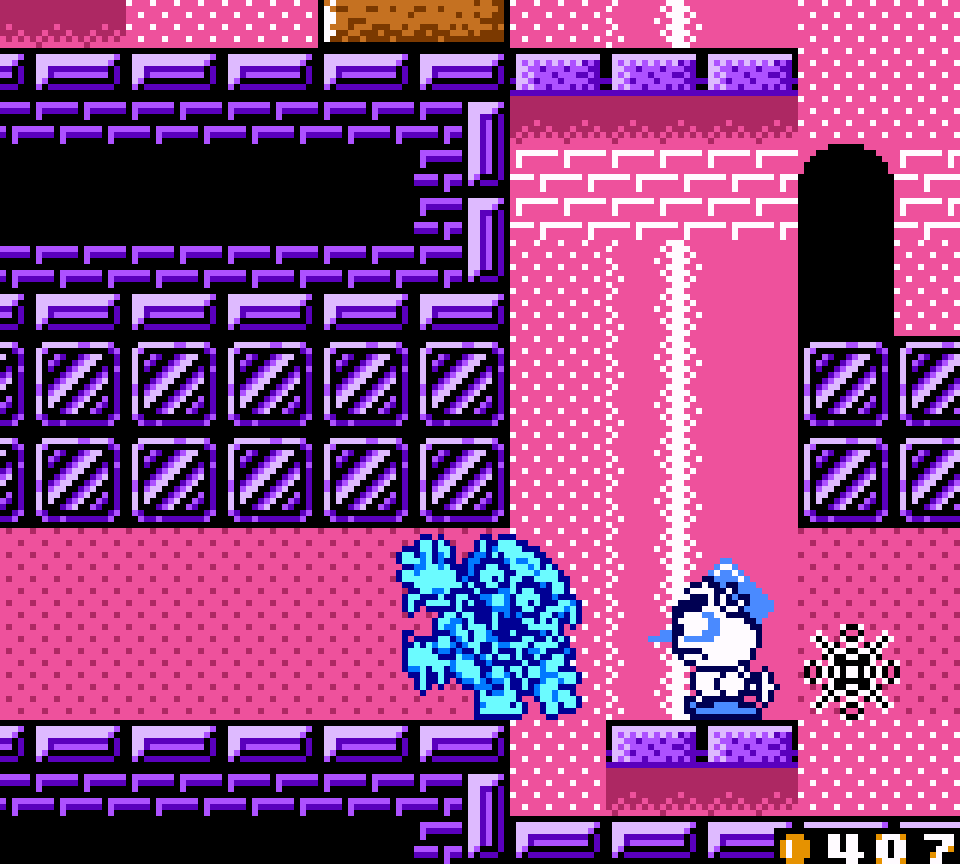
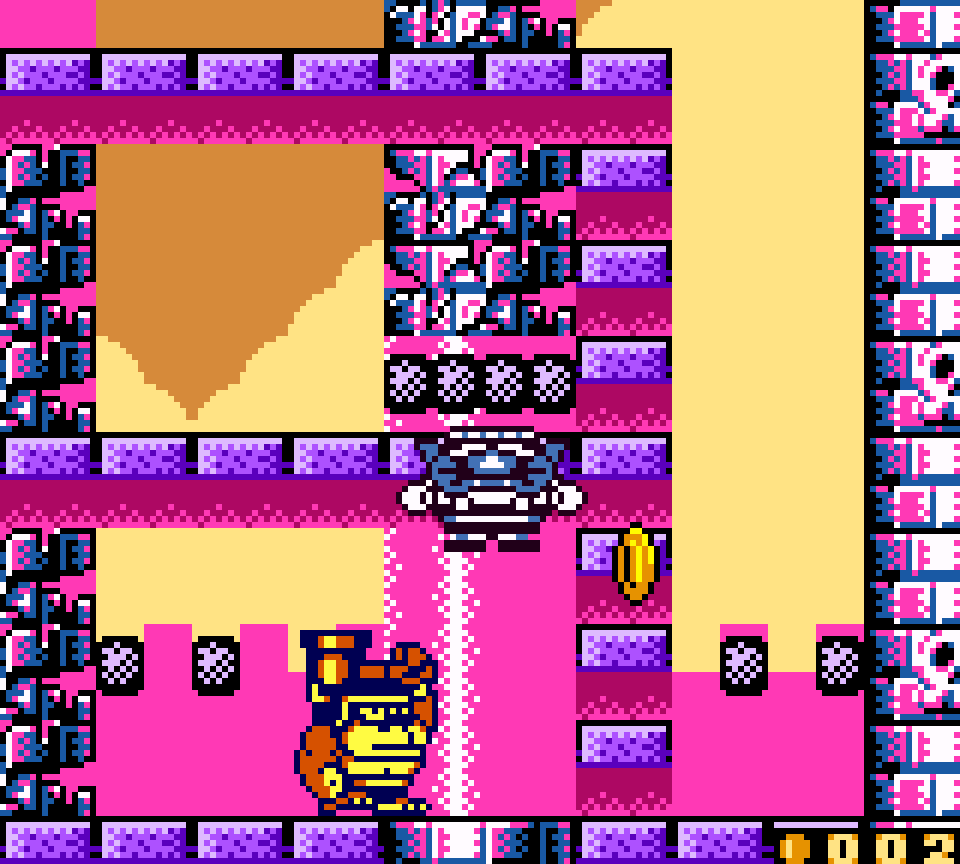
The 1st level focused on Syrup Castle proper ties together a series o’ much mo’ inspired challenges than most levels, especially round the heart where you’re jumping across currents on floating dressers while dodging spinning spikes in a mo’ challenging parallel to the 2nd level in the very 1st chapter or @ the end where you need to get past a snowman in a tight passage where there’s no space to jump o’er its ice balls by having a snowman on the left freeze you rightward to blow past the snowman in your way — that is if the player wants the coins in the subroom past said snowman; otherwise the player can turn the switch back off & safely go ’bove the snowman.
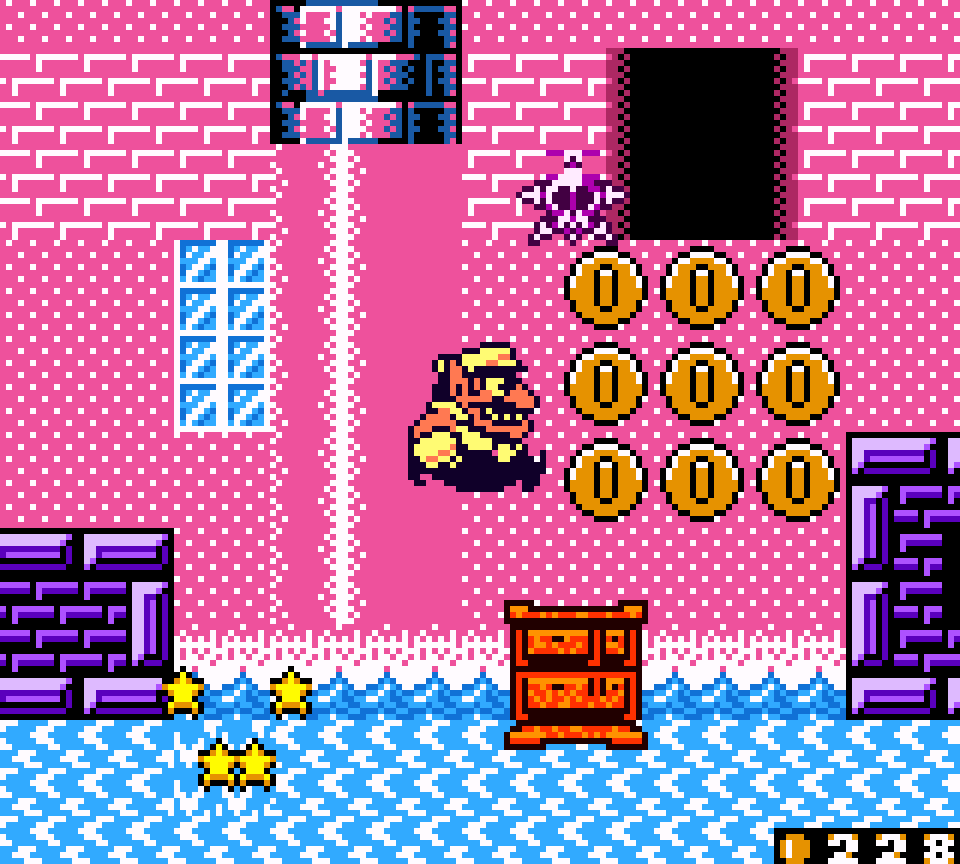
Similarly, the beginning, while employing less-rare mechanics like bouncy Wario or tiny Wario, implements them in mo’ interesting ways than most levels: the 1st room @ the very least deserves credit for its unique aesthetics with pink crenelations in front o’ orange sunset clouds, while the 2nd room has you jump o’er lakes & dodge a moving blade as tiny Wario.
Granted, there does seem to be an o’eruse o’ switches, but they’re used in clever ways & the 1st switch room has a novel use o’ birds by challenging the player to go in close ’nough to make the birds charge @ you, but go back far ’nough so you can jump o’er them without ending up on the low platform ’bove. In addition to the twist on the snowman puzzle ’bove with the 2nd switch, the 1st switch has a clever hiding place for coins: while you’re expected to hit the switch to make the switch blocks lower so you can reach them & cross the current, if you leave the switch blocks up you can bring an enemy from earlier & jump off it to reach up to them & reach a higher platform & find a door to a subroom full o’ coins.
The biggest disappointment in this level is the treasure door location, which is just on a high platform in plain sight, easily reachable by a series o’ platforms. Given this level’s better choices for secret areas, — like the aforementioned high platform with the switch blocks — this is a baffling choice, especially given that this level is @ the end o’ the main game path, where a hard puzzle would be warranted.