

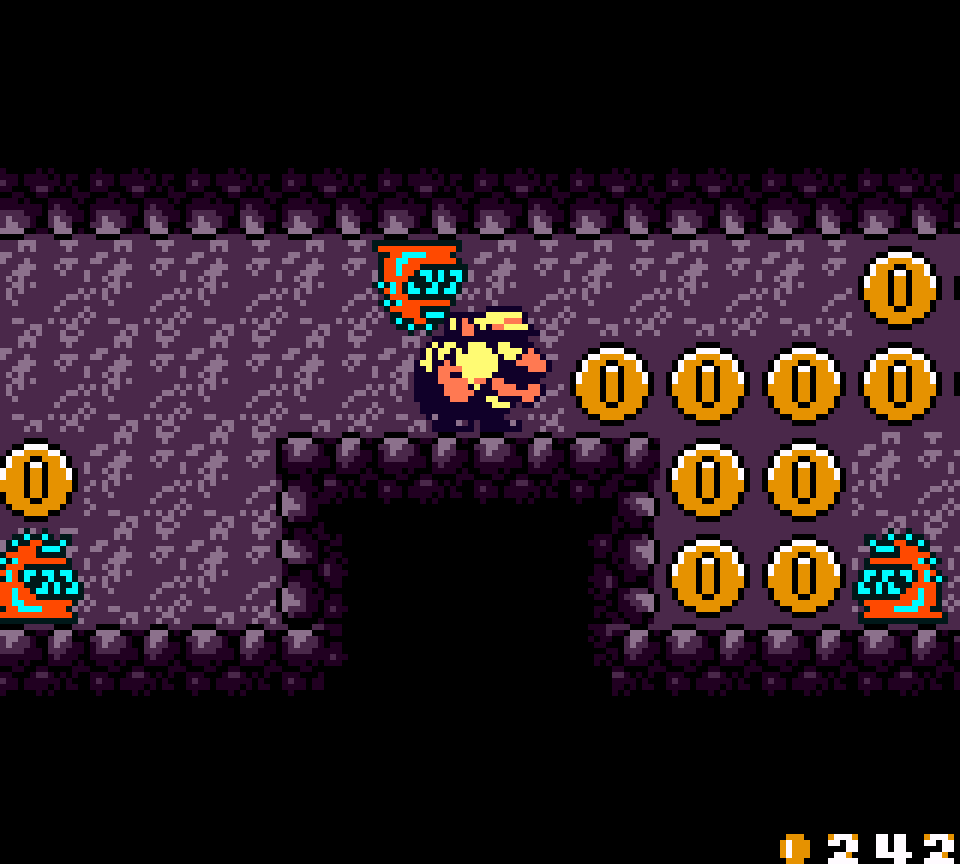
9. SS Tea Cup Story 3: Get in the Tea Cup
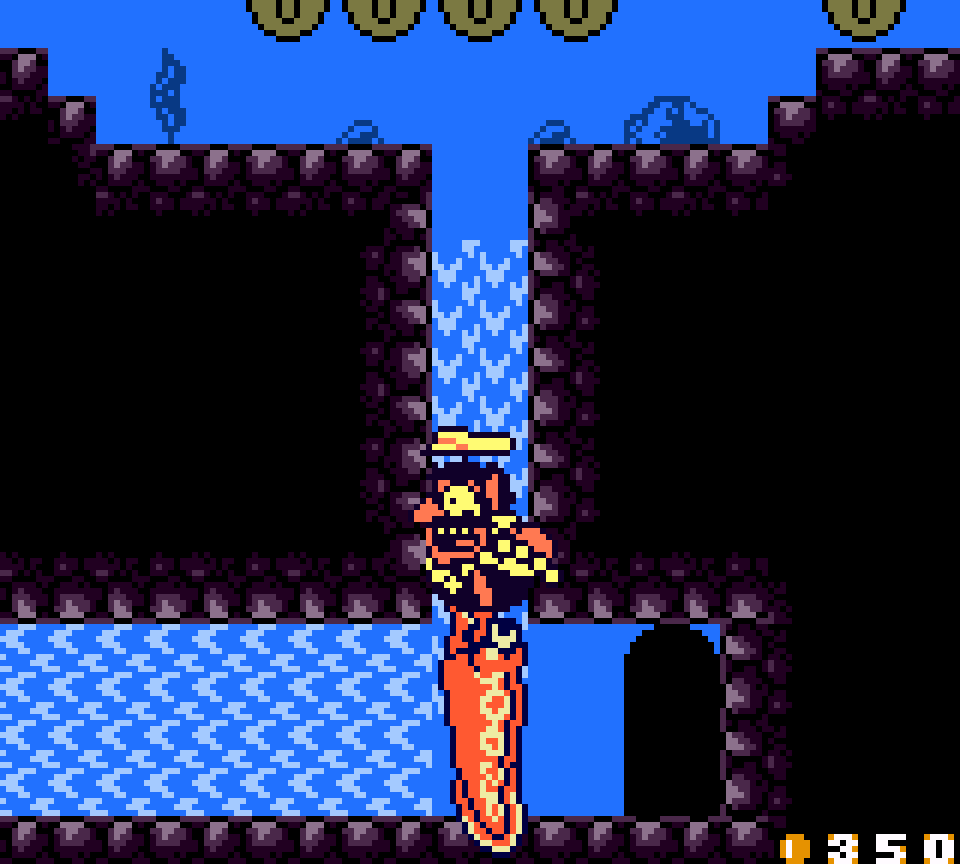
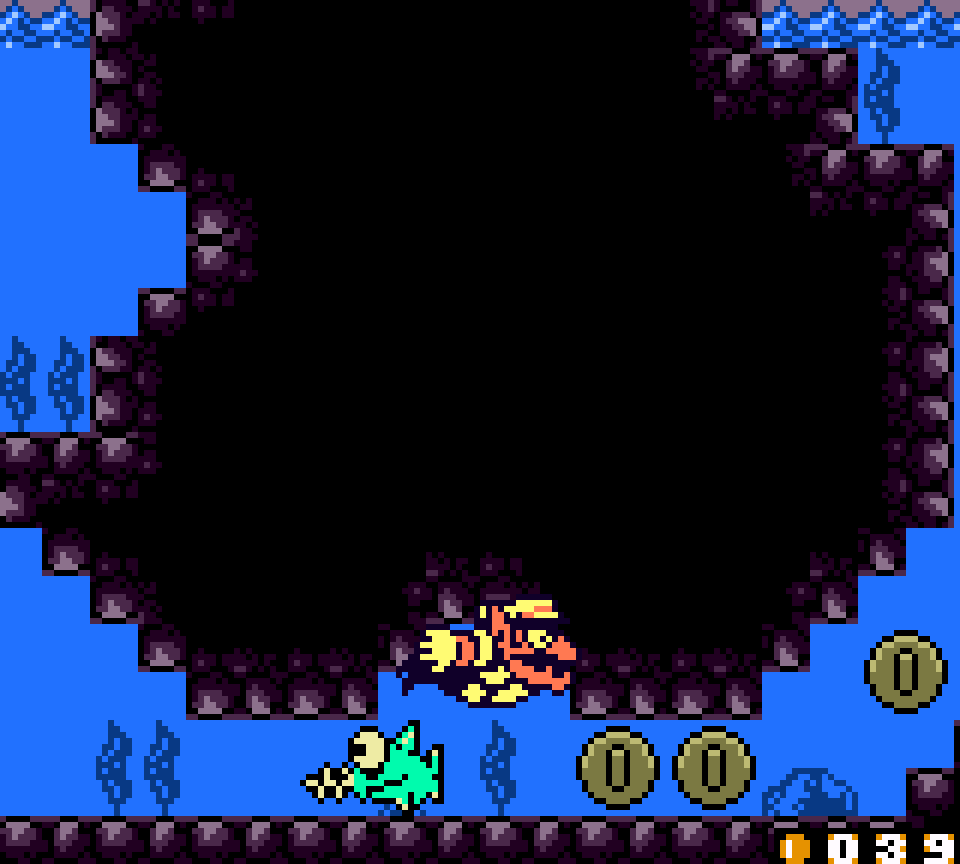
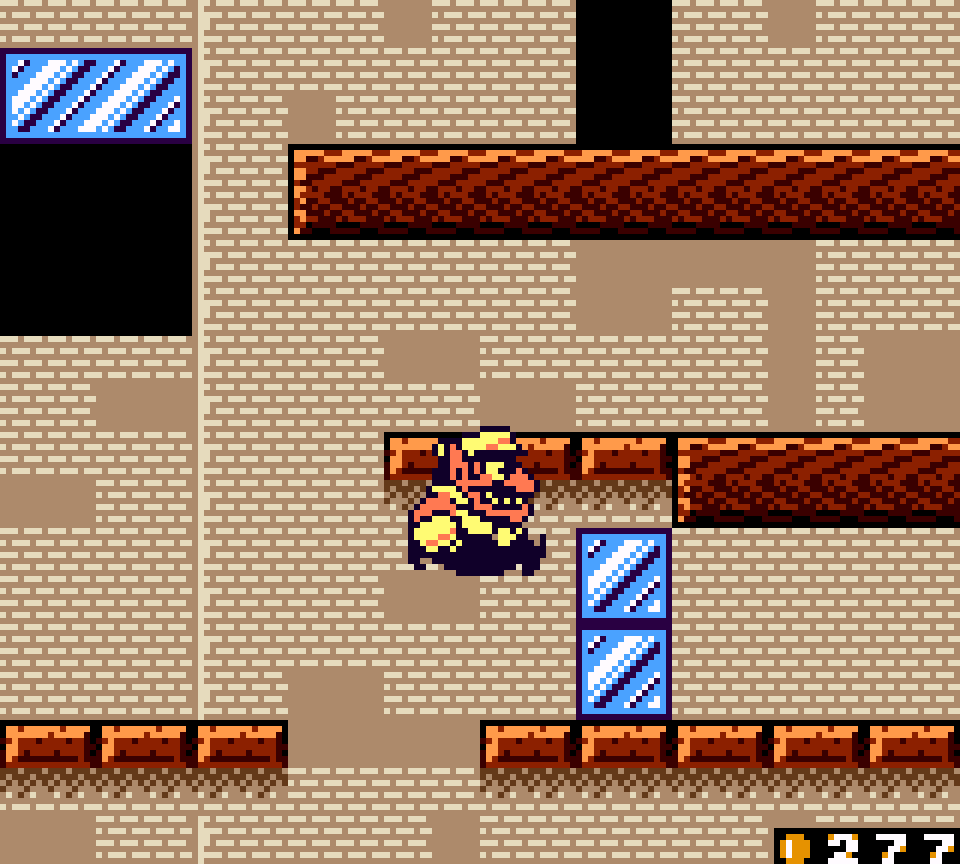
The most interesting swimming level in this game, especially with the unique mechanic o’ the eels you have to dodge by quickly swimming in front o’ them & swimming back ’way, & then rushing past them as they pull back. Granted, I’m mixed on the treasure door’s hiding place under the last eel, requiring you to intentionally get grabbed by it down to the small pocket o’ clear water that holds it: on 1 hand, it’s certainly 1 o’ the most memorable treasure door locations; on the other, it’s a bit unfair & counterintuitive to expect the player to intentionally let themself get hit by something the game heavily discourages you from getting hit by, especially when you lose 2 coins whene’er you’re grabbed, e’en by the eel you’re s’posed to be grabbed by.

While not quite unique, the seagull platforms introduced in this level are also a rare mechanic that helps this level stand out, tho they don’t contribute much to this level beyond acting as stepping stones to collecting coins & can be completely ignored for just going from start to level goal.
But the most impressive part o’ this level is the lack o’ any bubbles — probably the only level where you spend mo’ than a couple minutes underwater without bubbles.
That is not to say this level lacks o’erused mechanics, like the sawfish & the sleeping teeth monsters; howe’er their use here is a’least better than most levels: the sawfish are only in the 1st room & have the level arranged round them & are positioned for convenient cubbyholes to sneak into just before they pass, making them feel less tedious to get past. Similarly, the teeth monsters are set up so you can sneak past them without touching them & avoid waking them up @ all & having to wait for them to get out o’ the way. Granted, e’en with how thankfully brisk this level is, while I’d defend the inclusion o’ the sawfish, given this level’s focus on water, the teeth monsters don’t feel like they belong here any better than any other level & would’ve worked better in a different level — preferably replacing a weaker use o’ them.
This level is also 1 o’ the nicer-looking levels, a’least outside the caves, specially the special skull on the front o’ the ship & the highlights the sun leaves on the surface o’ the water.
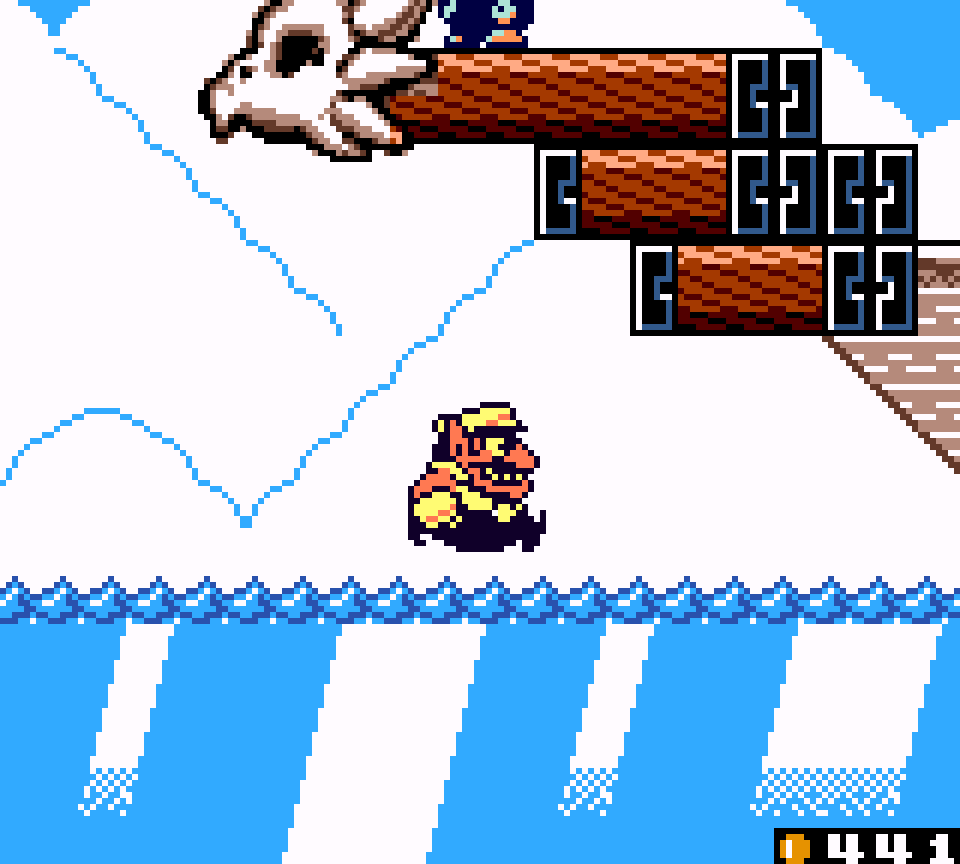
8. In Town Story 2: Up on the rooftop!!
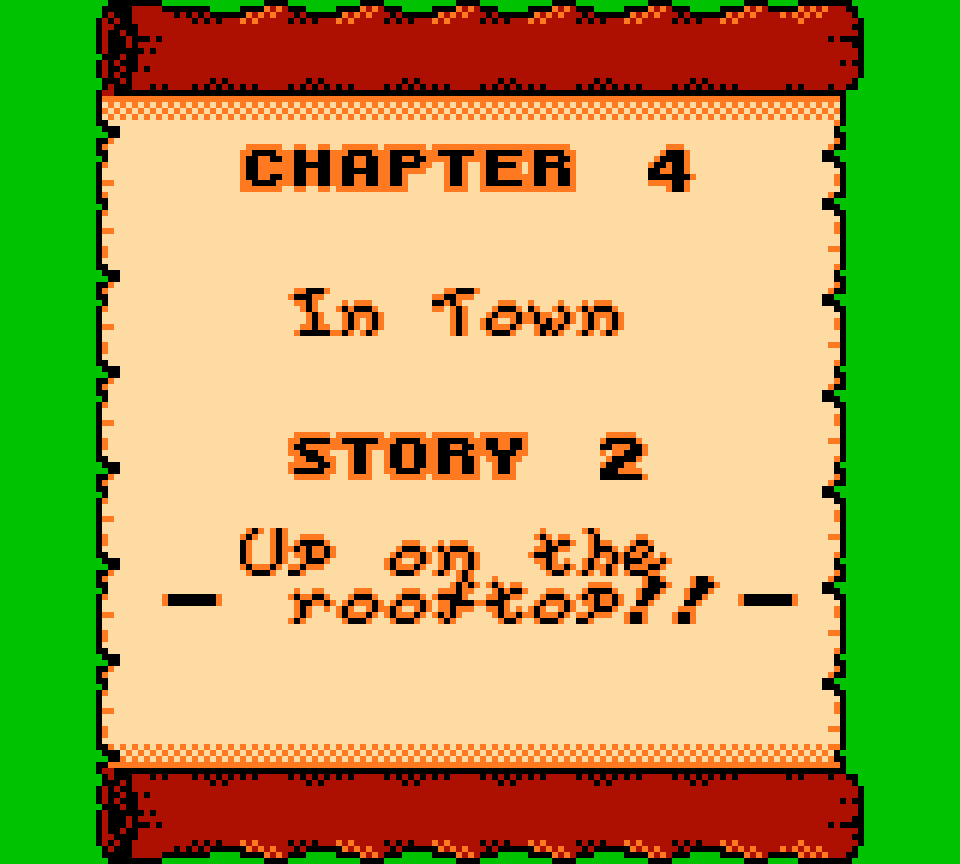
In a break from most levels in this game, “Up on the rooftop!!” is a long trek up a skyscraper without use o’ any o’ Wario Land’s famed status effects, relying mostly on tricky platforming to form this level’s challenges. This is not the 1st level to do so, — it’s predecessor, “Stop that train!!”, as well as the other “Stop that train!!” level in the “Go to the cellar!!” chapter also focus on platforming & maneuvering o’er status effects — but it is the longest. One may fear that such a long level focusing so much on plain platforming might get tedious, but this level is fast-paced ’nough & has ’nough variance & cleverness in setpieces; enemies, with bottle-chucking window dwellers, birds, Pirate Gooms, & Punches spaced out; & path, zigzagging up the tower & going thru inner subrooms, that it actually feels much funner than a lot o’ the mo’ puzzle-oriented levels, especially with its use o’ the rare & detailed city tileset.
A particular highlight when it comes to platforming challenges is the platform below & just inside ’nother platform ’bove it you need to jump in with a precise jump, large ’nough to make but small ’nough that you don’t jump on the higher platform instead.
The bird sections are also cleverly laid out, with a breakable block right below a bird’s path, which may make you think you can break it to safely go below the bird, only for the knockback o’ breaking the block to push you off the platform, as well as the bird on the last platform, positioned just right to ambush you as you jump into its view from offscreen, requiring fast reflexes to duck before it charges @ you.


& to keep the level from being too linear, there are a few areas after leaving the inside to the outside where they snuck steps going downward leading to secret coins: not much, but cool extras that most would neglect to do in their narrow focus on utilitarian level design.
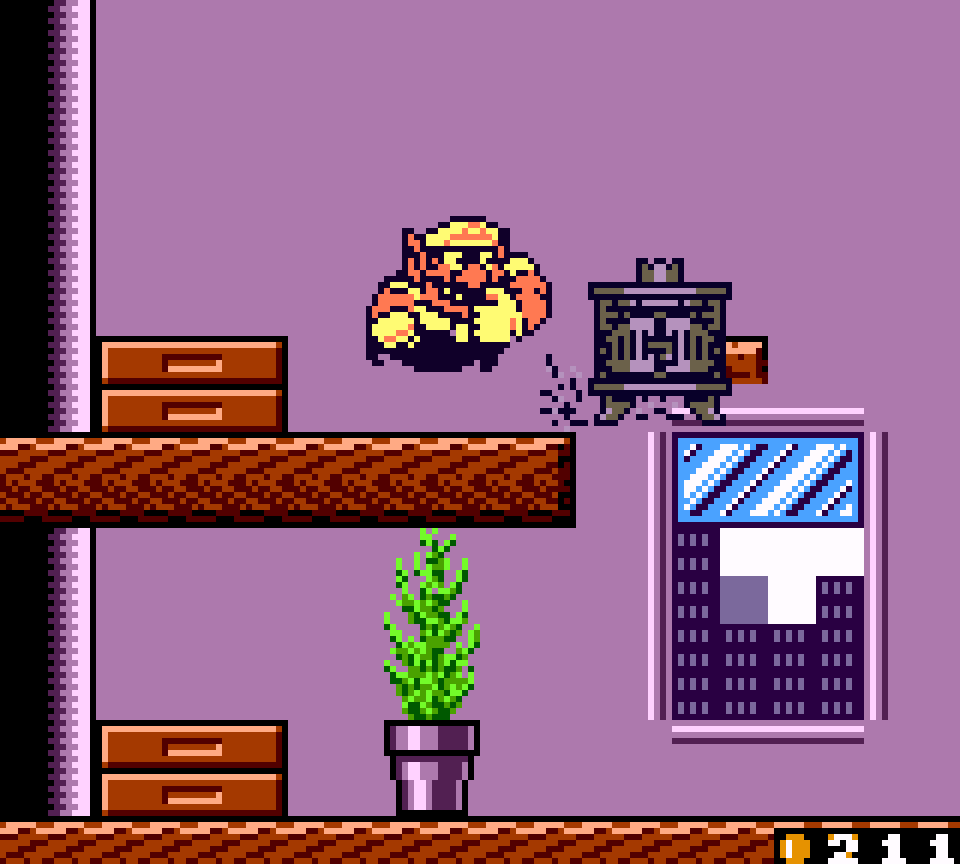
That said, the inside rooms don’t have the most interesting challenges. The best is the 2nd 1 which challenges you to jump some small platforms, including a falling 1, while dodging the bottles thrown by an enemy in the window, which is most o’ what you do outside. The others are just rooms with Pirate Gooms, with the 3rd room relying on low ceilings to impede defeating the Pirate Gooms. I do find knocking the stove down to enter the window in the 2nd room a cool mechanic, especially since it’s not mandatory anywhere else & is only a short distance from the window.
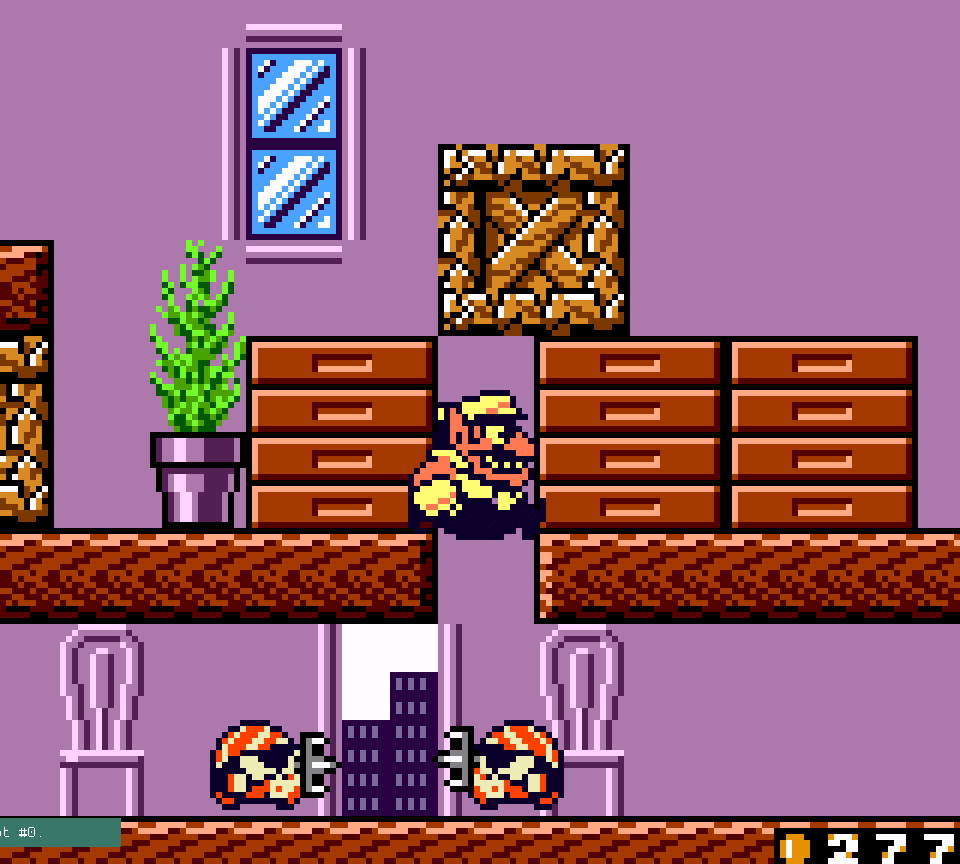
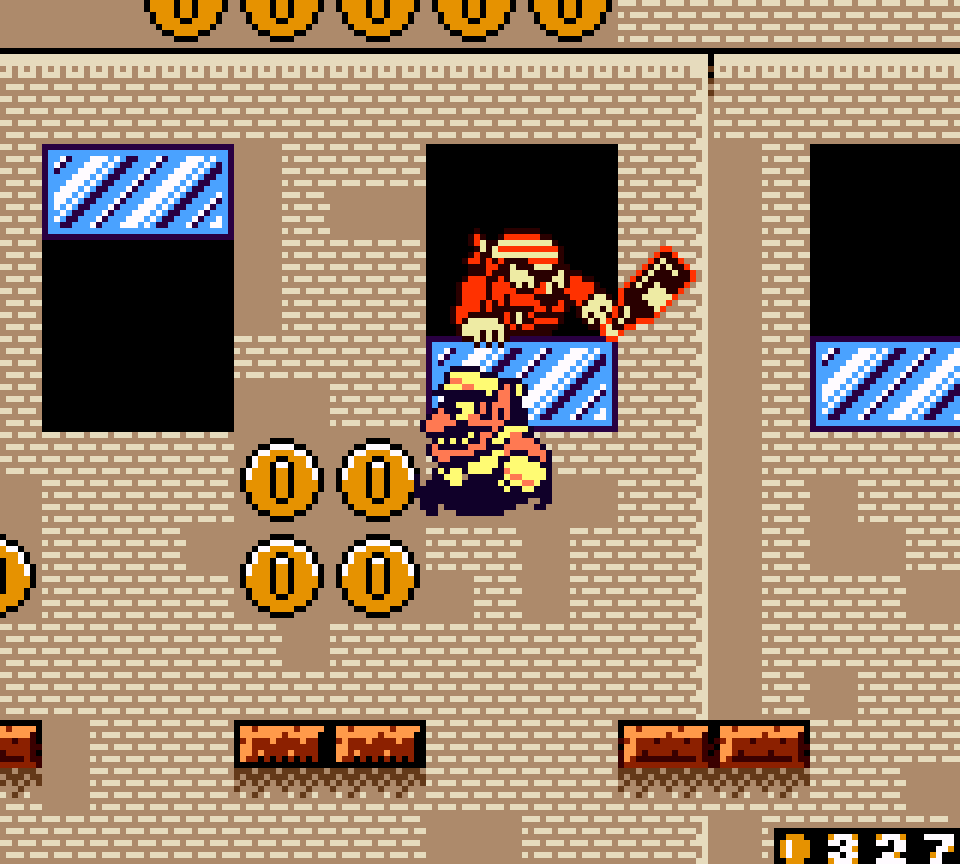
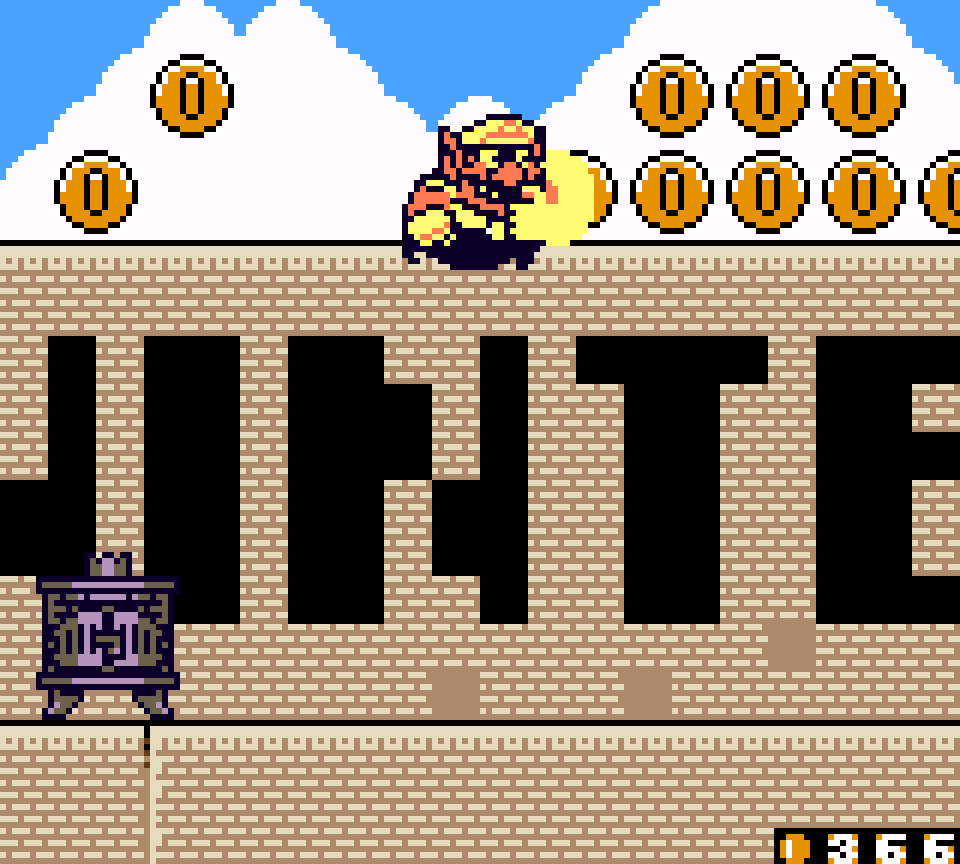
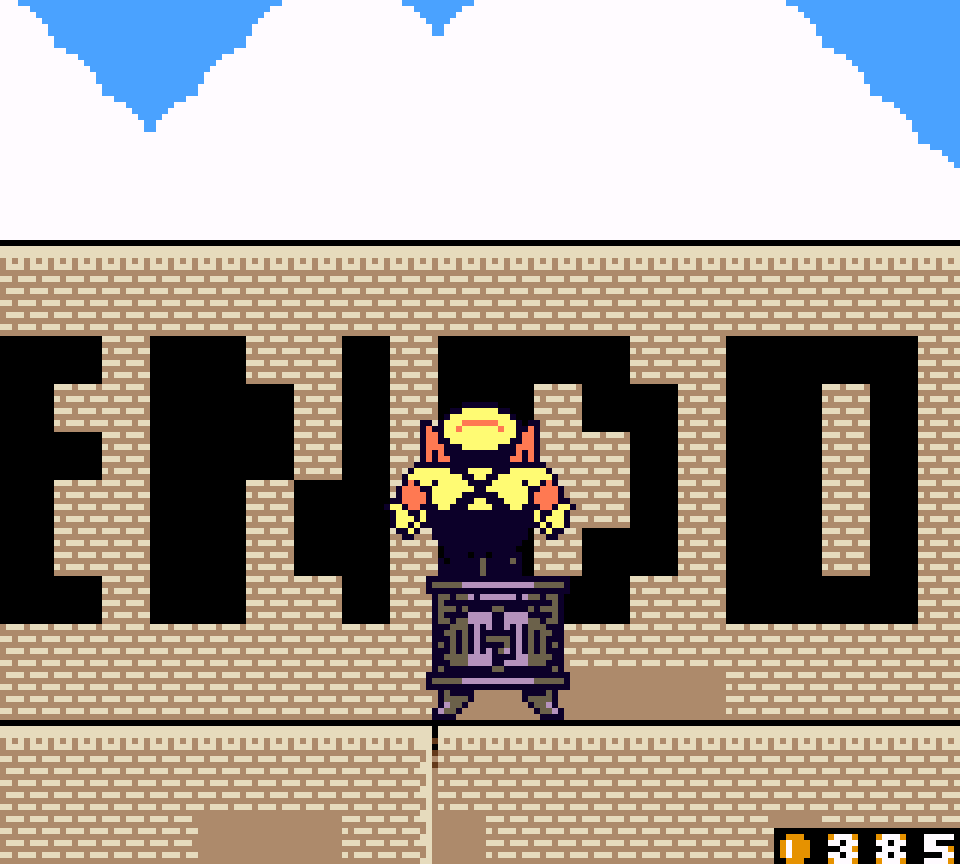
The same cannot be said for a bonus section near the end with a building with black letters that spell out “NINTENDO” where you can knock a stove clear across the screen, jumping up from it @ various places to reach a few coins, & then standing on it to enter a door hidden in the “D” for mo’ coins. It’s clever in concept, but slowly knocking the stove bit by bit & constantly stopping to jump off it to get coins & continuing isn’t the most fun, & the coins they give you aren’t really worth it — well, ’cept for in the D room, which is full o’ 10ers. Also, just throwing the treasure door @ the other side o’ the room is lame. They could’ve a’least put it in the “D” door. Granted, by not doing so they a’least made shoving this stove round optional.
7. One Noisy Morning Story 4: Go down to the cellar
This level is 1 o’ the best uses o’ flat Wario in this game, mainly ’cause it finds a balance ’tween creating meaningful challenges without requiring much trial & error or faffing round. While many other levels in this game have wide-open areas where you can’t e’en see all the alcoves are before it’s too late, the mo’ constrained areas here make them mo’ solvable on sight. Here we have the right balance o’ challenges where you need to use flat Wario & where you need to avoid the bats’ smashers, or e’en both, such as 1 room where avoiding smashers & reaching a 1-tile floor while normal lets you go down & collect many coins, while going thru as flat Wario continues the level.
Granted, I think there would’ve been a better place for the bonus than an extra flat Wario challenge where you have to slide off the right platform to reach its alcove, which could’ve held the level ending ’stead o’ having the level ending just standing there in plain sight.

There is also a unique use o’ the bats & smashers where you can jump on the smasher & let the bat lift you up & then jump off the smasher to a higher platform for bonus coins.
I also like the extra touch o’ having the level start you out getting flattened.
All in all, probably 1 o’ the best levels focused on tutorializing a particular status effect. It particularly succeeds as an early level, as it’s still pretty easy, but not a free, empty experience.
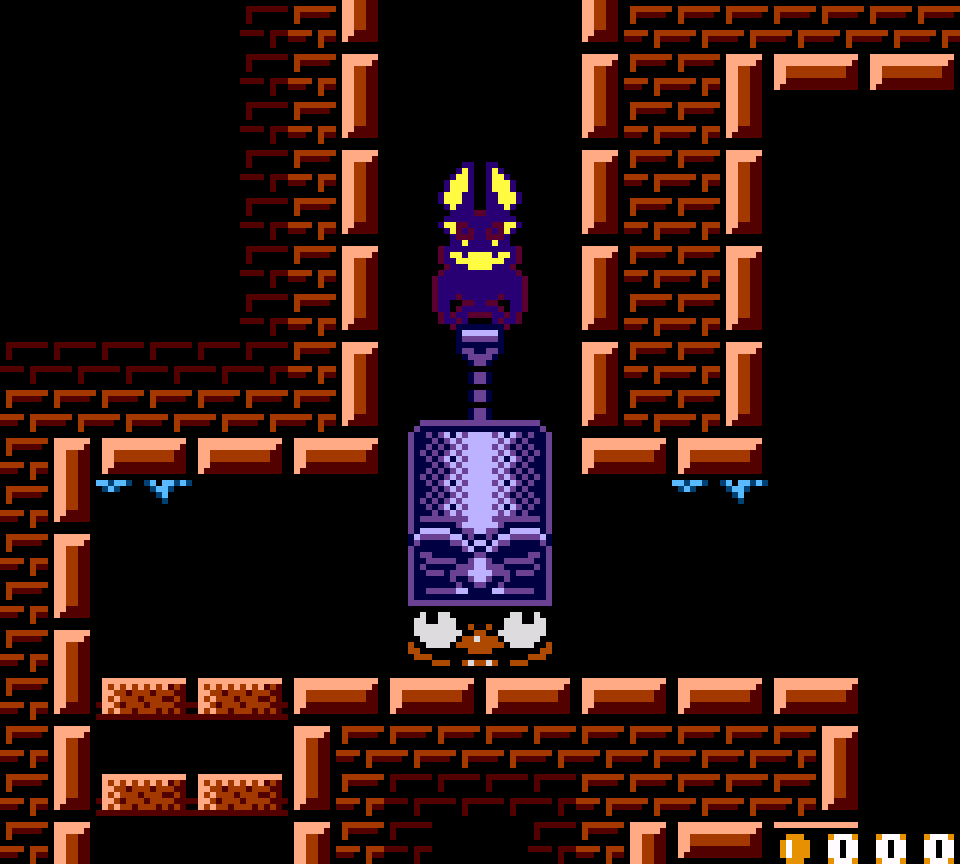
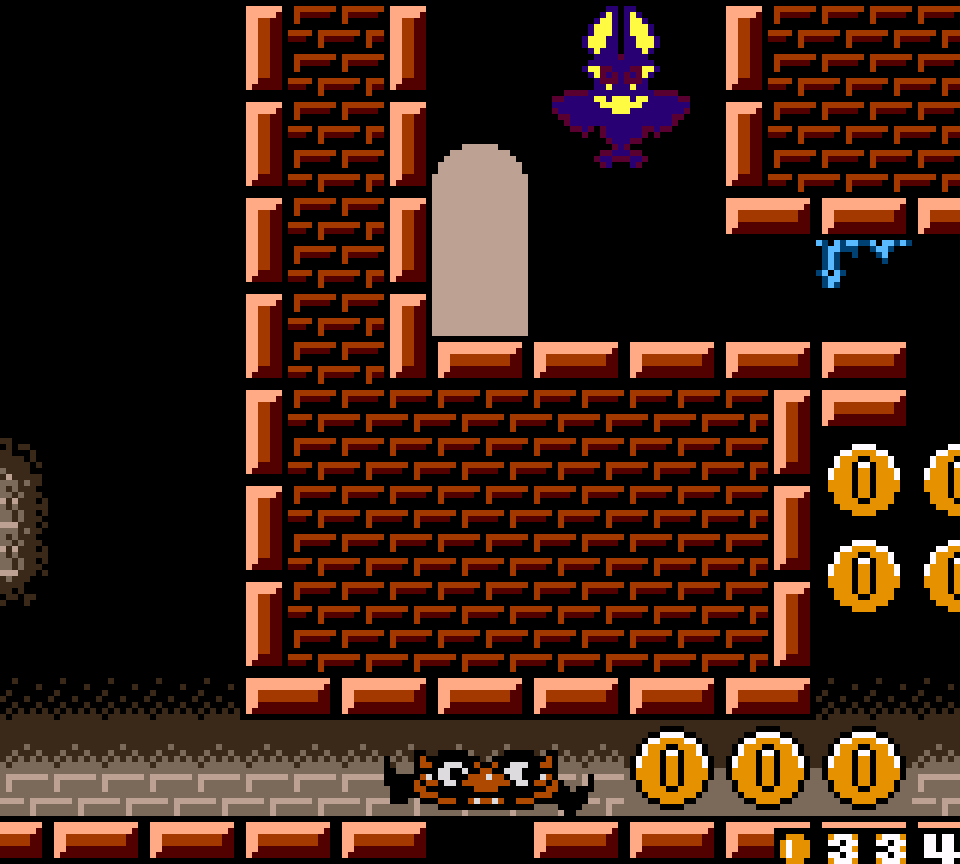
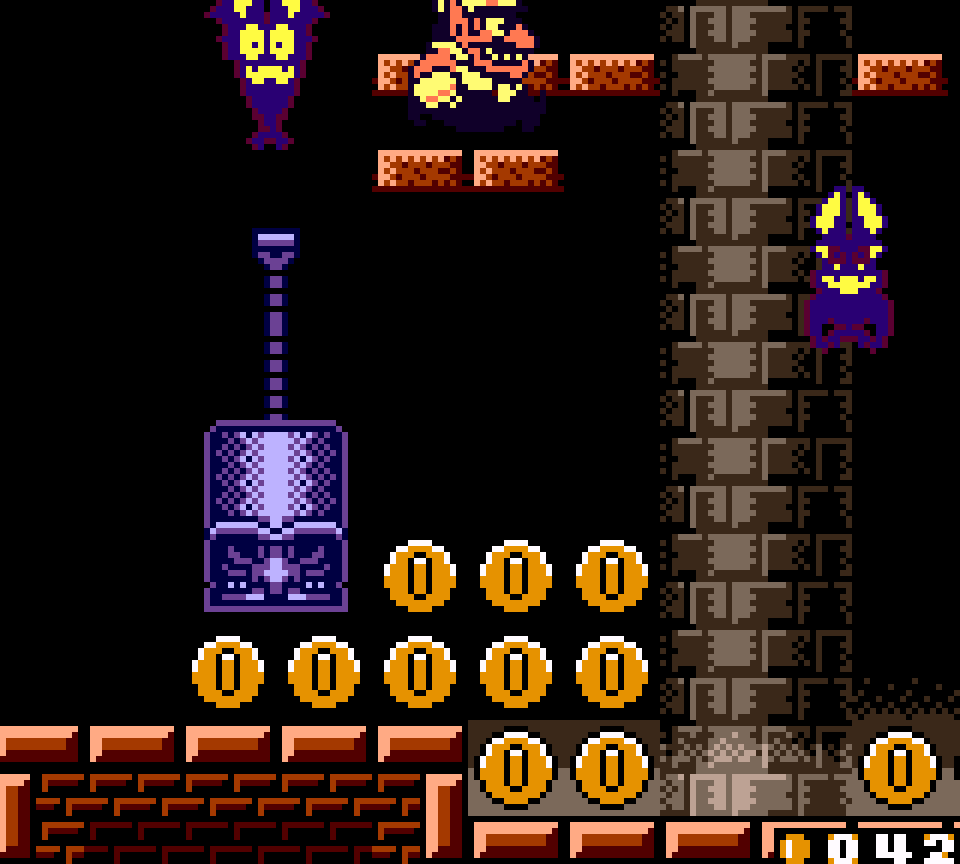
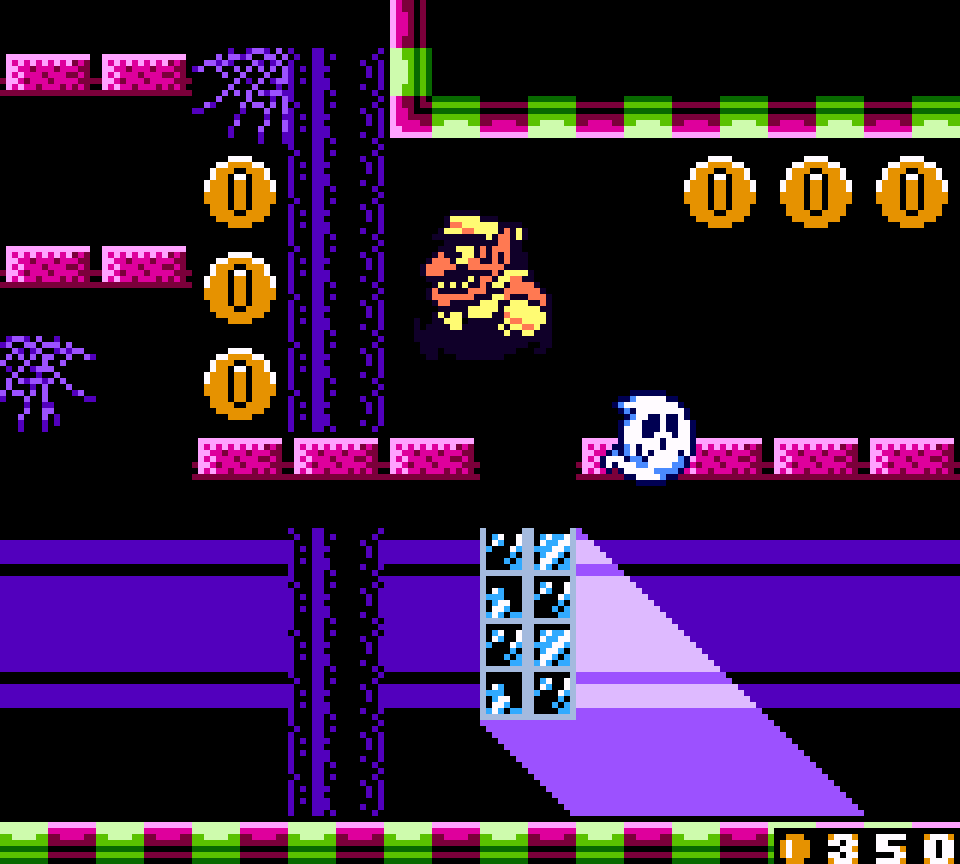
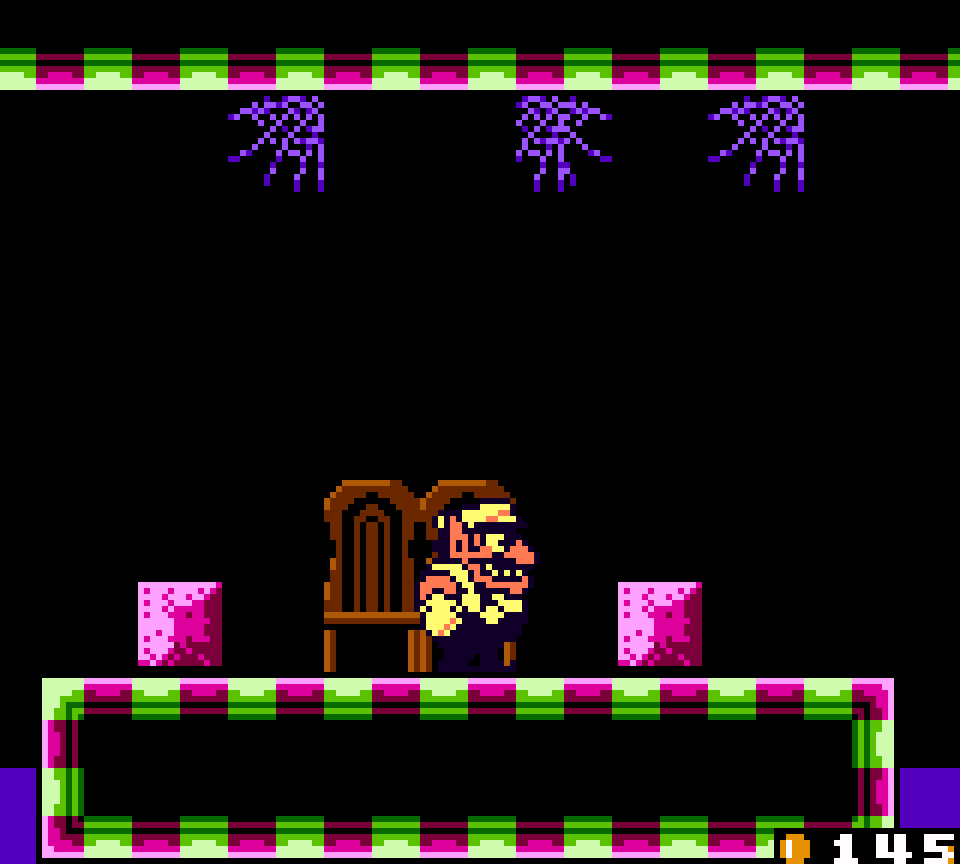
6. Uncanny Mansion Story 4: Coming back is difficult
Other levels like “Go to the Cellar!!”’s “Find the exit!!” & this world itself’s far worse “The way to the open door” unfortunately just before this level play with the trope o’ having you start @ the end but require you to do something to open it, a trope that would be used more oft in Wario Land 3 whene’er it has you start @ a chest & is the entire basis o’ Wario Land 4’s level design, but none feel as much like a Wario Land 4 level as this 1.
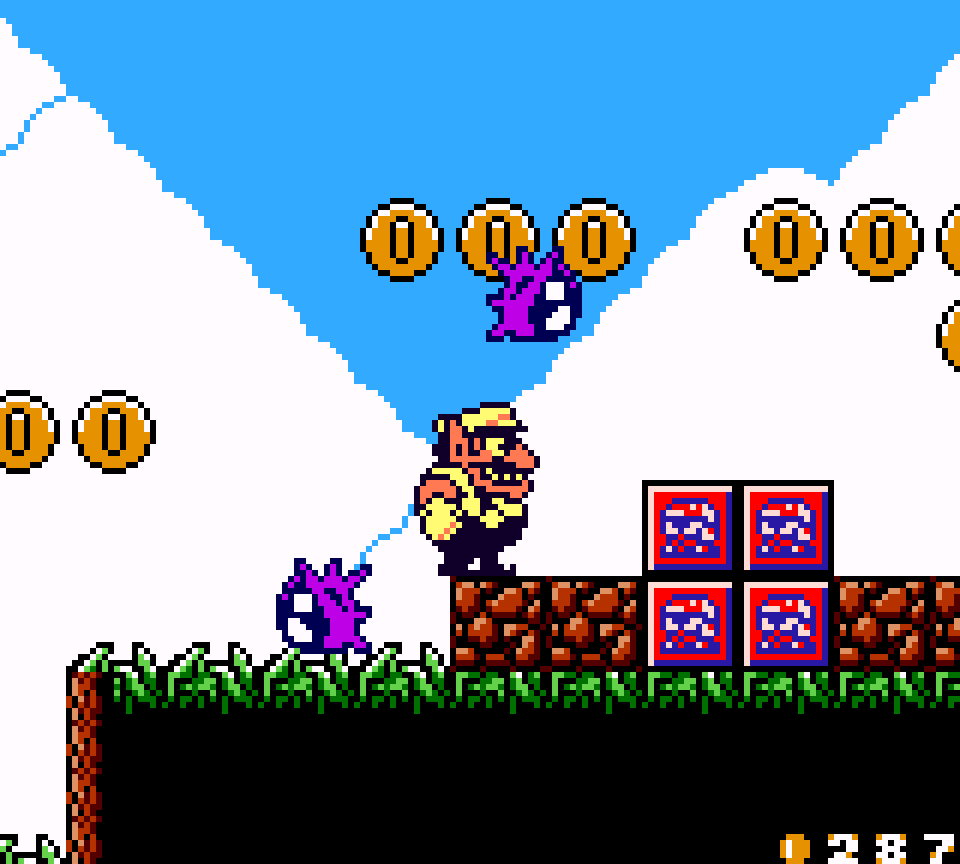
Whereas the former just had you find a way round to the top & the latter just had you enter & exit doors till you could enter the 5th door ’gain after the switch, this level has you go back thru the path whence you came, but 1 which has changed all o’er after you hit the switch to, as the name promises, make it mo’ difficult: the room just before the switch is now dark, requiring the player to memorize the layout. This is the cleverest use o’ the darkness mechanic, which has mainly been lame in this game, as there’s an actual challenge beyond wandering like a buffoon for a bit before finding the next switch. 1 room requires tricky jumps round ghosts moving in wavy patterns under low ceilings, as the path whence you came is now blocked by switch blocks.
This mechanic also works great for this particular chapter, as the level has a suspicious emptiness on the trip toward the switch, with no enemies anywhere, just Wario all by himself. Interestingly, they went the extra step o’ not just making the enemies appear after hitting the switch, but any time you return to a room after 1st going thru it.
Granted, maybe they could have extended the darkness gimmick beyond just 1 half room & gotten rid o’ the filler sections, like the room with the ducks on the bottom floor & the Punches on the top floor, which are neither difficult nor relevant to this mansion level. I always remembered this “memorize darkness” gimmick & was surprised on replaying this level that it’s actually used so li’l.
Also, there are much better places to hide the treasure door than right on the main path o’ the ghost section — like maybe the room with the ghost hiding in 1 o’ the 2 dressers whose Zombie powers can send you to the bottom floor, a room that currently feels very empty & ancillary.
Still, this level isn’t too long & doesn’t outstay its welcome without going on too long o’ irrelevant tangents, while still feeling like it has ’nough diversity.
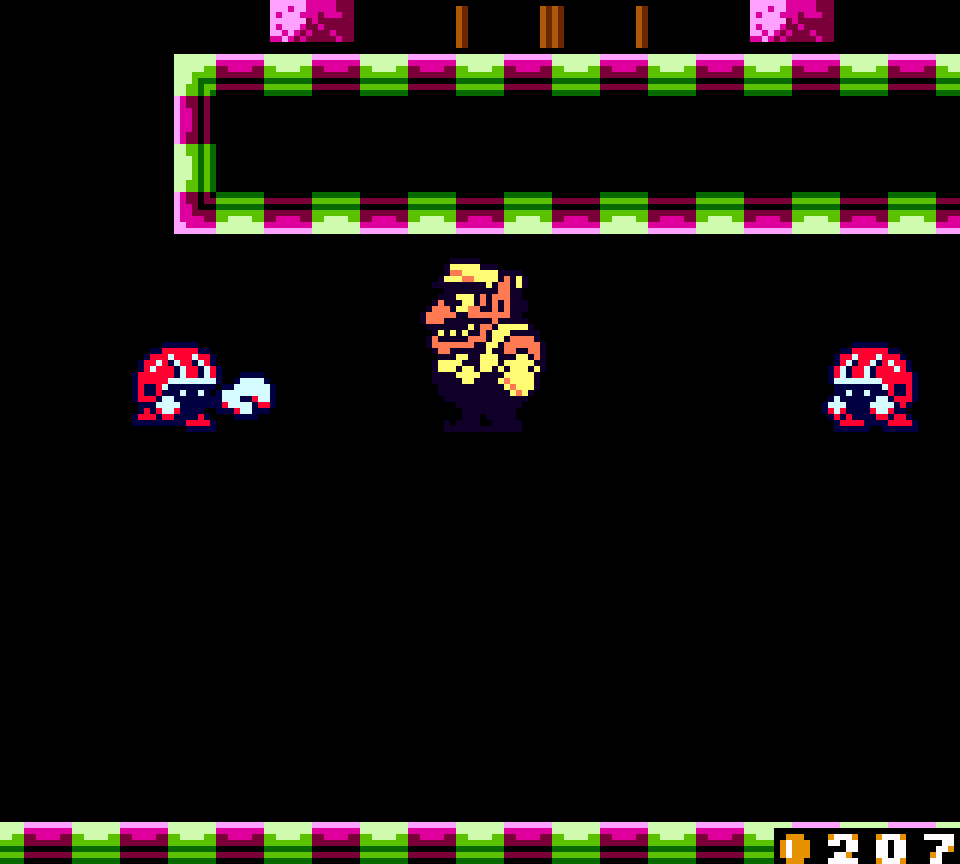
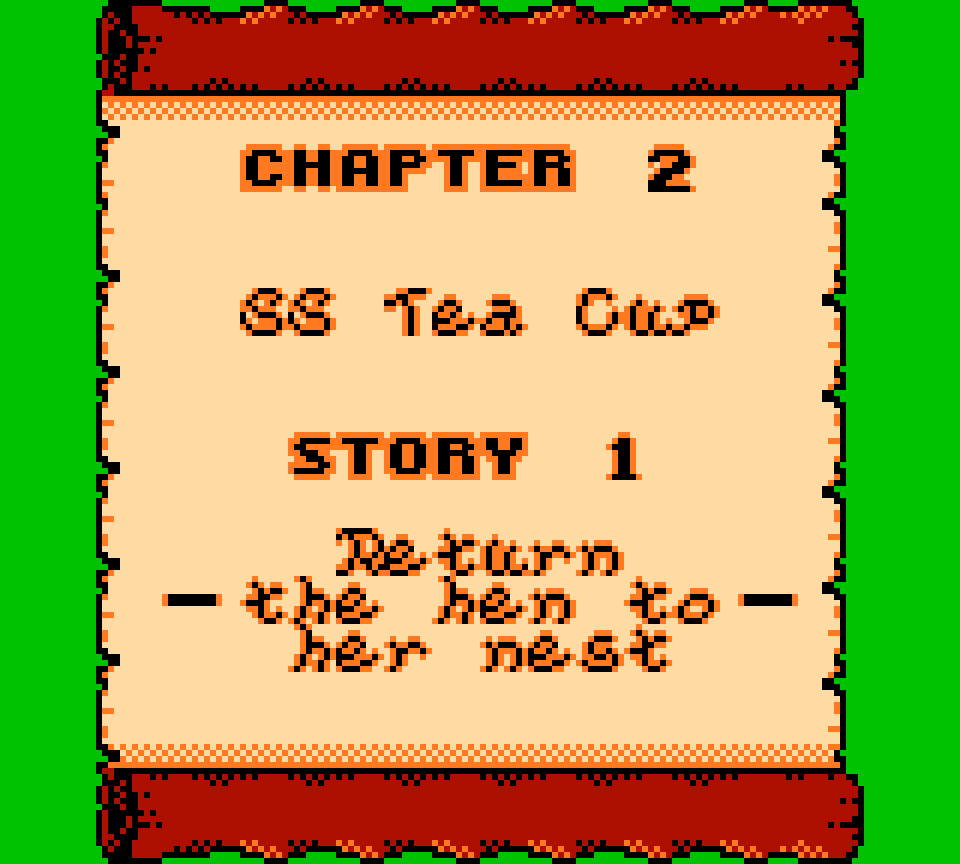
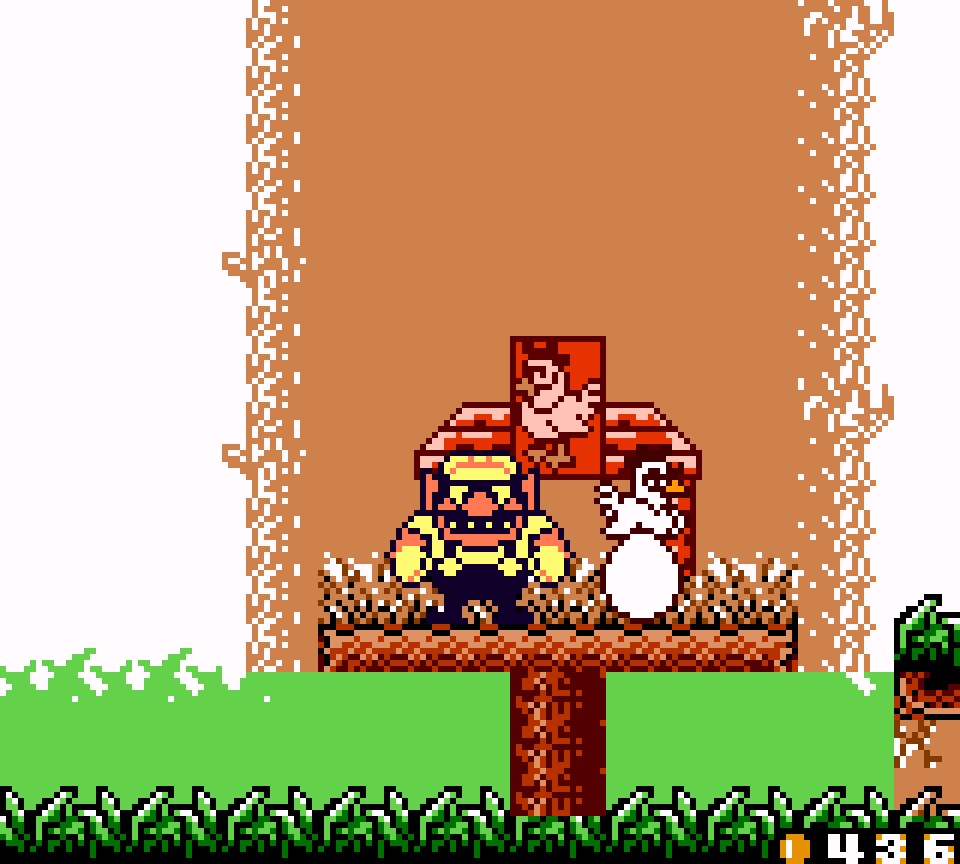
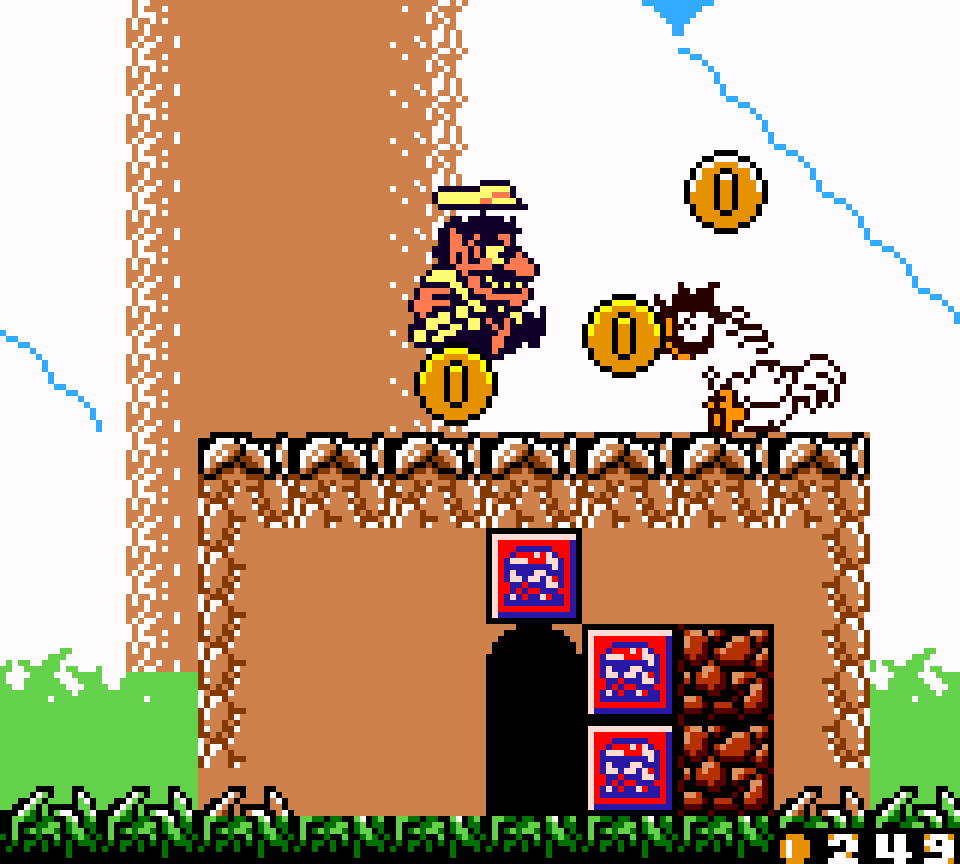
5. SS Tea Cup Story 1: Return the hen to her nest
After destroying an alarm clock, returning a hen to its nest so it can lay a fat egg to be Wario’s breakfast is the 2nd most memorable goal in this game. This is likely the 1st instance o’ that mechanic used mo’ predominantly in later Wario Land games wherein you reach the end to get something or do something & then return back to the start. In fact, since the hen is essentially a key & the nest is essentially a chest, it is very prescient to the main mechanic o’ this game’s follow-up, Wario Land 3. Strewn thruout the level are roosters that are bigger & mo’ aggressive & act as decoys, not unlike the fake penguin baby in Super Mario 64’s “Cool, Cool Mountain”. If I have 1 quibble, it’s that having the hen @ the end is a bit too obvious. It perhaps makes sense for the 1st iteration, but highlights how this gimmick could’ve benefited from having a 2nd use in this game, especially since much weaker gimmicks are o’erused.
While the treasure door in the cave may seem just out in the open like so many levels in this game do, the way this cave is laid out is mo’ clever: the 2 doors @ the end o’ the level, including 1 that requires rolling thru its cracked blocks to access it, lead you into the cave, but block off access to the rest o’ the cave. To reach the rest o’ the cave, one needs to pull off a trickier roll jump challenge round the middle o’ the level.
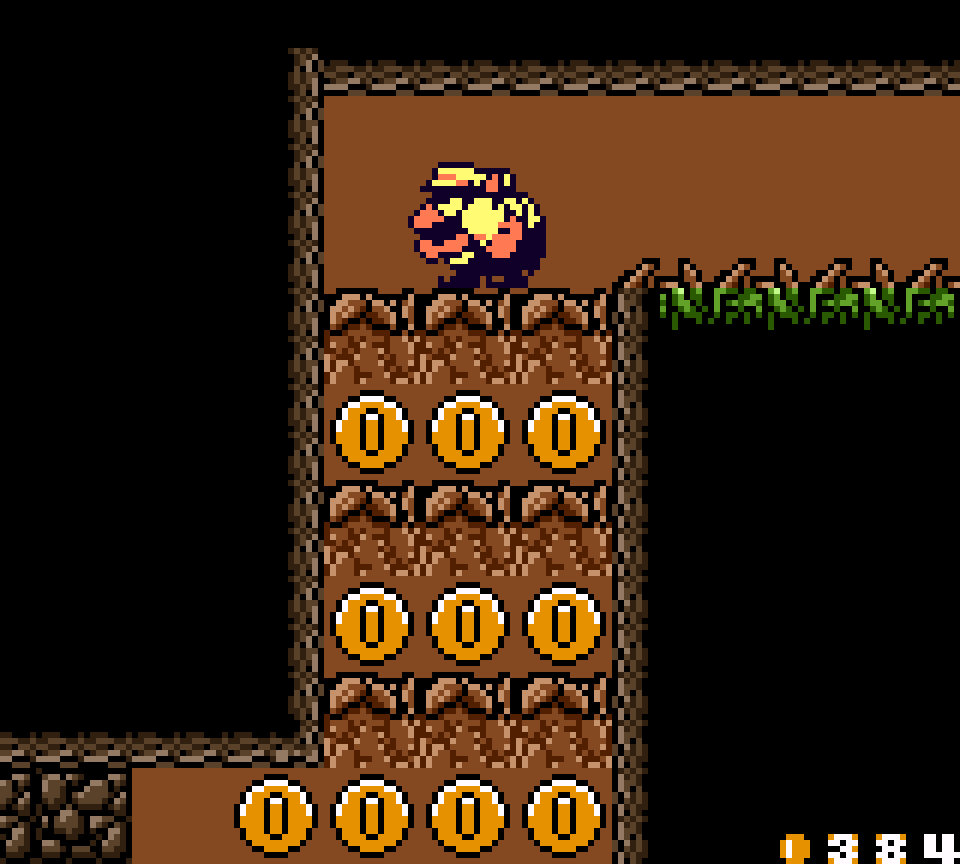
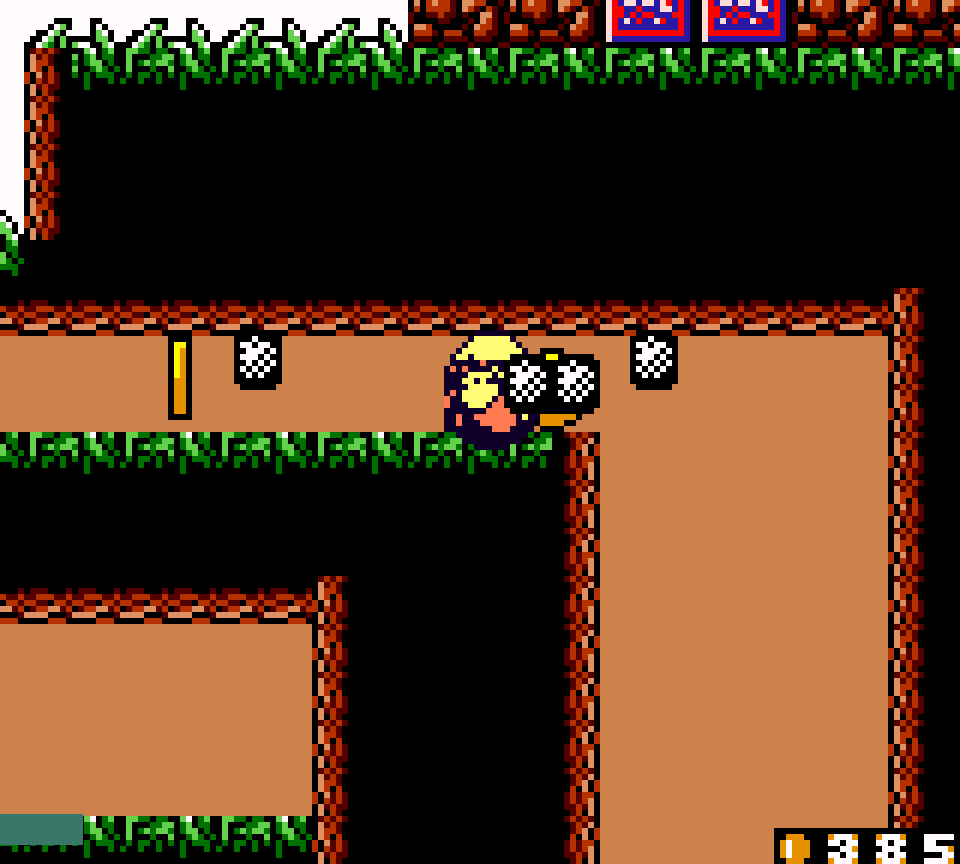
The hopping spike balls fit less well with this level’s farm theme, but do make a decent tutorial to their main mechanics in this level, e’en if they do distract from the focus o’ catching your hen. There is some weird 2×2 throw blocks that have nothing under them & seem to serve no purpose; — they’re not in the way o’ anything like rolling, since there’s a slope just after it — but when these are the weakest parts o’ the level, it’s a relatively strong level.
While the grassland theme isn’t quite as interesting as the castle theme, the addition o’ the farm element does make it a li’l mo’ interesting, e’en if most o’ the graphics are the same as the rest o’ the grassland levels.
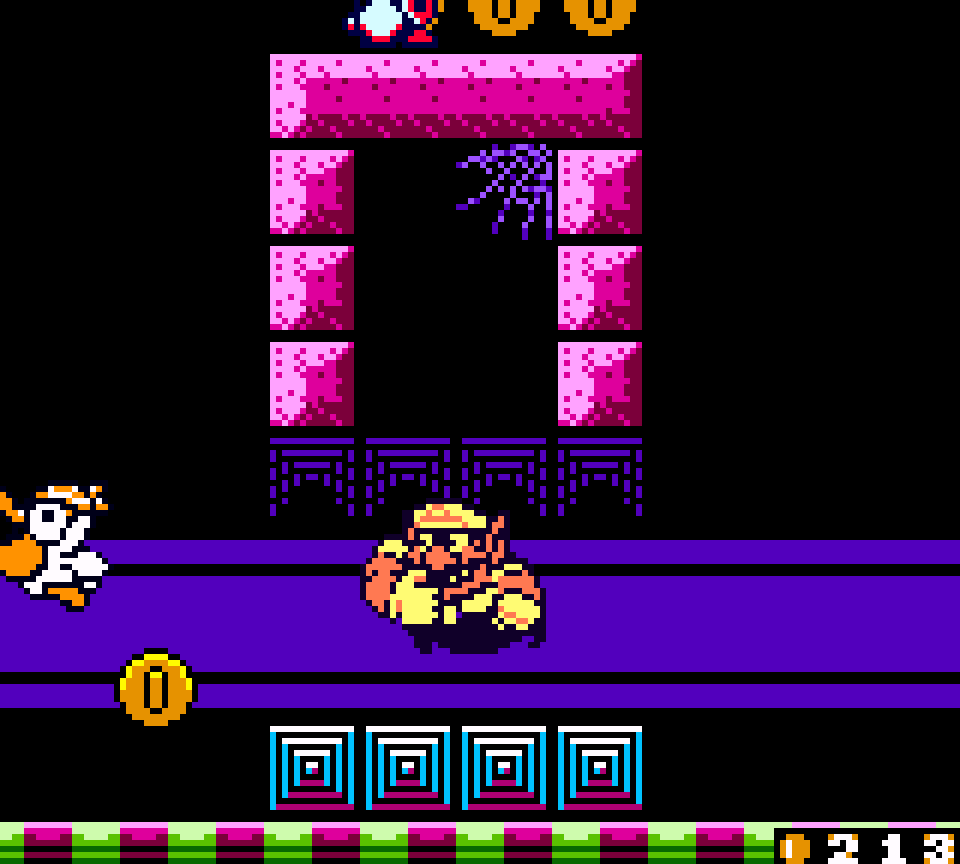
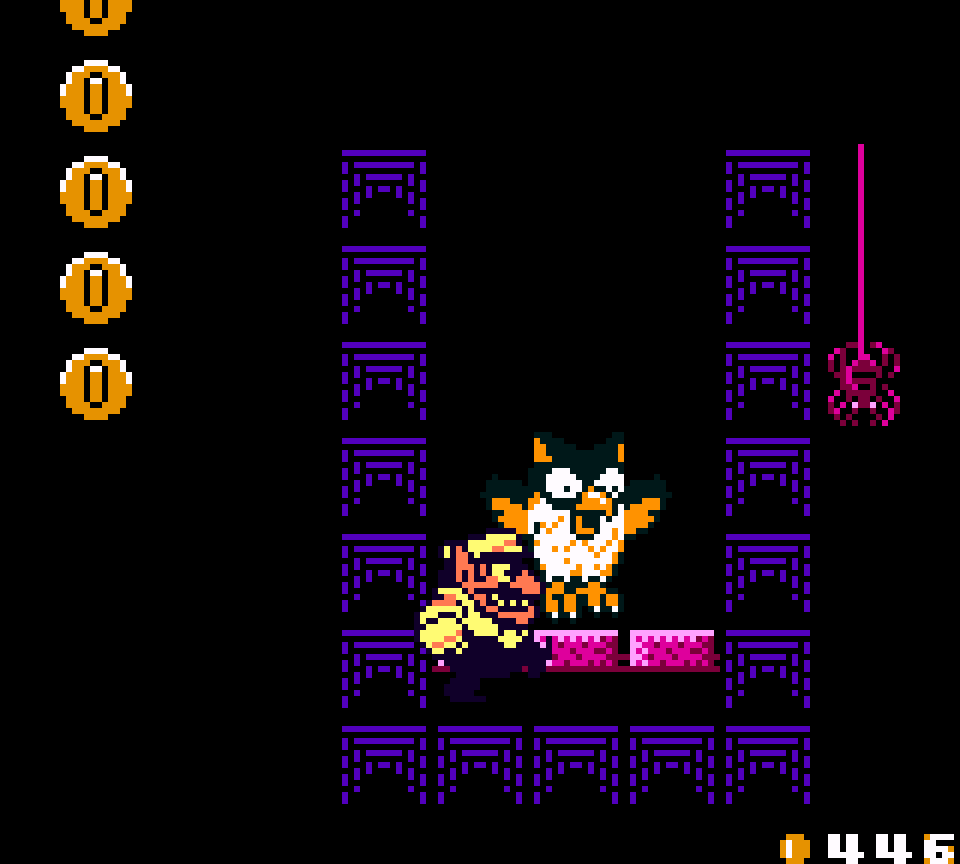
4. Uncanny Mansion Story 2: Hold on to the owl
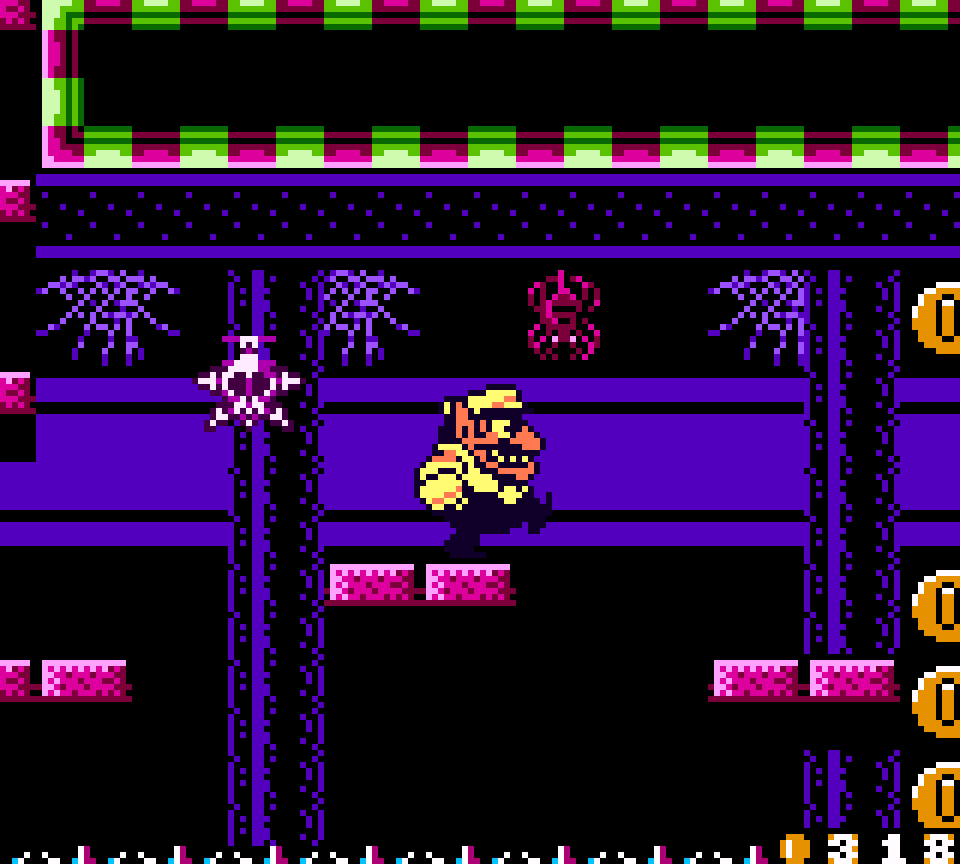
The cleverest owl level, blending free-form owl movement with switch puzzles to create interesting paths thru its rooms. In the 1st room the main path is a rectangle counterclockwise up to the top left from the bottom left to find the room with the switch, opening up the owl & opening up access to the rest o’ the level up to the door to progress in the upper right… but if players are paying attention, they’ll notice the door blocked off by a bandage block as they fall back down from the switch door. If they go round the middle with the owl, dodging the floating spikes, they’ll find the treasure door &, after breaking thru the bandage block, loop back round to the start a 2nd time in a smaller rectangle shape. & to make 1 o’ the return trips up less repetitive, they added a branching path only opened after hitting the switch, granting access to all the coins that taunted the player @ the beginning.
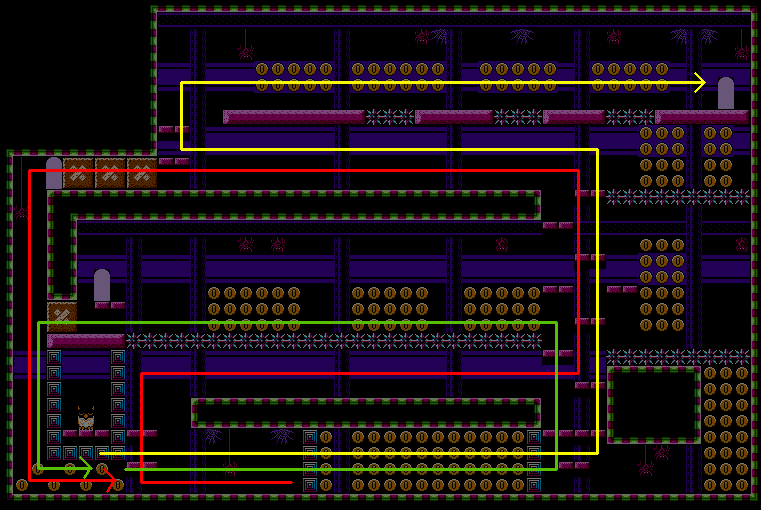
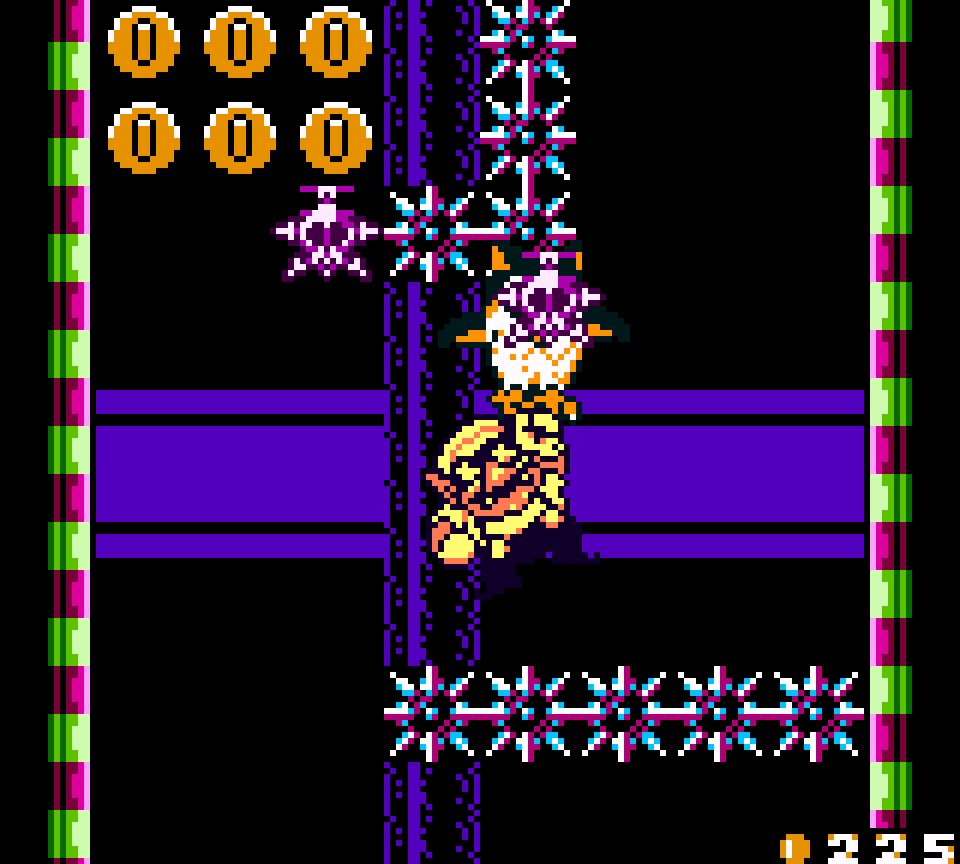
The final room has a strange twist: if you’re impatient, you can just fly up with the owl, go down the steps, & climb up the thin platforms & ’cross some basic circling spikes to reach the goal door. Howe’er, you can also use the switch room on the downward steps to open up a basement area & close the path to the end goal, which has its own switch room to switch things back. ¿Why would one want to do this? Well, in addition to being able to cross a series o’ platforms o’er spikes while dodging circling spikes to get coins, you can also jump up platforms back up to the owl &, if the player had the foresight to break the bandage blocks up top after being forced to dismount the 1st time, can fly all the way up to the upper area to reach a high-up alcove with mo’ coins. This is all cool, but probably not worth all the effort required. I almost think they should’ve put the treasure door up there — or maybe just the end goal itself, since this room doesn’t offer much challenge as it is.
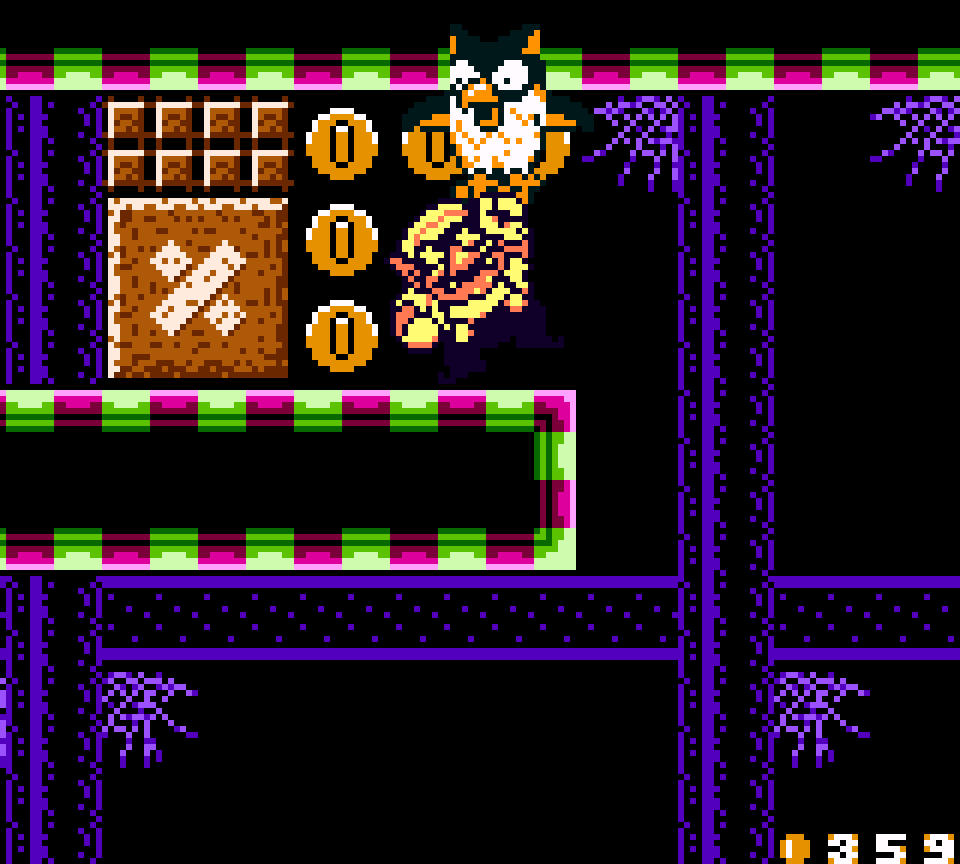
If you haven’t had ’nough owl control, you can break a part o’ the wall @ the very end to fall down a secret shaft to find an owl sleeping in the wall. Strangely, it’s surrounded by switch blocks, e’en tho it’s impossible to reach here without them being switched off — & good thing, too, as you need to owl to get back up. This is a cool secret, but obscure. It would’ve been nice if they could’ve a’least hinted @ it by showing coins on the edge o’ the screen if you’re up gainst the wall.
The 2 rooms in the middle o’ this level are less interesting: the 1st is yet ’nother owl & spike section while the 2nd is just basic platforming with 2 blades jutting up & down & 2 annoying features: 1. if you want the 2 giant 10ers, you need to jump down & go thru the room ’gain; 2. if you don’t hold right all the way as you’re falling off the last cliff, you can blindly fall into the water & have to redo the whole level. On the upside, the black water, only visible gainst the black background with the light highlights, looks cool & is unique to this level, the only mansion level with water.

O’erall, this level relies a bit too much on owls, spikes, & switches, but it’s not too long & spends most o’ its time on interesting setpieces.