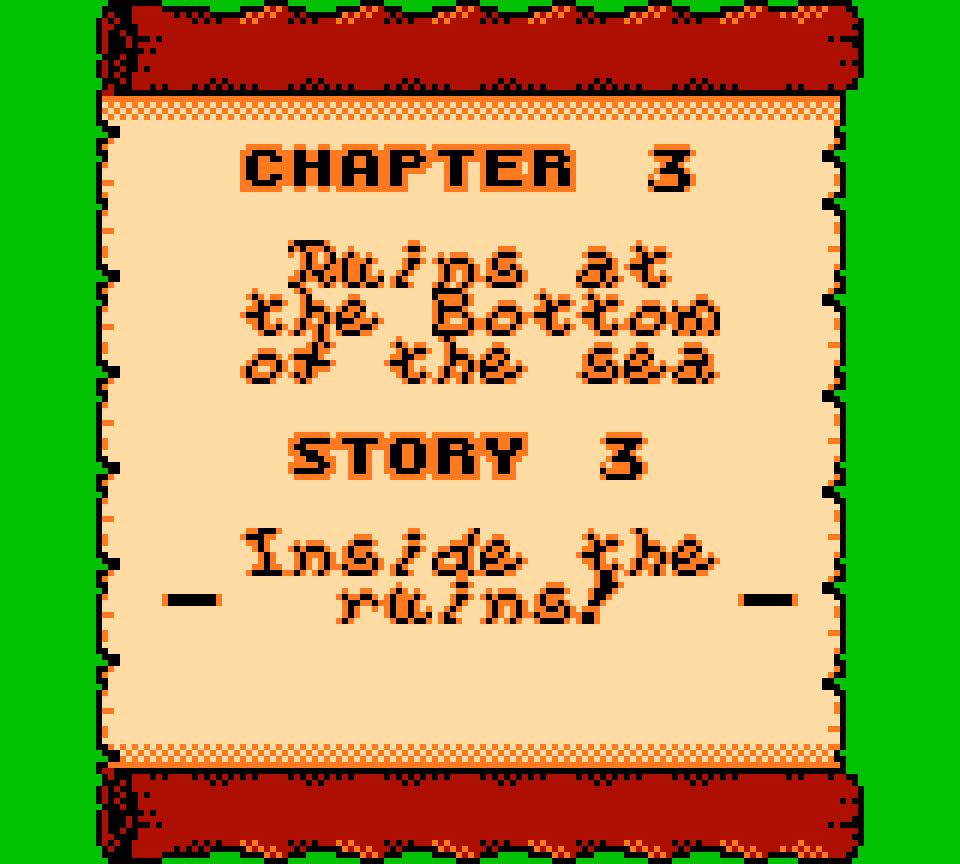
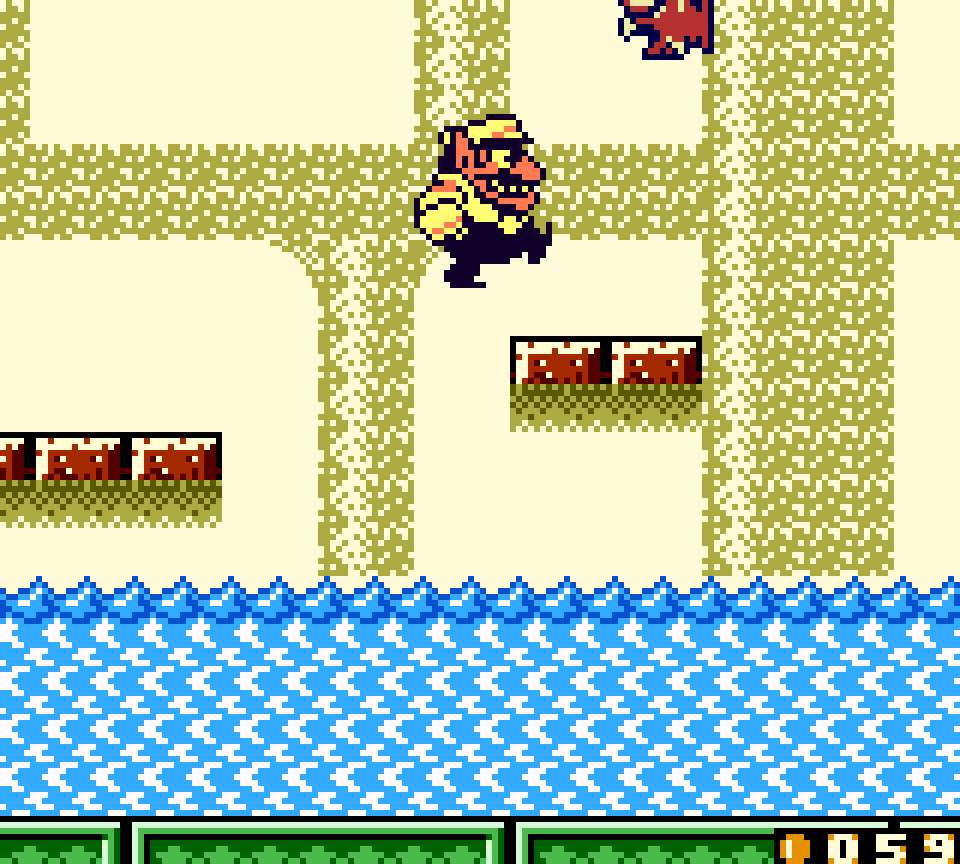
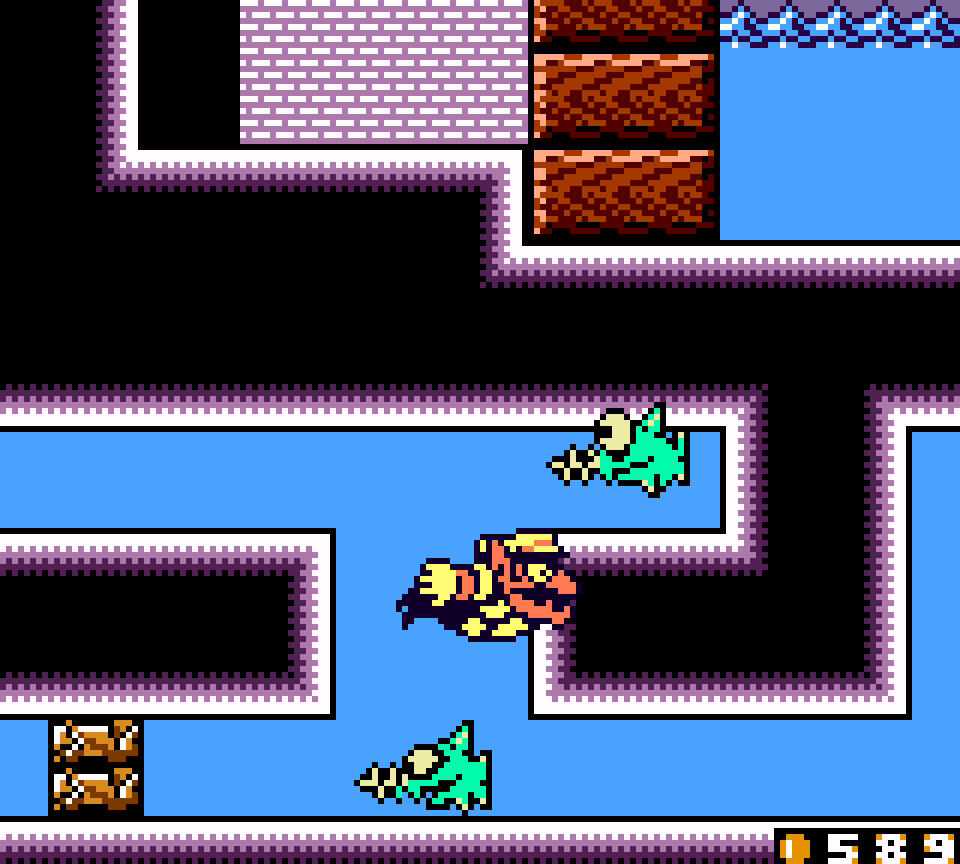
3. Ruins at the Bottom of the Sea Story 3: Inside the Ruins
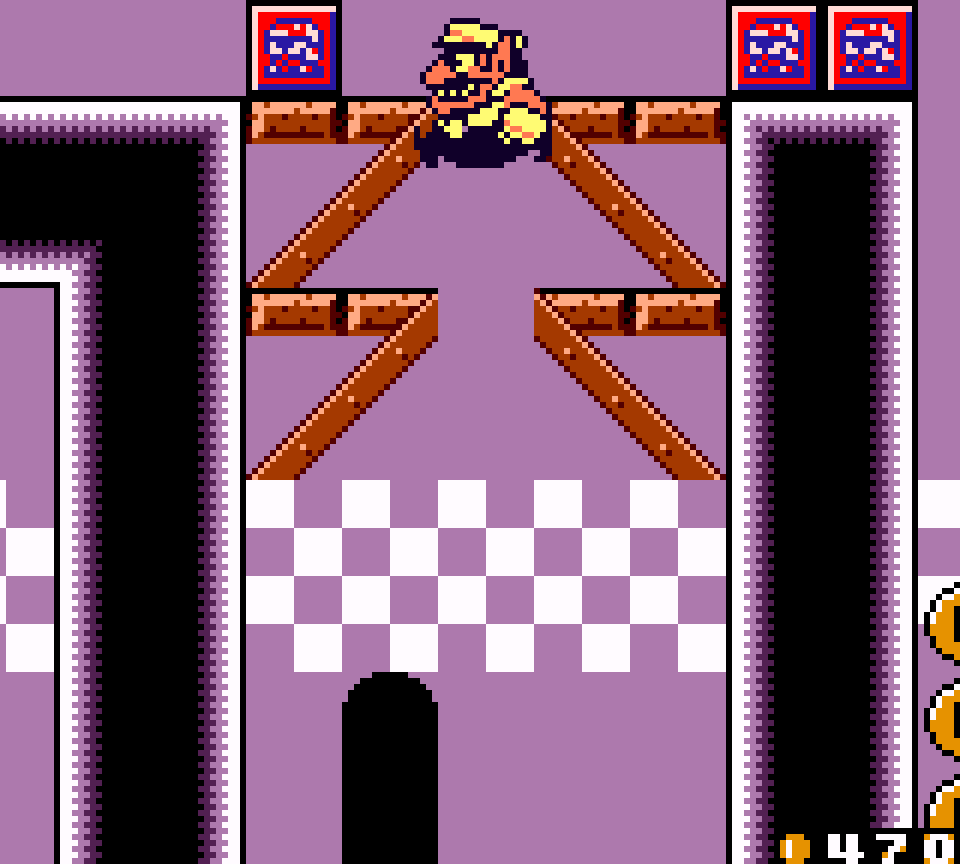
This here is the most daring level in this game: after rolling the long way right @ the beginning, granting you a sneak preview o’ the level proper, you end up on the far right side & the goal door, right there; & unlike levels like “Go to the cellar!!”’s “Find the exit!!” & “Uncanny Mansion”’s “The way to the open door” & “Coming back is difficult”, which tease you with showing you the exit, but making you play thru the whole level to get access to it, this level doesn’t bluff & does allow you to just enter the door right @ the start. But because this game is truly about 100%-ing it, not just beating it, — if one were just beating it, ¿why would one be playing thru a bonus chapter? — the player still needs to get the treasure, & to get the treasure the player will have to play thru the level to find its door & come back to the goal later. In a way, this foreshadows Wario Land 4, but in a different way: the goal o’ that game wasn’t just to hit the switch just to go back & leave. If that were the case, then its final level would be the easiest level in the world. Its goal was to collect the various items necessary to continue thru the game & safely exit with them. This level is the earliest iteration o’ that mechanic in Wario Land, with the treasure as the collectible with which you need to escape.
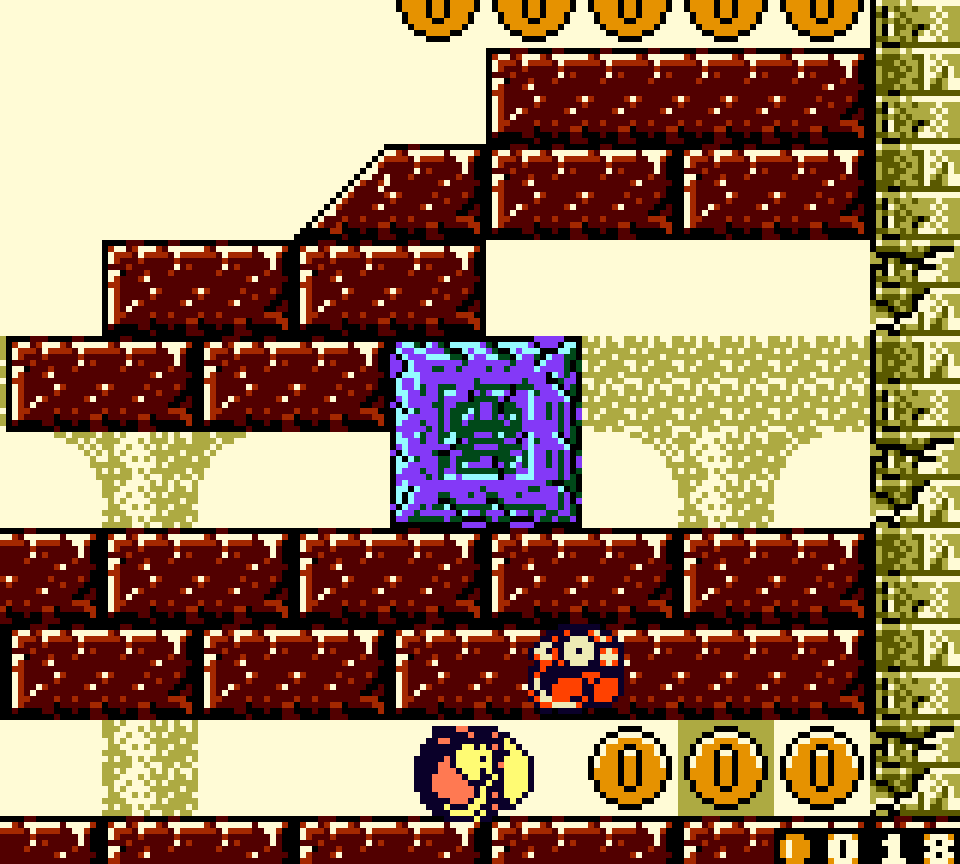
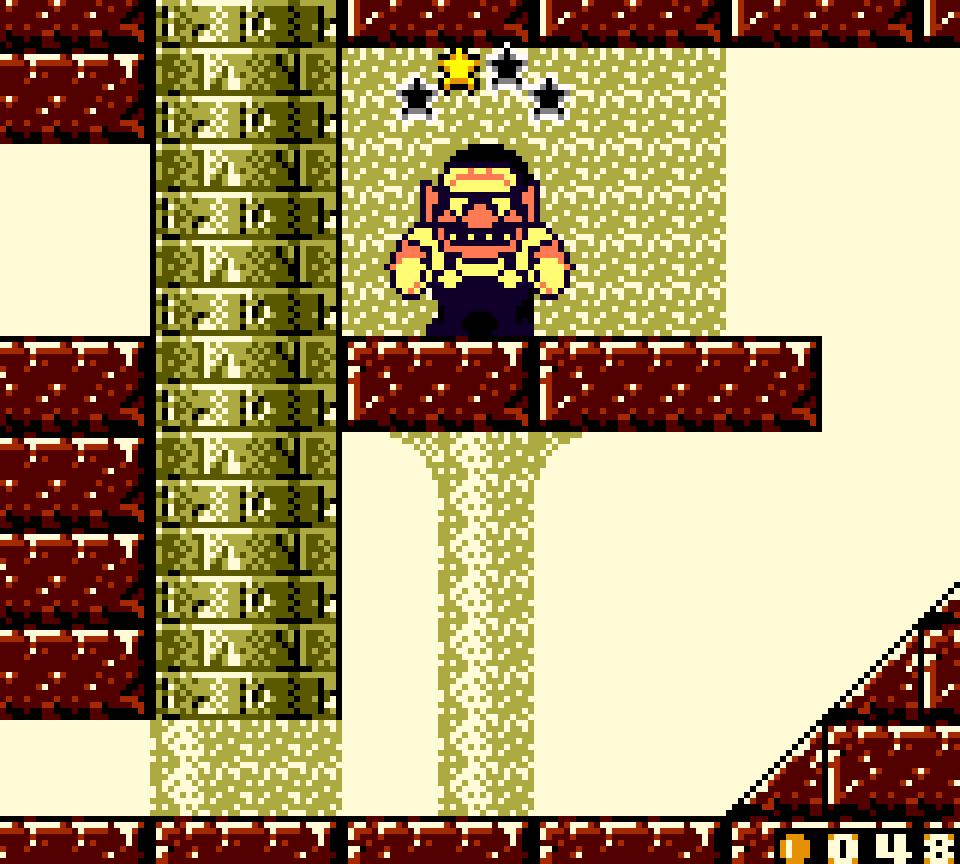
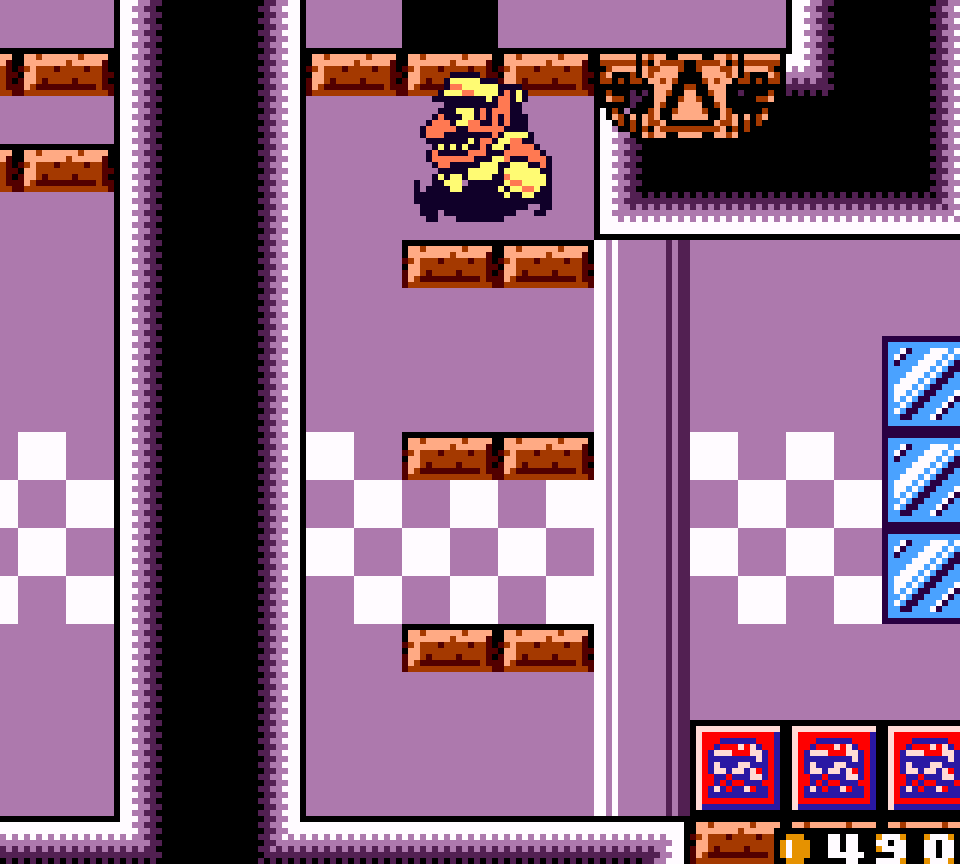
Playing the level proper involves navigating a maze o’ columns, breaking thru the 1-block-high cracked spots with rolling Wario, which in some cases requires timing jumps to get from the nearest slope to the cracked wall blocking your way forward. @ a micro level, this works the same as e’ery other use o’ this mechanic in the series, but nowhere else in the series, much less this game, is it utilized in such a memorable, intricate, & thorough fashion. For instance, this level adds a few backward slopes to go backward into certain niches. & while most rolling Wario setpieces thruout the series are relatively on-the-nose ’bout how to complete them, this level’s layout is mo’ complex & has mo’ variance to the placement o’ columns, blocks, & cracked passageways & requires mo’ scrutiny to follow the right path — especially when playing the game itself & only seeing a small screen o’ the map @ a time.
The treasure door is also given a proper location: this time just throwing it in the middle works, as it’s in the middle o’ a maze, surrounded by many other doors.
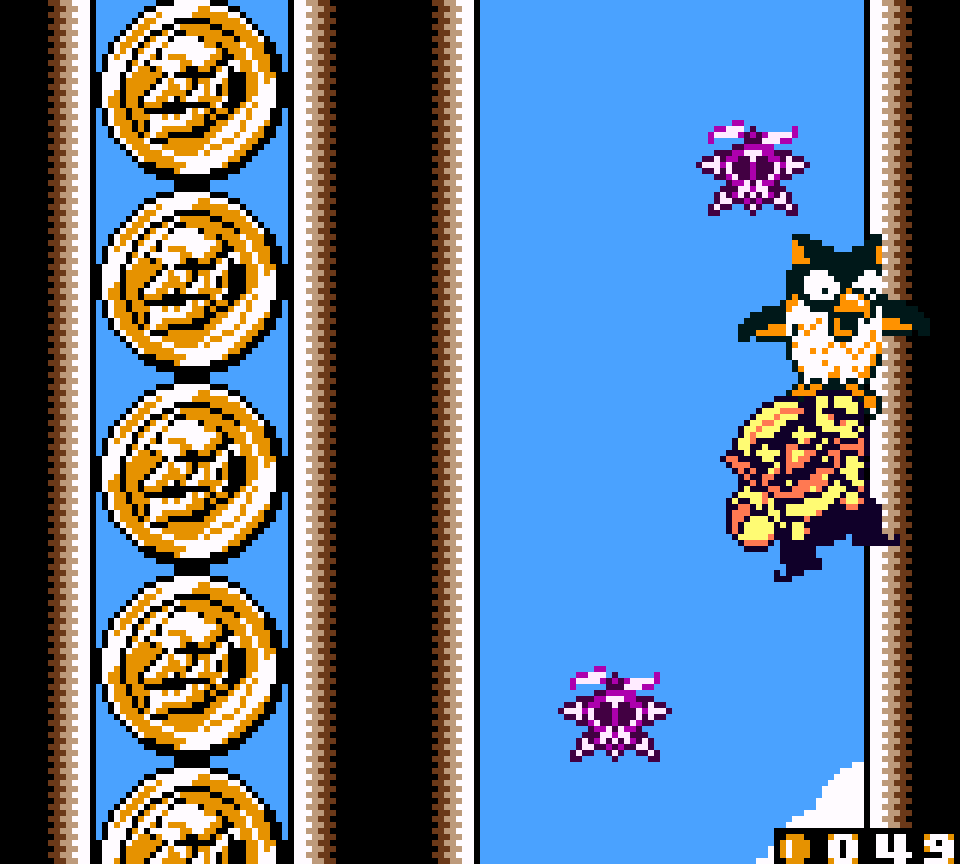
Like many levels in this game, this main venture rolling thru the big hall is peppered with subrooms with simple puzzles for coins; & while these are the weakest part o’ this level, they tend toward being mo’ interesting puzzles than most levels in this game. @ its worst you have forgettable rooms where you just throw Pirate Gooms @ blocks to access coins behind them or jump off Pirate Gooms to reach coins high up or you have o’erused mechanics, like using flat Wario to collect coins — & e’en that room was cleverer than most, as you had to aim flat Wario in a certain way to reach the other side without falling into the current water that’ll push you back if you land in it.
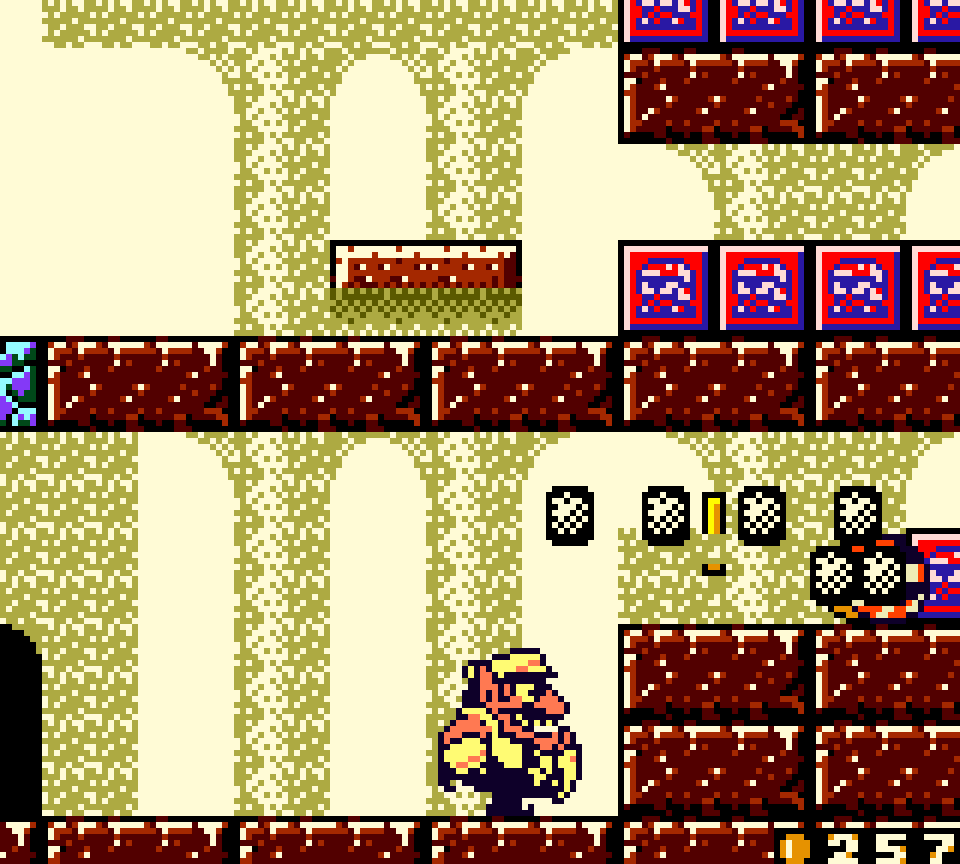

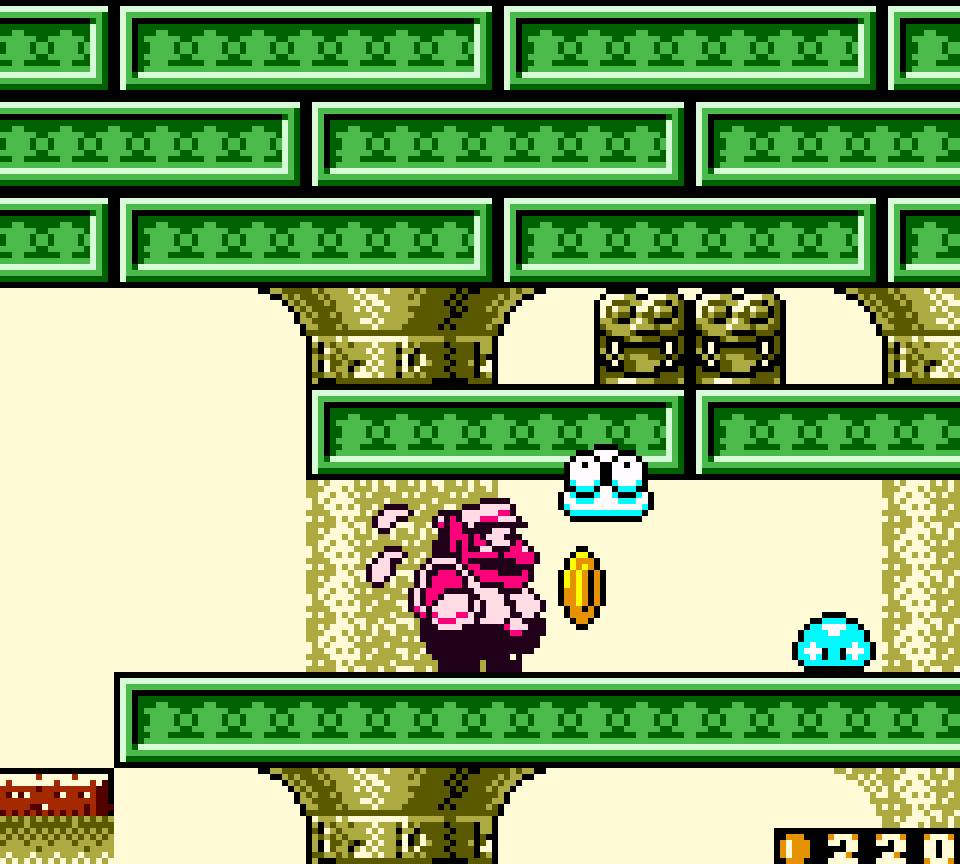
Other rooms are actually pretty good. You have 1 with the unique mechanic where you become fat & plow thru puffy marshmallow enemies, which is not an amazing “challenge” & is similar to a setpiece in “Mysterious Factory!”’s “Awaiting Syrup!”, but you just get a few coins for your lack o’ effort, anyway. A much mo’ challenging room is the 1 where you need to cross small platforms while aggressive hopping fish jump @ you to knock you off in a way that’s surprisingly hard to dodge. My only complaints with this room & its mechanic are that it’s probably too good to be wasted on just a subroom hidden in a maze & that it offers barely any coins to be worth the trouble.
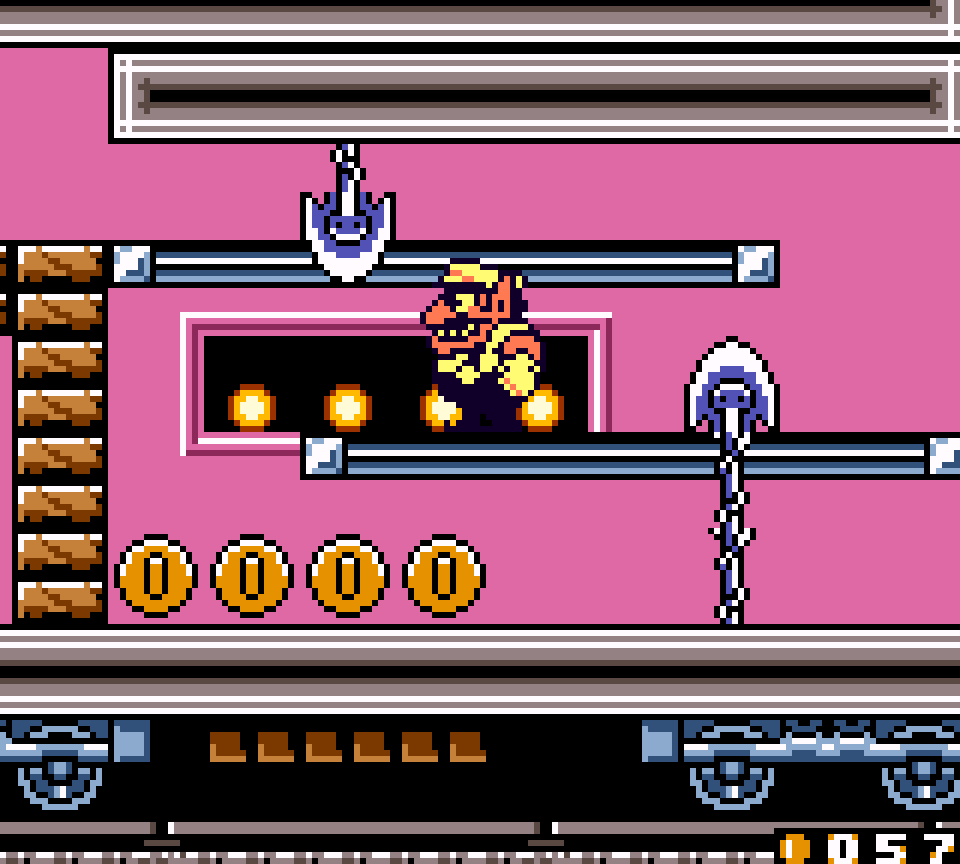
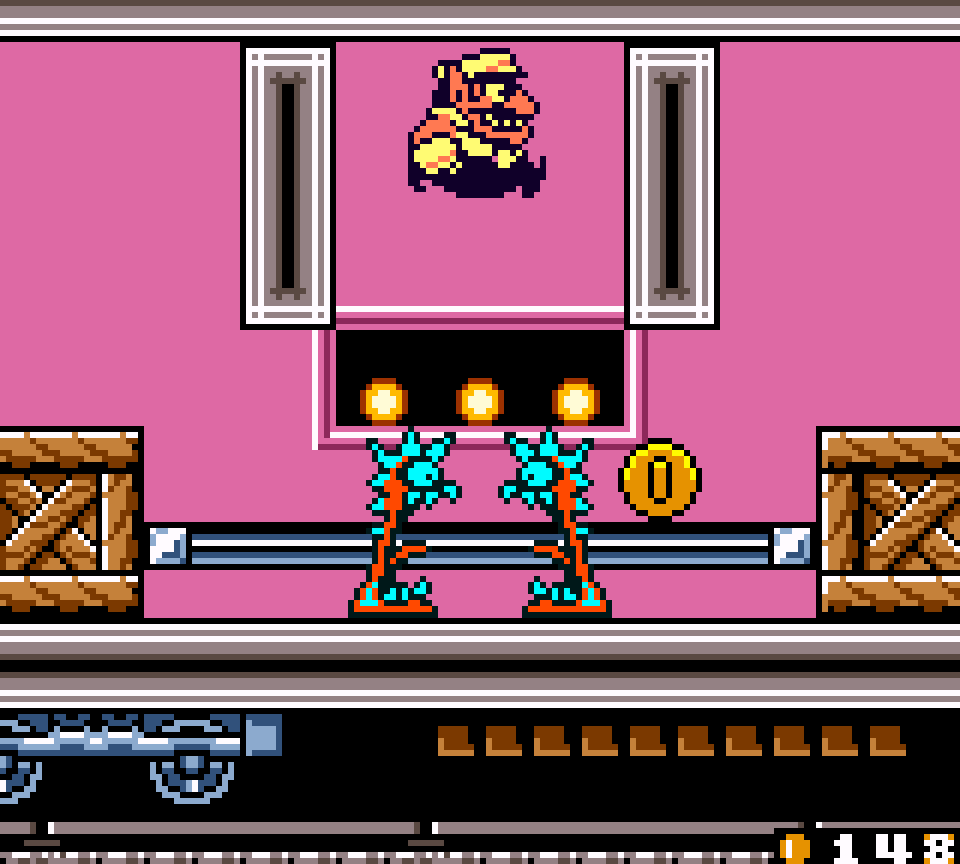
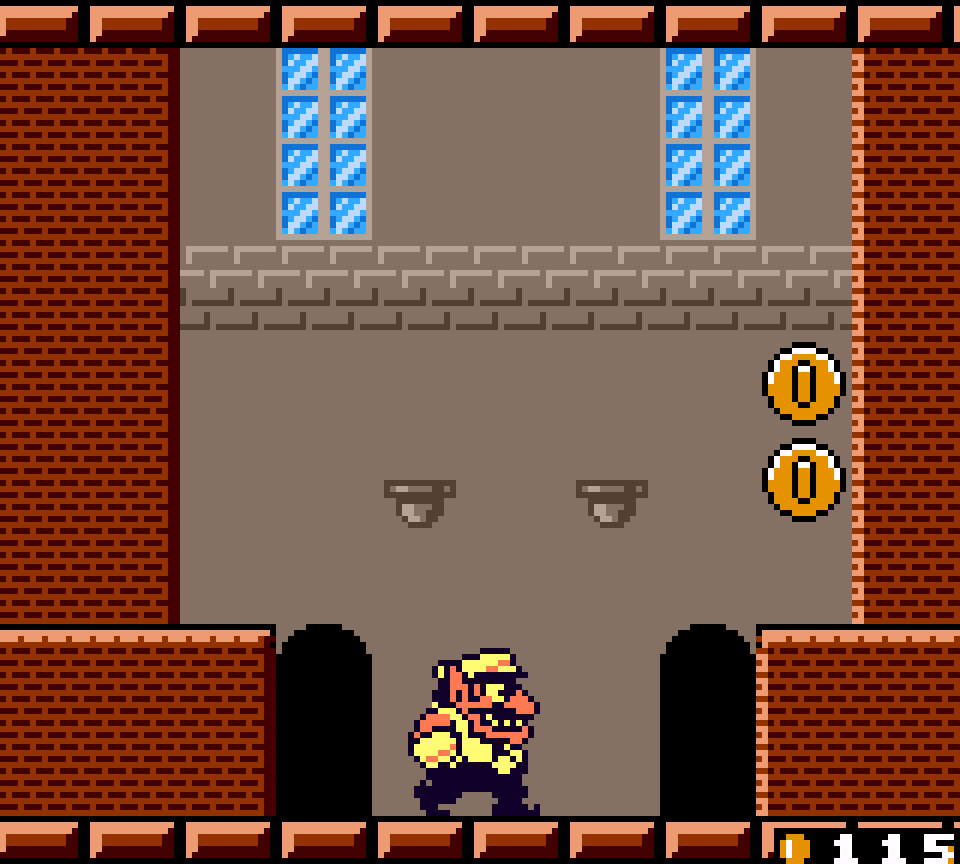
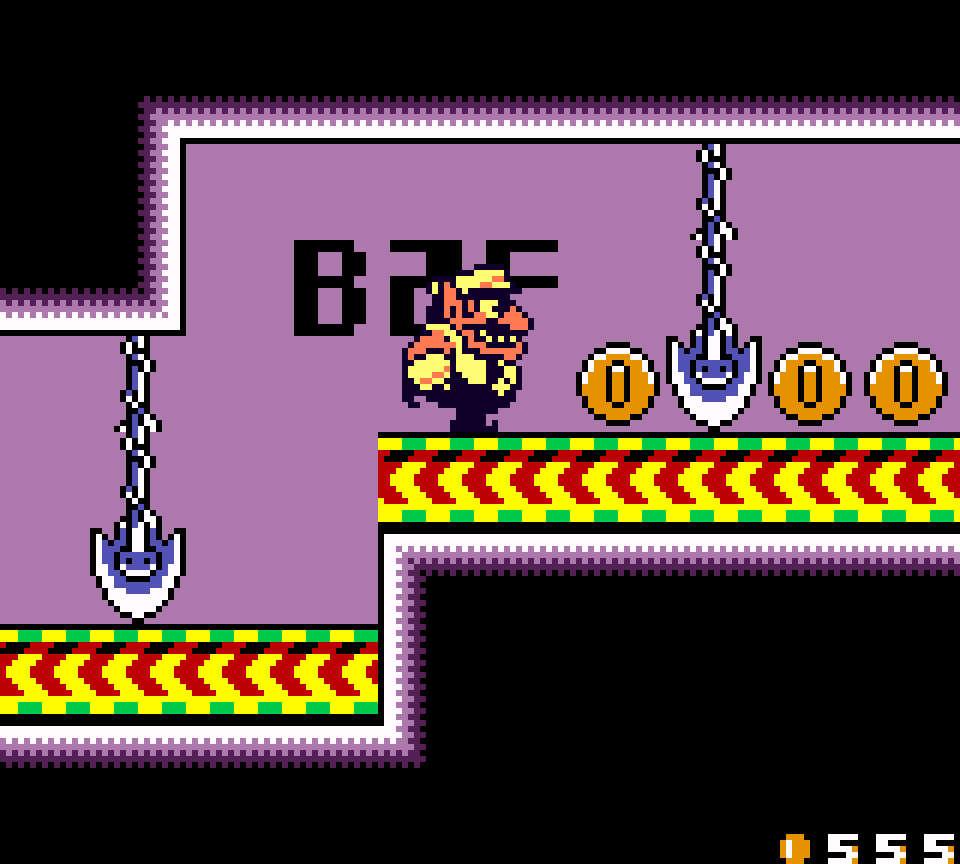
2. Go to the cellar!! Story 3: Stop that train!
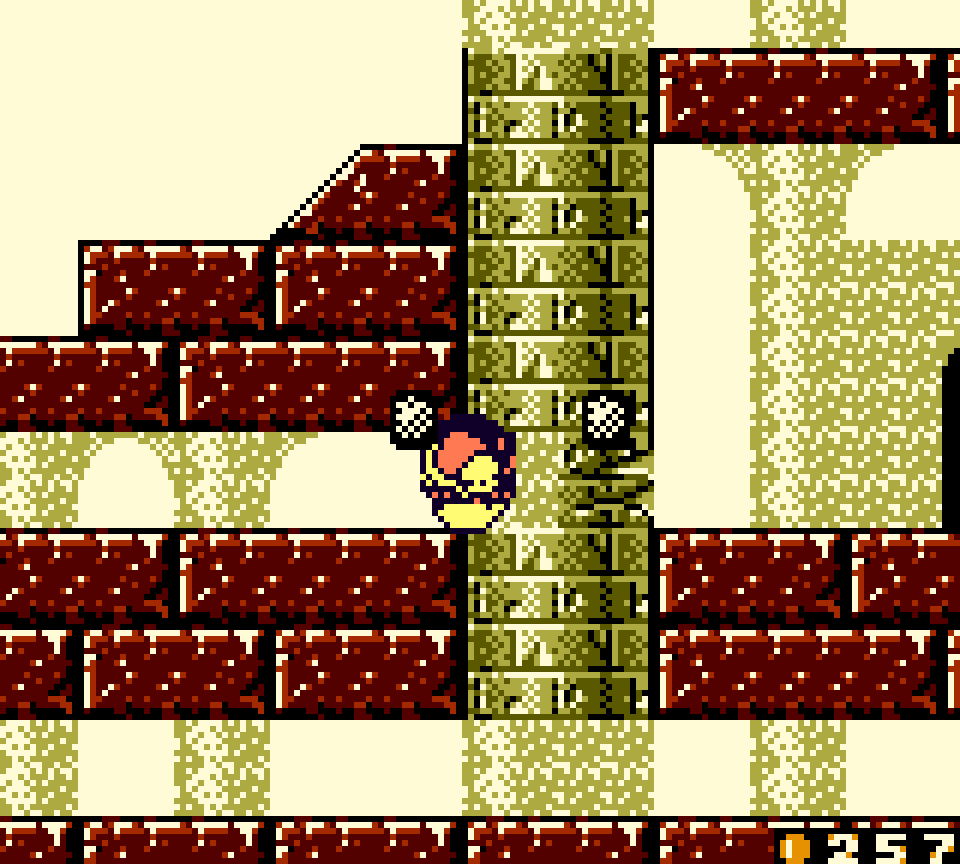
Admittedly, the extending & retracting blades that inexplicably infest this train move so slowly that they slow you down to keep in line with their timing; but I can’t help appreciate how interesting their arrangements are, where it’s not obvious whether the safe way is when the blade is extended or retracted. I specially want to emphasize a section near the beginning where you need to pass 2 blades twice, 1 pointing downward & the other pointing upward in the following sequence: ’bove blade 1 extended, ’bove blade 2 retracted, below blade 1 retracted, & below blade 2 extended.
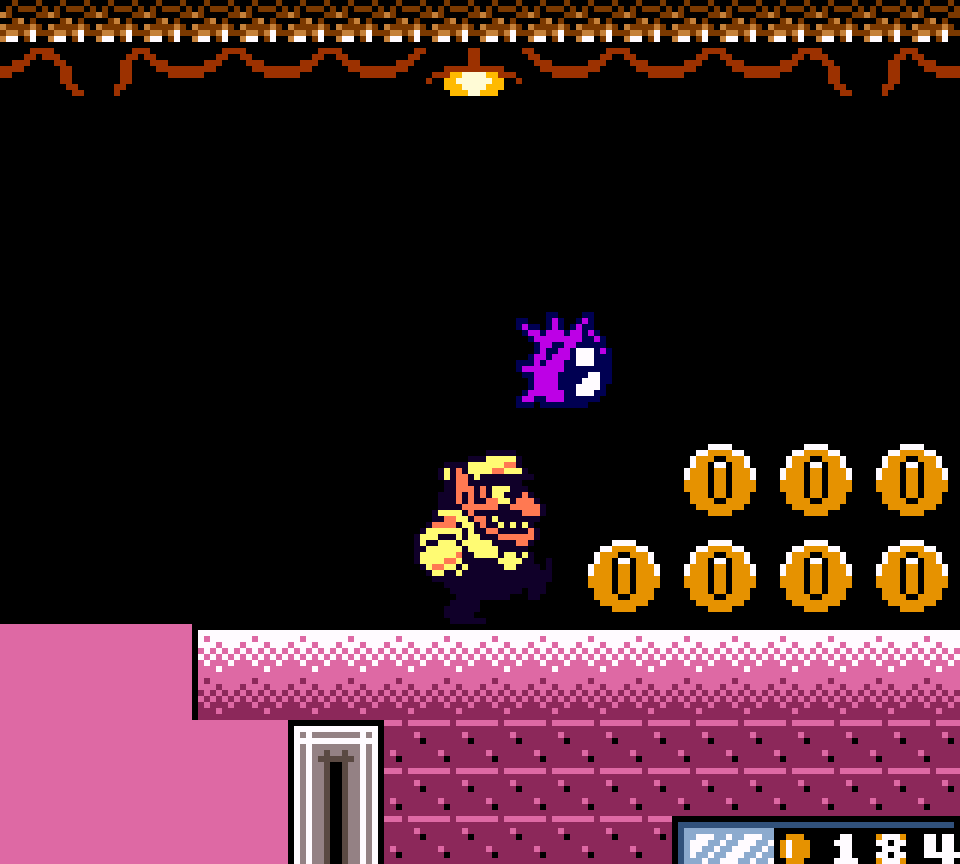
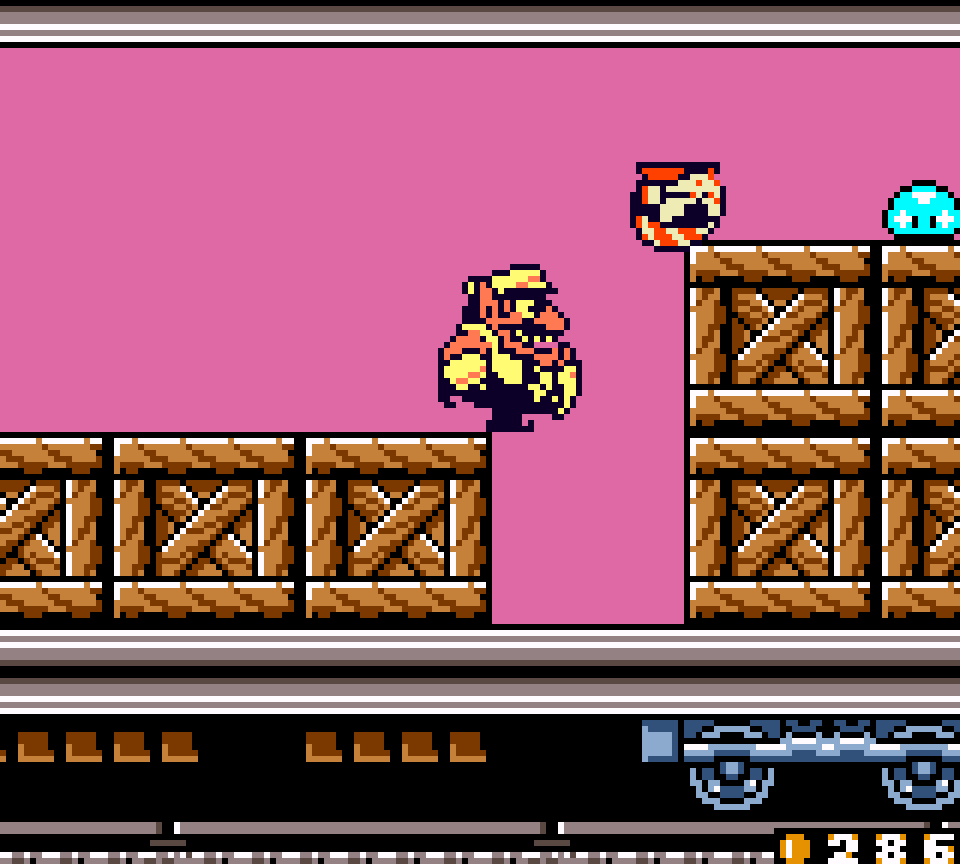
E’en the normally annoying enemies are much better implemented in this level. You need to time your movement gainst the backward momentum o’ the train gainst the hopping o’ the purple spiked beetle to go under it & avoid being knocked back, probably into a hole down to the lower level. In another section, the sleeping teeth monsters are arranged so that if you’re greedy ’nough to knock 1 out to get its coin, you can’t just suffice with just waiting for the nearby monsters to run back & forth a while before going to sleep ’cause you’re trapped ’tween them; if you want to avoid being knocked back & losing mo’ coins than you gained from your murder, you have to jump o’er them as they close in on you twice, as if playing a bizarre game o’ jump rope.
Like the train level in the “In Town” chapter, the treasure door is hidden down a specific hole in the roof o’ the train, but this level adds minor twists to it. Unlike the other level, the room isn’t just 1 small room where the door is right there, but requires venturing to the right past mo’ blades. Unfortunately, these blades’ layout is not as interesting as the aforementioned, both just requiring you to go past them while they’re retracted. The way the 2nd blade is positioned ’bove the crawlspace that leads to the bonus door, I’m surprised they didn’t raise the crawlspace just 1 block higher so that you have to dodge the blade while in the crawlspace. I also think it would’ve been interesting if the 1st blade were moved 1 block to the right o’er the platforms so that you have to time a small duck jump as it’s retraced while climbing back up thru the platforms.
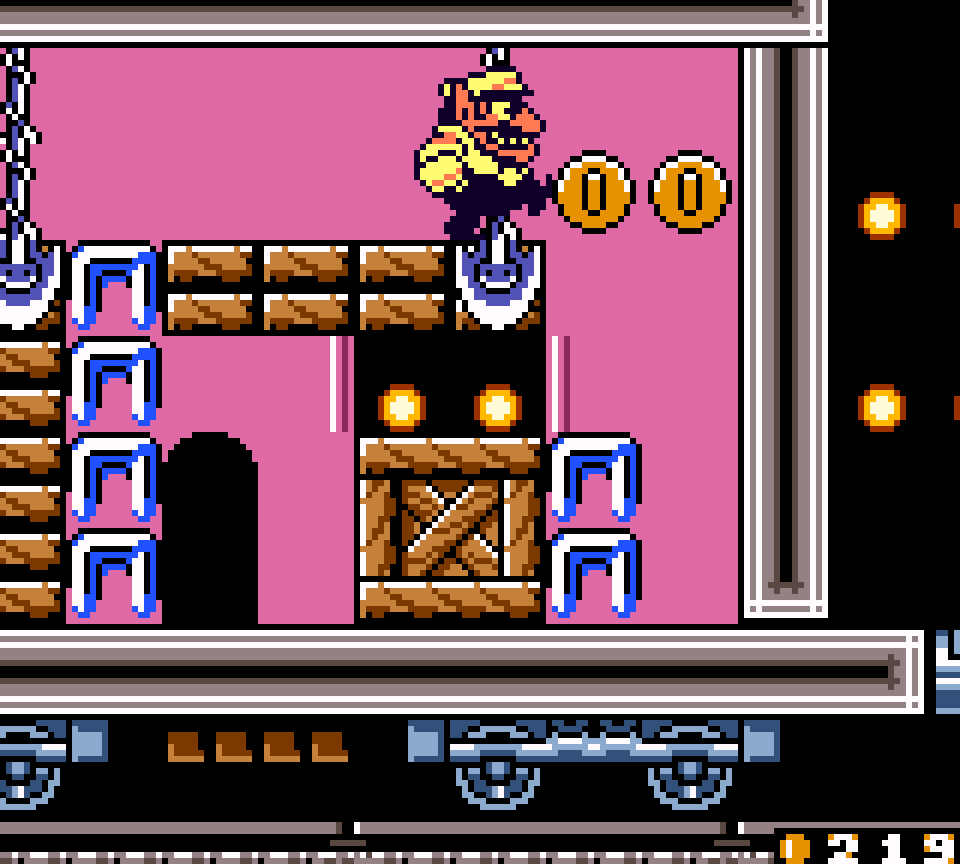
The other twist is that this room isn’t just accessible from 1 hole, but ’nother to the left; howe’er, the room drops off from a tower o’ crates high up so that you cannot reach the right side o’ the room from the left, making the left entrance just a tease.
Less impressive is the final room, which is a virtual copy o’ the other train level, down to requiring you to throw a Pirate Goom @ the white puff, which wasn’t amazing the 1st time ’twas used. ’Course, you also have to charge attack the lever to stop the train, which is to be expected — tho it certainly would’ve been funnier if they could’ve figured out a twist to stop the train a different way.
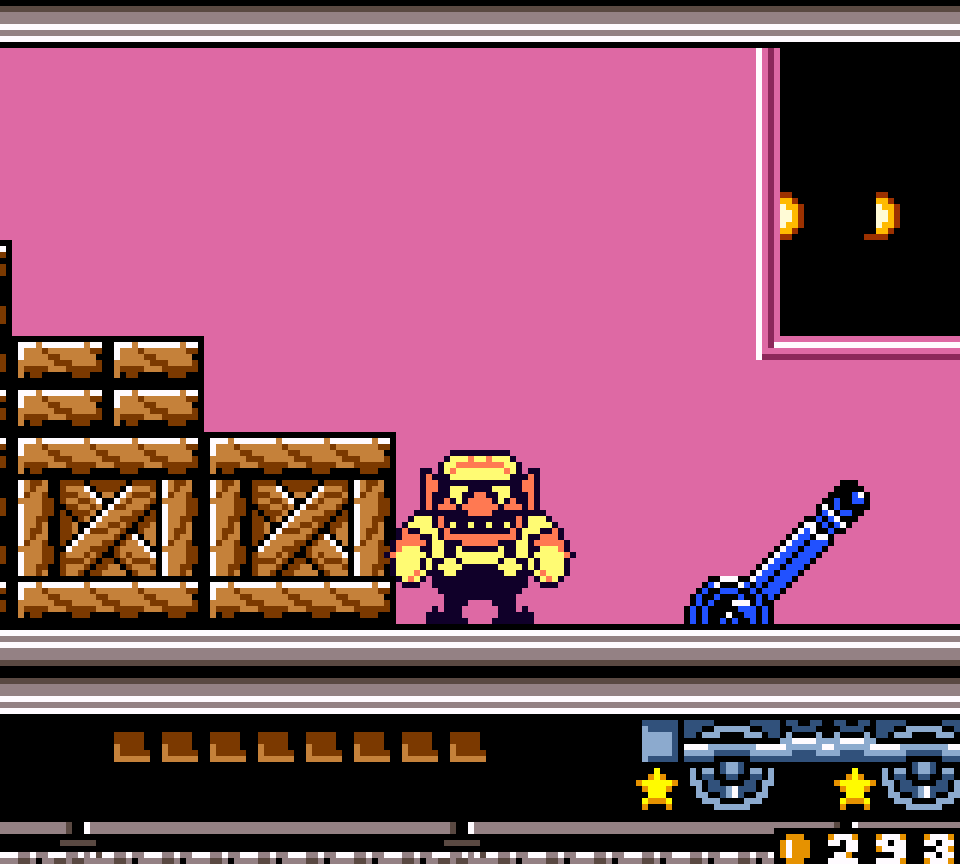
While e’en simpler, I think I like the visuals o’ the bright tunnel lights rushing by outside the windows better than the mountains in the other train level. Sneaking a train level into the cave world by means o’ an underground rail like the kind I take down to Pioneer Square whene’er I go thrift shopping was the most clever thematic twist in this game, especially since that world needed the added variety.
1. In Town Story 3: Down in the cellar
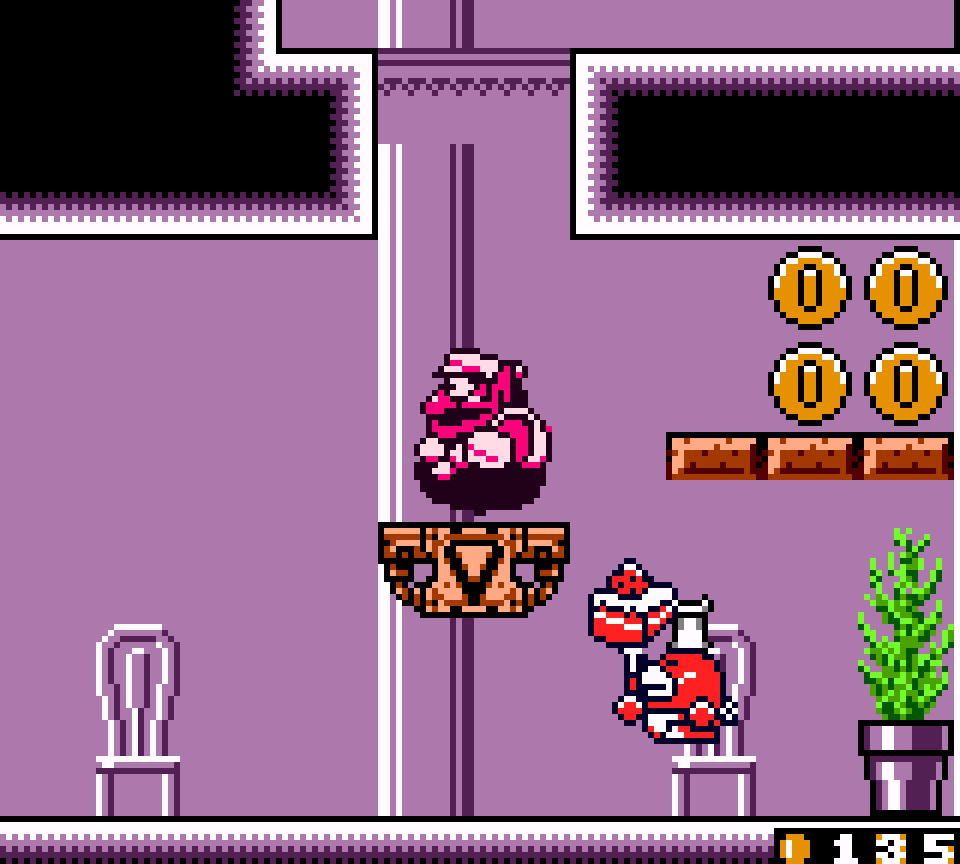
“Down in the cellar” is the cleverest & most intricate level in Wario Land II, a winding maze starting you in the middle o’ the top left & ending in the bottom right, made all the mo’ complicated by the arrow platforms, the up-arrow platforms allowing you to both reach higher areas or open a path downward, the down platforms requiring the use o’ fat Wario to pass thru them.
This cellar maze is split from top to bottom in the middle by a wall with only 2 holes, but they are misleading: the top hole teases you by having blocks that can only be broken on the other side blocking the other side; & while the bottom hole seems to have nothing in its way, the left side o’ it is ironically blocked off by a wall & a floor / ceiling from the rest o’ the left side, making it mo’ like a part o’ the right side that intrudes into the left side’s space. The actual way to get to the right side is to go thru a door into a subroom that leads to another door that leads to the right side.
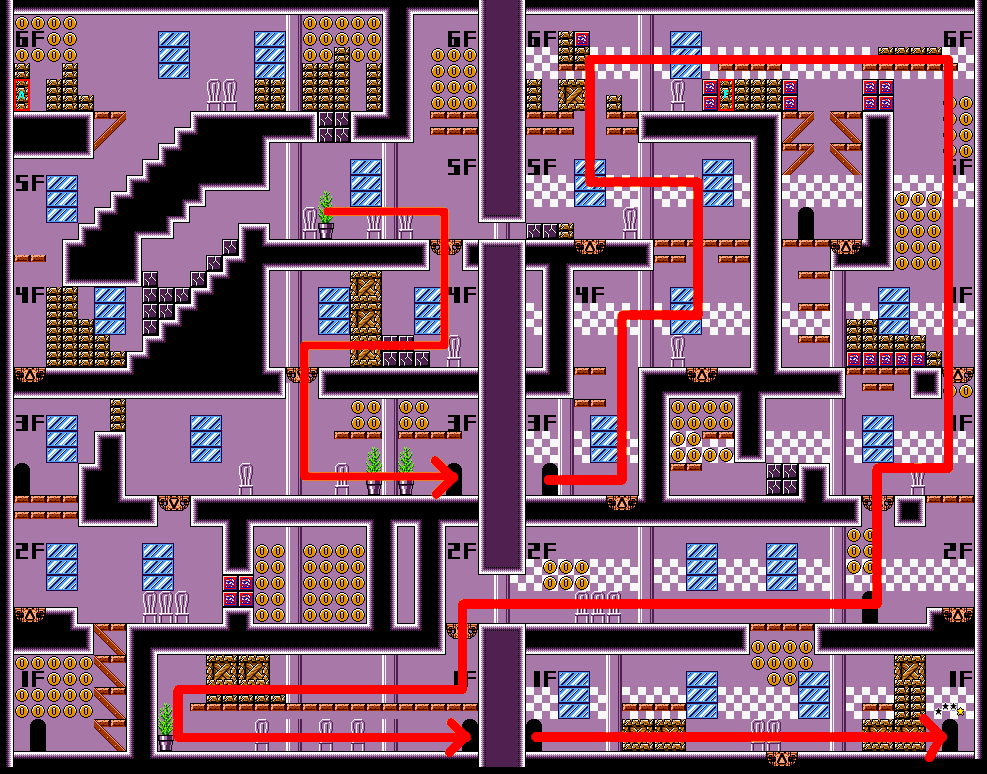
The treasure door is odd: there are 2 ways to it, a 1-block hole @ the top & a series o’ platforms below. While I like the psychological trick o’ requiring the player to intentionally fall down a hole that’s easy to skip past, I think the bottom route ruins this & is too simple & obvious to be a puzzle; they should have made the top hole the only way in while still allowing the player a way to see the door from below or the sides & allowing the player back up from the right side.
The subrooms in this level aren’t great, but they’re not bad, either: @ worse you have a basic owl room for coins, a basic springy Wario section for coins, & a room where you can bounce on an enemy just jump up to reach 2 10ers, making the D. D.s just in the way. & e’en the basic springy section has a twist in that it leads down to an area giving the player access to an enemy to throw @ a wall o’ throw blocks the player’ll have encountered on the way to this subroom.
Meanwhile, the subroom that transitions from the left side o’ the level to the right teases the player with the target door being itself on the other side o’ a wall, but inaccessible, forcing the player to go all the way around, — a microcosm o’ the level as a whole.
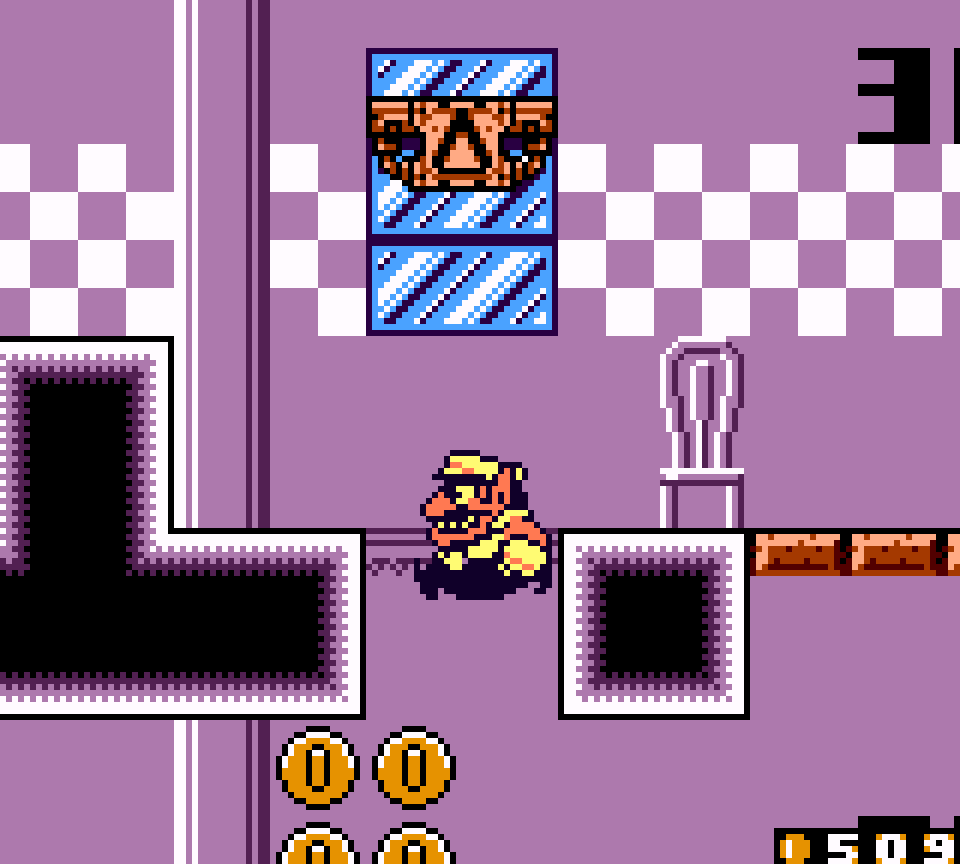
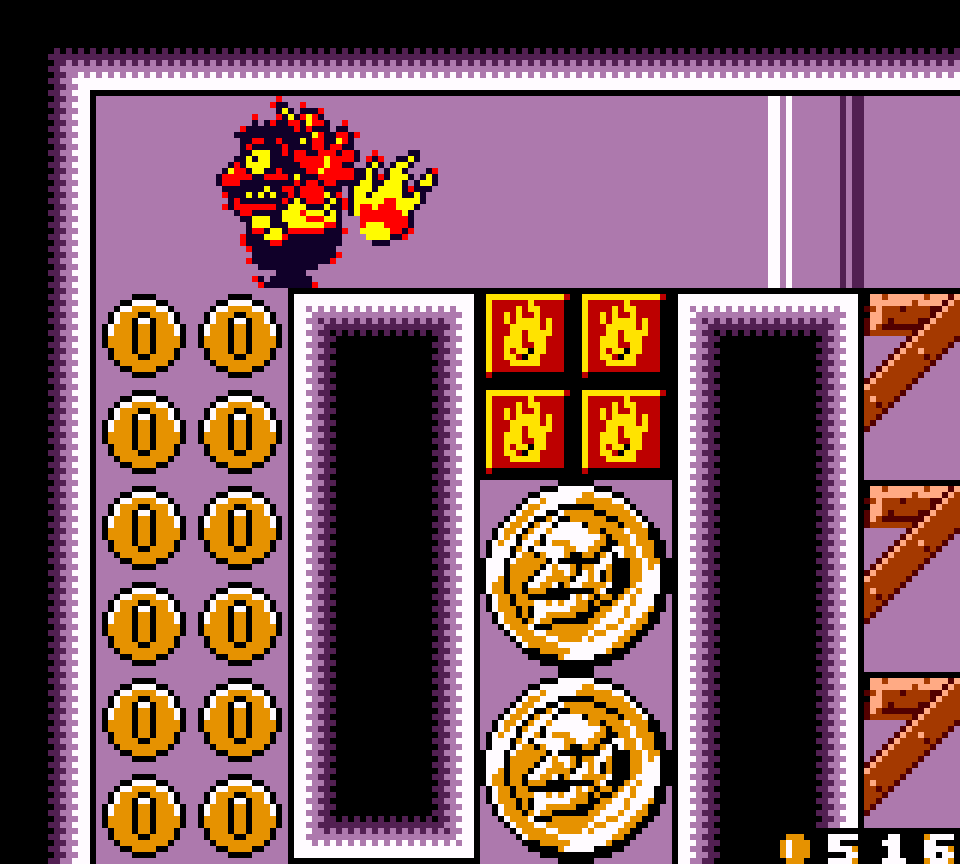
Near the bottom is a fire Wario challenge where you need to stay @ the top with precise jumps or time a jump up to the top floor just before Wario combusts into flames to break thru a floor & collect some coins. Finally, just before the goal door there’s a short water section where you have to dodge drillfish, which is short ’nough that it feels mo’ like a fun change o’ pace rather than the tedium these fish usually offer in other levels full o’ them.
& this level is good @ filling in all extra space o’ the main maze room with bonus coins & minichallenges so it feels like the whole level is utilized.
Chapters Worst to Best
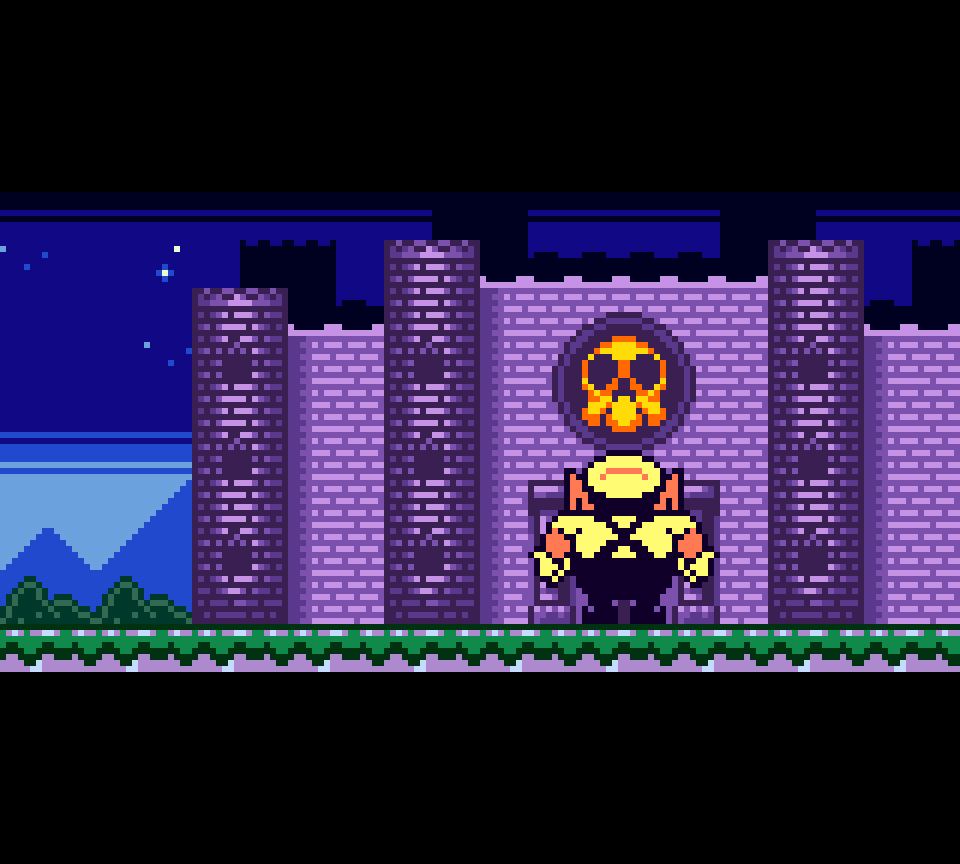
10. Bonus Chapter 2: Invade Wario Castle
I have made it no secret thruout the level list how disappointing this bonus chapter was in terms o’ actual levels compared to the iconic way the player unlocks it by refusing to get up from bed for too long. It says something that few — including me before compiling this level list — remembered much ’bout the actual levels beyond that.
& as clever an idea ’twas to make Wario retake his castle, it meant we got 3 whole castle-themed chapters, with this chapter as the most forgettable. E’en tho Cap’n Syrup had time to replace Wario’s insignia in front o’ his castle, she unfortunately didn’t have time to give his castle a new paintjob, so most o’ this chapter’s levels looked just like the 1st chapter’s, with just the outside evening sights being a contrast.
But the real reason this chapter is so low is ’cause its level mechanics are reruns o’ what other levels have & the layouts are uninspired to poor. It says something when the best level in this chapter is a maze o’ a bunch o’ halls ending in twin doors.
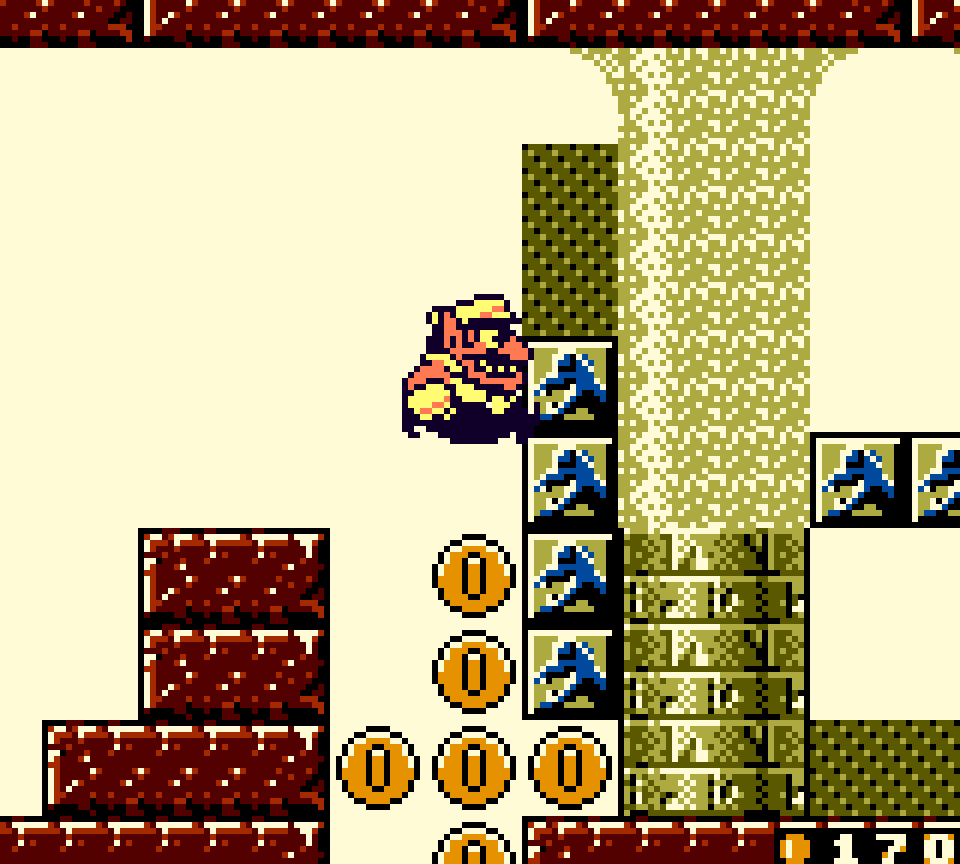
9. Chapter 3: Maze Woods
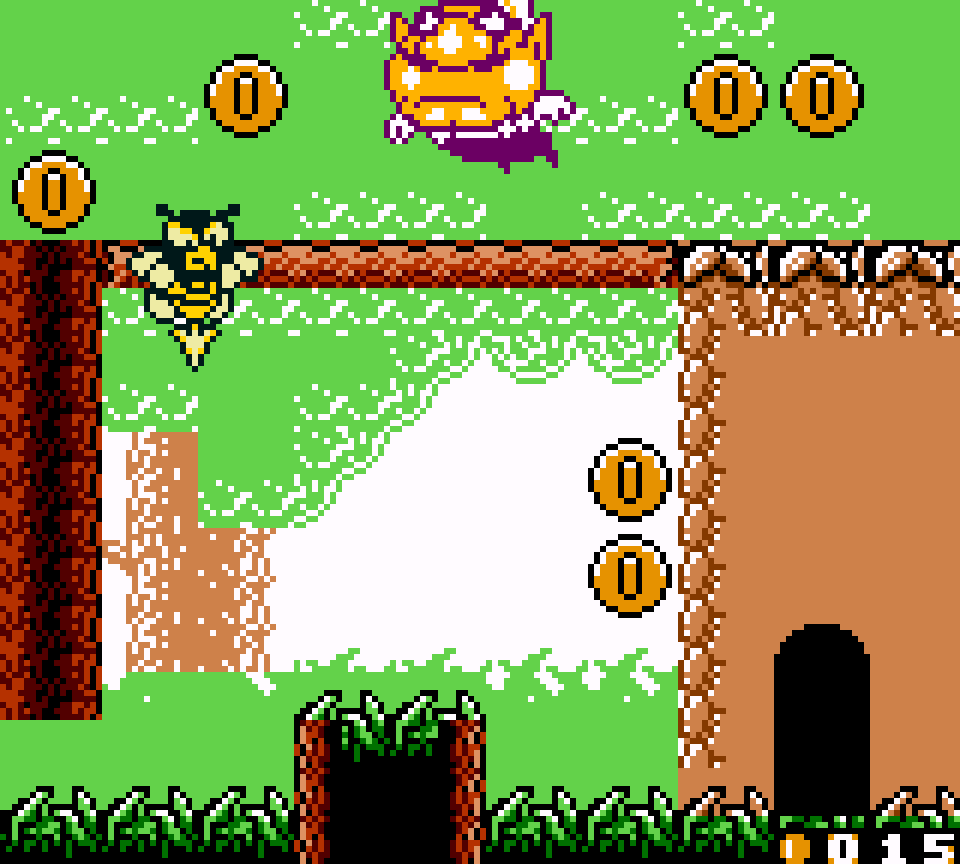
In a game that had relatively less common themes than most games, the chapter focused on the standard forest theme stands out as less interesting, especially when we already got a taste o’ grassland or woodlike levels in the chapter preceding — including a much better grassland level, to boot.
This chapter also reuses mechanics that were not all that exciting in the 1st place, like the moving turtle platform or bees, so close to each other that this chapter does stand out as mo’ repetitive than most, with just the spike-&-tree-trunk maze level, story 3, feeling all that unique — & e’en that level reuses the owl mechanic introduced in the 1st story o’ this chapter.

8. Bonus Chapter 2: Go to the cellar!!
I have to admit that this level’s drab aesthetics, including the ugliest tileset in all Wario Land games, & general blandness o’ caves as a level theme dragged this chapter down — tho the subterranean train level helped ’nough to lift this ’bove “Maze Woods”.
Howe’er, other than that 1 highlight, this chapter also relies too heavily on weak mechanics, like light switches; & when the mechanics are interesting, like the different falling rocks in “Avoid the rocks!”, the levels are not laid out in a way to take them to their full potential.
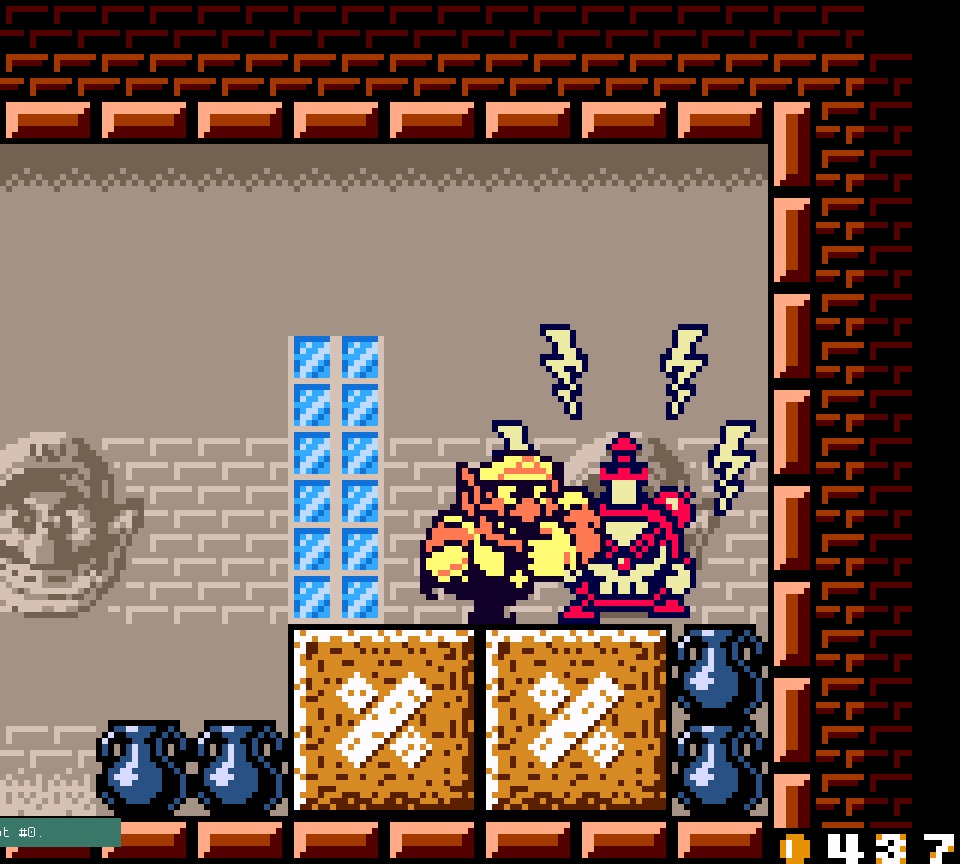
7. Final Chapter: Syrup Castle
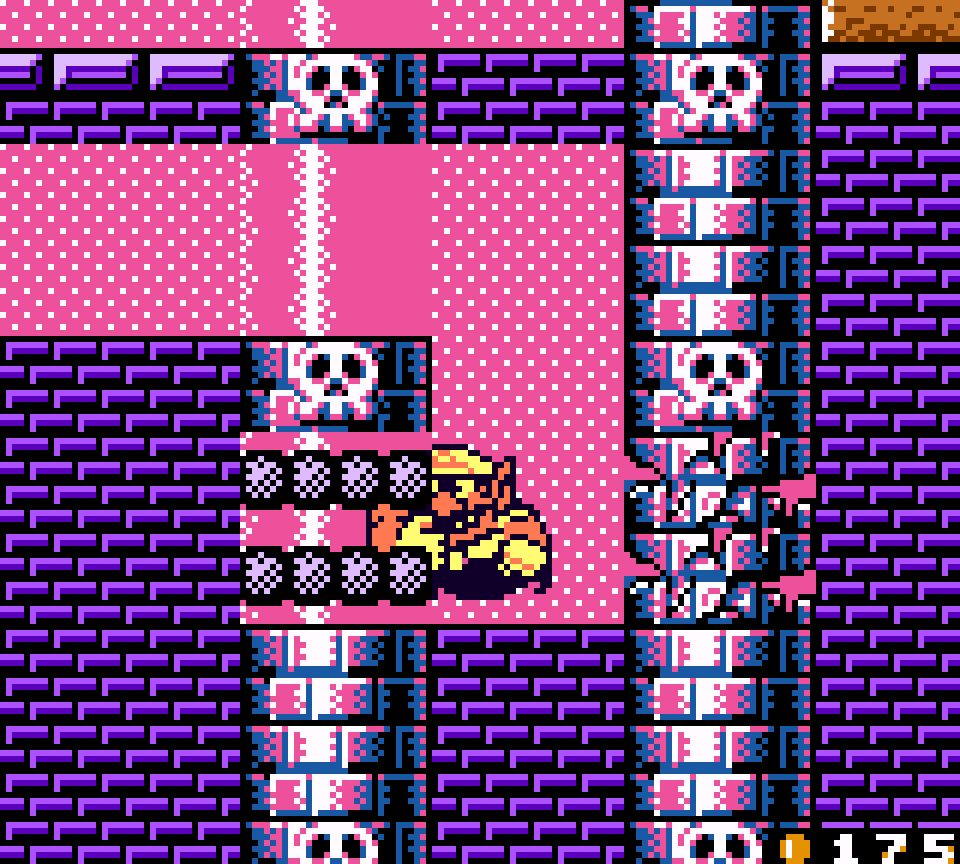
While “Syrup Castle” looks mo’ interesting than the other castle chapters with its sunset skies outside & pink & purple brick walls, the levels aren’t the most memorable, oft reusing elements from mo’ memorable chapters, like riding turtles from “SS Tea Cup” & jumping on dressers in currents like in “One Noisy Morning”, especially the final level, which just feels like any other level with a generic Dr. Eggman boss. The most memorable level is a lame level where you just smash thru a maze o’ walls.
6. Chapter 2: SS Tea Cup
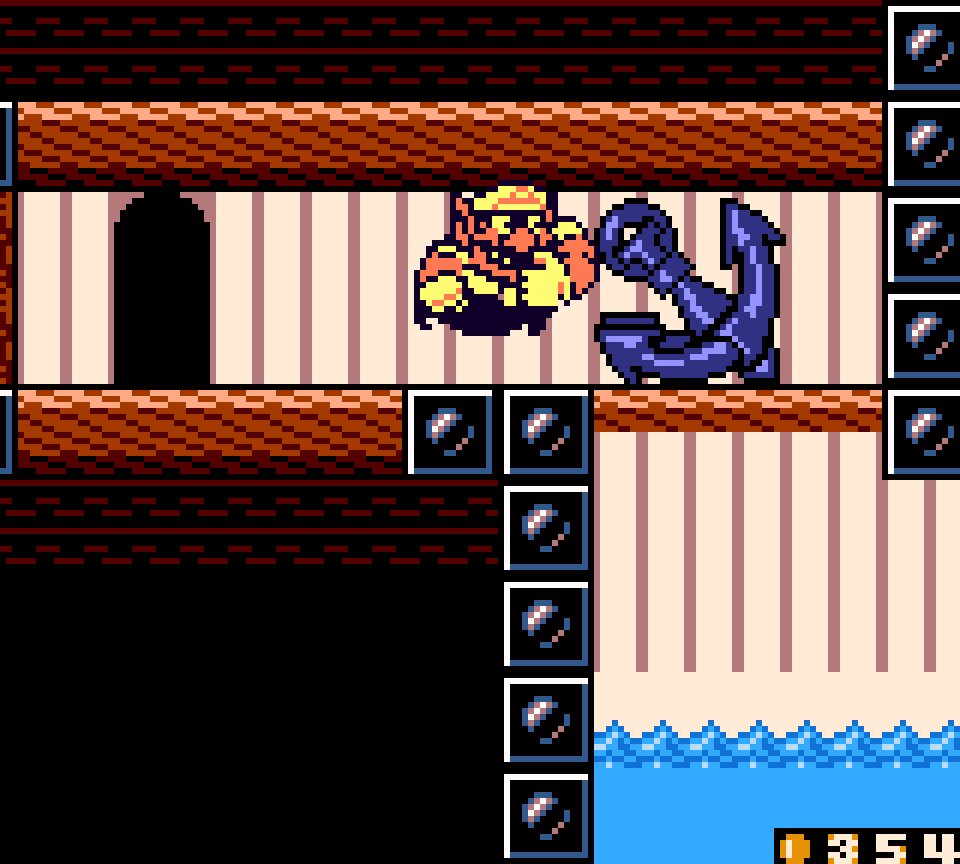
As interesting as a ship theme can be compared to the mo’ typical platformer themes, this chapter sadly barely utilizes said theme with only 2 levels, 1 o’ which is a mostly empty boss level. The rest o’ the chapter is crowded by redundant grassland & water levels — albeit, including 1 better grassland — the iconic “Return the hen to her nest” — & water level — “Get in the Tea Cup” — than found in other chapters.
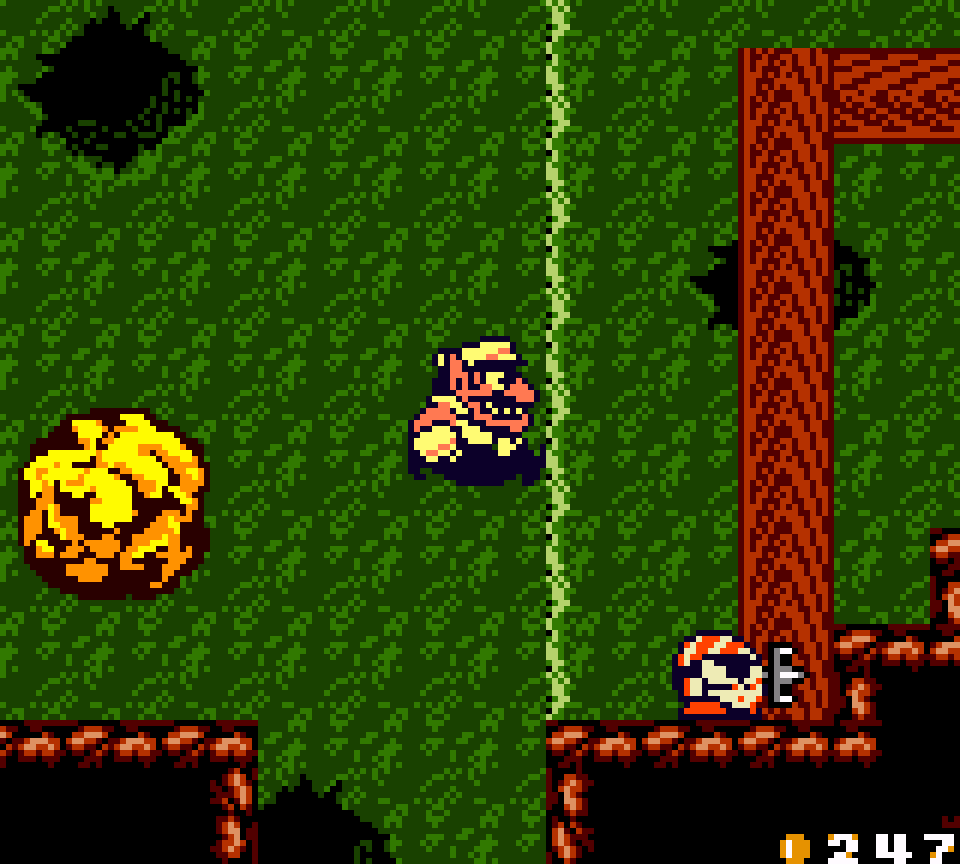
5. Bonus Chapter 3: Ruins at the Bottom of the Sea
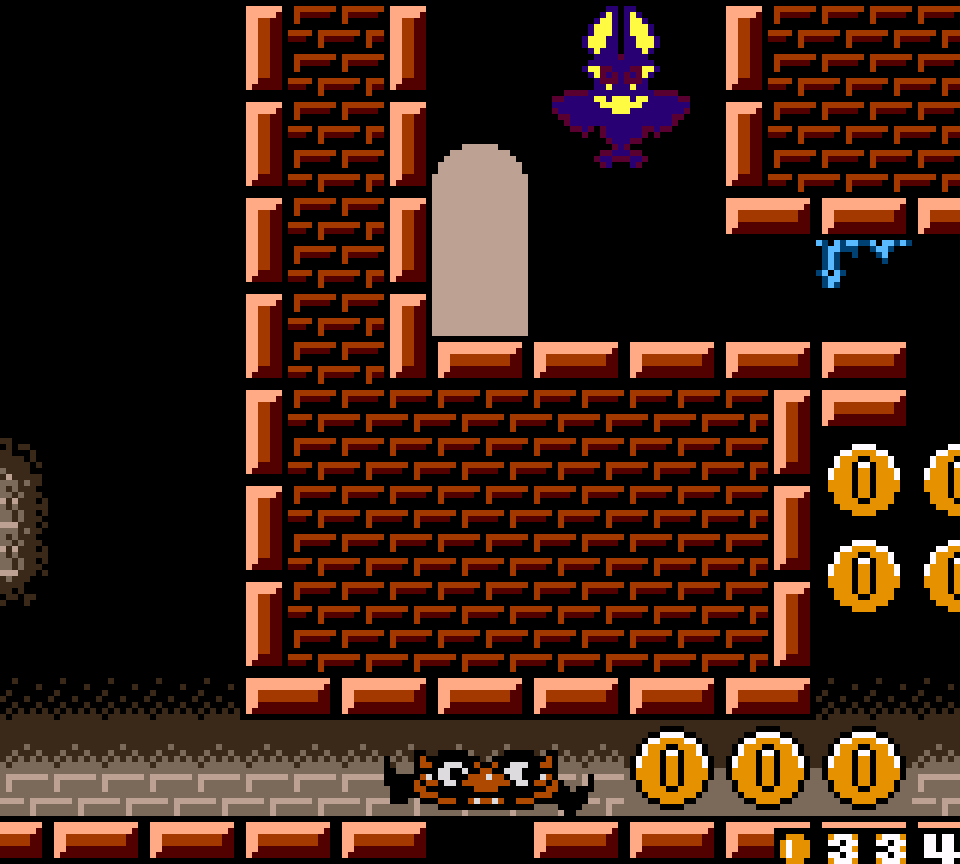
A relatively solid chapter that focuses perhaps a bit too much on its ruins theme, with 1 ship theme @ the beginning. While not the best-looking theme & harboring some weak levels, e’en weak levels like this chapter’s “Defeat the giant spear man” story can have interesting ideas behind them & the messiness, thrown-together look o’ some levels like “Captured Syrup!” a’least fits the theme. & this chapter being the only 1 to have 2 bosses is a twist, specially since they’re some o’ the better bosses in this game.
4. Bonus Final Chapter: Uncanny Mansion
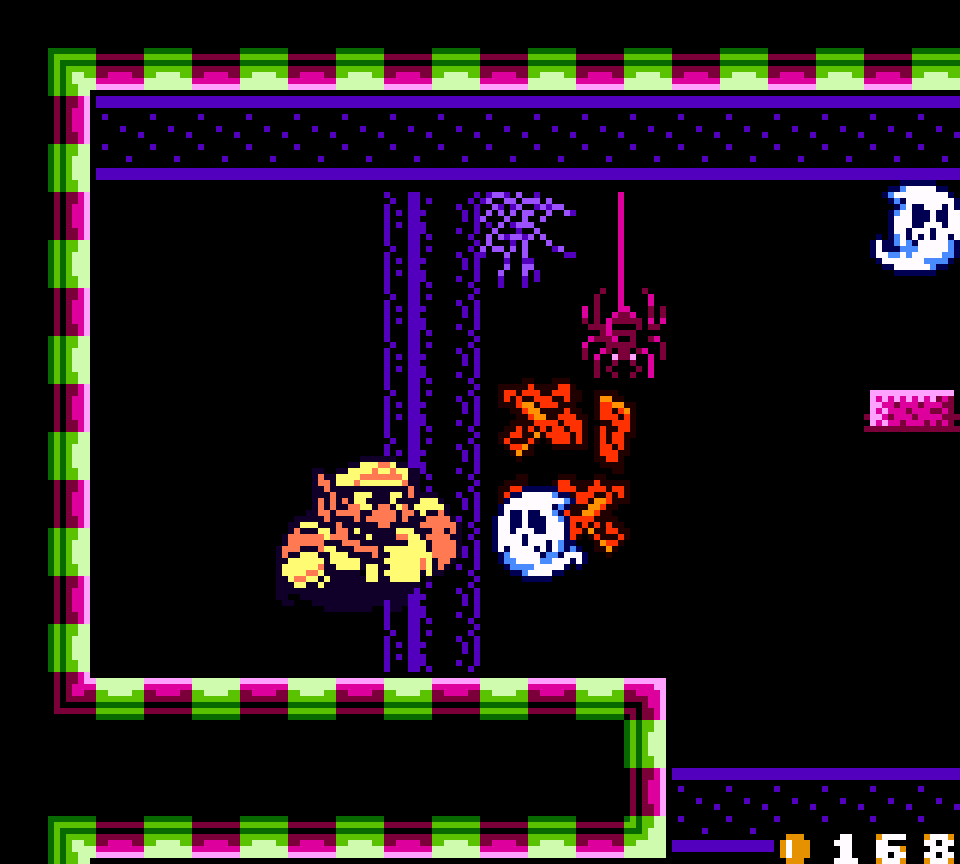
E’en if this chapter has some o’ the least thematic variance, with e’ery level having the same mansion tileset & black-&-purple color scheme, well, it’s 1 o’ the best tilesets & color schemes in this game, especially with all the details o’ the various-colored spiders hanging from the ceiling, the wooden chairs, & the light beams coming out o’ broken windows.
You can also tell the developers put mo’ effort into creating puzzling twists to these levels than other chapters, but unfortunately the gimmicks they created were not always the best, with “Coming back is difficult” being the only true success contrasted with yet another lame “turn on the lights & go thru all the rooms” level & a dumb level where you just keep going in doors till you find the switch & then go in doors to open back up the 5th door.
3. Bonus Final Chapter: Mysterious Factory!

“Mysterious Factory!” does a bit o’ a better job blending puzzles with platforming challenges than “Uncanny Mansion”, as well as providing a bit mo’ variety with a warehouse level & a level that blends the factory theme with water.
2. Chapter 4: In Town
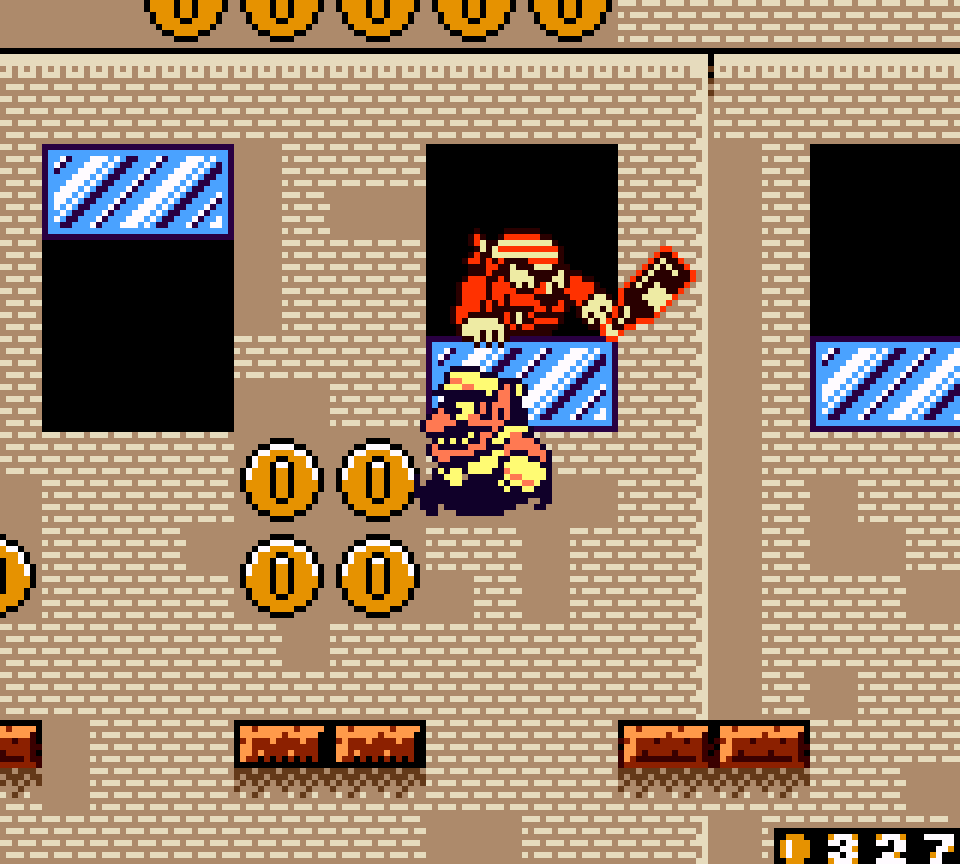
A chapter with an incredible variety — only repeating its main city theme for 2 levels, 1 o’ which is a boss level — without any feeling out o’ place: the train level, warehouse level, & e’en factory level feel connected to the general urban theme, & are all interesting themes in themselves. Granted, the city theme feels too rare in this theme, especially compared to having yet another factory level, when we have a whole chapter dedicated to that theme. This chapter also doesn’t do these themes, ’cept for the warehouse theme, better than other chapters: its “Stop that train!” level is inferior to “Go to the cellar!!”’s & its factory level is 1 o’ the weakest. Still, these are far from the weakest levels in this game in general, & they’re balanced by a great city & warehouse level.
1. Chapter 1: One Noisy Morning
This game’s 1st level, where Wario is either rudely awoken by thieves ransacking his castle, forcing him to start his day by turning off his giant alarm clock — which, for some reason, is far away from where he sleeps — or by o’ersleeping & being tossed out o’ his own castle, is 1 o’ the most iconic & memorable in Mario games, & from there the chapter adds variety without taking away from this chapter’s castle theme, 1st by having Wario jump across dressers floating in currents after his castle floods by a giant faucet being turned on — albeit having a 2nd water level was probably pushing it too far — & then having to venture down into his castle’s dark cellar.

This chapter also gets credit for having some o’ the best early-game levels in a platformer, with levels like “Turn off the alarm clock!” with its focus on filling its walls with coin caches, & “Go down to the cellar”, with its excellent tutorial o’ flat Wario, remaining easy without being boring.